Introduction
In an earlier article, Continuous Integration from AWS CodeCommit to Docker Hub with AWS CodeBuild, we discussed how Jenkins has some limitations as a build tool and how AWS CodeBuild overcomes those limitations. We discussed creating a Continuous Integration (CI) pipeline to build, package, and deliver a Docker image to Docker Hub, starting with source code in AWS CodeCommit. In this article we shall discuss creating a CI pipeline to build, package, and deliver a Docker image to Amazon ECR (EC2 Container Registry) starting with source code on AWS CodeCommit. This article has the following sections:
- Setting the Environment
- Creating an Amazon ECR Repository
- Configuring buildspec.yaml
- Creating a CodeCommit Project
- Creating a CodeBuild Project
- Running the CodeBuild
- Deleting an ECR Repository
Setting the Environment
An AWS account is required to use AWS CodeCommit and AWS CodeBuild, and may be created at https://aws.amazon.com/. An Amazon ECR repo is also required to upload a built Docker image; we shall create a repo in this article.
Creating an Amazon ECR Repository
To create an EC2 Container Service click on Services>EC2 Container Service as shown in Figure 1.

Figure 1. Services>EC2 Container Service
In Amazon ECS the Repositories navigation node is selected when the page gets navigated to. Click on Create repository as shown in Figure 2.
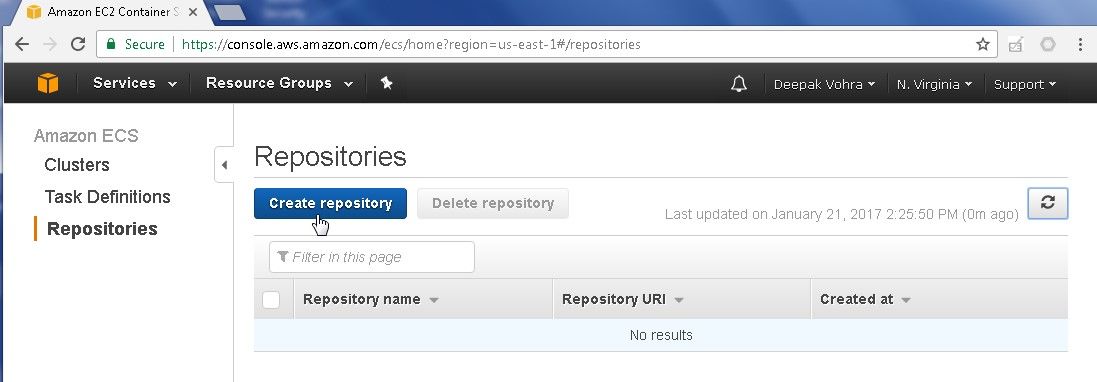
Figure 2. Create repository
Specify a Repository name (nodeserver for example) as shown in Figure 3. Click on Next step.
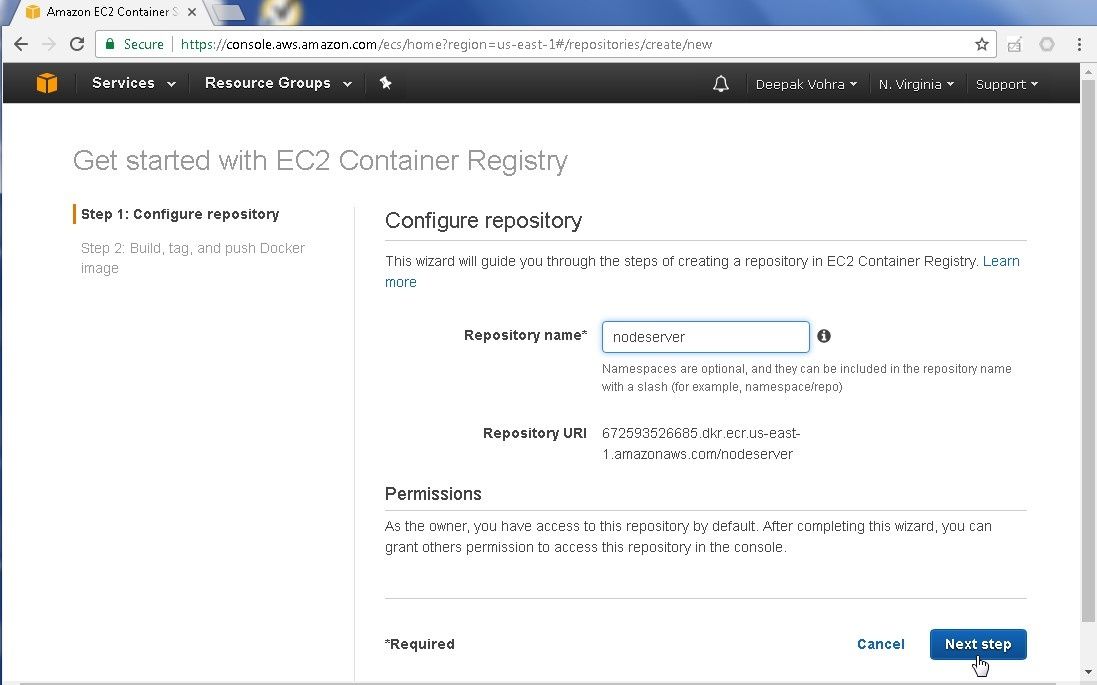
Figure 3. Configuring Repository
An Amazon ECR repository gets created, as indicated by the message in Figure 4. The Docker tasks that may be subsequently performed and the commands for each of the tasks get listed. The first Docker task listed is to get the login command that can be used by a Docker client to authenticate to the registry. The second task listed is to login to the registry using the command returned in 1. The third Docker command listed is to build a Docker image; all as shown below.
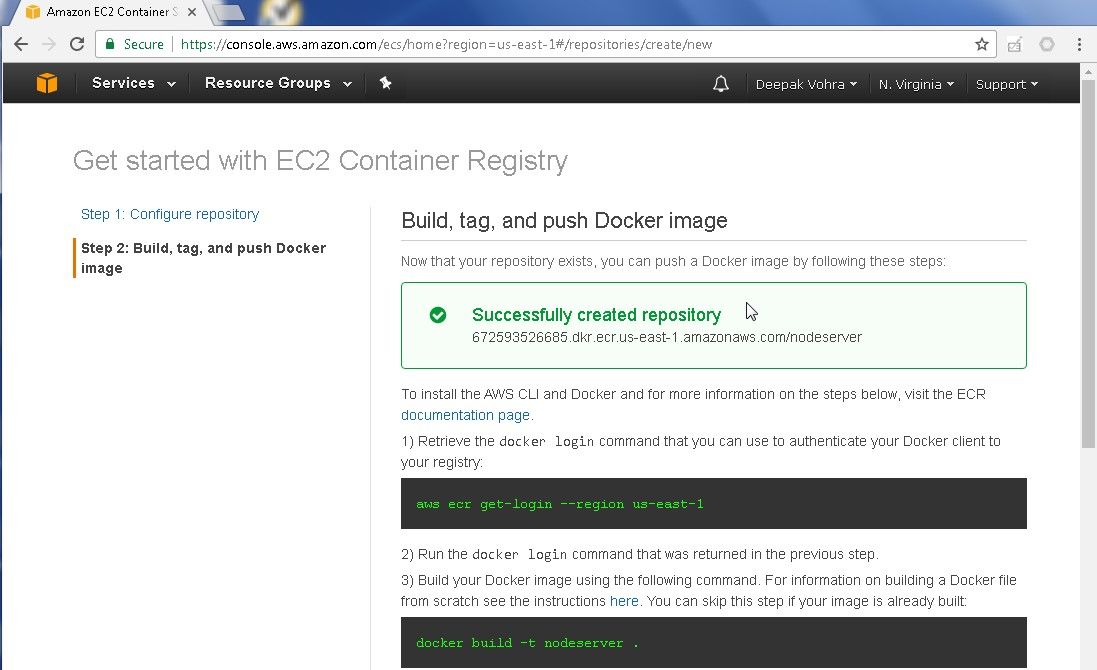
Figure 4. EC2 Container Registry Created
The next Docker command listed is to tag the Docker image generated. The fifth Docker command listed is to push the Docker image to the ECR repo. We shall use these command when we configure a build spec file to run a CodeBuild. Click on Done as shown in Figure 5.
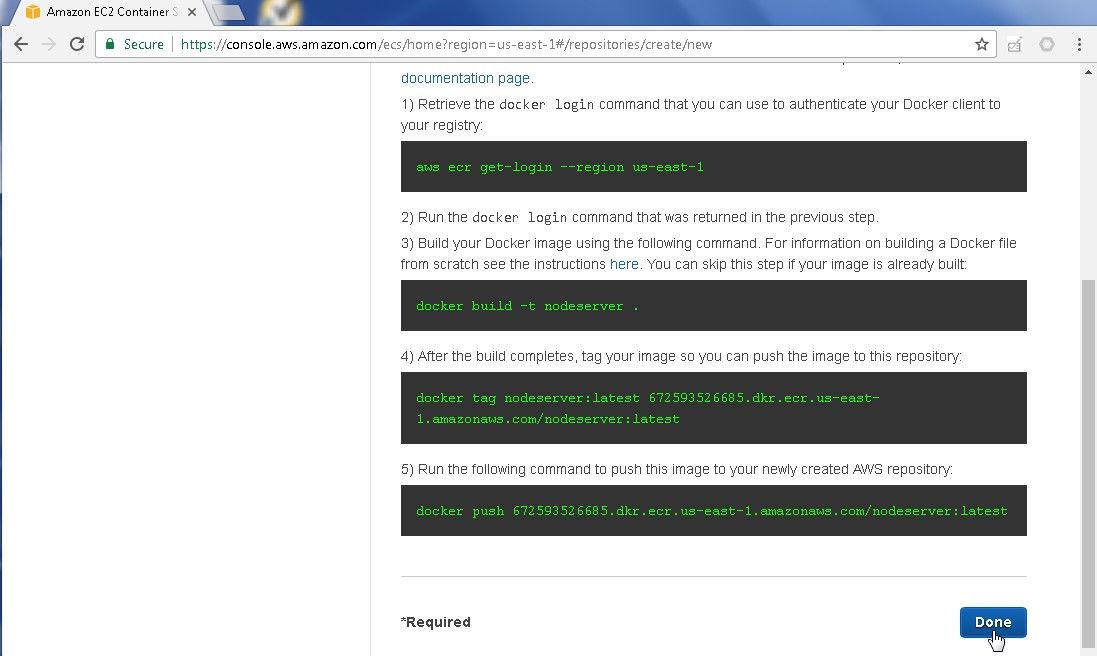
Figure 5. Done
The repository created, nodeserver, gets listed in the Repositories page, as shown in Figure 6. Click on the repo link to configure permissions and list images in the repo.
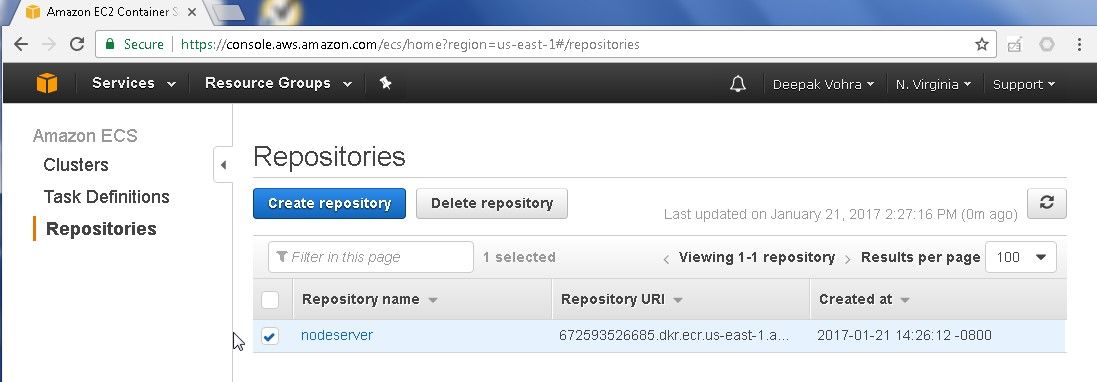
Figure 6. Repositories
The All repositories>nodeserver page gets displayed, as shown in Figure 7. The Images tab is selected by default and no images are listed initially.
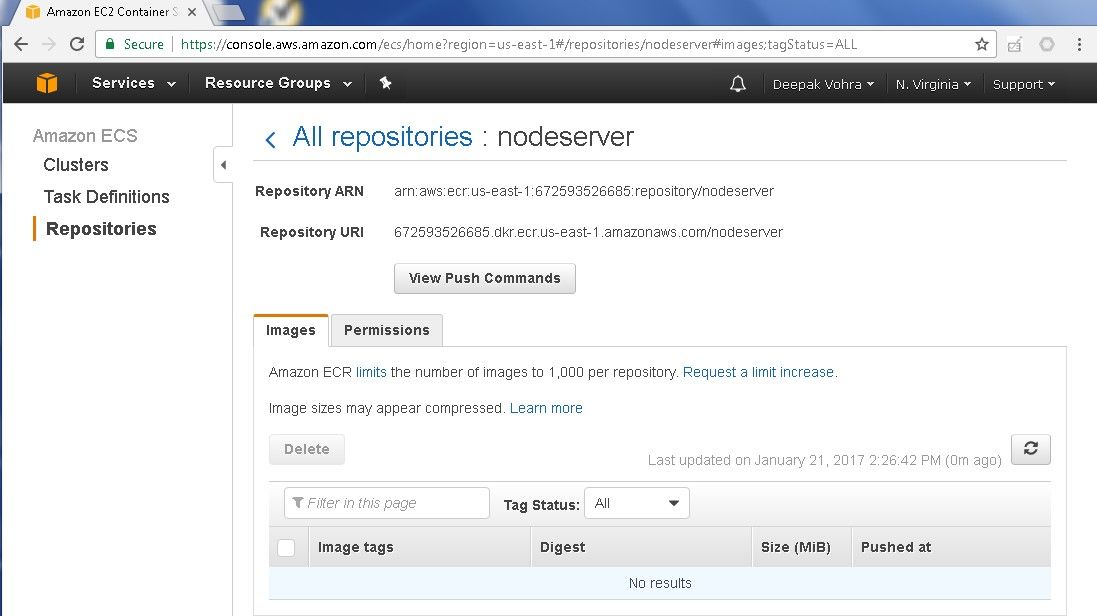
Figure 7. All repositories>nodeserver
Select the Permissions tab as shown in Figure 8.

Figure 8. Permissions Tab
By default, only the user creating the repo has access to the repo. A policy document could be added to allow other users to access the repo. Click on Add to add a permission statement, as shown in Figure 9.
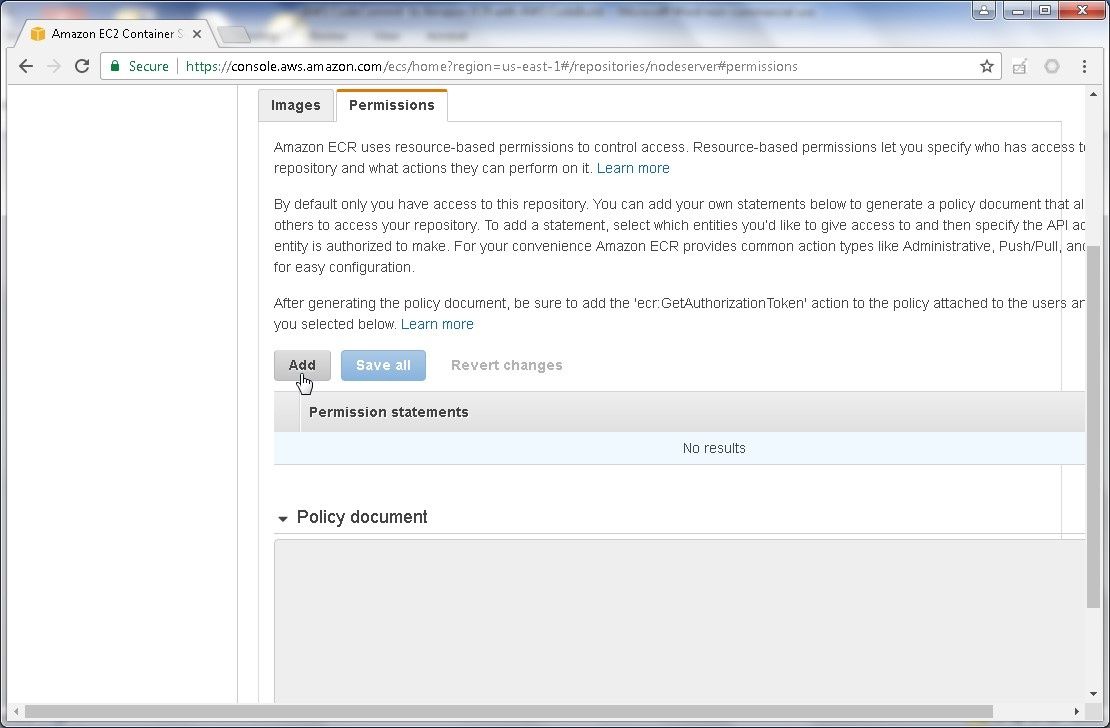
Figure 9. Permissions>Add
Specify a Sid (uploadDockerImage for example) and select Principal as Everybody. The Effect is selected as Allow by default. In Actions select All actions. Click on Save all as shown in Figure 10.
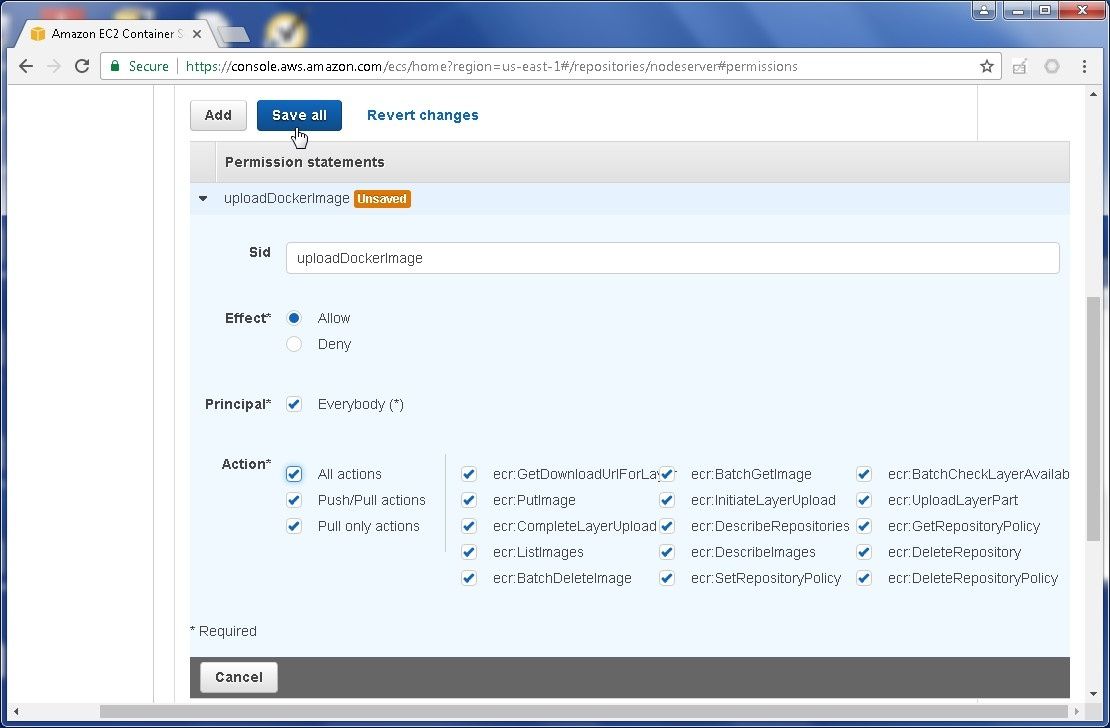
Figure 10. Saving Permission Statement
The repository policy gets updated and a Policy Document gets displayed, as shown in Figure 11.
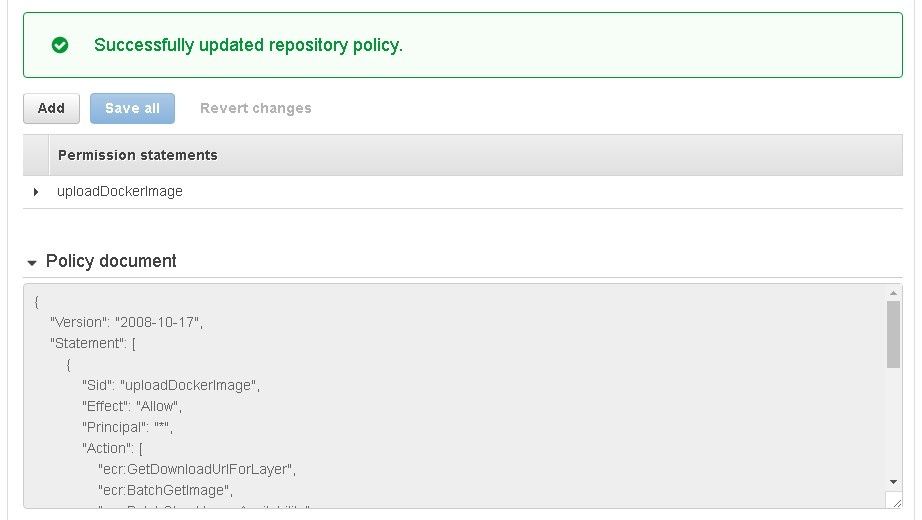
Figure 11. Policy Document
Configuring buildspec.yml
A build spec (buildspec.yml file) is required for CodeBuild to convert input source code on CodeCommit into a build output, which would be a Docker image on Amazon ECR for this article. A build spec consists of a collection of build commands and settings in YAML syntax, as was introduced in my earlier article, Continous Integration from AWS CodeCommit to Docker Hub with AWS CodeBuild . We shall use three phases: pre_build, build, and post_build. The tasks performed in each phase are shown in Figure 12.
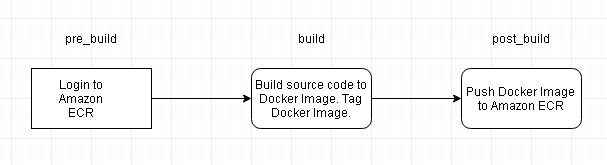
Figure 12. Build Phases
In the pre_build phase login to the Amazon ECR. In the build phase build the Docker image and tag the Docker image. In the post_build phase, push (upload) the Docker image to Amazon ECR. The buildspec.yml file used in this article is listed:
phases:
  build:
    commands:
      - "echo Build started on `date`"
      - "echo Building the Docker image..."
      - "docker build -t nodeserver ."
      - "docker tag nodeserver:latest 672593526685.dkr.ecr.us-east-1.amazonaws.com/nodeserver:latest"
  post_build:
    commands:
      - "echo Build completed on `date`"
      - "echo Pushing the Docker image..."
      - "docker push 672593526685.dkr.ecr.us-east-1.amazonaws.com/nodeserver:latest"
  pre_build:
    commands:
      - "echo Logging in to Amazon ECR..."
      - "$(aws ecr get-login --region us-east-1)"
version: 0.1
Creating a CodeCommit Project
Create a CodeCommit repository (Node-Server) and set Up SSH Connections to AWS CodeCommit Repository as discussed in the Using the AWS CodeCommit Repository article. An IAM user must be created, which is also discussed. To be able to use AWS CodeCommit with AWS CodeBuild add the AWSCodeBuildAdminAccess permission to the IAM user. If the CodeCommit repository Node-Server already exists delete the repository and create a new repository.
We shall use code for a Docker image from the GitHub repo for a Node server Docker image, which was introduced in the Using the AWS CodeCommit Repository article. Migrating the GitHub repo code to CodeCommit is a two-phase process.
- Clone the GitHub repo to a local repo.
- Push the local repo code to CodeCommit.
First, add the buildspec.yml file listed in the previous section of this article to the GitHub repo. The GitHub repo with the three files required to build a Docker image and upload the Docker image to EC2 Container Registry are shown in Figure 13. The YAML file should be of valid YAML syntax, which may be verified with YAML Lint (http://www.yamllint.com/ ).
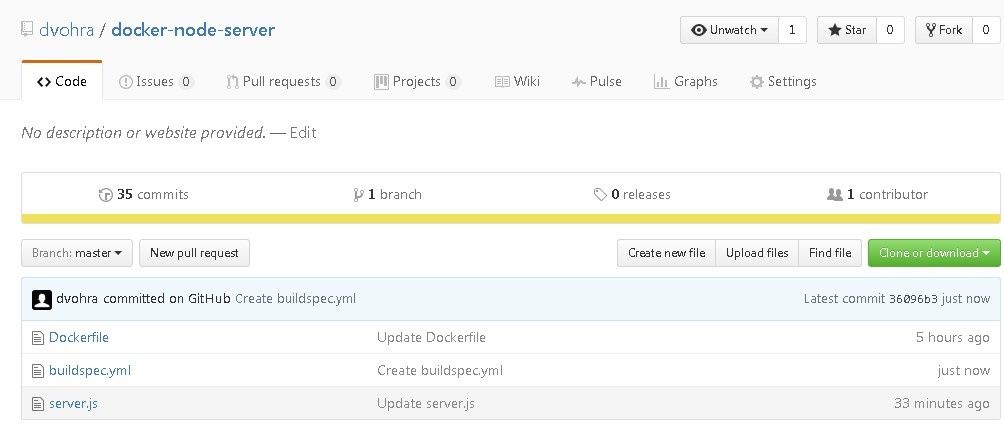
Figure 13. GitHub Repo
As discussed in Using the AWS CodeCommit Repository, run the following command to clone the GitHub repo to the local directory.
C:\DockerDevOps\AWS CodeCommit>git clone --mirror https://github.com/dvohra/docker-node-server.git aws-codecommit-docker-node-server
As the output in Figure 14 indicates, the GitHub repo gets cloned to local directory.
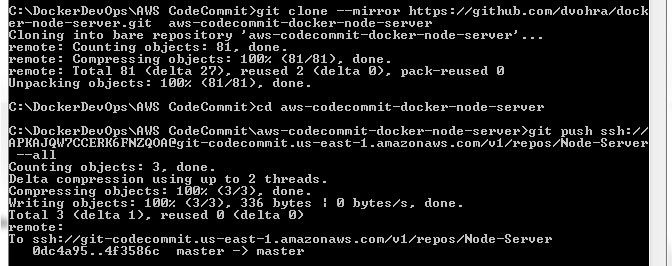
Figure 14. Cloning GitHub Repo to Local Repo
Using the CodeCommit repo clone url ssh://git-codecommit.us-east-1.amazonaws.com/v1/repos/Node-Server run the following git pushcommand to upload local repo code to CodeCommit repo.
git push ssh://APKAJQW7CCERK6FNZQOA@git-codecommit.us-east-1.amazonaws.com/v1/repos/Node-Server --all
The local repo gets migrated to CodeCommit repo, as shown in Figure 15.
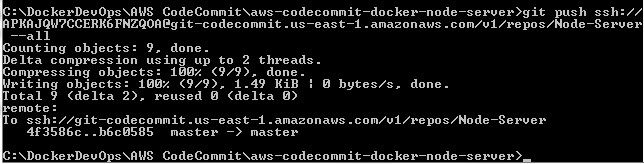
Figure 15. Migrating Local Repo to CodeCommit Repo
The three files buildspec.yml, Dockerfile, and server.js get added to the CodeCommit repo Node-Server, as shown in Figure 16.
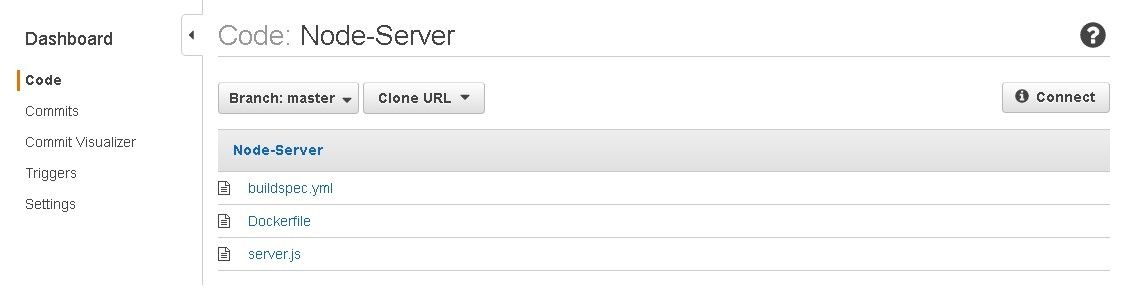
Figure 16. CodeCommit Repo with Source code files
Click on the buildspec.yml file and the build spec gets displayed, as shown in Figure 17.
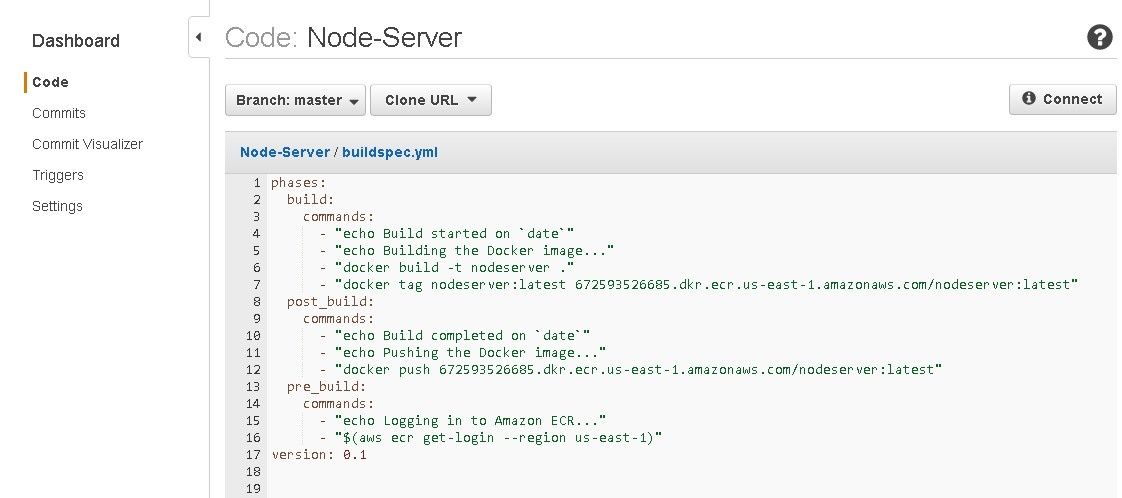
Figure 17. buildspec.yml
Creating a CodeBuild Project
In this section we shall create an AWS CodeBuild project to build the source code in the CodeCommit into a Docker image, and subsequently upload the Docker image to Amazon ECR. Click on Services>Developer Tools>CodeBuild as shown in Figure 18.
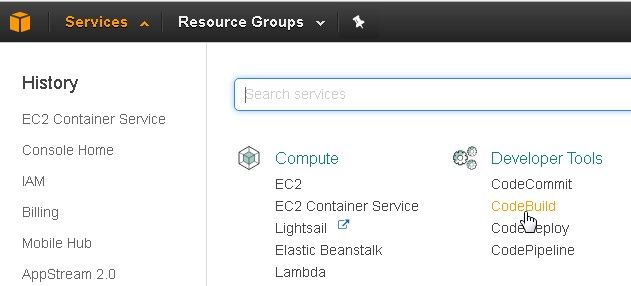
Figure 18. Services>Developer Tools>CodeBuild
In the AWS CodeBuild>Build projects page click on Create project as shown in Figure 19.
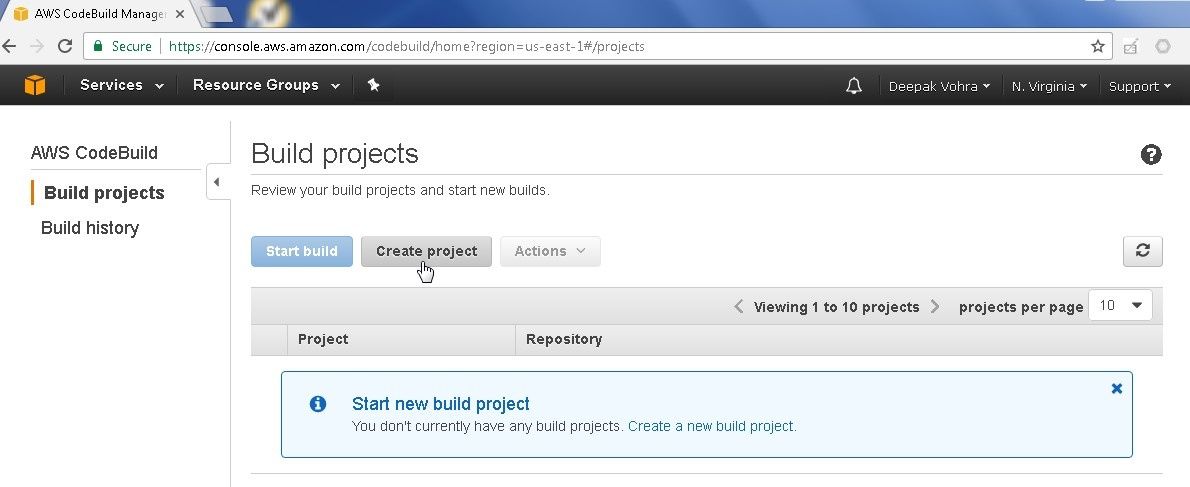
Figure 19. AWS CodeBuild>Create project
Specify a Project name (Node-Server) and in Source: What to build select AWS CodeCommit as shown in Figure 20. The other options are Amazon S3and GitHub.
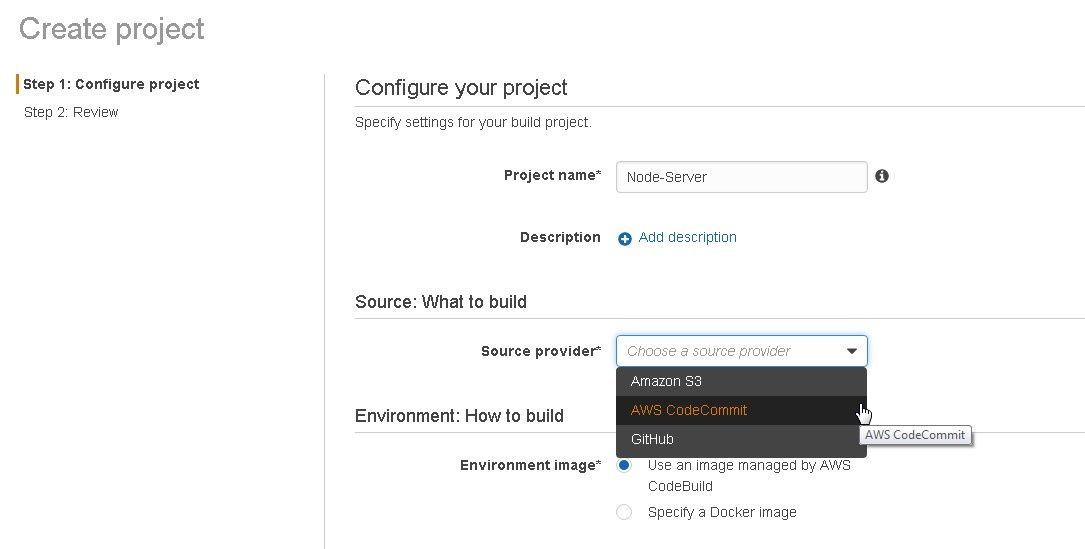
Figure 20. Configuring CodeBuild Project
Select the Node-Server repository in CodeCommit as shown in Figure 21.
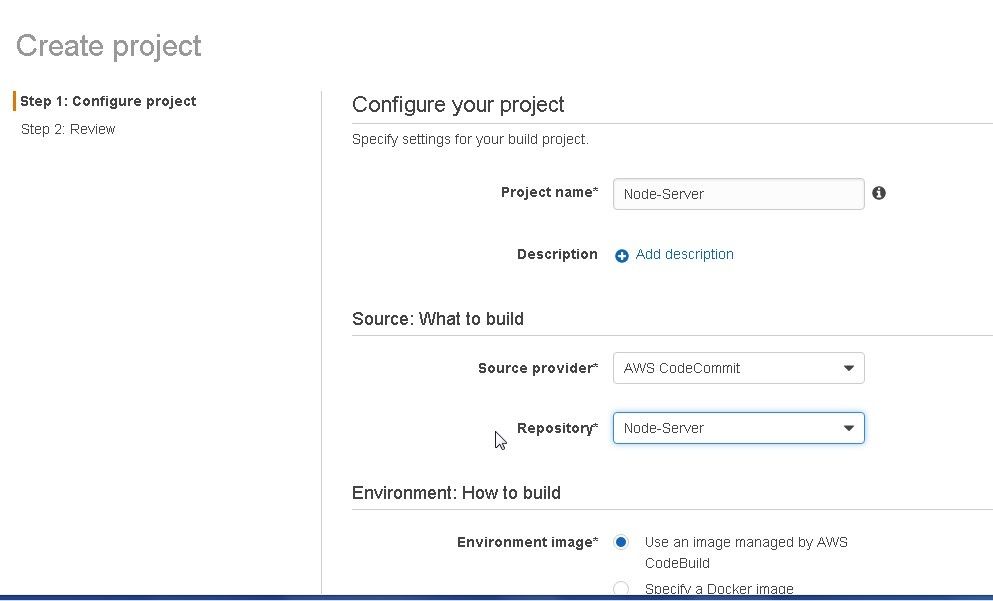
Figure 21. Selecting AWS CodeCommit Repository
In Environment image keep the default setting of Use an image managed by AWS CodeBuild. Select Operating system as Ubuntu and Runtime as Docker. Select Docker Version as 1.11.2 or 1.12. Keep the default setting for Build specification, which is Use the buildspec.yml in the source code root directory. In Artifact type select No artifacts as shown in Figure 22. The artifact type does not generate any artifact and is used to upload a Docker image to Amazon ECR or Docker Hub. The other option is Amazon S3.
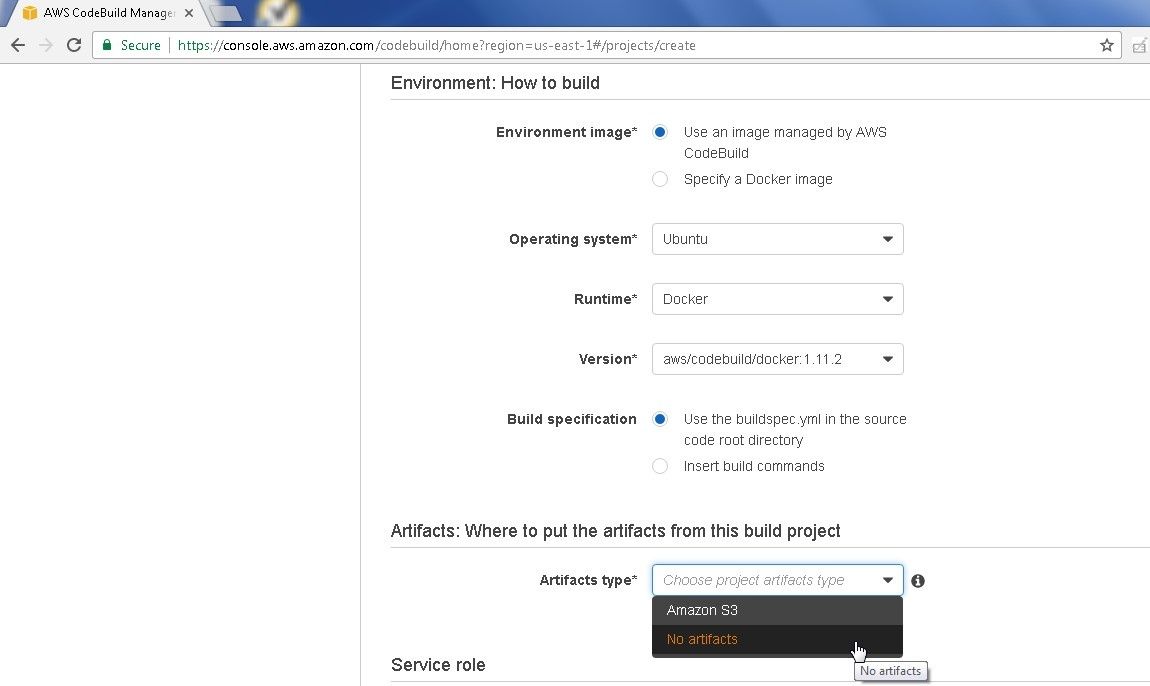
Figure 22. Selecting Artifact type
In Service role select Create a service role in your account as shown in Figure 23. The role name is auto-generated as in the Role name field. Click on Show advanced settings.
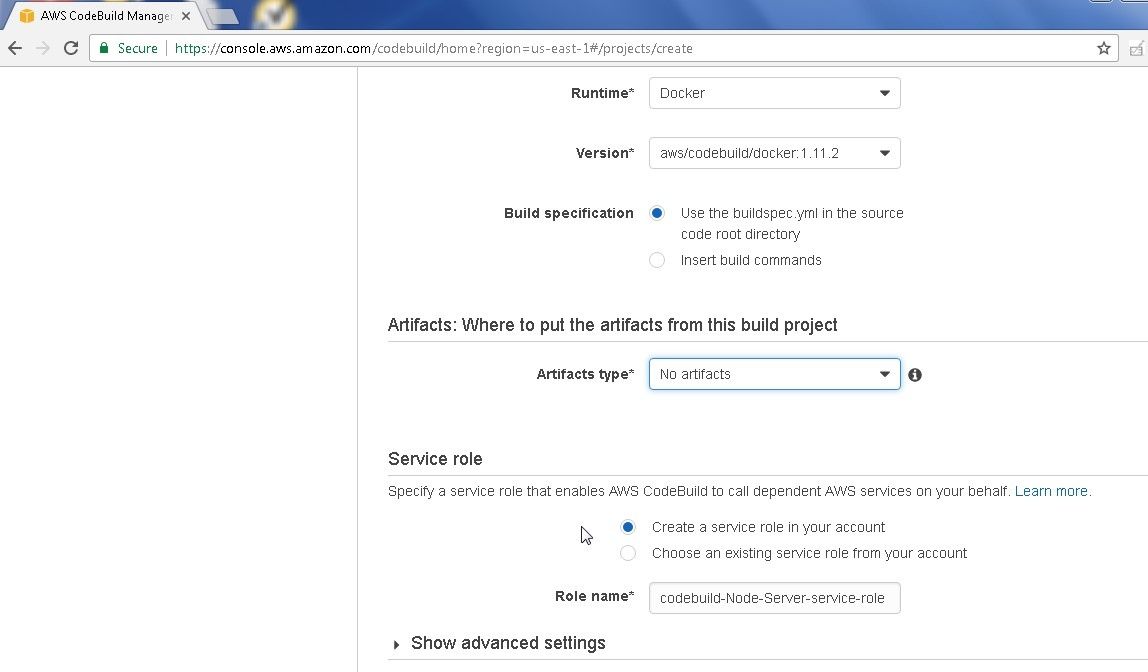
Figure 23. Selecting Service Role Option to create a Role
The advanced settings are optional to configure and the default should suffice for most builds. Compute type could be increased if required; the default being 3 GB memory and 2 vCPU, as shown in Figure 24.

Figure 24. Setting Advanced Settings
Click on Continue as shown in Figure 25.
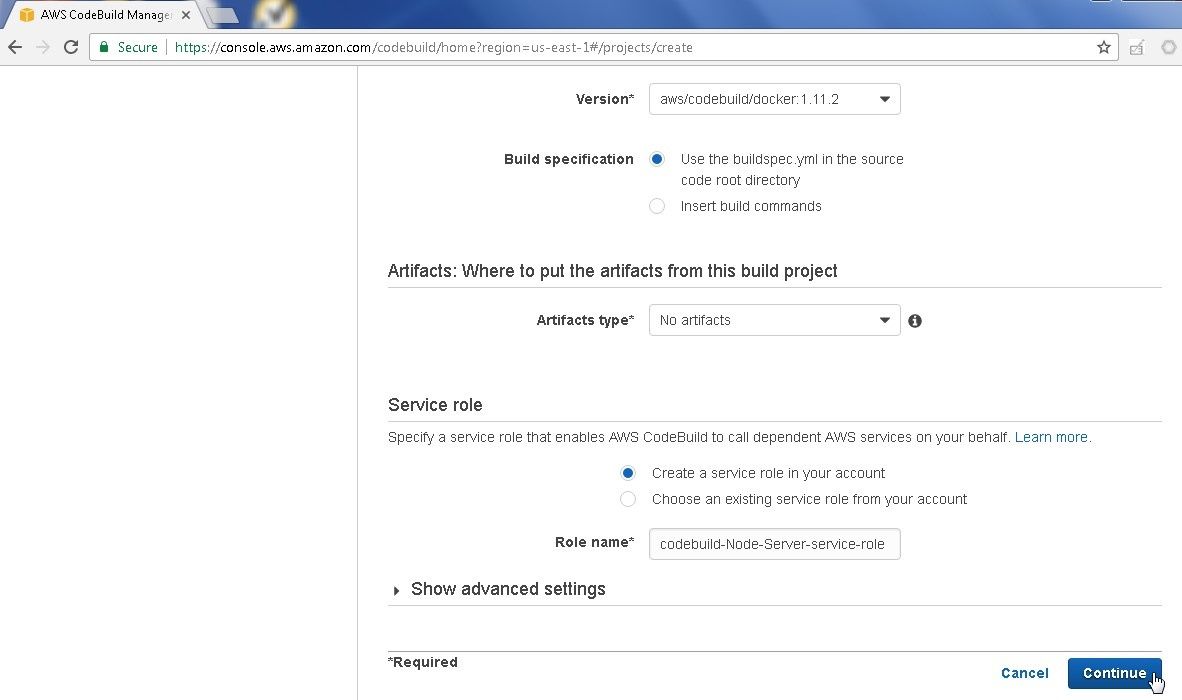
Figure 25. Continue
The Summary of CodeBuild gets displayed. Click on Save as shown in Figure 26.
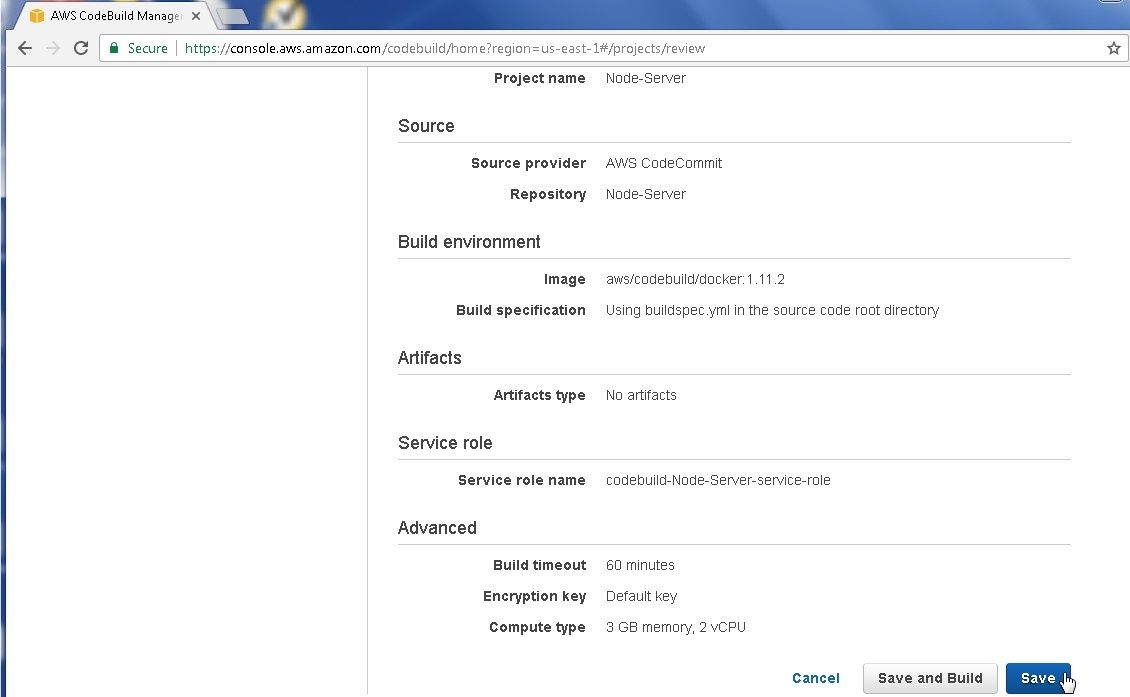
Figure 26. Saving CodeBuild Configuration
A new CodeBuild called Node-Server gets generated, as shown in Figure 27.
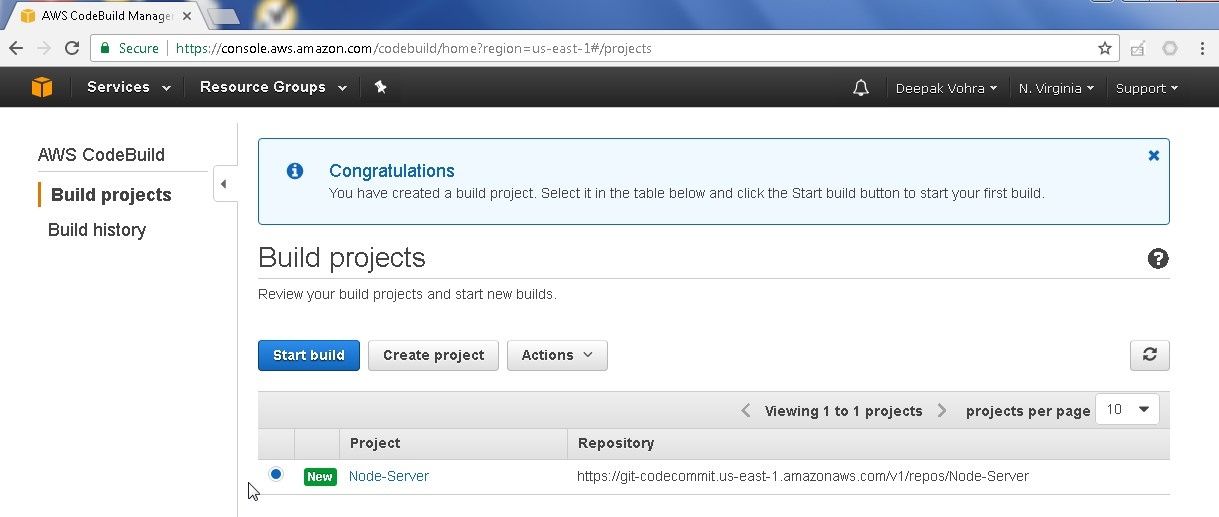
Figure 27. CodeBuild Project Node-Server
We need to modify the default service role to add permission to access ECR. Select Services>IAM. Select Roles. Click on the codebuild-Node-Server-service-role as shown in Figure 28.
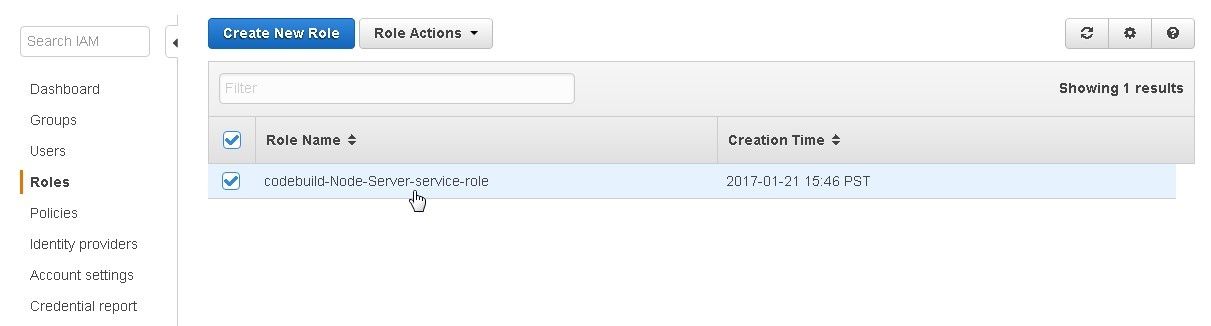
Figure 28. codebuild-Node-Server-service-role Role
To add a permission click on Attach Policy as shown in Figure 29.
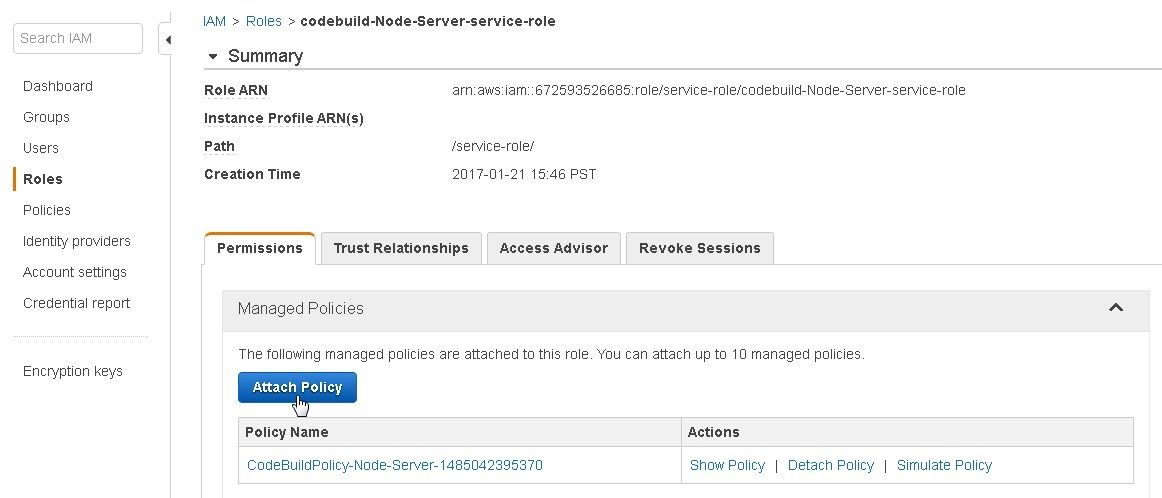
Figure 29. Attach Policy
In the Policy Type Filter specify “AmazonEC2ContainerRegistryFullAccess” as shown in Figure 30. The AmazonEC2ContainerRegistryFullAccess policy gets displayed. Select the policy.
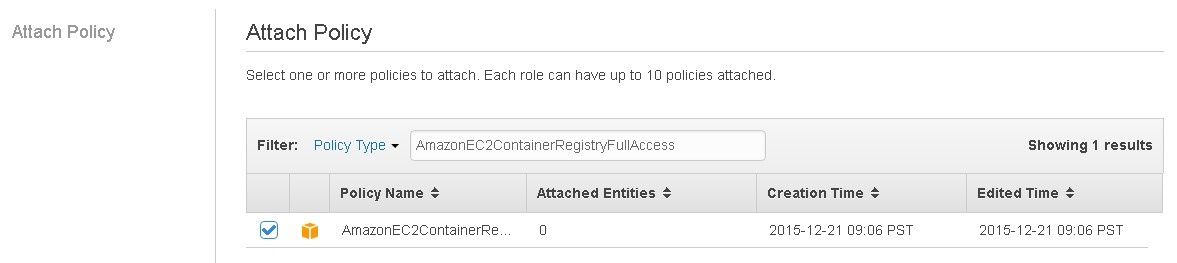
Figure 30. Filtering and Selecting AmazonEC2ContainerRegistryFullAccess policy
The policy gets added to the service role, as shown in Figure 31.
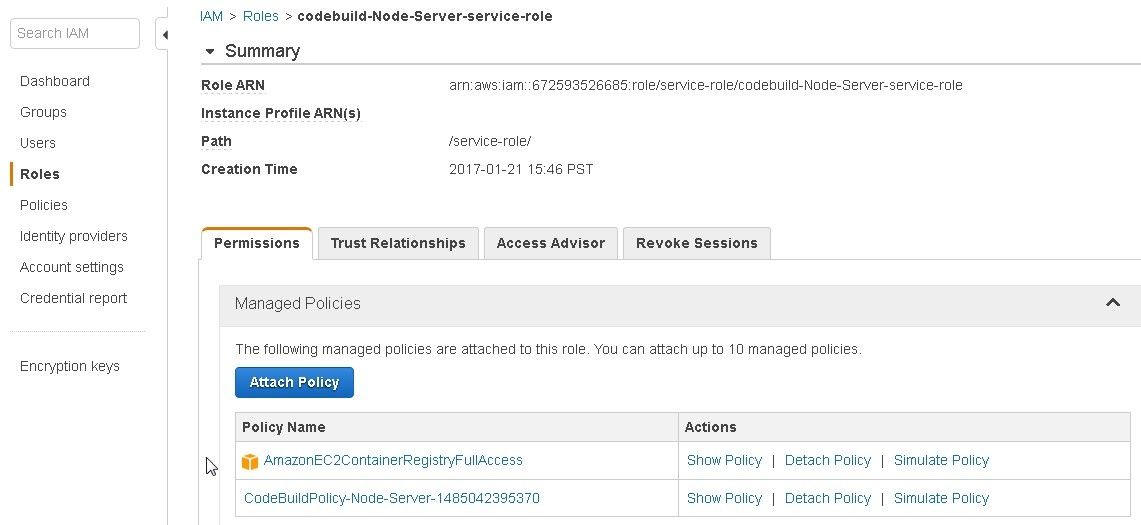
Figure 31. AmazonEC2ContainerRegistryFullAccess policy
If required the CodeBuild project may be updated. Select the project in the Build projects list and select Actions>Update as shown in Figure 32.
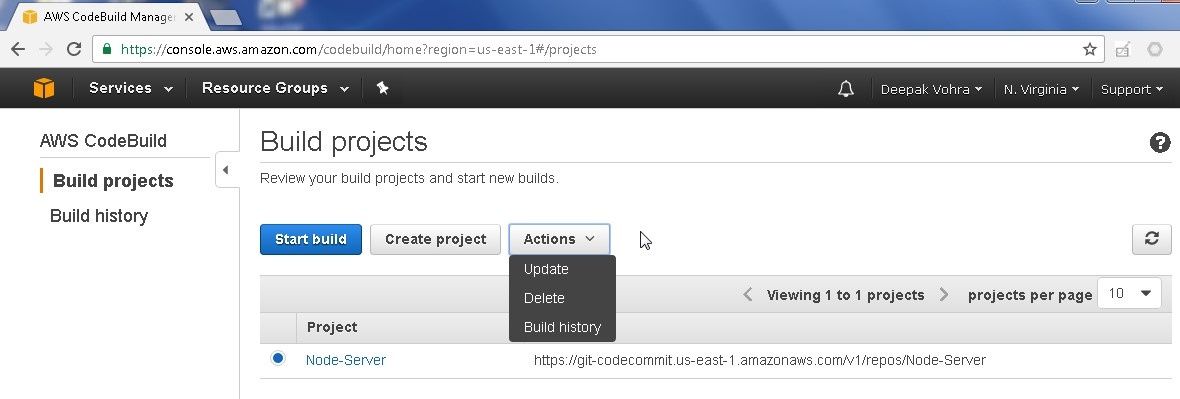
Figure 32. Actions>Update
Click on Update after modifying any settings as shown in Figure 33.
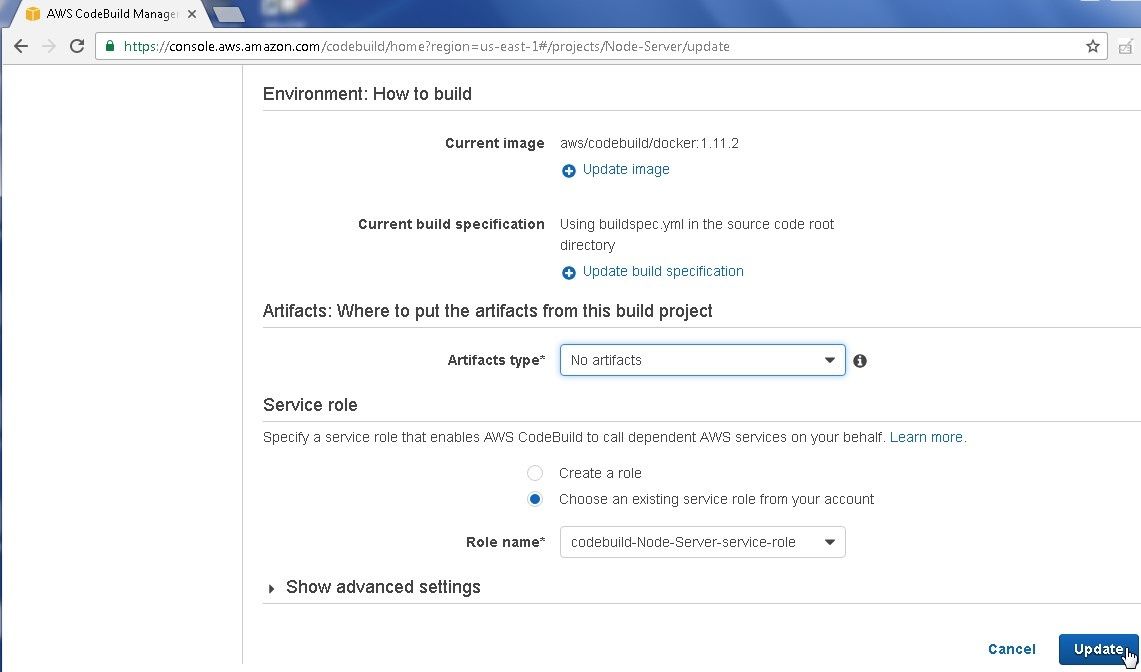
Figure 33. Update
Running the CodeBuild
In this section we shall run the CodeBuild project. Click on Start build to start a build as shown in Figure 34.
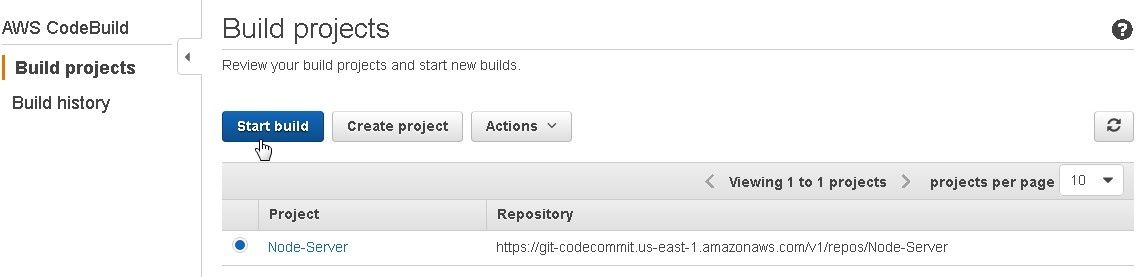
Figure 34. Start build
The start new build page gets displayed with a summary of the build, as shown in Figure 35. The build has not started yet.
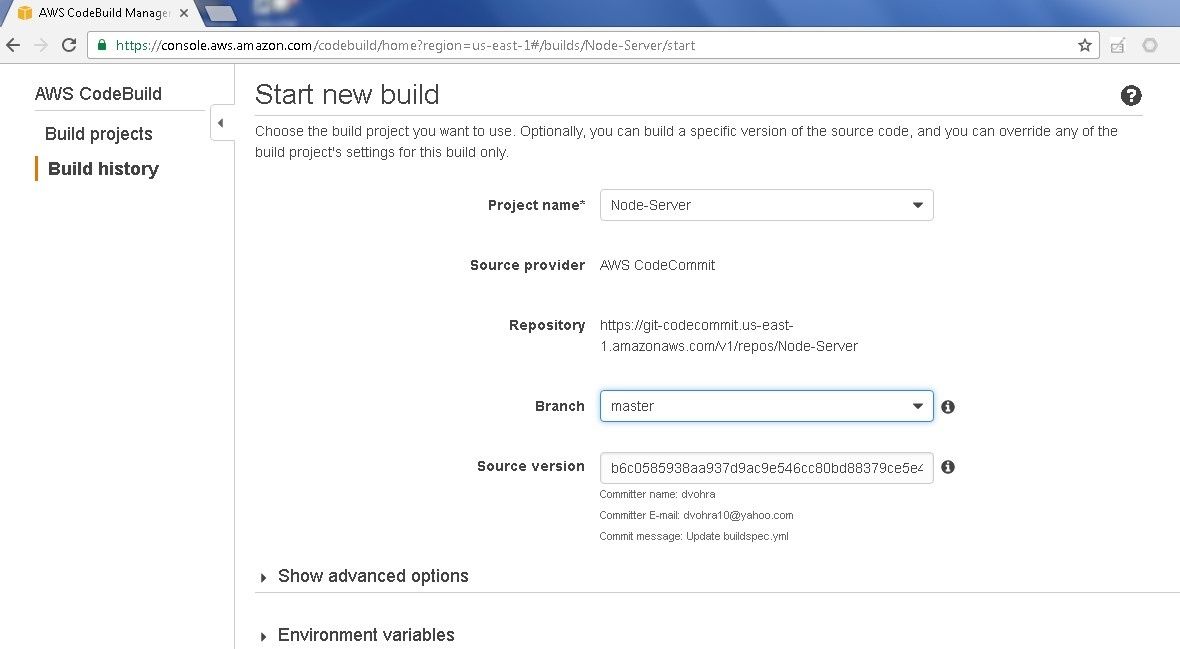
Figure 35. Summary of CodeBuild
Scroll down and click on Start build to start the build as shown in Figure 36.
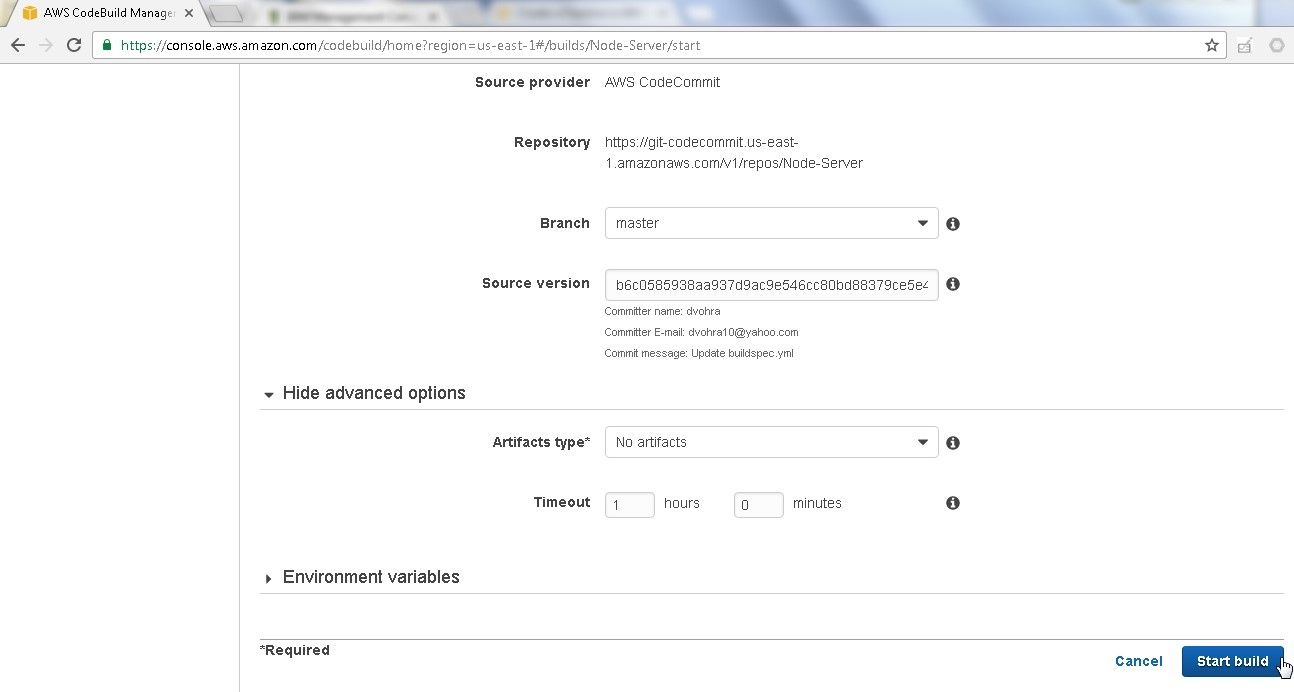
Figure 36. Start build
The build gets started and an InProgress message gets displayed as shown in Figure 37.
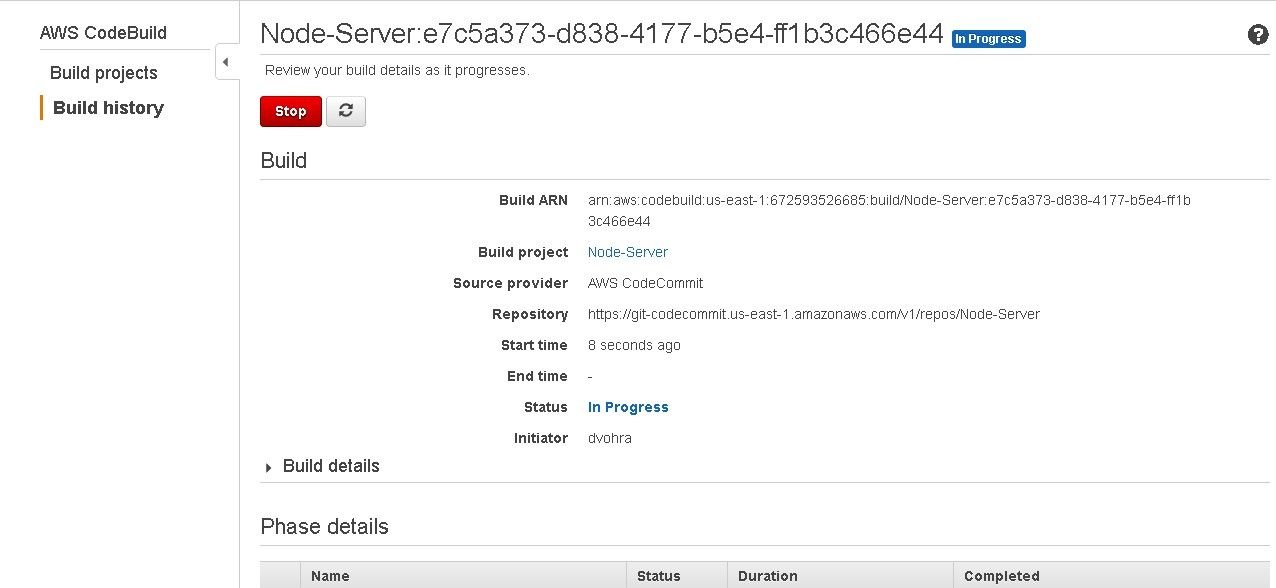
Figure 37. Build In Progress
Though not required, click on the refresh icon button to refresh the build as shown in Figure 38. The Phase Details section lists the status of the phases. SUBMITTED is listed as Succeeded and Provisioning is listed as In Progress.
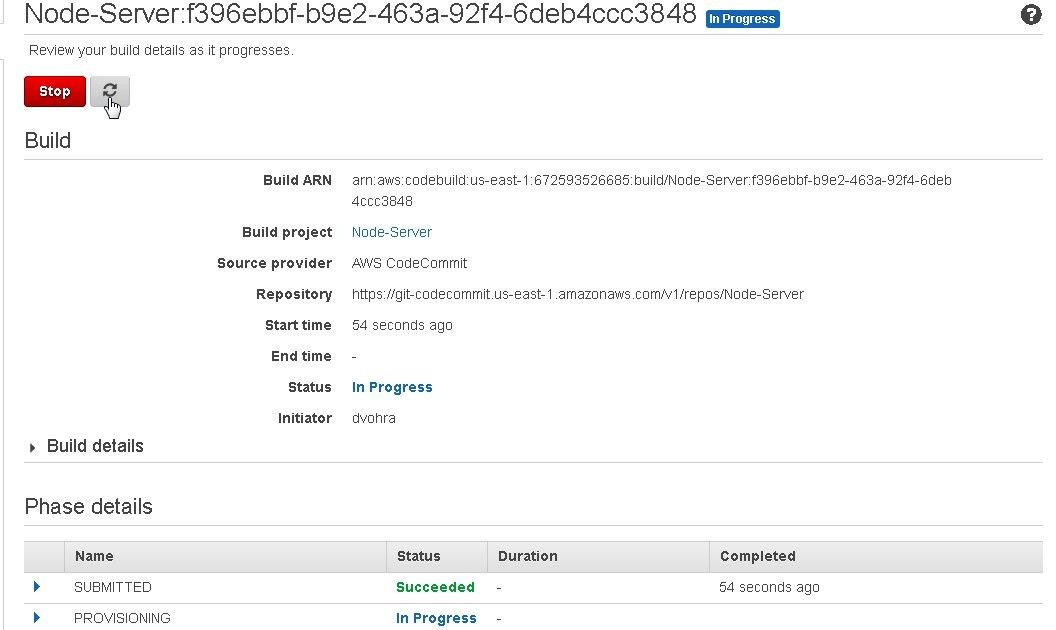
Figure 38. Phase Details
When the complete build succeeds the message Succeeded gets displayed for the build as shown in Figure 39.
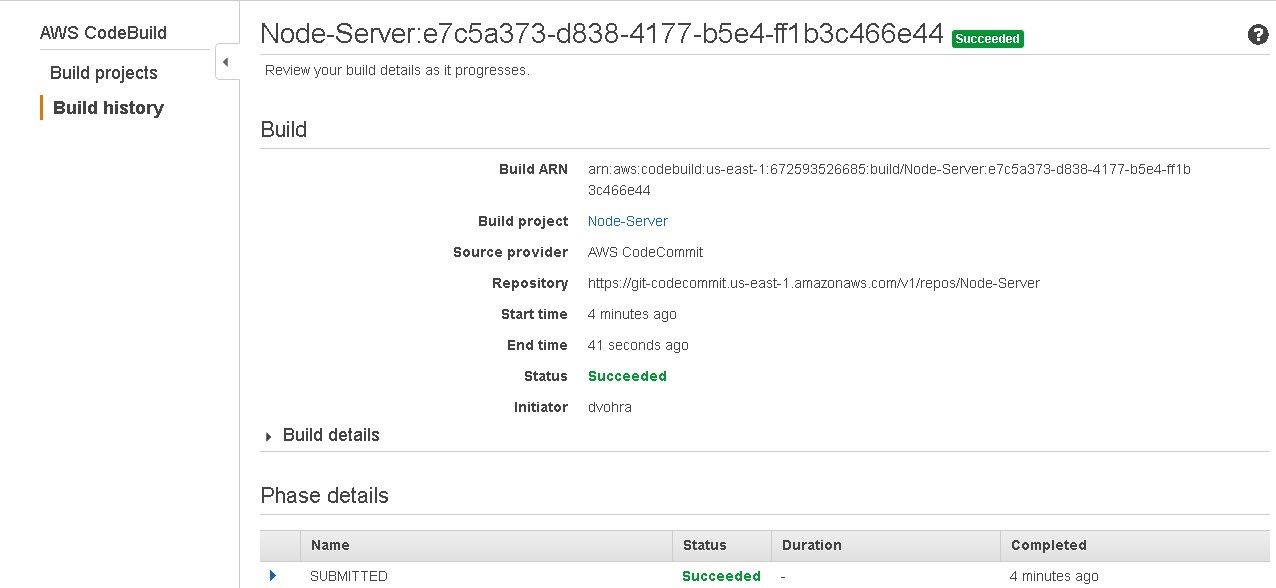
Figure 39. Build Succeeded
The Phase Details should list all phases as Succeeded as shown in Figure 40.
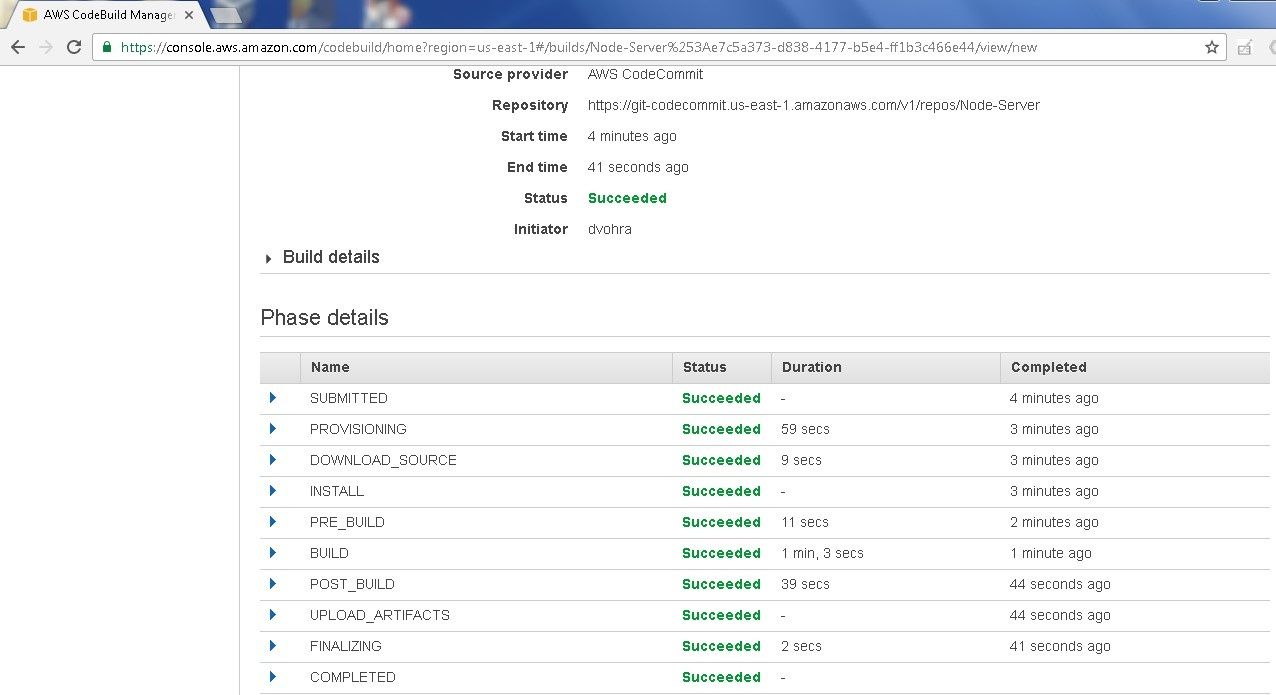
Figure 40. All Phases Succeeded
The Build logs display the logs for the different phases, as shown in Figure 41.

Figure 41. Build Logs
After a build has completed successfully a Docker image gets uploaded to Amazon ECR. The Docker image uploaded most recently has the “latest” tag, as shown in Figure 42.
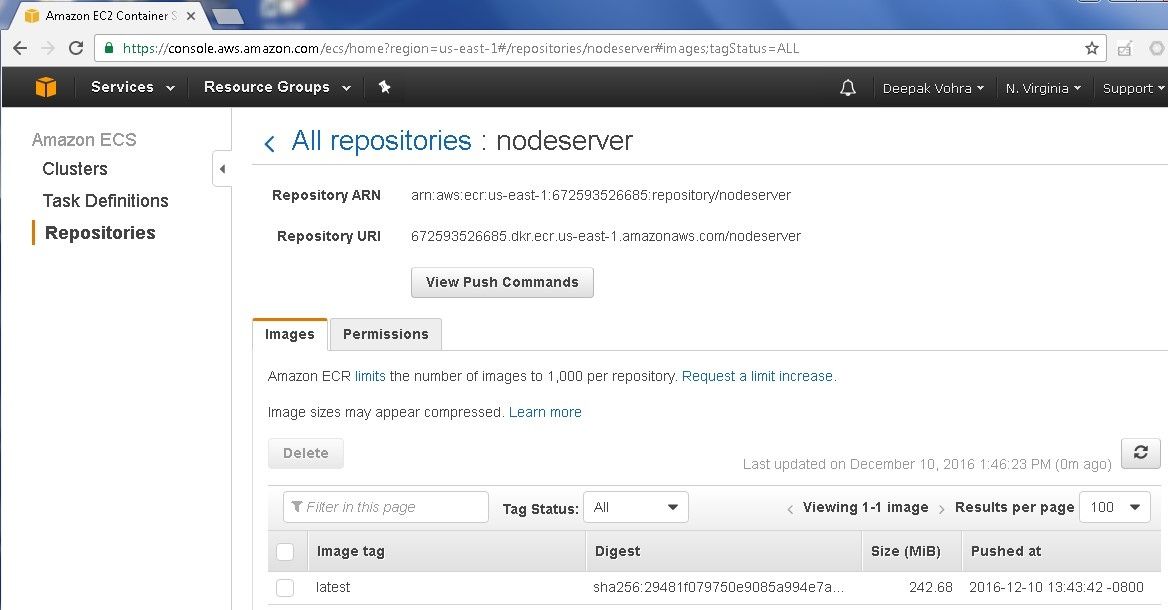
Figure 42. Docker Image with tag “latest”
If the build is run again another Docker image gets added and gets the “latest” tag. Any Docker image/s added previously get listed without a tag, as shown in Figure 43.
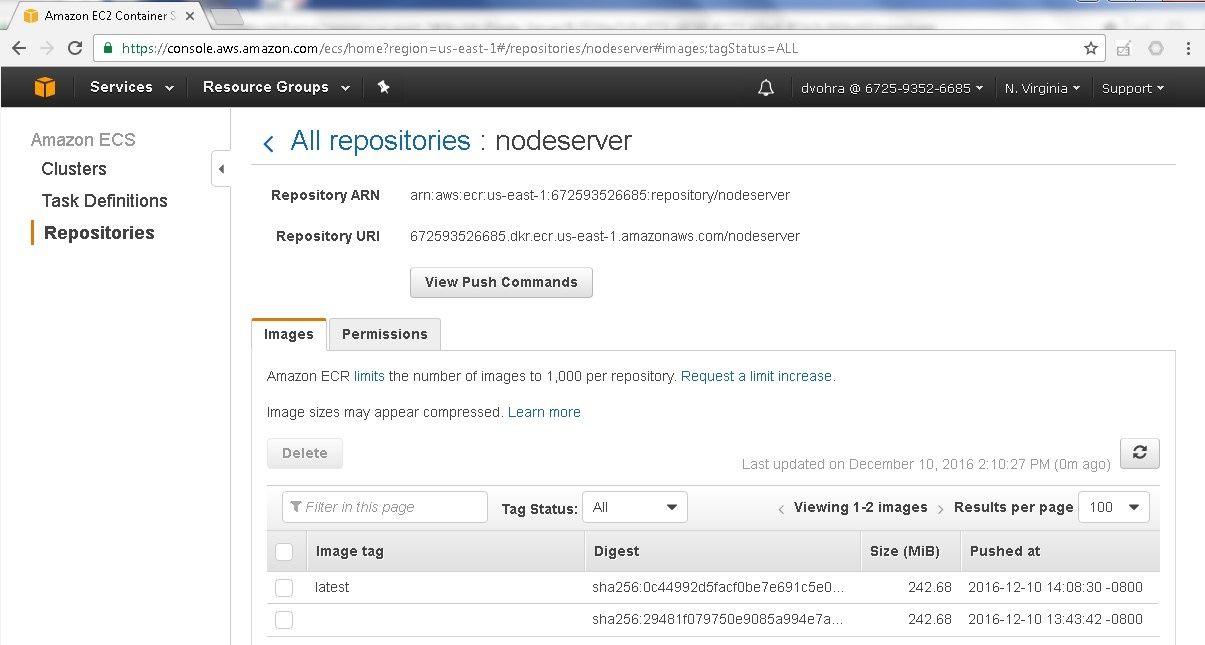
Figure 43. Listing Docker Images in ECR Repository
If an error occurs during a build the Build logs display the error message. as shown in Figure 44.
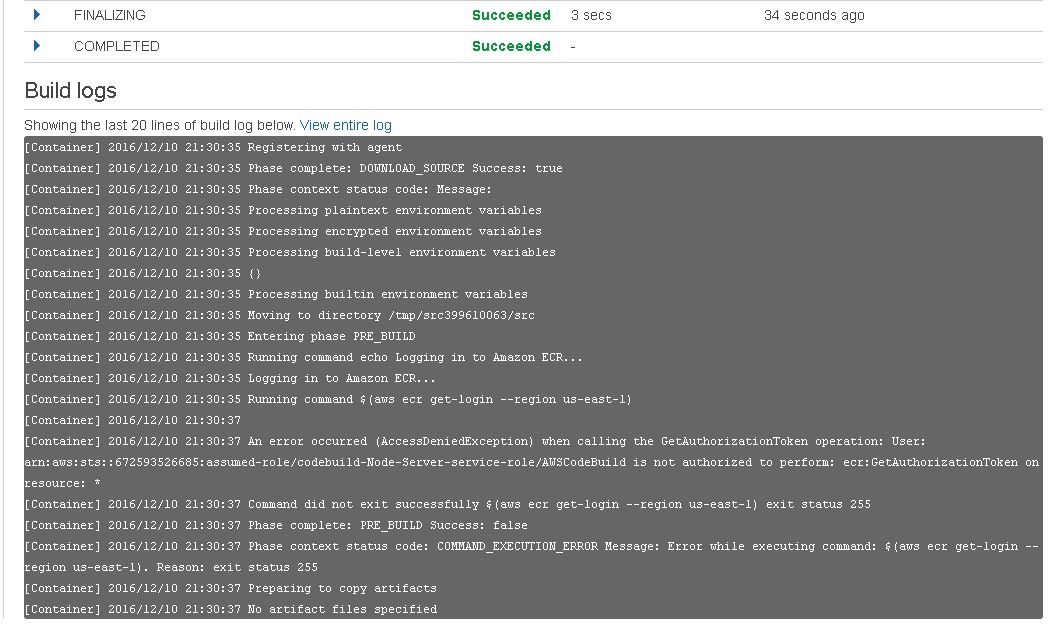
Figure 44. Error Message in Logs
The build status gets listed as Failed, as shown in Figure 45.
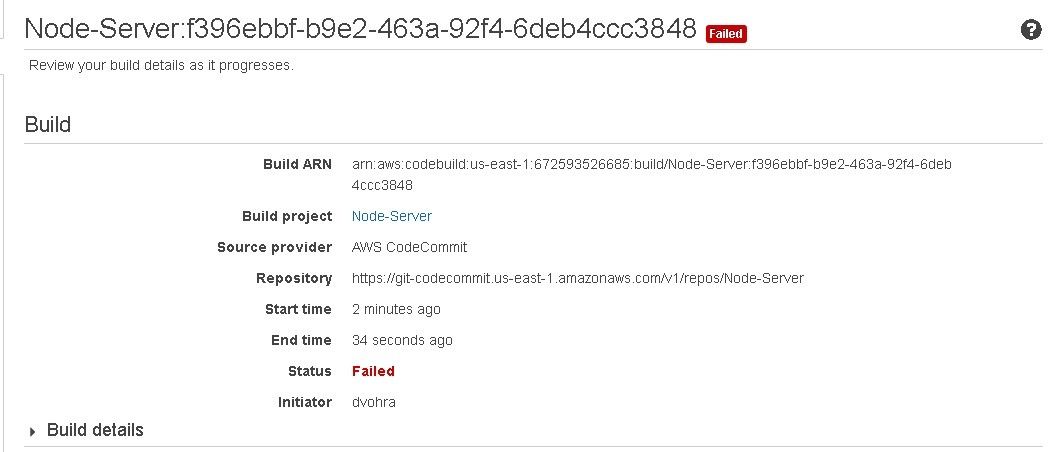
Figure 45. Build Status Failed
If a CodeBuild project build fails the project may be modified with Edit project as shown in Figure 46, and a build started again.
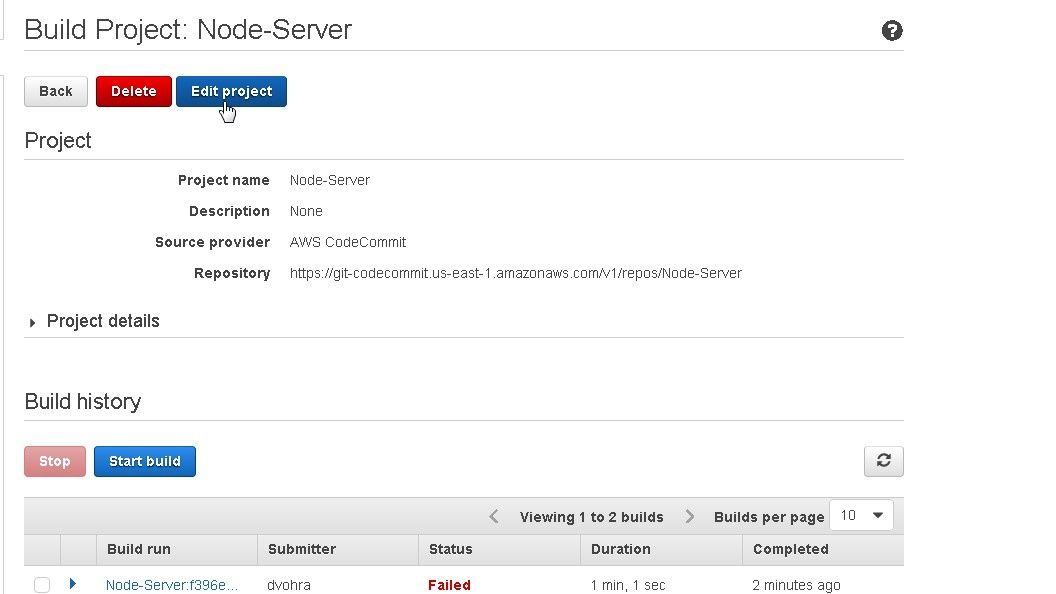
Figure 46. Edit build
Deleting an ECR Repository
To delete the Amazon ECR repository click on Delete repository as shown in Figure 47.
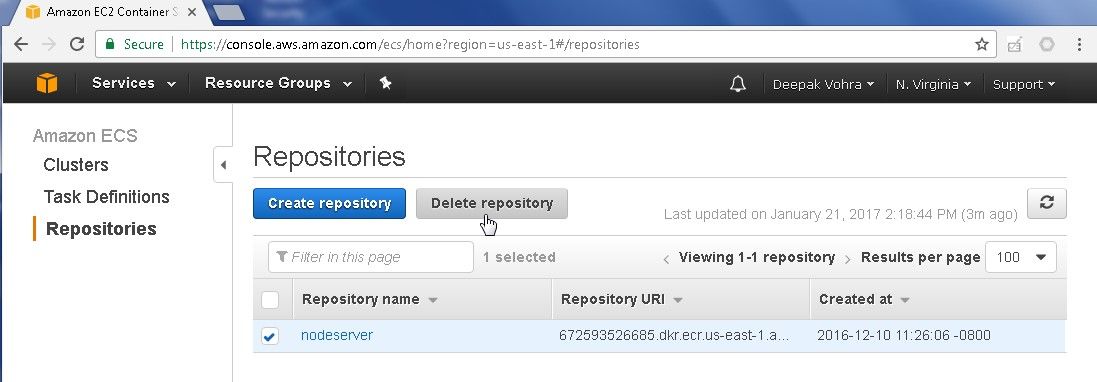
Figure 47. Repositories>Delete Repository
In the confirmation dialog click on Delete as shown in Figure 48.
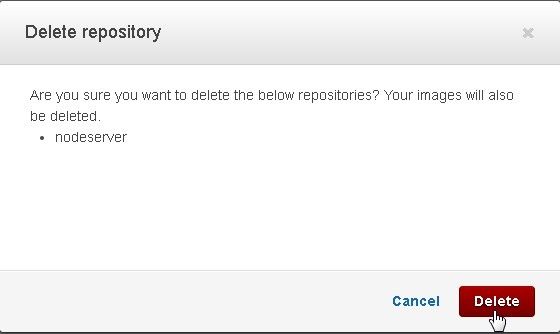
Figure 48. Delete repository
The repository gets deleted, as shown in Figure 49.
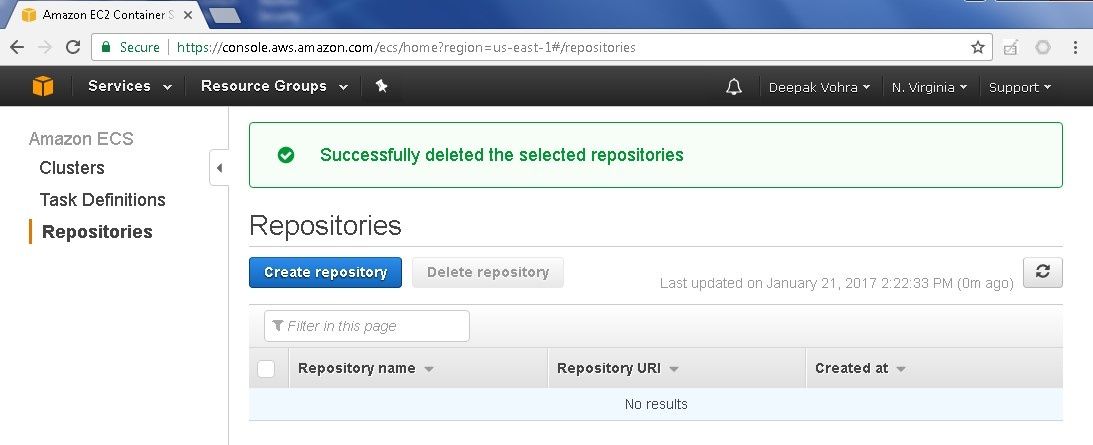
Figure 49. ECR Repository Deleted
Summary
In this article we discussed creating a CodeBuild project to build a Docker image from source code in CodeCommit. The build spec file buildspec.ymlspecified the commands to run and is included with the source code in the CodeCommit. The Docker image generated is uploaded to Amazon ECR by the CodeBuild.
Start the discussion at forums.toadworld.com