Continuous Integration (CI) and Continuous Delivery (CD) refer to the process of continuously integrating source code from a repository such as GitHub or AWS CodeCommit, compiling the source code, testing the compiled code, and packaging the compiled binaries into software packages and making the software available for deployment. Databases and database drivers use Continuous Integration (CI) to manage their source code.
Problem
Jenkins, a commonly used build & test tool, has some limitations. A production environment typically makes use of a fully managed build service and Jenkins is not a fully managed build service. A lot of configuration to worker nodes, plugins, is required with Jenkins. A cloud environment is increasingly being used over a data center environment in production and Jenkins is not a cloud service per se, though it could be run on a cloud provider such as AWS. Jenkins’s performance degrades for a large-scale Jenkins deployment with an increase in the number of slaves, resource (CPU and memory) limits, and increase in the number of concurrent builds.
Solution
AWS CodeBuild is a fully managed build service to compile source code, run tests, and produce software packages ready for deployment. CodeBuild scales continuously and has the provision to run multiple builds concurrently. CodeBuild may be used with pre-packaged build environments, or a custom environment may be developed. CodeBuild is designed to automate software release workflows for Continuous Integration and Continuous Delivery (CI/CD). Using the AWS CodeBuild Jenkins Plugin, CodeBuild may be used for Jenkins. CodeBuild is integrated with other AWS services such as CodeCommit and S3.
In this article we shall discuss creating a CI/CD pipeline to build, package, and deliver a Docker image to Docker Hub, starting with source code in AWS CodeCommit. This article has the following sections:
- Setting the Environment
- Creating an IAM User
- Creating a CodeCommit Project
- Creating a Docker Hub Repository
- Configuring buildspec.yaml
- Creating a CodeBuild Project
- Running the CodeBuild Project
Setting the Environment
An AWS account is required to use AWS CodeCommit and AWS CodeBuild and may be created at https://aws.amazon.com/. A Docker Hub account is also required to upload a built Docker image and may be created at https://hub.docker.com/ .
Creating an IAM User
Create an IAM user as discussed in an earlier article.
Creating a CodeCommit Project
Create a CodeCommit project and upload code files Dockerfile and server.js for a Node server Docker image as discussed in an earlier article.
Creating a Docker Hub Repository
We need to create a Docker Hub repo to upload a built Docker image to. Click on Create Repository on Docker Hub as shown in Figure 1.

Figure 1. Create Repository in Docker Hub
Specify a repository name (nodeserver for example) for the user and click on Create as shown in Figure 2.
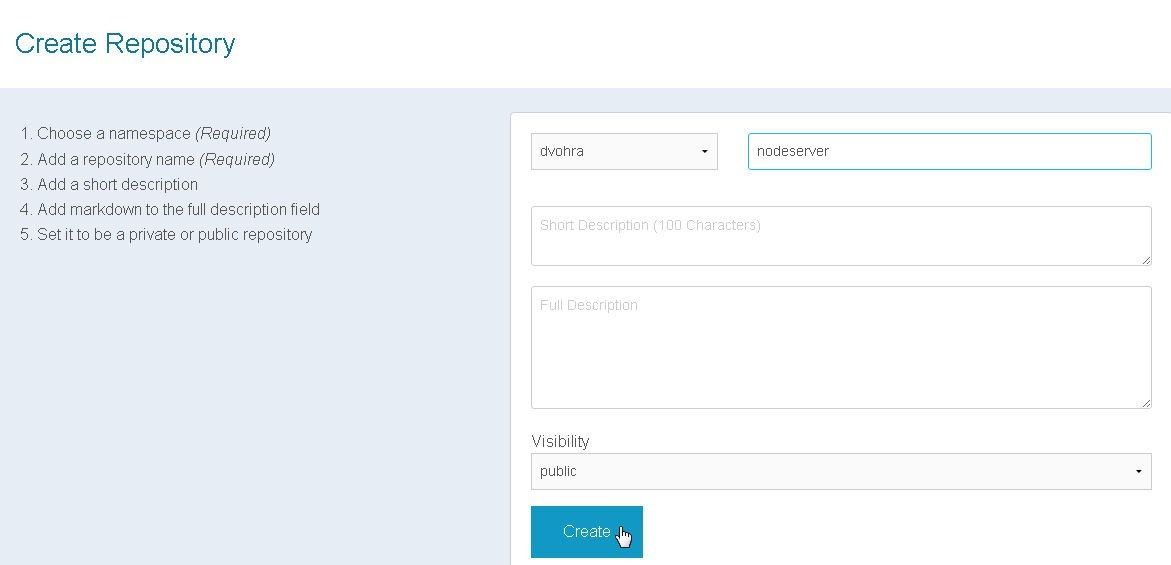
Figure 2. Creating a Docker Hub Repository
The dvohra/nodeserver repo gets created as shown in Figure 3.
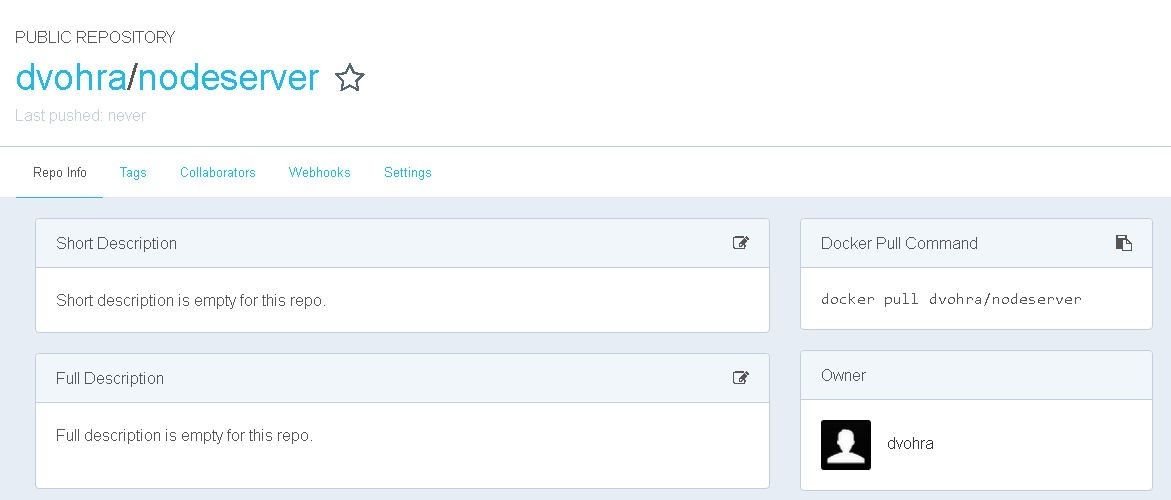
Figure 3. The dvohra/nodeserver Repo
Configuring buildspec.yaml
A build spec is required for CodeBuild to convert input source code into a build output, which would be a Docker image in this article. A build spec consists of a collection of build commands and settings in YAML syntax that CodeBuild uses to build source code input into an output. The build spec file must be named buildspec.yml if included with the source code. If the source code is in GitHub or CodeCommit, as we have it, the buildspec.yml file must be at the root (top level) of the directory structure. Two versions of build spec are available, 0.0 and the latest version, 0.1. The build spec syntax may be referenced at http://docs.aws.amazon.com/codebuild/latest/userguide/build-spec-ref.html#build-spec-ref-syntax.
In addition to the version, environment_variables (for environment variables), and artifacts (file locations) mappings, the phases mapping in buildspec.yml defines the phases of the build. The different phases are install, pre_build, build and post_build and run in that order. Each build phase includes a commands field for a list of commands to run in the sequence specified. The commands list is required for a phase if the phase is specified. The “phases” sequence is required to be specified but all the individual phases are optional to specify. If any of the build phases fails the subsequent phases are skipped and the build is finalized and completed. We shall use three phases: pre_build, build, and post_build. The tasks performed in each phase are shown in Figure 4.

Figure 4. Build Phases and Tasks
The buildspec.yml file including the phases and commands is listed (substitute user password in password variable):
---
phases:
  build:
    commands:
      - "echo Build started on `date`"
      - "echo Building the Docker image..."
      - "docker build -t dvohra/nodeserver:latest ."
      - "docker tag dvohra/nodeserver:latest dvohra/nodeserver:latest"
  post_build:
    commands:
      - "echo Build completed on `date`"
      - "echo Pushing the Docker image..."
      - "docker push dvohra/nodeserver:latest"
  pre_build:
    commands:
      - "echo Logging in to Docker Hub..."
      - "docker login --username=\"dvohra\" --password=\"password\""
version: 0.1
The buildspec.yml file must be valid YAML syntax and the YAML Lint (http://www.yamllint.com/ ) may be used to validate the syntax. Upload the buildspec.yml file to CodeCommit repo Node-Server with the procedure discussed in an earlier article. The buildspec.yml file in CodeBuild repo is shown in Figure 5.
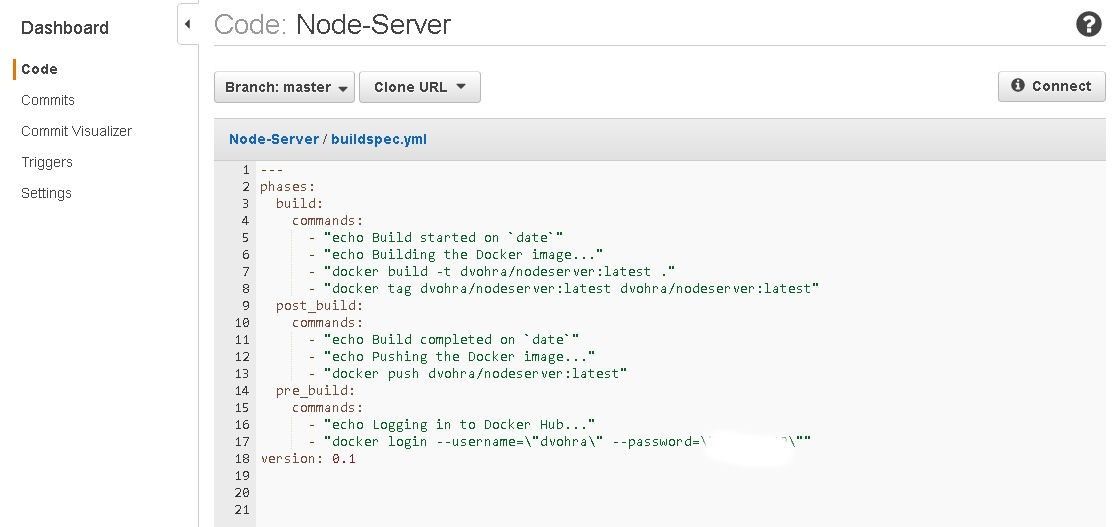
Figure 5. The buildspec.yml in CodeBuild Repo
Creating a CodeBuild Project
Create an AWS CodeBuild project, as discussed in an earlier article. Delete and create a new CodeBuild project Node-Server.
Running the CodeBuild Project
To run the Node-Server build project, select the project in the list of Build projects and click on Start build as shown in Figure 6.

Figure 6. Build project>Start build
Click on Start build in the project detail page as shown in Figure 7.
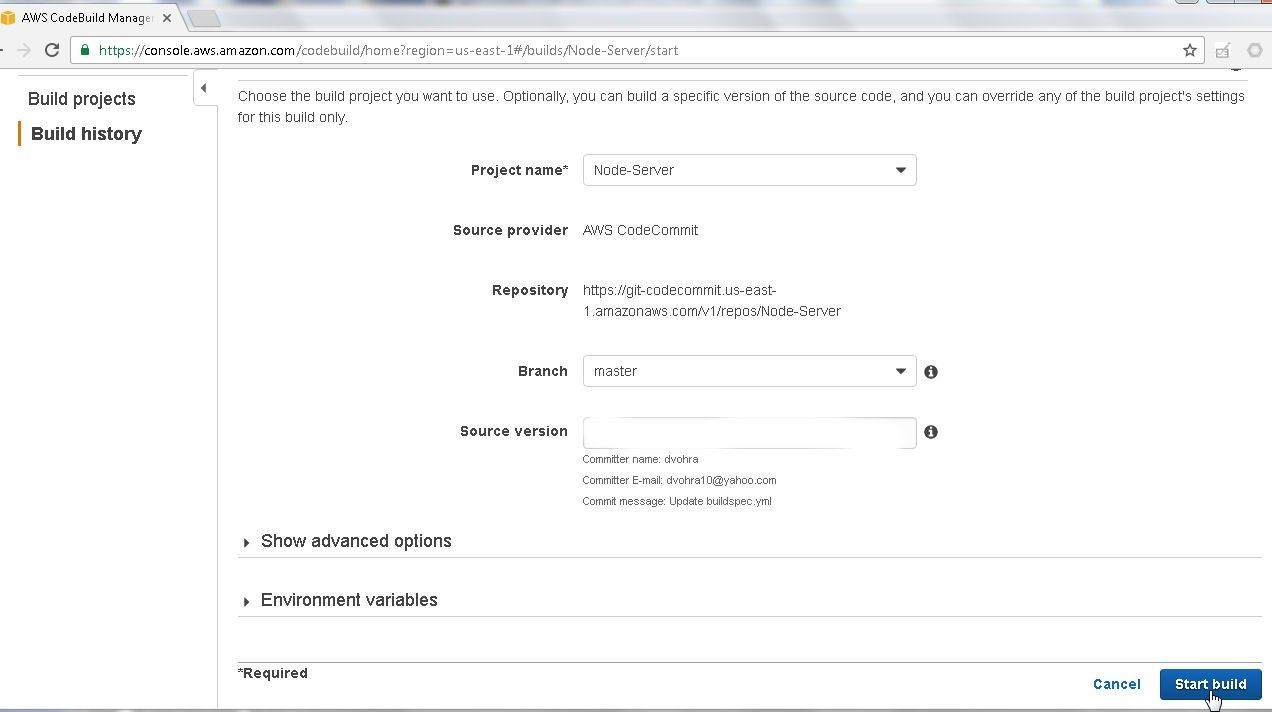
Figure 7. Project Detail Page>Start build
The CodeBuild project gets started and status is shown as “In progress”. Click on the refresh button to refresh the status as shown in Figure 8.
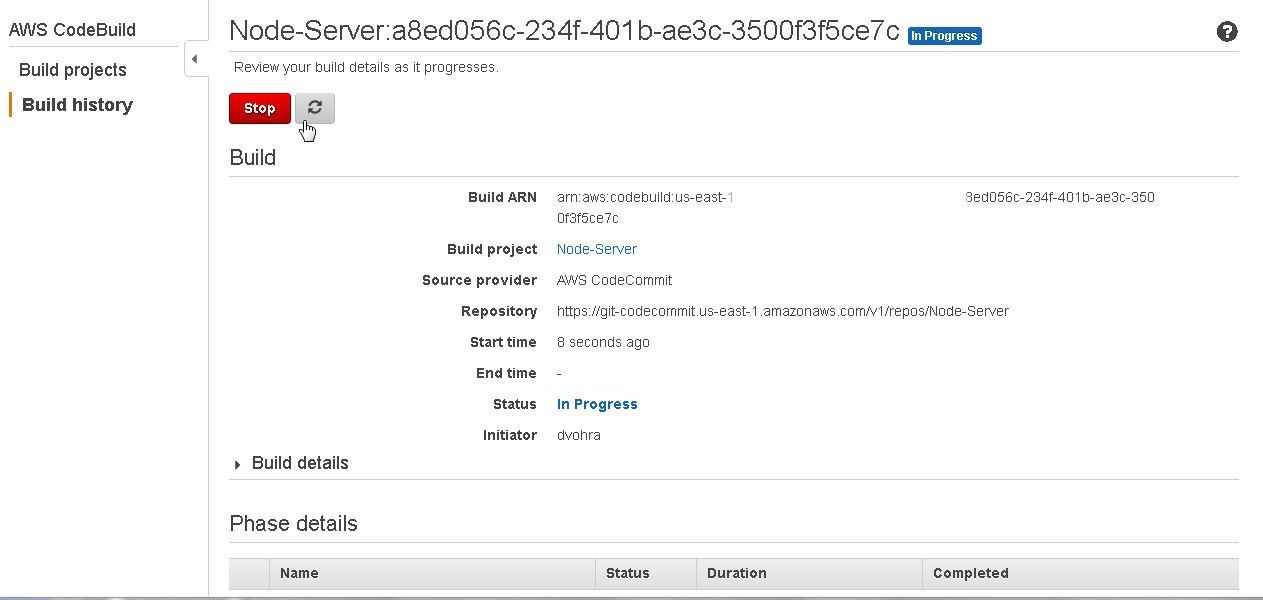
Figure 8. Refreshing CodeBuild Project Build Status
When the build project completes successfully the build status gets updated from “In progress” to “Succeeded” as shown in Figure 9.
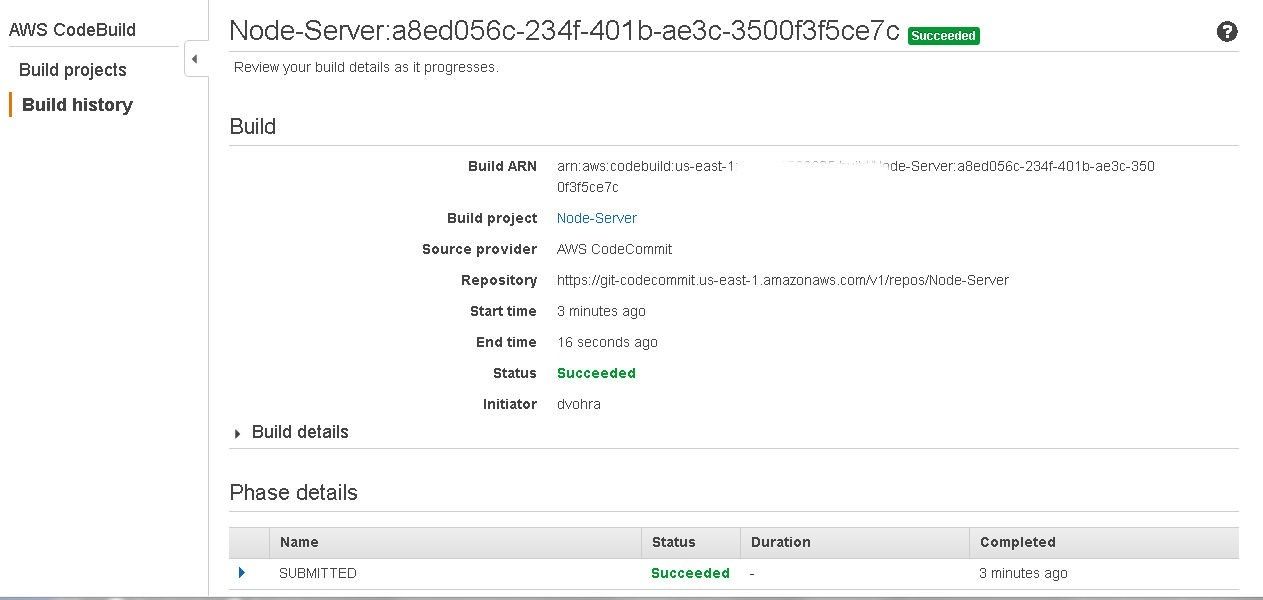
Figure 9. Code Build completed successfully
When the build project completes successfully the status becomes “Succeeded” for the build run in Build history also. Multiple build runs may be made for a CodeBuild project as shown in Figure 10. Multiple code builds could be required if the same code build is to be run with slight modifications.
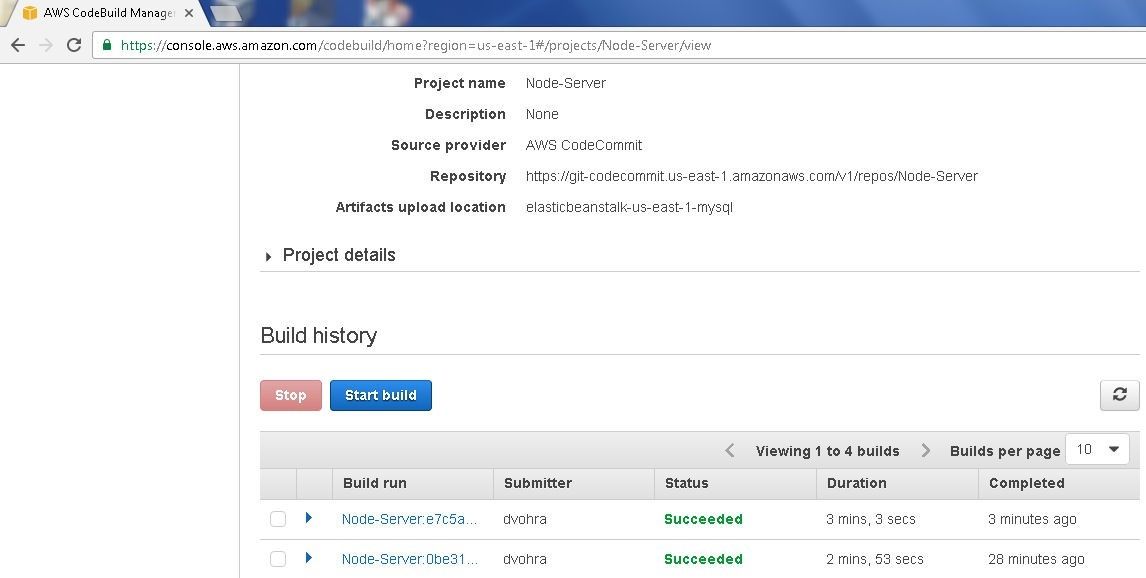
Figure 10. Completed Status for Multiple Code Build Runs
The Phase details section lists the Name, Status, Duration, and completion time as shown in Figure 11. All phases should have completed successfully for a CodeBuild project to complete successfully.
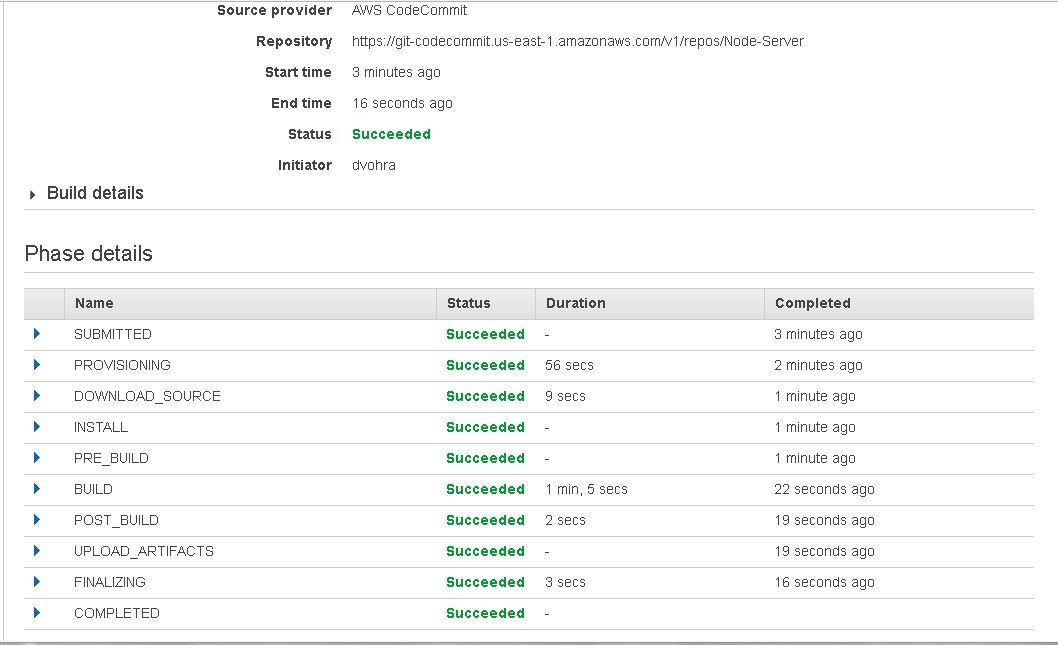
Figure 11. Phase details
The Build logs list the Container logs for the Docker commands in each phase as shown in Figure 12.
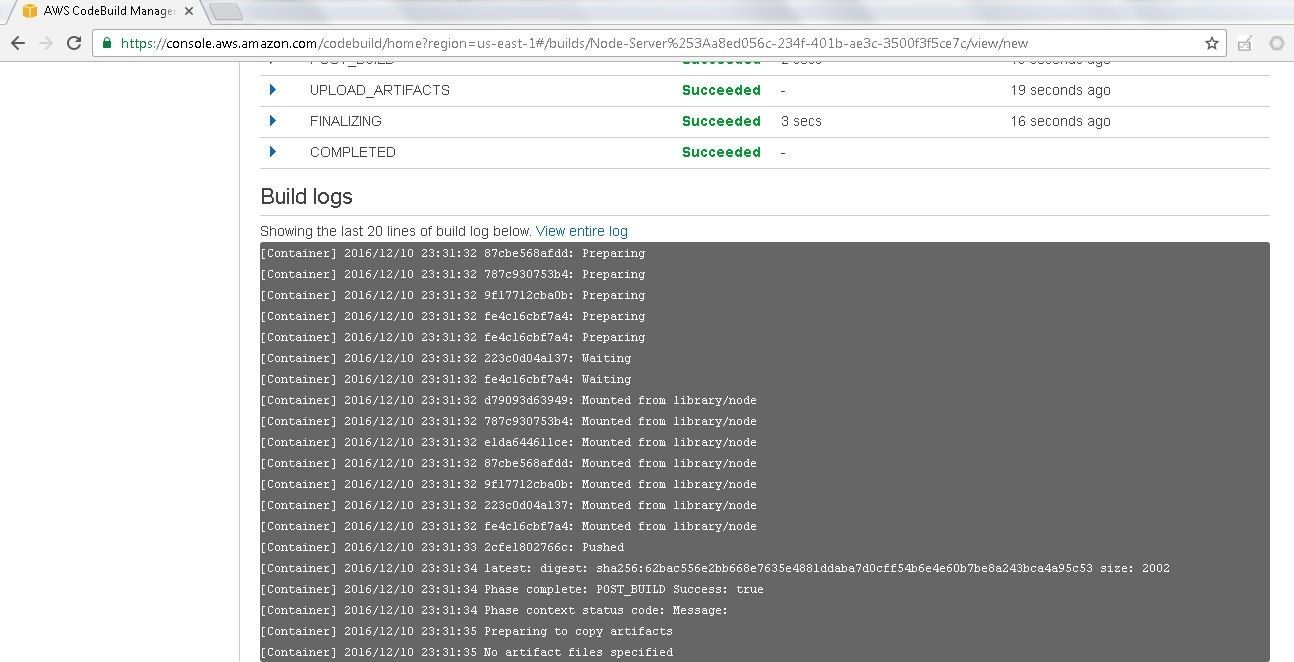
Figure 12. Code Build Logs
The dvohra/nodeserver Docker image gets uploaded to Docker Hub as shown in Figure 13.
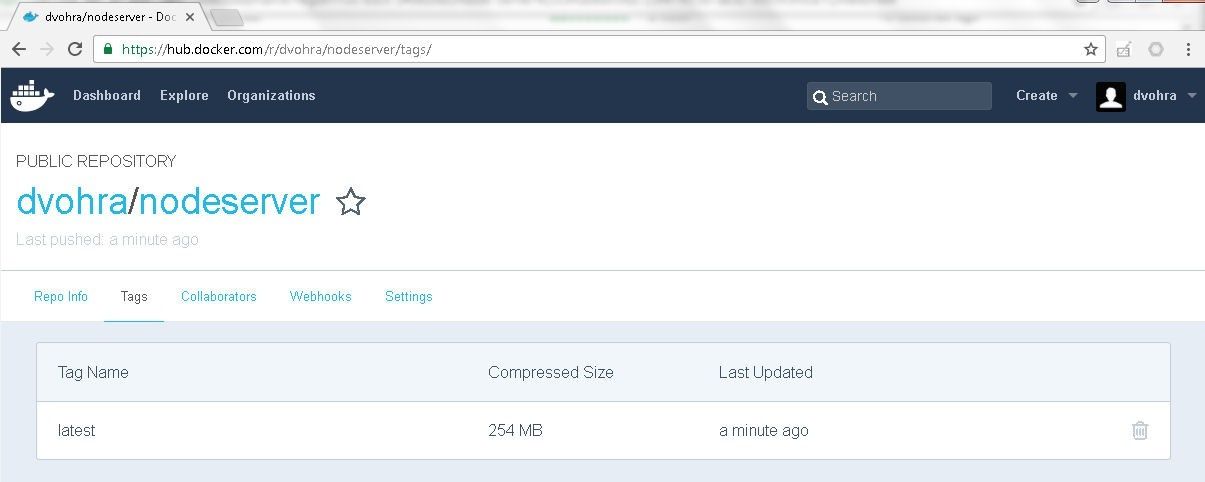
Figure 13. Docker image dvohra/nodeserver in Docker Hub
Summary
In this article we used an AWS CodeBuild project to integrate source code for a Docker image from CodeCommit and build a Docker image. The built Docker image is uploaded to Docker Hub. A build spec file added to the source code in CodeCommit is used to run the build project. We discussed the different phases of the build as specified in the build spec file. CodeBuild offers features more suitable than Jenkins CI server for developing Continuous Integration (CI)/Continuous Delivery (CD) pipelines for source code for database and database drivers.
Start the discussion at forums.toadworld.com