Toad for SQL Server is a SQL Server client with all the features required to access the database, and create and manage database objects. Having created an SQL Server 2017 Express on Windows Server 2012 R2 based Google Cloud Platform VM instance and having installed Toad for SQL Server 6.8 on the same Windows Server, in this article we shall create a database table, add table data, and query the table. We shall also discuss some of the other features including setting the current connection, dropping a table, and dropping a connection. This article has the following sections.
Creating a Database Table with the New Table Wizard
Exploring Database Objects with Explorer
Adding Table Data with SQL Editor
Querying a Table
Dropping a Table
Disconnecting and Reconnecting
Using Multiple Connections
Dropping a Connection
Stopping and Deleting a VM Instance
Closing the RDS Connection
Creating a Database Table with New Table Wizard
In this section we shall create table wlslog with columnslogid, category, type, servername, code and msg. To create a new database table in tempdb database select the Tables tab and click on Create a table as shown in Figure 1.

Figure 1. Create a table
The Create Table wizard gets started, as shown in Figure 2. The Database, Schema and table name must be selected or specified. Default settings are provided for Database and Schema.
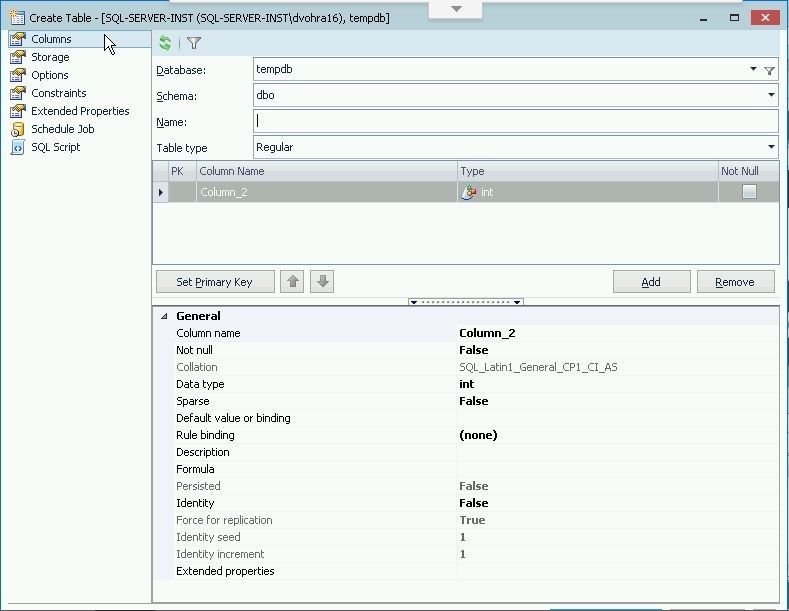
Figure 2. Create Table wizard
Specify table name aswlslog and specify primary key column aslogid of type int. Select the Not Null checkbox for the logid column and click on Set Primary Key to set the column as a primary key column as shown in Figure 3.
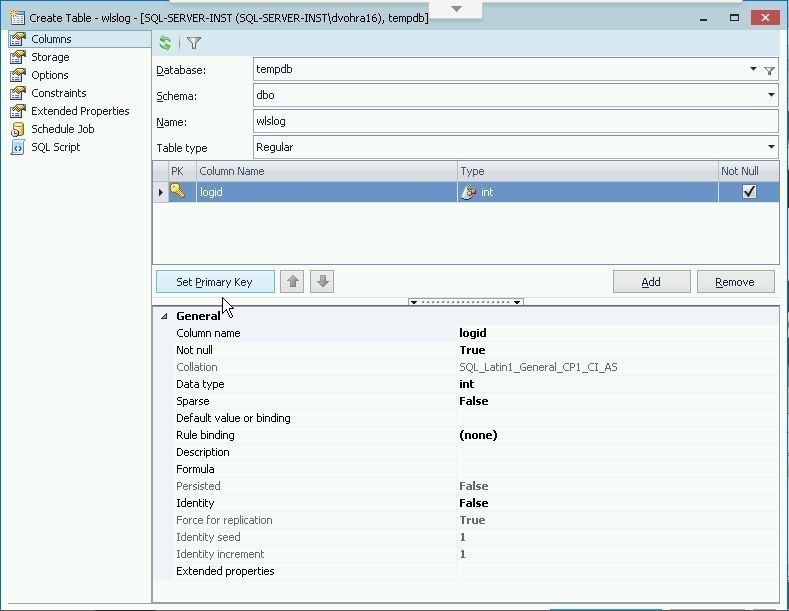
Figure 3. Setting Primary Key Column
Click on Add as shown in Figure 4 to add each of the other columns category, type, servername, code and msg.
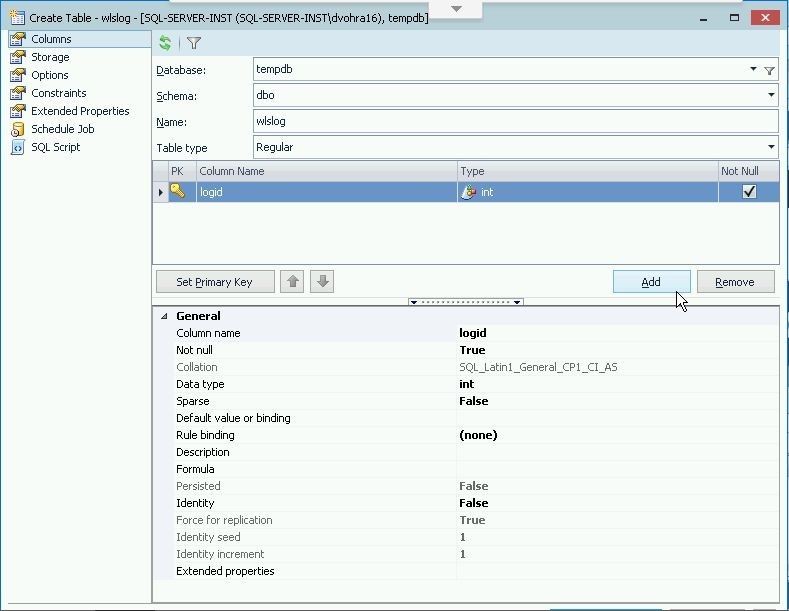
Figure 4. Adding columns
The data type in the Type column is selected from the drop-down, as shown in Figure 5. The default data type for each new column is int.
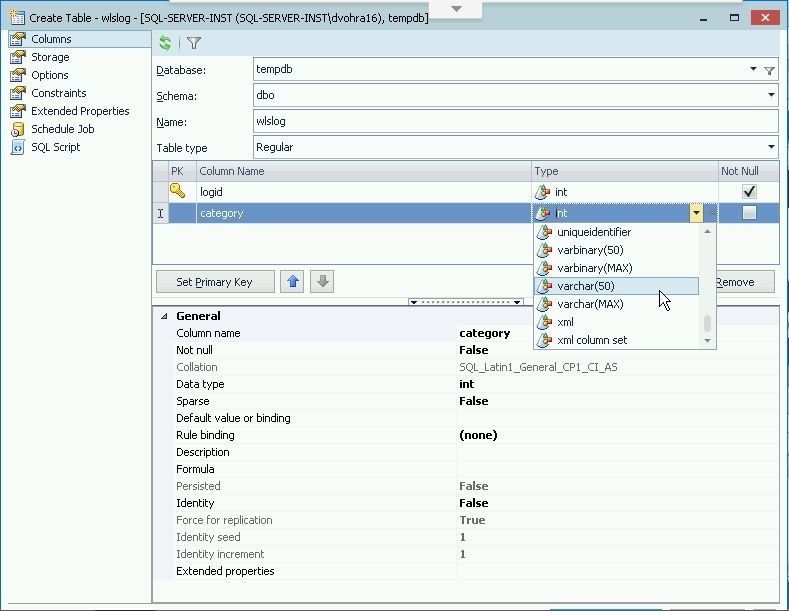
Figure 5. Selecting Datatype
After adding all columns click on OK to create the table, as shown in Figure 6.
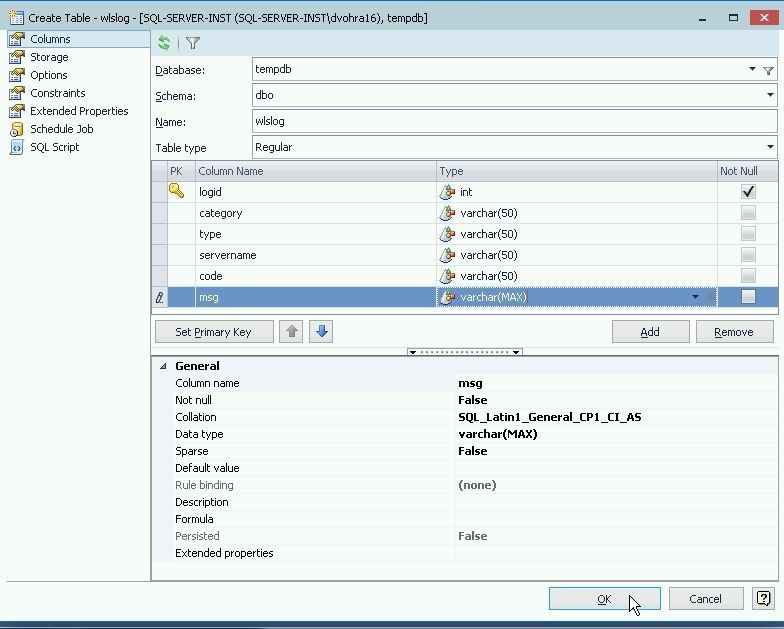
Figure 6. Creating Table
The confirmation dialog indicates Table successfully created. The tablewlslog gets added to the Object Explorer, as shown in Figure 7.
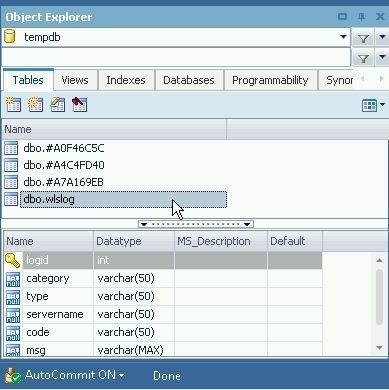
Figure 7. Table added in Object Explorer
A new table provides several options, which are displayed with a right-click on a table in Object Explorer as shown in Figure 8.
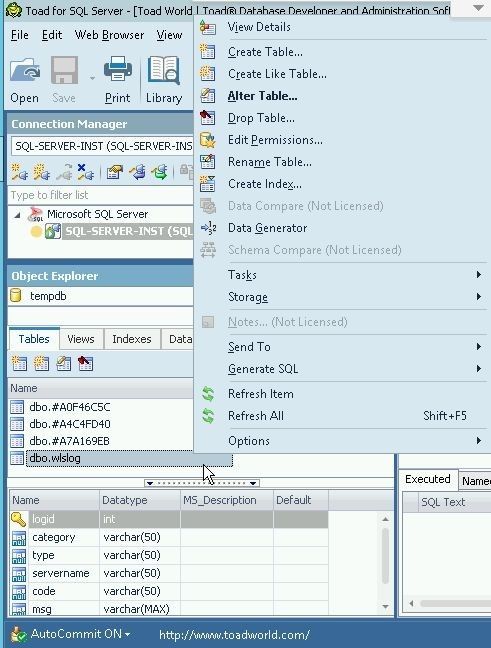
Figure 8. Displaying Table Options
Exploring Database Objects with Explorer
Toad for SQL Server provides the Explorer to explore database objects. Click on Explorer in the toolbar as shown in Figure 9. The Explorer is different from the Object Explorer View which is displayed by default.

Figure 9. Explorer
The Explorer includes its own Object Explorer. The database objects for the tempdb database are displayed in separate categories. Tabs are provided for a database’s Tables, Views and Indexes. Select the dbo.wlslog table in Object Explorer as shown in Figure 10, and tabs for the table’s Columns, Data, Statistics, Indexes, Constraints and other table-related objects get displayed.
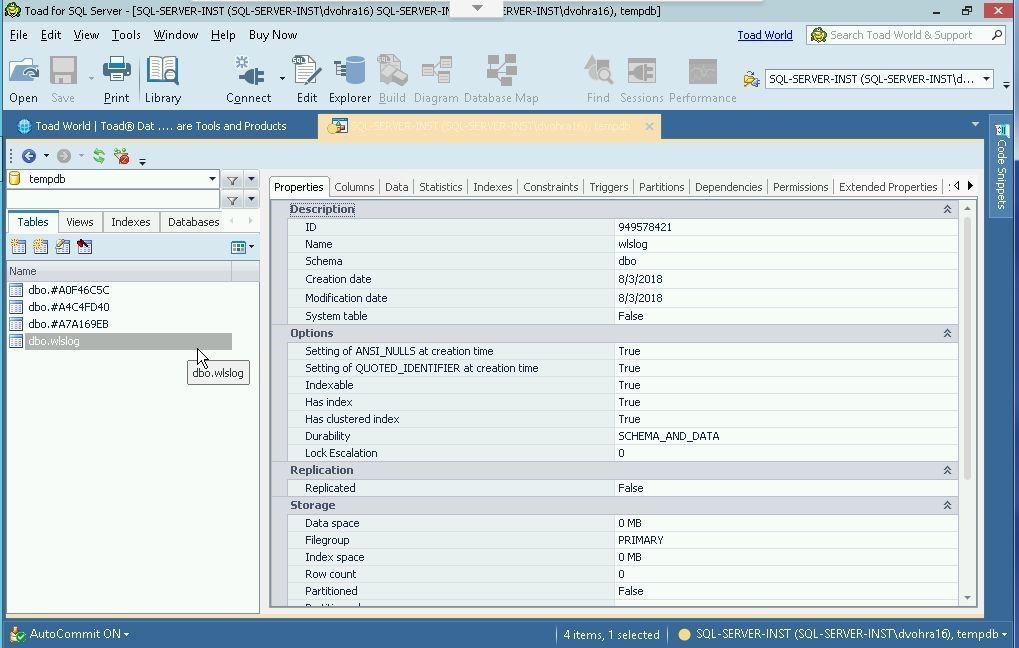
Figure 10. Database Table Objects
Select the Columns tab to display the table’s columns as shown in Figure 11.
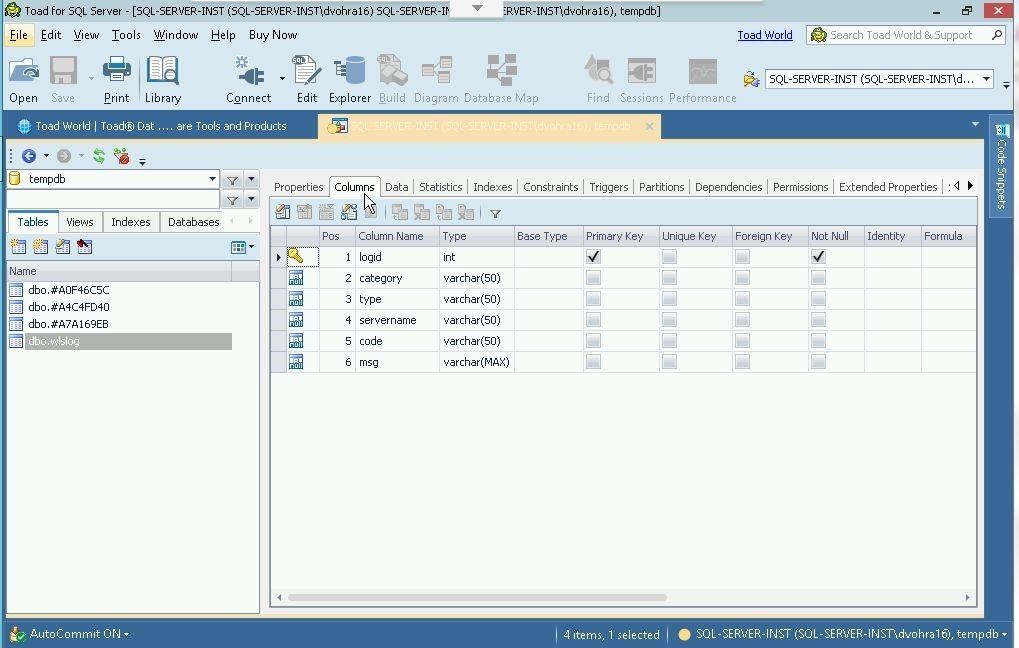
Figure 11. Table Columns
Select the Data tab to display the table data. Initially the table is empty, as shown by no data being displayed in Figure 12.
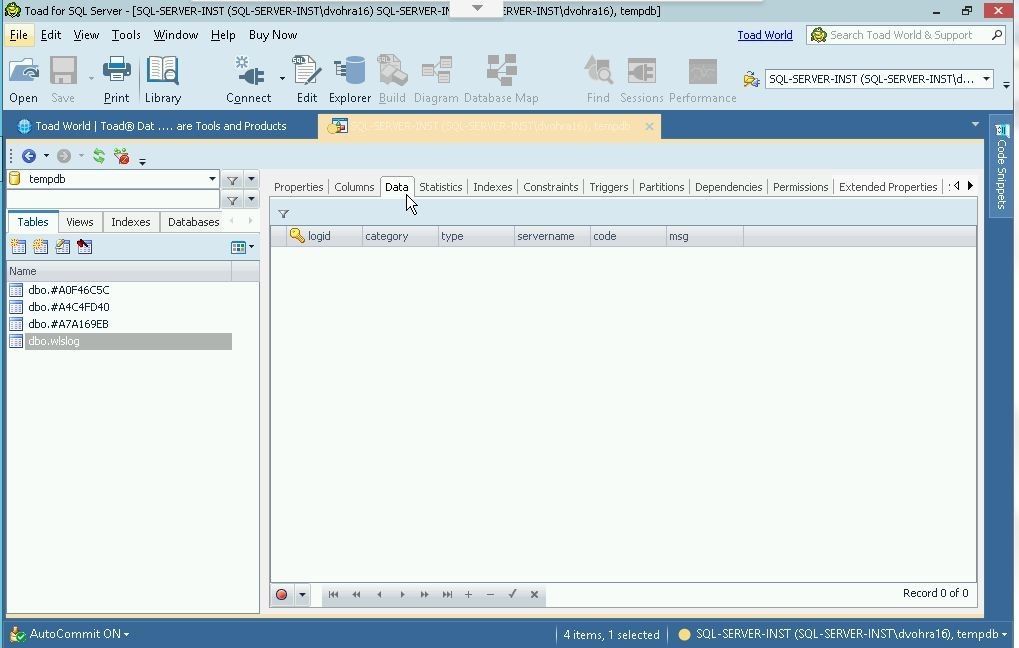
Figure 12. Data
Adding Table Data with SQL Editor
In this section we shall add table data to the wlslog table using a SQL Editor. Click on Edit in the toolbar as shown in Figure 13 to launch a SQL Editor.
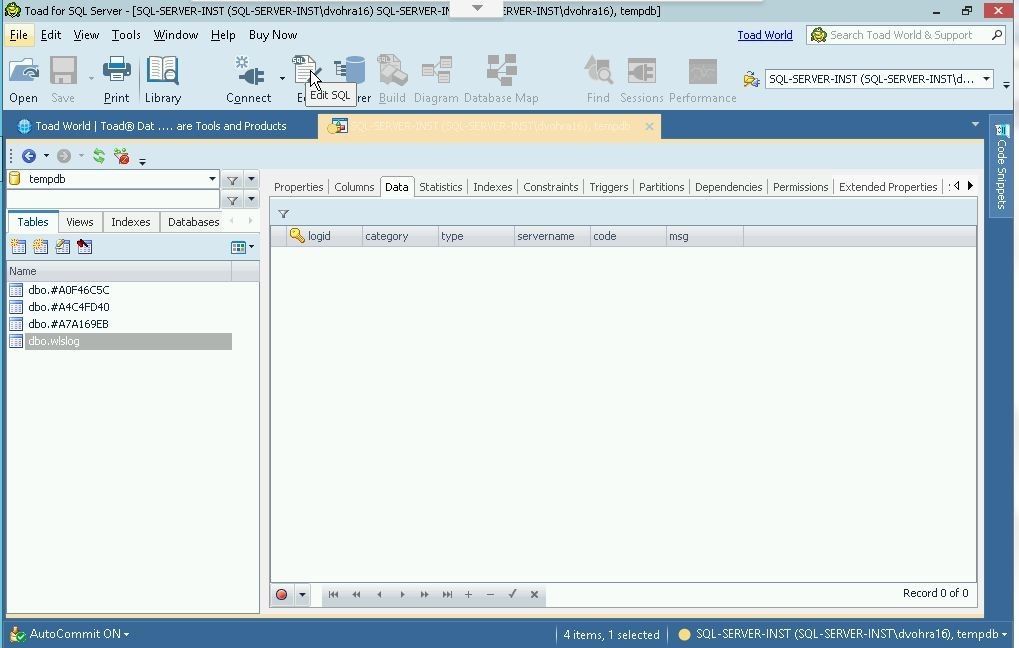
Figure 13. SQL Edit
Copy and paste the following SQL script in the SQL Editor.
INSERT INTO wlslog(logid,category,type,servername,code,msg) VALUES(1,'Notice','WebLogicServer','AdminServer','BEA-000365','Server state changed to STANDBY');
INSERT INTO wlslog(logid,category,type,servername,code,msg) VALUES(2,'Notice','WebLogicServer','AdminServer','BEA-000365','Server state changed to STARTING');
INSERT INTO wlslog(logid,category,type,servername,code,msg) VALUES(3,'Notice','WebLogicServer','AdminServer','BEA-000365','Server state changed to ADMIN');
INSERT INTO wlslog(logid,category,type,servername,code,msg) VALUES(4,'Notice','WebLogicServer','AdminServer','BEA-000365','Server state changed to RESUMING');
INSERT INTO wlslog(logid,category,type,servername,code,msg) VALUES(5,'Notice','WebLogicServer','AdminServer','BEA-000361','Started WebLogic AdminServer');
INSERT INTO wlslog(logid,category,type,servername,code,msg) VALUES(6,'Notice','WebLogicServer','AdminServer','BEA-000365','Server state changed to RUNNING');
INSERT INTO wlslog(logid,category,type,servername,code,msg) VALUES(7,'Notice','WebLogicServer','AdminServer','BEA-000360','Server started in RUNNING mode');
Click on Execute SQL to run the SQL script as shown in Figure 14.
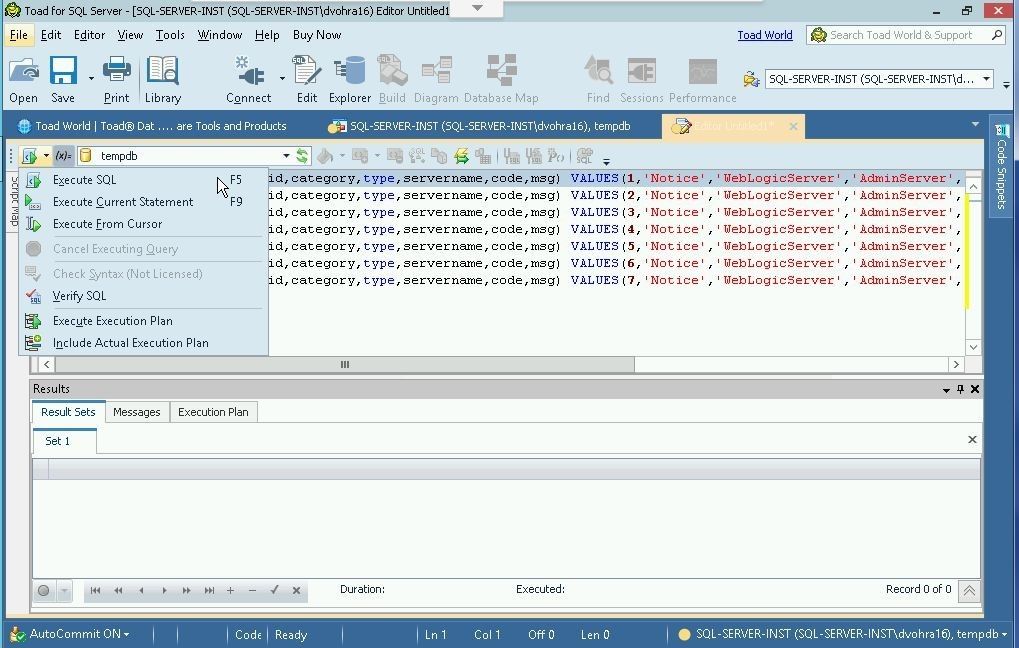
Figure 14. Execute SQL
Because AutoCommit is ON by default, the SQL transaction gets committed and data gets added and as the Messages tab in Figure 15 shows, 7 rows affected.
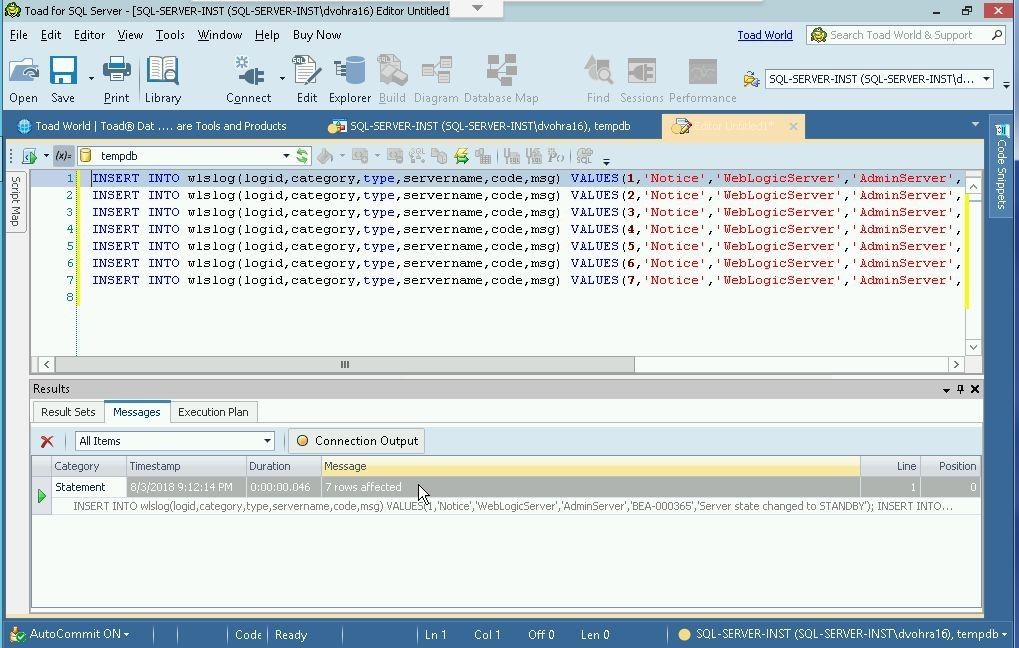
Figure 15. Data Added
The Data tab in the Explorer still does not display the data. Click on Refresh to display the table data added as shown in Figure 16.
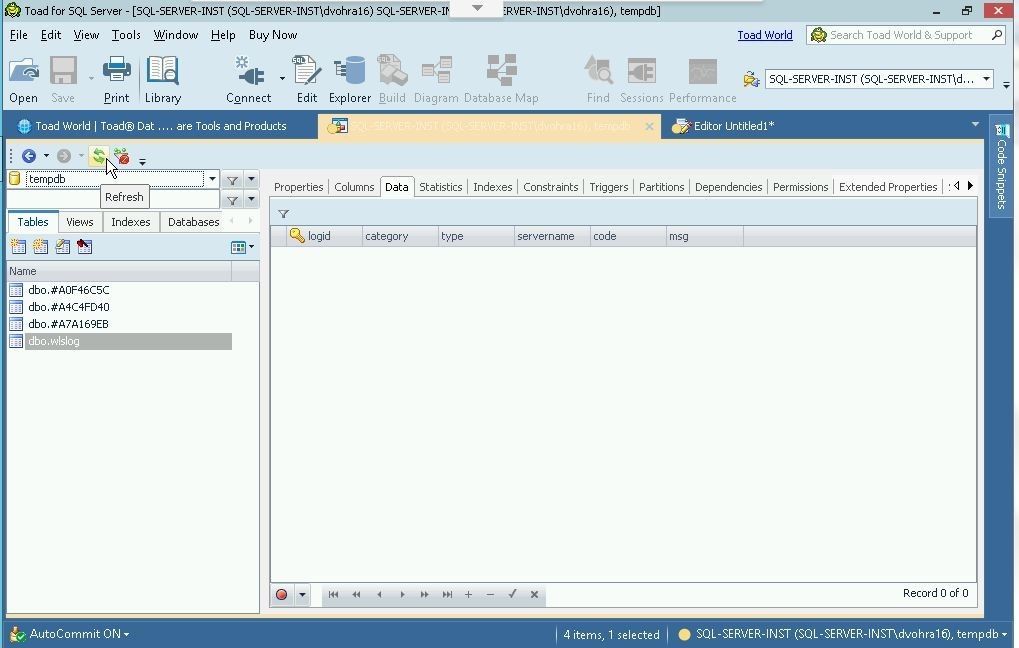
Figure 16. Refresh
Table data gets displayed in Data tab, as shown in Figure 17.

Figure 17. Data tab displays data
Querying a Table
In this section we shall run a SQL query. Click on Edit in the toolbar to launch another SQL Editor. In the SQL Editor add a SQL query statement (SELECT * FROM dbo.wlslog). The SQL Editor’s code completion feature may be used to select the table, as shown in Figure 18.
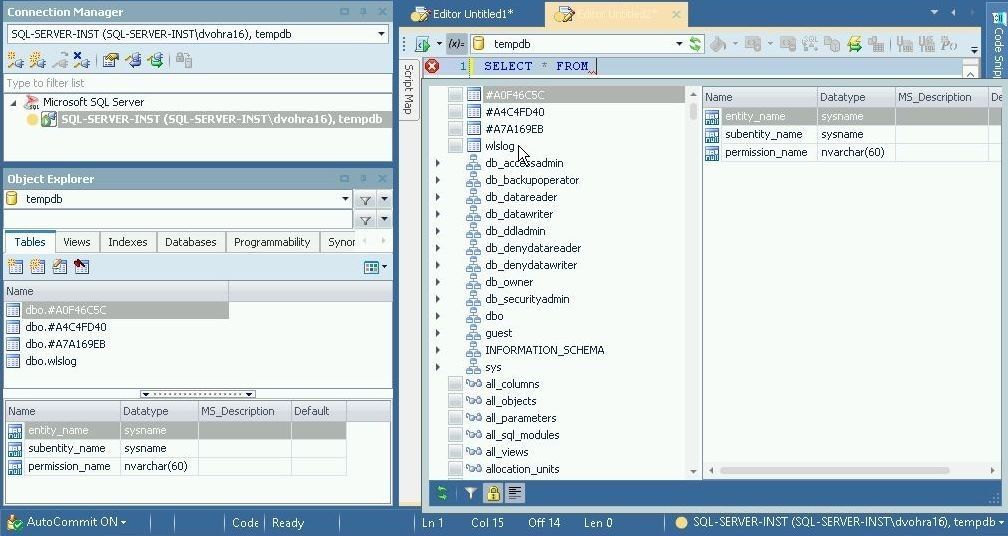
Figure 18. Adding SQL Query Statement
Position the cursor at the SQL statement and click on Execute Current Statement to run the SQL statement as shown in Figure 19.
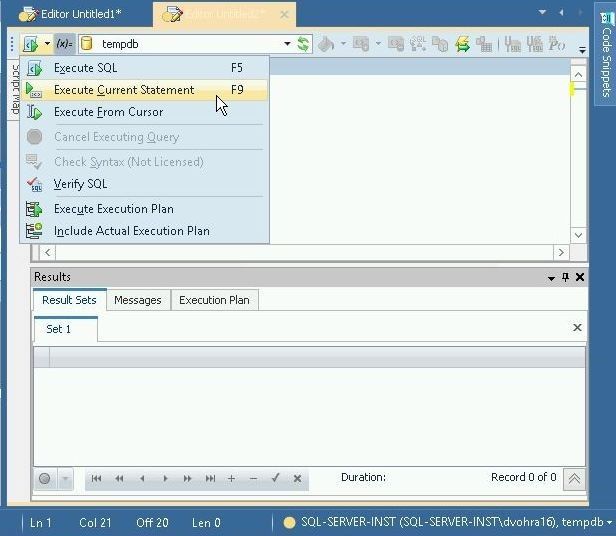
Figure 19. Execute Current Statement
The result set gets displayed, as shown in Figure 20.
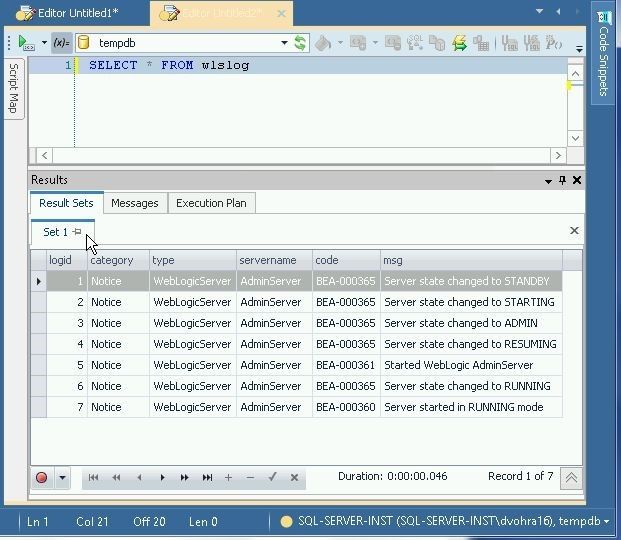
Figure 20. Result Set
Dropping a Table
To drop a table, wlslog as an example, right-click on the table in Object Explorer and select Drop one or more tables as shown in Figure 21.
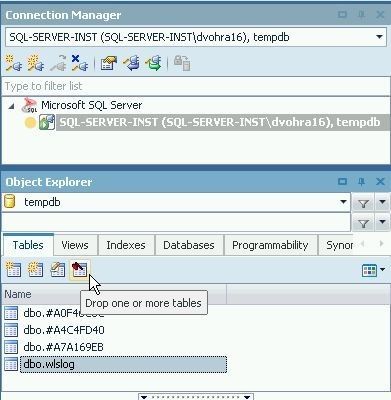
Figure 21. Drop one or more tables
Alternatively, right-click on the dbo.wlslog table in Explorer and select Drop Table as shown in Figure 22.
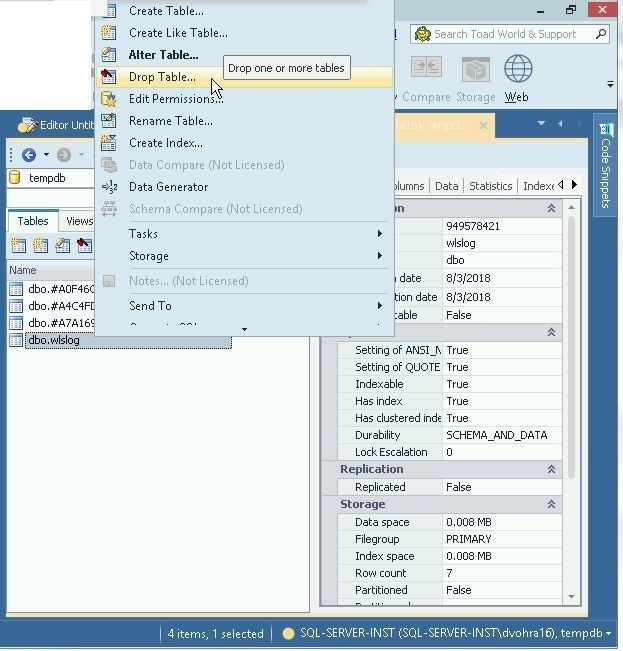
Figure 22. Drop Table
In the Drop Table wizard click on OK as shown in Figure 23.
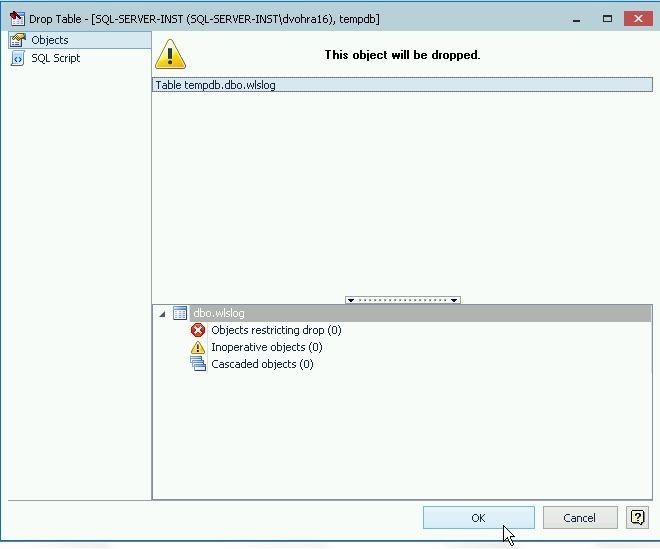
Figure 23. Drop Table
A confirmation dialog indicates that the table is dropped, as shown in Figure 24. Click on OK.
Figure 24. Object successfully dropped
Disconnecting and Reconnecting
To disconnect a connection, right-click on the connection in the Connection Manager and select Disconnect as shown in Figure 25. The option to Disconnect All connections is also provided. And the option to Reconnect a connected connection is also provided.
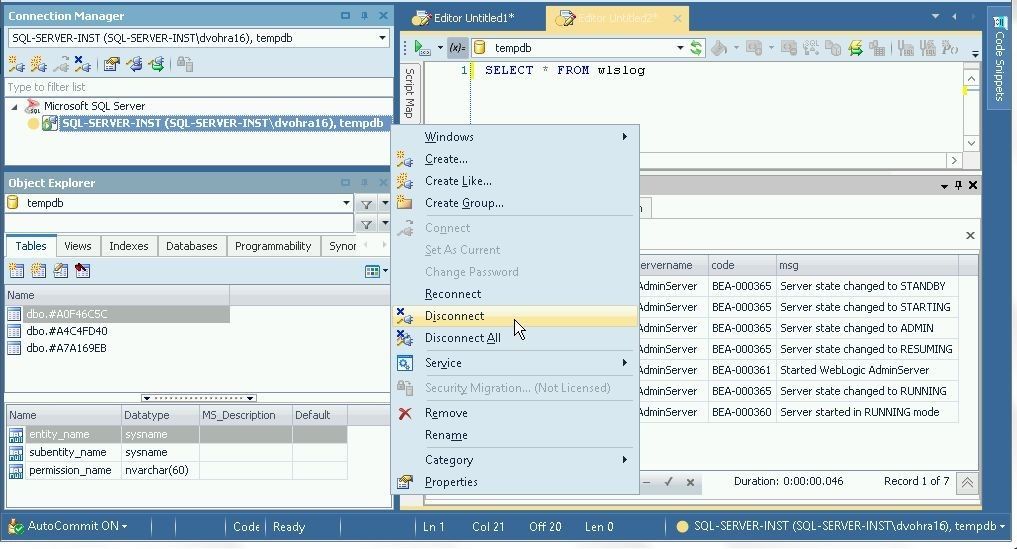
Figure 25. Disconnect
To connect, right-click on the disconnected connection and select Connect as shown in Figure 26.
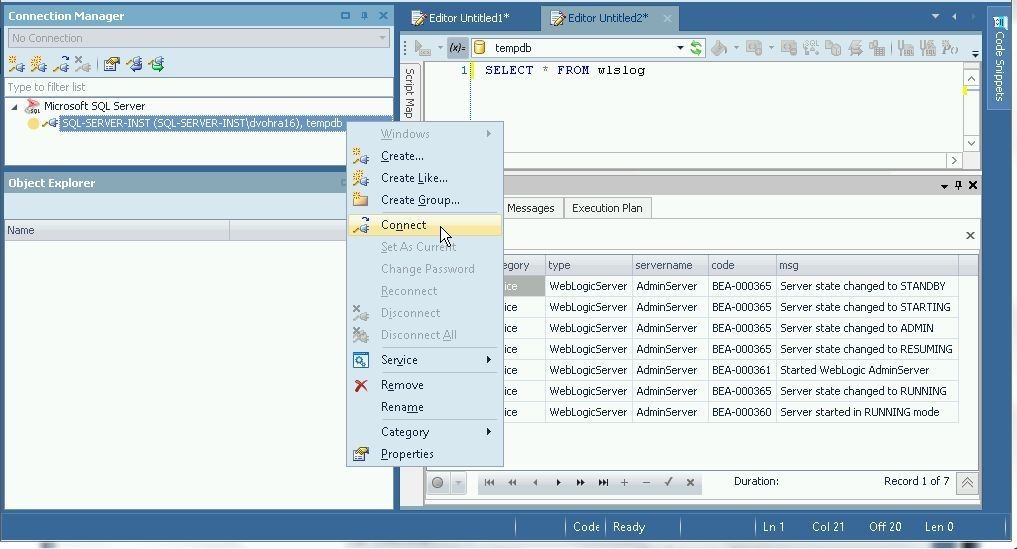
Figure 26. Connect
The disconnected connection gets connected.
Using Multiple Connections
To demonstrate using multiple connections, create another connection. Create a connection that is just like another connection. Right-click on the connection and select Create Like… as shown in Figure 27.
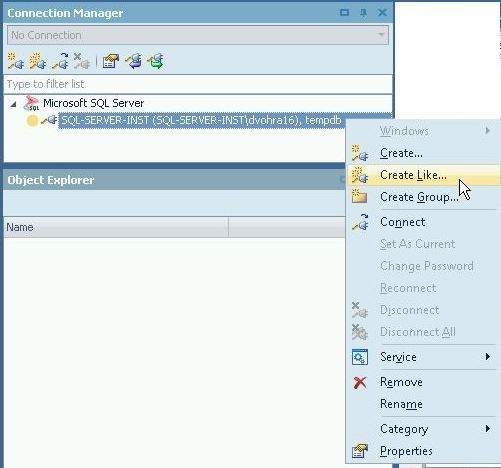
Figure 27. Create Like
The Create New Connection dialog gets opened with the same configuration as the original connection. Click on Connect as shown in Figure 28.
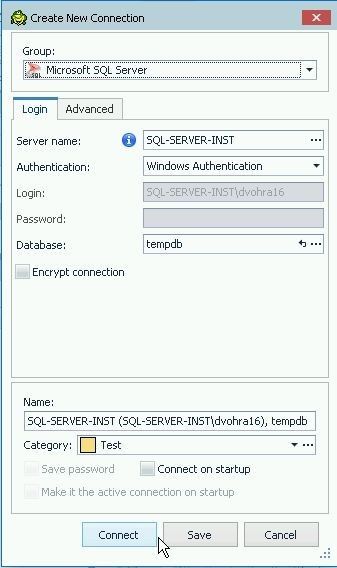
Figure 28. Create new Connection>Connect
A new connection gets created with the same connection configuration as the original connection, as shown in Figure 29.
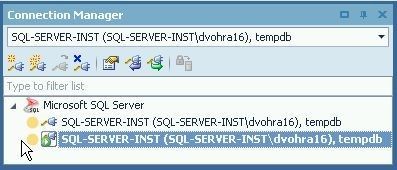
Figure 29. New Connection that is like another connection
With multiple connections, only one connection can be the current connection and it is the connection with a dotted square around the plug icon, as shown in Figure 30. The first connection in Figure 29 and in Figure 30 is a connection that is not connected. When a new connection is created or connected it becomes the current connection. Right-click on the first connection and select Connect.
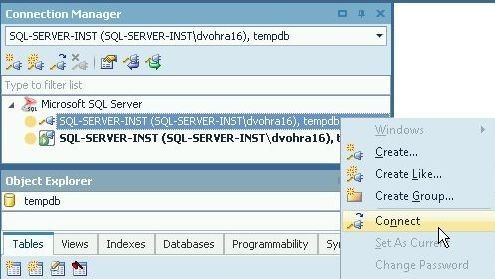
Figure 30. Connecting a Disconnected Connection
The connection gets connected and becomes the current connection, as shown in Figure 31.
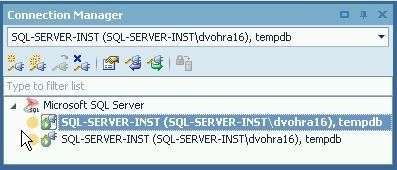
Figure 31. Newly Connected Connection becomes Current Connection
To make the other connection as current, right-click on the connection and select Set As Current as shown in Figure 32.
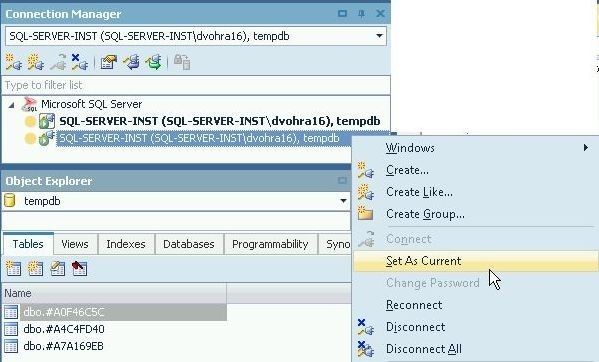
Figure 32. Setting a Connection As Current
The connection becomes the current connection as shown in Figure 33.
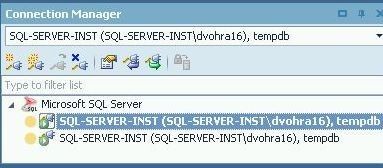
Figure 33. Connection Set as Current
Dropping a Connection
To drop or delete a connection right-click on the connection and select Remove as shown in Figure 34.
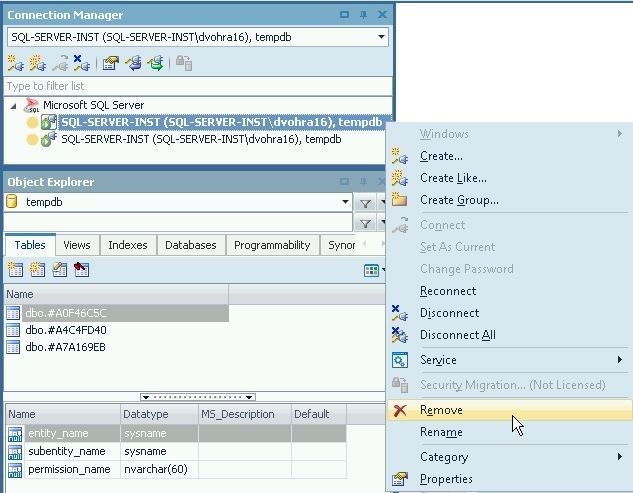
Figure 34. Removing a Connection
In the confirmation dialog click on Yes as shown in Figure 35.
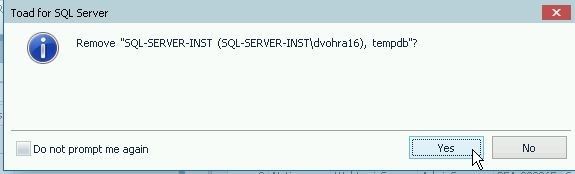
Figure 35. Remove Connection Verification Prompt
The connection gets removed, as shown by two connections getting replaced by one in the Connection Manager in Figure 36. To make the only connection as the current connection, right-click on it and select Set As Current.
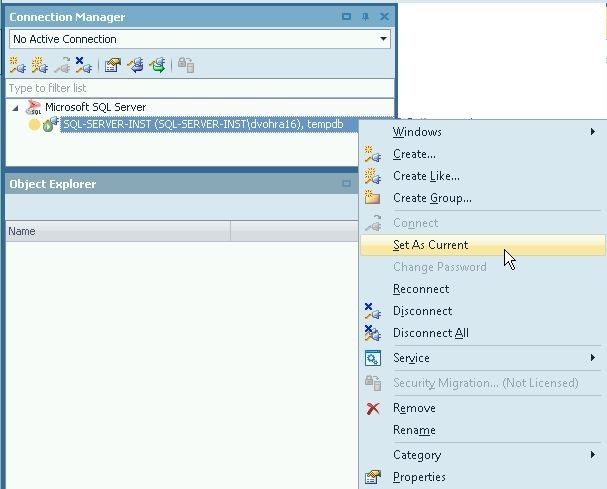
Figure 36. Setting the Only Connection as the Current Connection
Stopping and Deleting the VM Instance
To stop the VM instance on Google Cloud platform select Stop from the drop-down to manage the instance as shown in Figure 37.
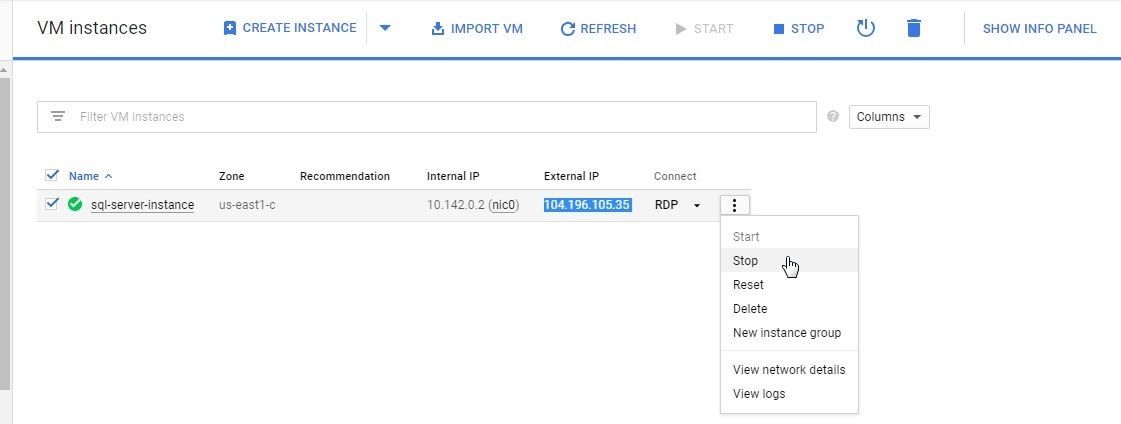
Figure 37. Stopping a VM Instance
In the Stop VM Instance click on Stop as shown in Figure 38.
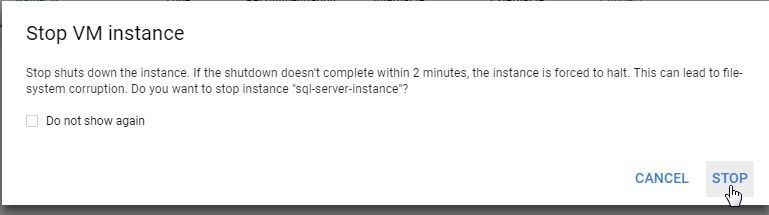
Figure 38. Stop VM Instance Verification
The VM instance gets stopped, as shown in Figure 39. Click on Start to start the VM instance if needed. To delete a VM instance select Delete.
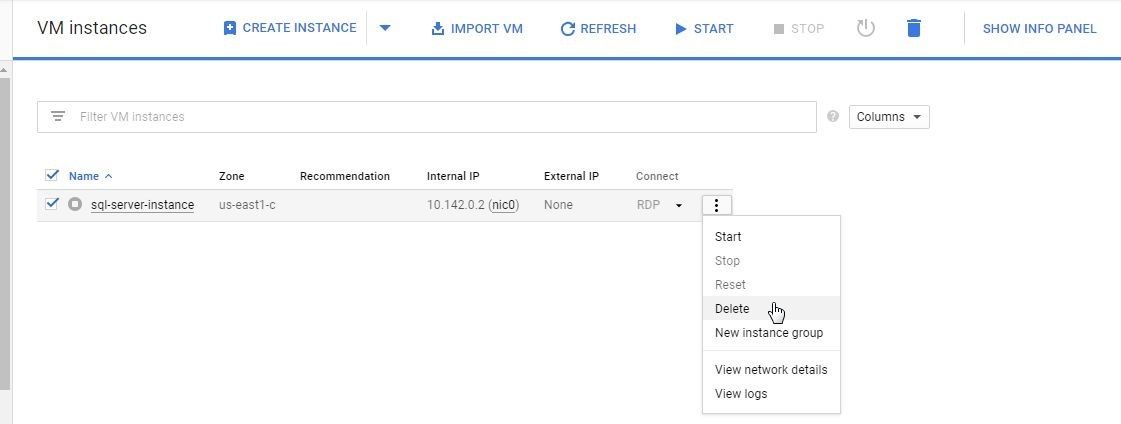
Figure 39. Delete
In the Delete an instance dialog click on Delete as shown in Figure 40.
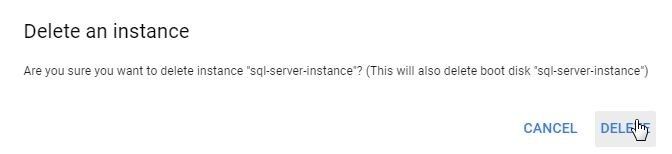
Figure 40. Delete an instance
The VM instance gets deleted, as indicated by VM Instances page not listing any instances in Figure 41.
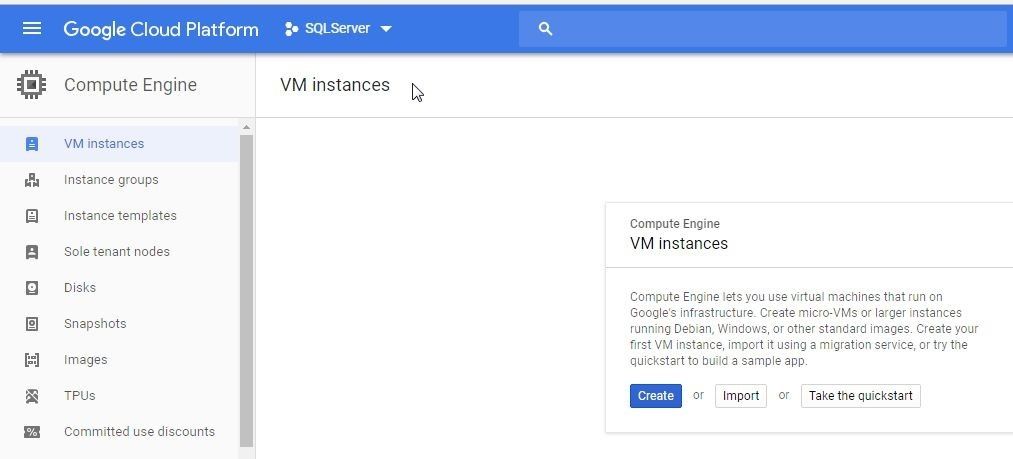
Figure 41. VM Instance Deleted
Closing the RDS Connection
To disconnect an RDS connection select Disconnect in the Chrome RDS as shown in Figure 42.
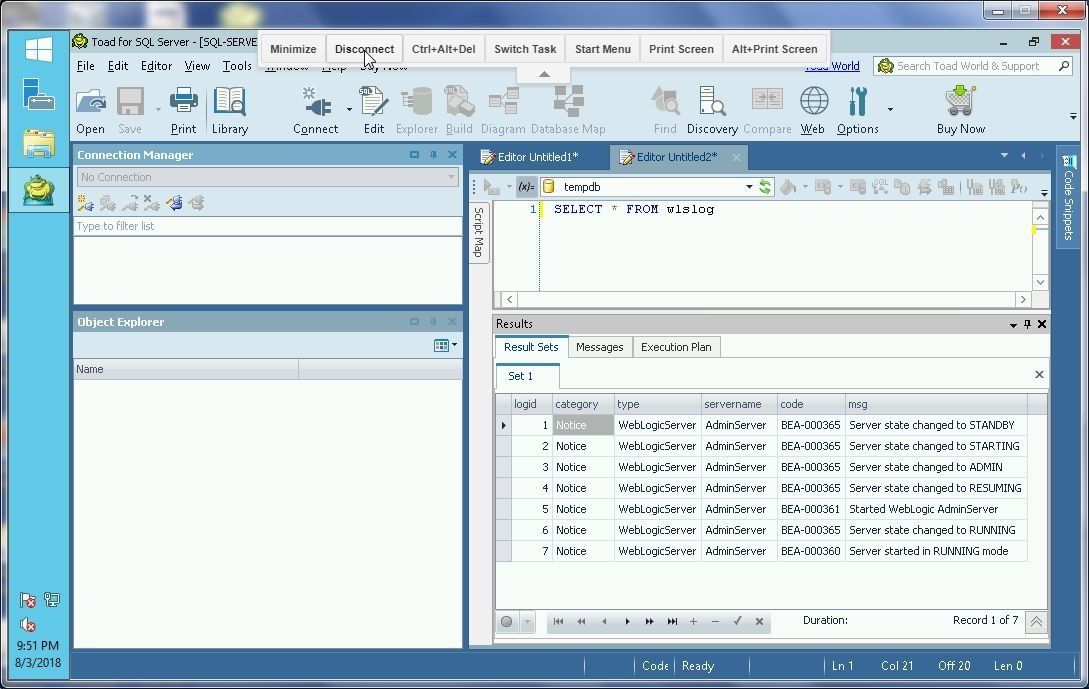
Figure 42. Disconnect
The connection to the VM instance in the Chrome RDS gets disconnected, as shown in Figure 43.
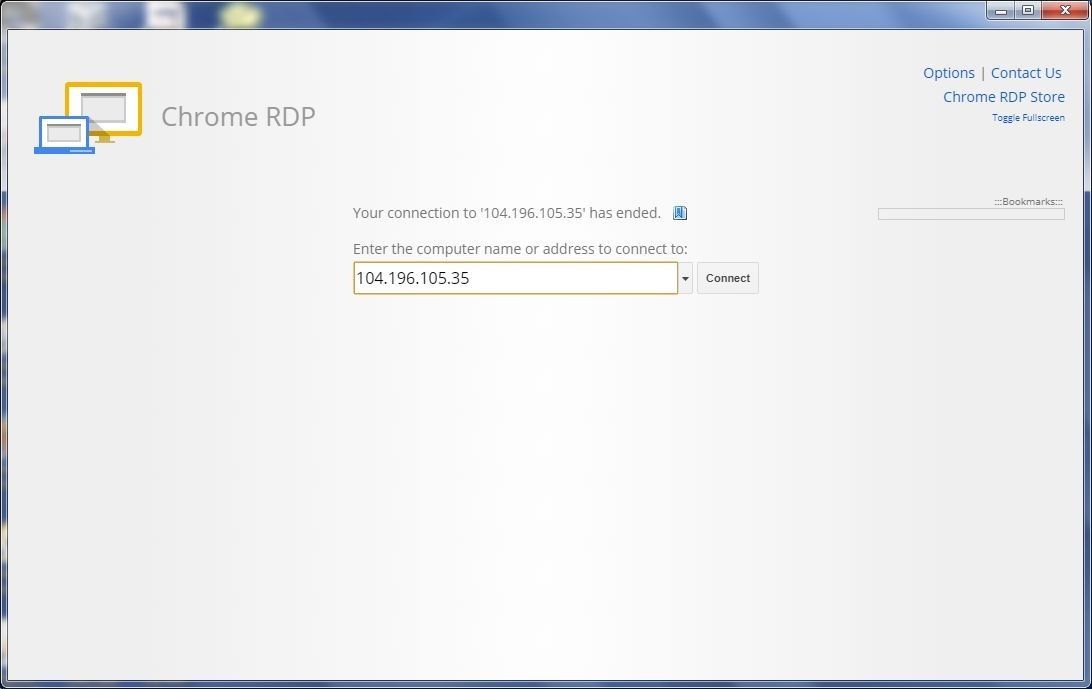
Figure 43. Disconnected Connection
Conclusion
In three articles we have discussed using SQL Server on Google Cloud Platform with Toad for SQL Server. We started by creating a VM instance for SQL Server based on Windows server on Google Cloud Platform and connecting to the VM instance with Chrome RDS. Subsequently we installed Toad for SQL Server 6.8 on the Windows Server and connected to the SQL Server instance running on the Windows server with Toad for SQL Server. We discussed different features of Toad for SQL Server, such as choosing a database, opening and arranging Views, creating a database table, adding table data, exploring database objects, querying table, dropping table, disconnecting and connecting a connection, creating a new connection, and dropping a connection. We also discussed stopping and deleting a VM instance, and closing the Chrome RDS connection. Toad for SQL Server is a client for SQL Server and offers several other features in addition to those explored in these articles.
Try Toad for SQL Server nowAre you just starting your journey to evaluate if you should purchase the Toad for SQL Server management tool? If you’re not quite ready to buy, we’re so sure you’ll love Toad for SQL Server, that we’re offering a Toad for SQL Server free 30-day trial. Already in a trial? Buy it now or contact sales. |
Not ready for a free trial? Learn more.
Use the links below to learn how you can use the Toad for SQL Server management tool to resolve issues, manage change and promote the highest levels of code quality, performance and scalability.
Product page: Toad for SQL Server
Tech brief: Solving the SQL Tuning Problem: Secrets of Quest SQL Optimizer
Case study: County enhances critical services for citizens with Toad®
Related blog posts:
Read more Toad World® blog posts on Toad for SQL Server.
Side note: ApexSQL adds to Quest SQL solutions
As an aside, since you’re managing SQL Server, did you know that ApexSQL is now a part of Quest? ApexSQL joined Quest this summer. We’re excited to nod our heads that yes, the ApexSQL portfolio enhances Quest’s already robust set of SQL Server management tools. Make sure to visit ApexSQL.
Got questions?
If you have any questions, please post questions to the Toad for SQL Server forum on Toad World.
Start the discussion at forums.toadworld.com