Toad for SQL Server is an integrated development environment (IDE) for accessing, managing, and using SQL Server database. Google Cloud Platform provides virtual machines (VMs) pre-configured to run SQL Server. The advantages of using Google Compute engine include a scalable, high-performance, distributed compute environment with predefined virtual machine types that support different CPU, memory and OS configurations. In three articles we shall discuss using Toad for SQL Server for connecting with SQL Server running on Windows Server based VM on Google Compute engine and use the database to create a database, create a table, add table data, and query the table. The articles have the following sections:
Setting the Environment
Creating a Google Cloud Platform Project
Creating a Windows Server Based Virtual Machine for SQL Server Database
Setting the Windows Password
Connecting to Windows Server with RDS
Installing Toad for SQL Server on Windows
Connecting to SQL Server Database with Toad for SQL Server
Choosing a Database
Opening and Arranging Toad for SQL Server Views
Creating a Database Table with New Table Wizard
Exploring Database Objects with Explorer
Adding Table Data with SQL Editor
Querying a Table
Dropping a Table
Disconnecting and Reconnecting
Using Multiple Connections
Dropping a Connection
Stopping and Deleting a VM Instance
Closing the RDS Connection
Setting the Environment
Download and install the following Google Chrome extension for a remote desktop.
Create a Google Cloud Platform account and create a billing account at https://console.cloud.google.com/billing as shown in Figure 1.
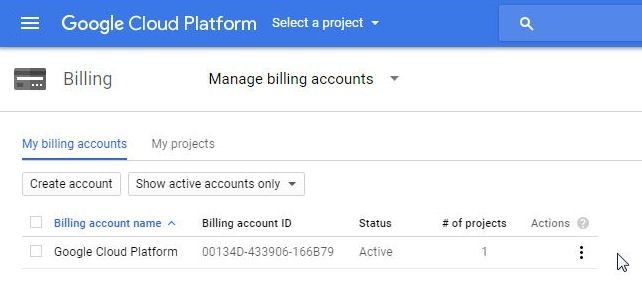
Figure 1. Billing Account
Creating a Google Cloud Platform Project
Open the Google Cloud Platform Console at https://console.cloud.google.com/start . Click on Create an empty project as shown in Figure 2.
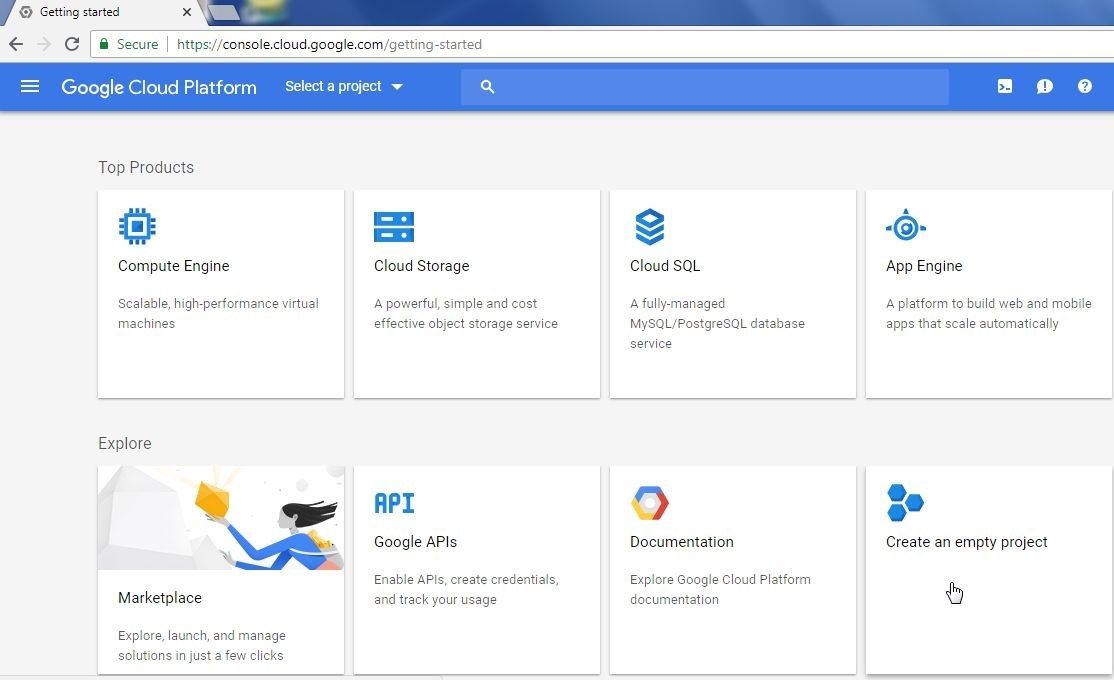
Figure 2. Create an empty project
In New Project dialog specify a Project name (SQLServer) and click on Create as shown in Figure 3.
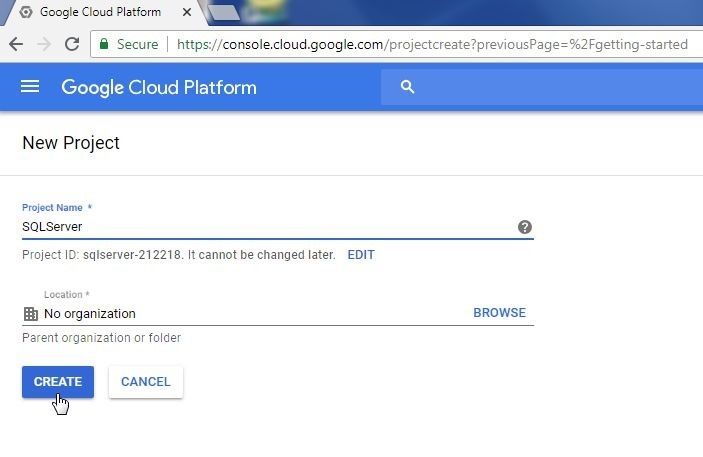
Figure 3. New Project dialog
In the Google Cloud Platform Getting Started page click on Select a project as shown in Figure 4.
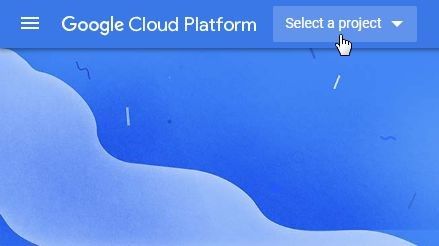
Figure 4. Select a project
The SQLServer project should be getting created. When the project gets created the project is shown with a check mark (shown in Figure 6).
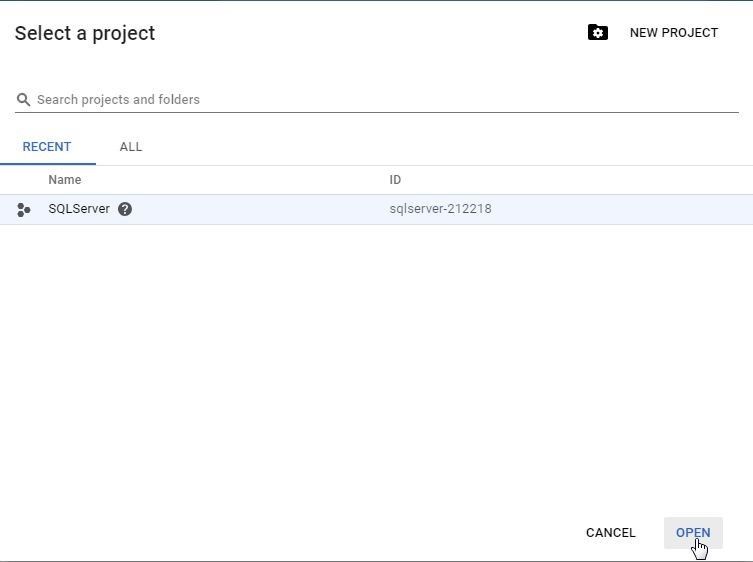
Figure 5. Project created
Navigate to the projects page with URL https://console.cloud.google.com/cloud-resource-manager and the SQLServer project is listed, as shown in Figure 6. Click on the project link.
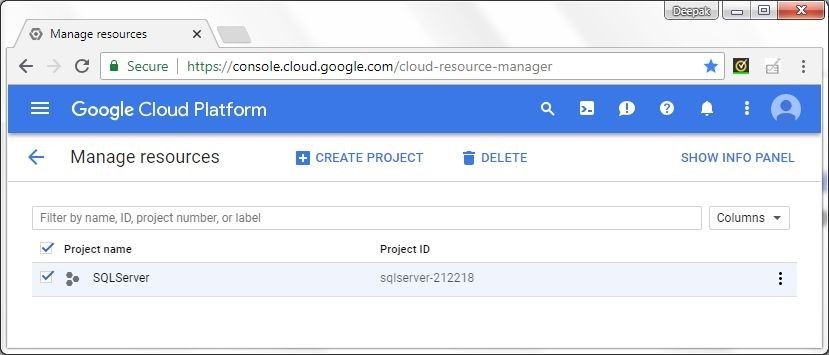
Figure 6. Project listed in Resources
The project detail gets displayed, as shown in Figure 7.
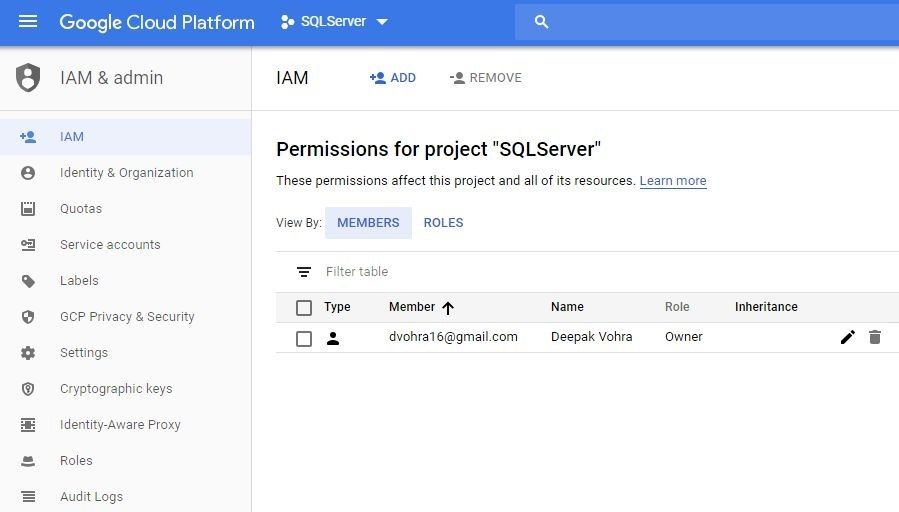
Figure 7. Project Info
Creating a Windows Server Based Virtual Machine for SQL Server Database
In this section we shall create a Windows Server based virtual machine (VM) for SQL Server. Open URL https://cloud.google.com in a browser and click on the Compute section as shown in Figure 8.
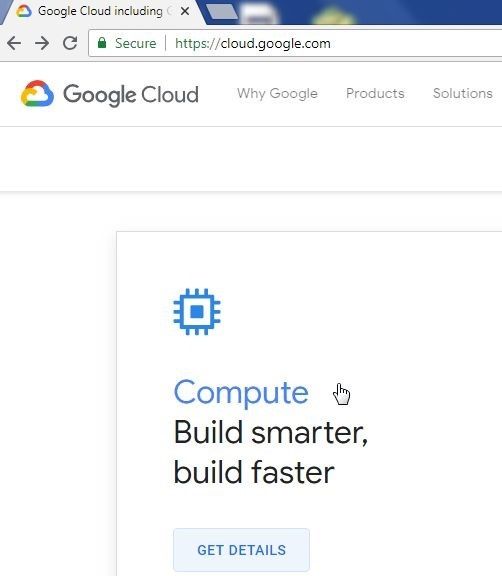
Figure 8. Selecting Compute
In Compute Products page click on View Compute Engine as shown in Figure 9.
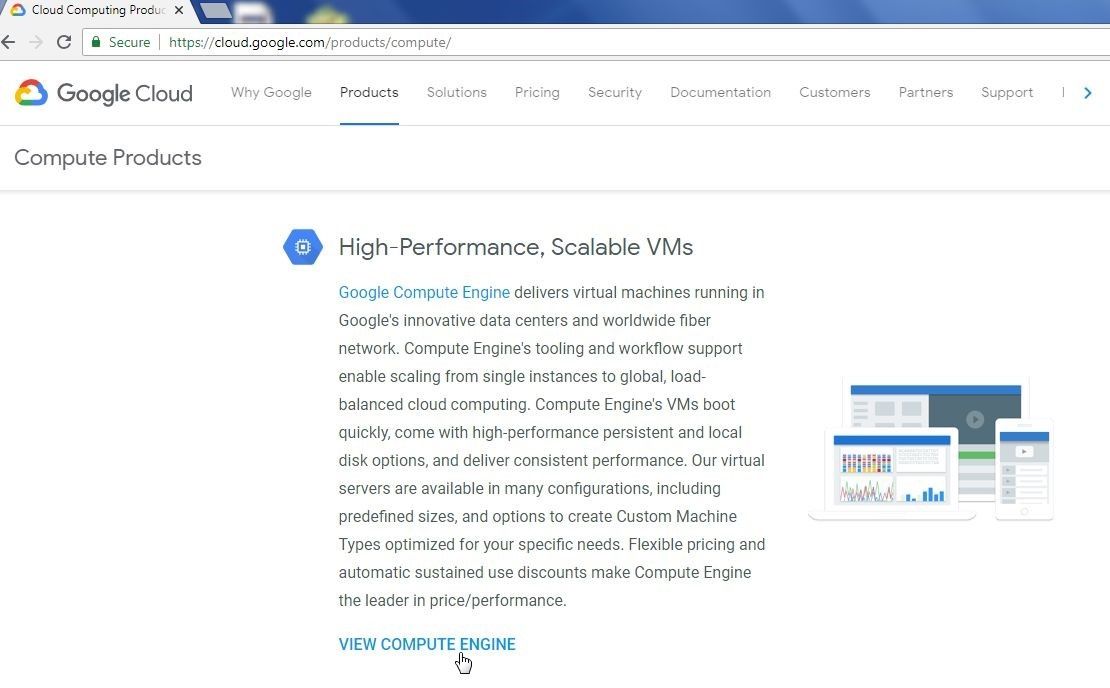
Figure 9. View Compute Engine
In Compute Engine click on View Console as shown in Figure 10.
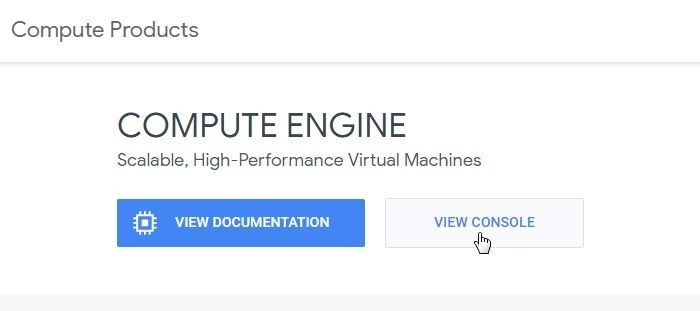
Figure 10. View Console
It may take a minute or more for the Compute Engine to get ready. On the VM instances page click on Create in the VM instances dialog as shown in Figure 11.
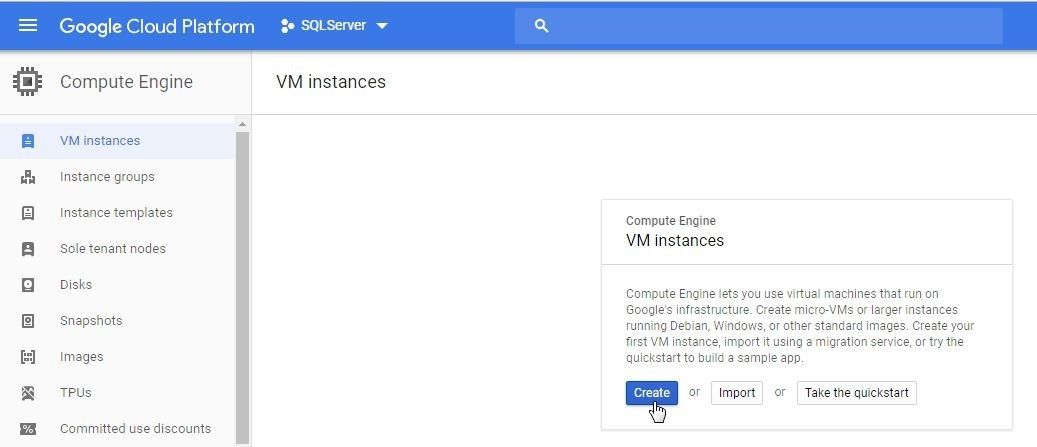
Figure 11. VM instances>Create
The Create an instance wizard gets started, as shown in Figure 12. Specify an instance Name (sql-server-instance).
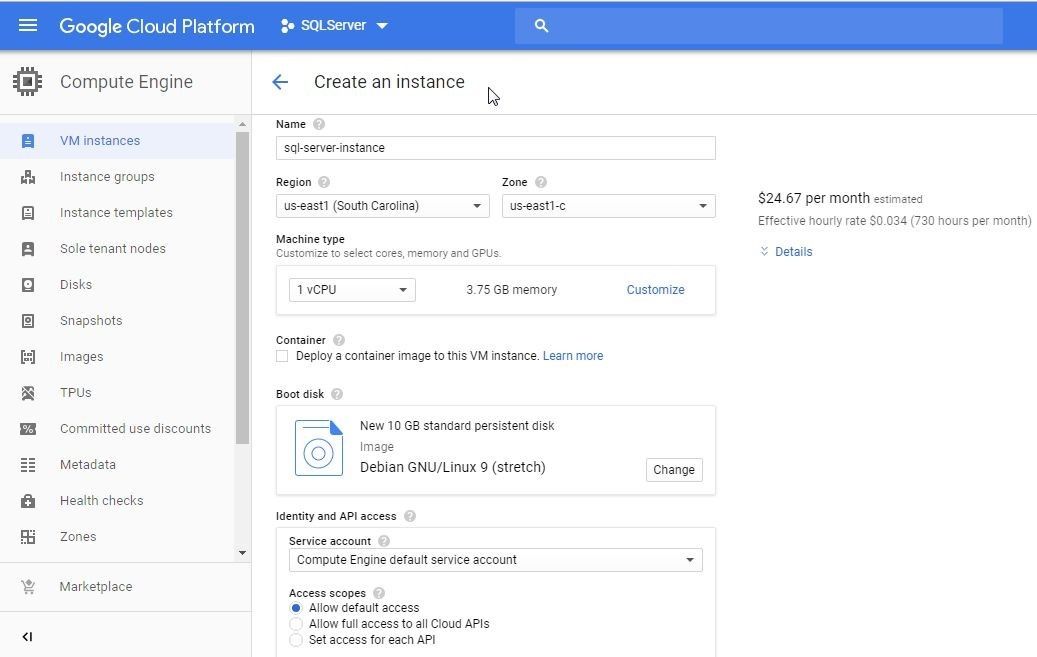
Figure 12. Create an instance Wizard
Click on Change forBoot disk as shown in Figure 13.
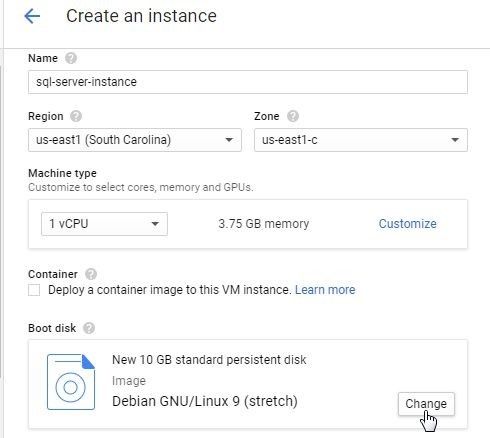
Figure 13. Boot disk>Change
Select the Application images tab and select from one of the SQL Server application images as shown in Figure 14.
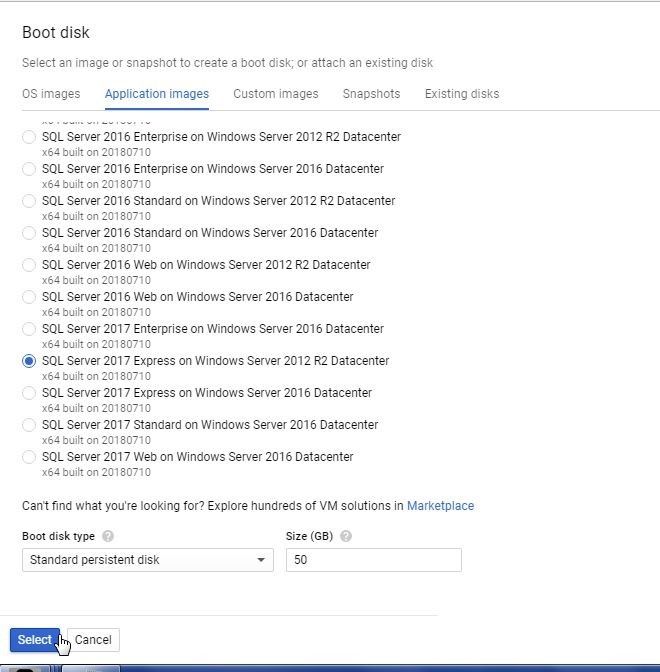
Figure 14. Selecting a SQL Server application image
In the Create an instance wizard the Boot disk gets set to the selected application image, as shown in Figure 15.
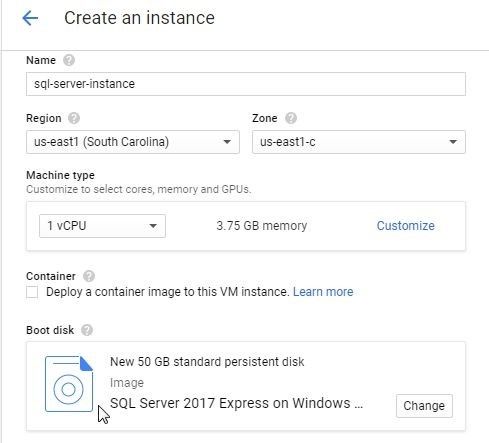
Figure 15. Boot Disk Image selected
Keep the default settings for the other configuration. Click on Create. A VM instance gets created, as shown in Figure 16. The VM lists two IP addresses, an Internal IP and an External IP. We only need to make use of the External IP to access the VM externally from a local or cloud-based machine.
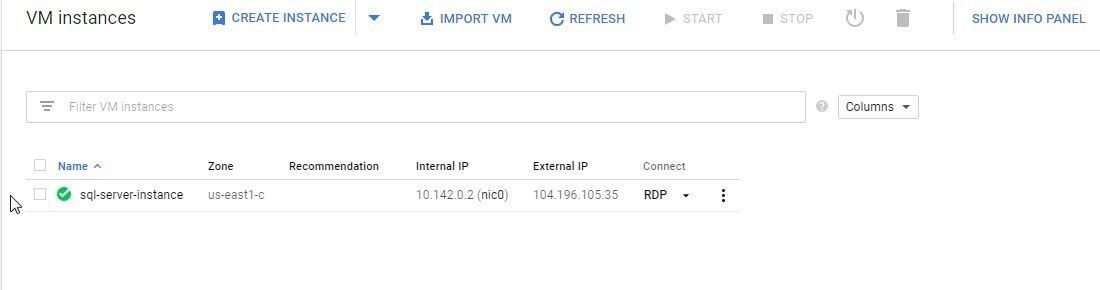
Figure 16. New VM Instance
Setting the Windows Password
To be able to access the VM instance from a local machine using Chrome RDP we need to set a Windows password. A Windows password may be set from two different selections. On the VM instances listing click on the drop-down for Connect>RDP as shown in Figure 17 and select Set Windows password.

Figure 17. RDP>Set Windows password
The other option is to click on the VM instance link and in the VM instance details page click on Set Windows password in Remote access>RDP section. In Set new Windows password specify a Username or select the default one and click on SET as shown in Figure 18.
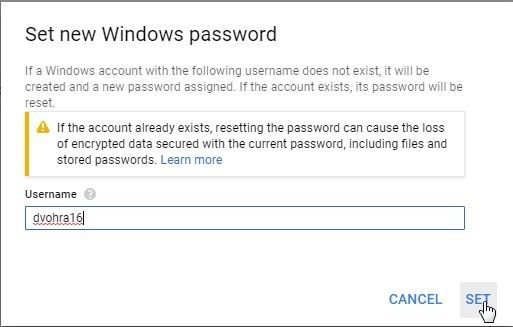
Figure 18. Set new Windows password
A New Windows password window displays a new password, as shown in Figure 19. Click on Copy to copy the password to the clipboard. Click on Close.
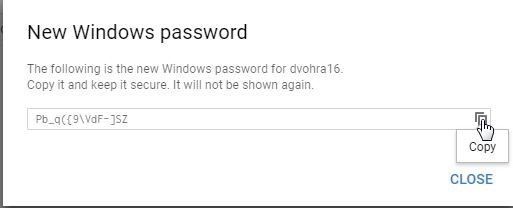
Figure 19. New Windows password
Connecting to Windows Server with Chrome RDS
In this section we shall connect to the Windows Server based VM from a local machine using Chrome RDS. Launch the Chrome RDP as shown in Figure 20.
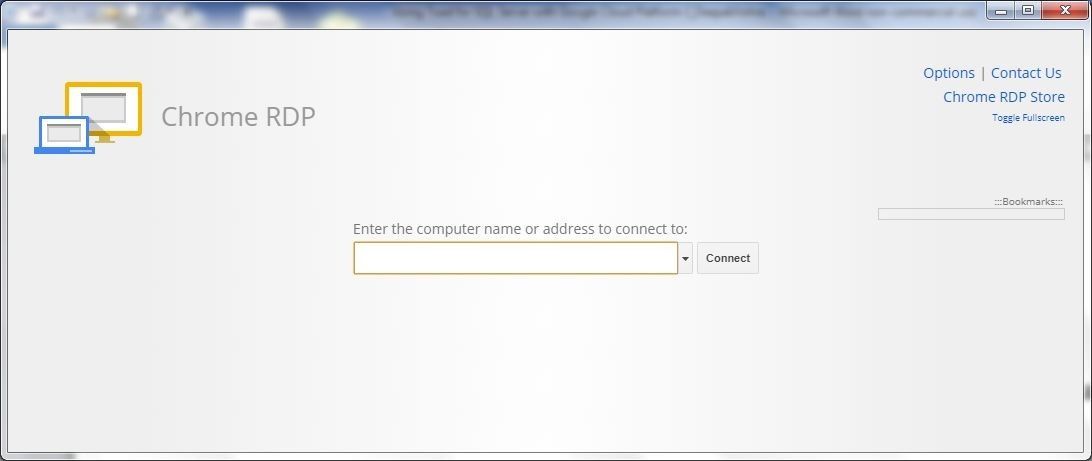
Figure 20. Chrome RDP
Next, copy the External IP for the VM instance as shown in Figure 21.

Figure 21. Obtaining the External IP
Copy and paste the External IP in the Chrome RDP console and click on Connect as shown in Figure 22.

Figure 22. Connecting to VM with Chrome RDP
In the Enter your credentials window, shown in Figure 23, specify Username and Password as configured in Setting the Windows Password section. Click on OK. The Username and Password would be different for different users.
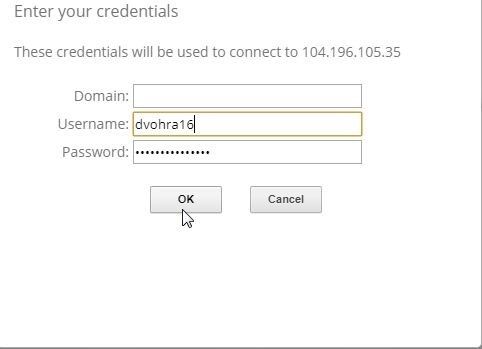
Figure 23. Enter your credentials
The dialog "The server certificate returned for IP address:port cannot be verified. Do you want to connect anyway?" might get displayed. Click on Continue as shown in Figure 24.
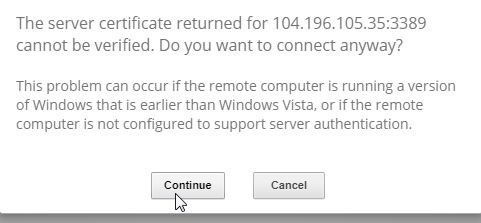
Figure 24. The server certificate returned for IP address:port cannot be verified. Do you want to connect anyway?
The Chrome RDP gets connected to the Windows Server, as shown in Figure 25.
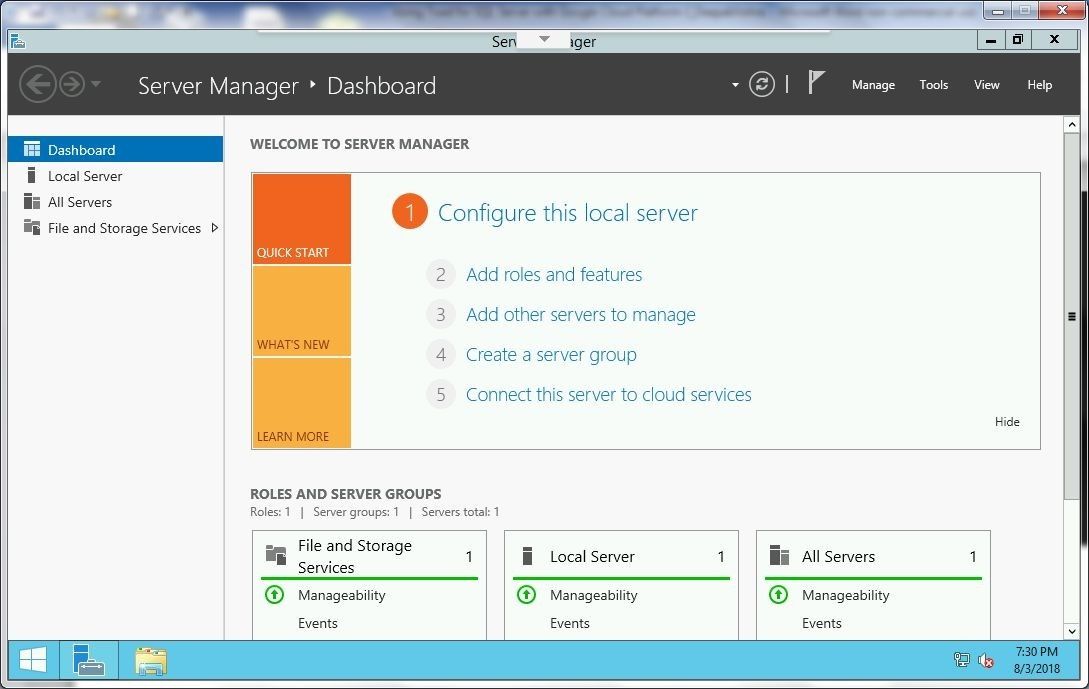
Figure 25. Chrome RDP connected to Windows Server
Select Local Server in Server Manager as shown in Figure 26.
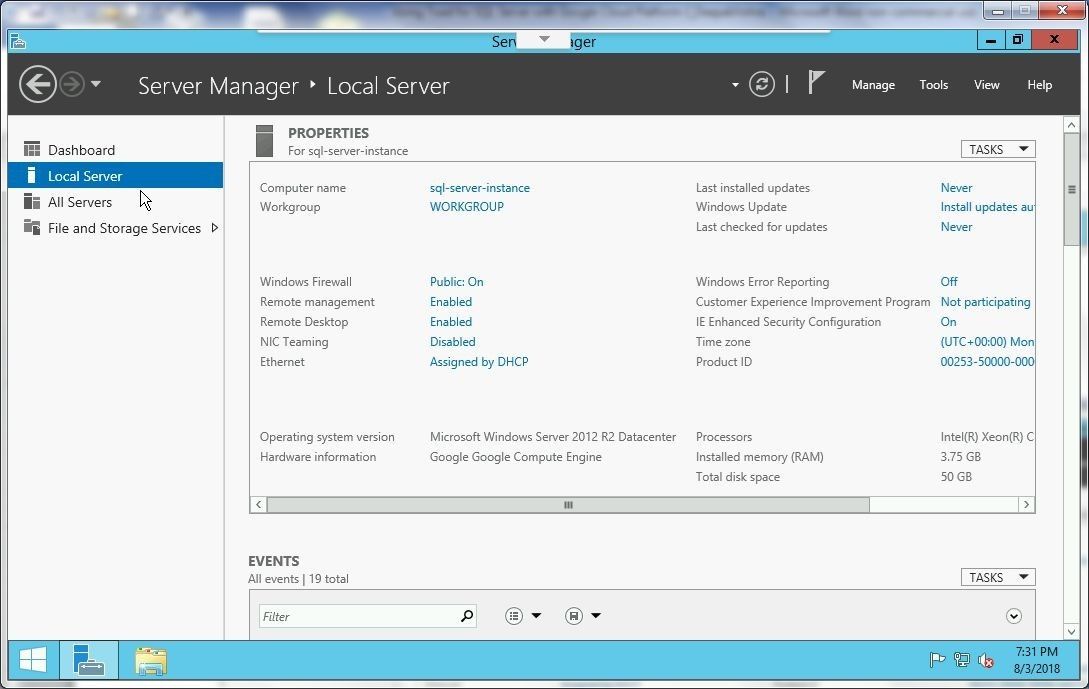
Figure 26. Server Manager>Local Server
Scroll down for Services and search for MSSQLSERVER service, which should get listed, as shown in Figure 27.
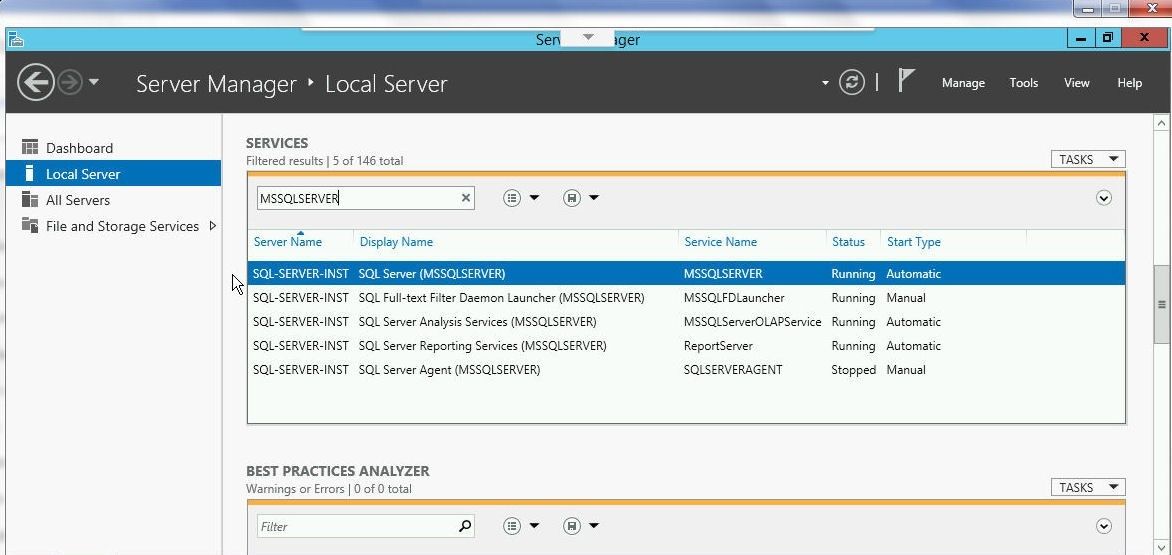
Figure 27. MSSQLSERVER Service
Select Services in Control Panel>Administrative Tools and the SQL Server (MSSQLSERVER) service is listed, as shown in Figure 28. Right-click on the service and select Properties.
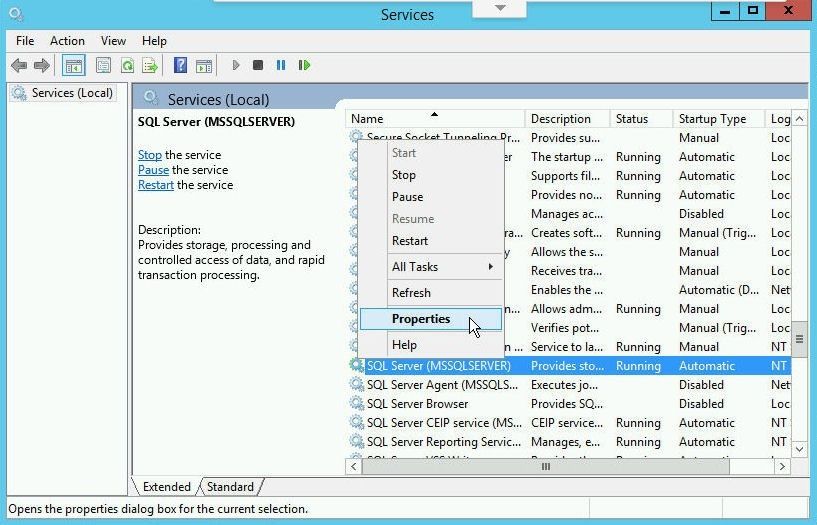
Figure 28. Services>SQL Server>Properties
The service properties including the service name get displayed, as shown in Figure 29.
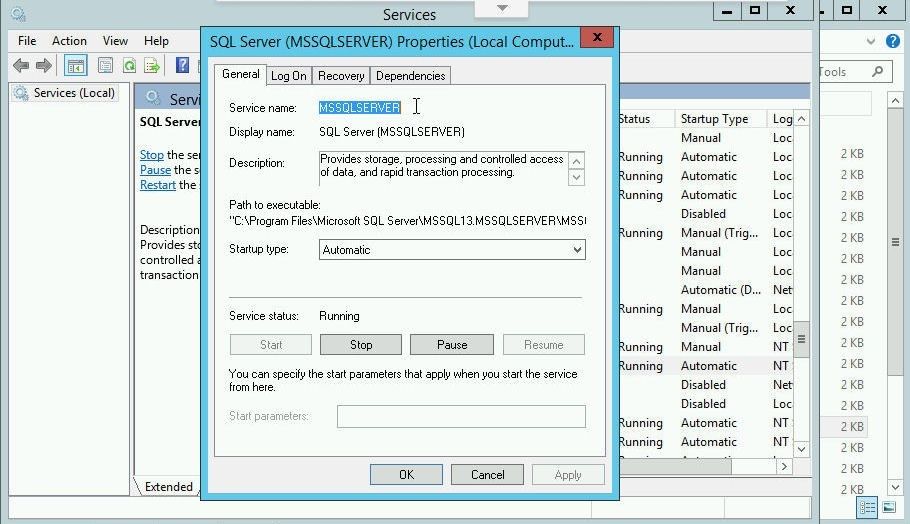
Figure 29. Service Properties
Summary
In this article we introduced using Toad for SQL Server with Google Cloud Platform and got started by creating a VM instance for SQL Server based on Windows server on Google Cloud Platform and connecting to the VM instance with Chrome RDS. In subsequent articles we shall install Toad for SQL Server on the Windows Server and connect to the SQL Server instance running on the Windows server to explore the different features of Toad for SQL Server.
Try Toad for SQL Server nowAre you just starting your journey to evaluate if you should purchase the Toad for SQL Server management tool? If you’re not quite ready to buy, we’re so sure you’ll love Toad for SQL Server, that we’re offering a Toad for SQL Server free 30-day trial. Already in a trial? Buy it now or contact sales. |
Not ready for a free trial? Learn more.
Use the links below to learn how you can use the Toad for SQL Server management tool to resolve issues, manage change and promote the highest levels of code quality, performance and scalability.
Product page: Toad for SQL Server
Tech brief: Solving the SQL Tuning Problem: Secrets of Quest SQL Optimizer
Case study: County enhances critical services for citizens with Toad®
Related blog posts:
Read more Toad World® blog posts on Toad for SQL Server.
Side note: ApexSQL adds to Quest SQL solutions
As an aside, since you’re managing SQL Server, did you know that ApexSQL is now a part of Quest? ApexSQL joined Quest this summer. We’re excited to nod our heads that yes, the ApexSQL portfolio enhances Quest’s already robust set of SQL Server management tools. Make sure to visit ApexSQL.
Got questions?
If you have any questions, please post questions to the Toad for SQL Server forum on Toad World.
Start the discussion at forums.toadworld.com