Toad for SQL Server is a client for SQL Server database. In three articles we are exploring using Toad for SQL Server with SQL Server on Google Cloud Platform. In the first article we installed SQL Server on Windows and connected to the SQL Server from a local machine using the Chrome RDP extension. In this continuation article we install Toad for SQL Server on Windows and connect to SQL Server with Toad for SQL Server. This article has the following sections.
Installing Toad for SQL Server on Windows
Connecting to SQL Server Database with Toad for SQL Server
Choosing a Database
Opening and Arranging Toad for SQL Server Views
Installing Toad for SQL Server on Windows Server VM
In this section we shall install Toad for SQL Server 6.8 on the VM instance on Google Cloud Platform. Connect to the VM instance from a local machine using Chrome RDS, as discussed in the first article. To be able to download Toad for SQL Server on the Windows Server VM we need to add the download website to the list of trusted websites. Start Internet Explorer and from the Settings icon select Internet Options. In Internet Options select the Security tab and click on Trusted sites. Click on the Sites button. In Trusted Sites dialog add the URL http://www.quest.com to the field Add this website to the zone. Click on Add. The website gets added to the list of trusted sites. Similarly add URL https://www.toadworld.com.
Next, enable downloads. In the Internet Options window click on the Custom level… button with the Security tab and Internet zone selected. In the Security Settings – Internet zone window scroll and select Enable for Downloads>Filedownload and click on OK. Click on Apply followed by OK in Internet Options window.
To download Toad for SQL Server navigate to URL https://www.toadworld.com/products#sql-server on the local machine. Click the ‘Try for Free’ button and fill out the registration form and navigate to the downloads page. Right-click on the Toad for SQL Server Developer Edition (64-bit) Download icon and select Copy link address as shown in Figure 1.
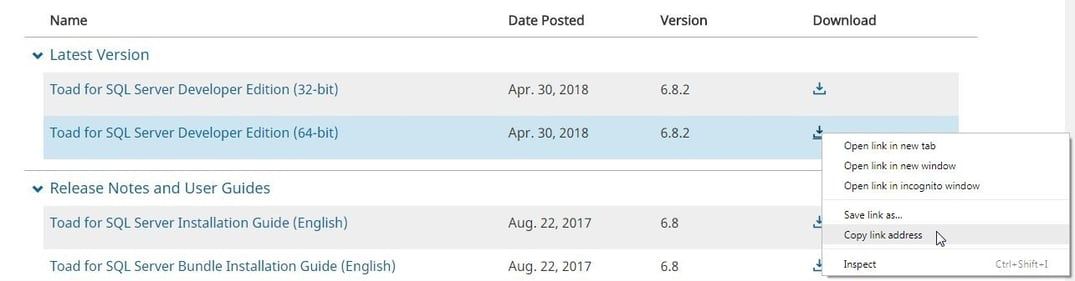
Figure 1. Copying download link for Toad for SQL Server from Download page
We shall use the download link in a browser on the VM instance to download and install Toad for SQL Server 6.8. We have not directly downloaded on the VM instance because downloading requires filling out a registration form and the form fields may not get displayed properly on a VM instance based Windows Server.
Open the download URL in Internet Browser on the VM instance, and the Toad for SQL Server zip file should get downloaded. Click on Save as shown in Figure 2.
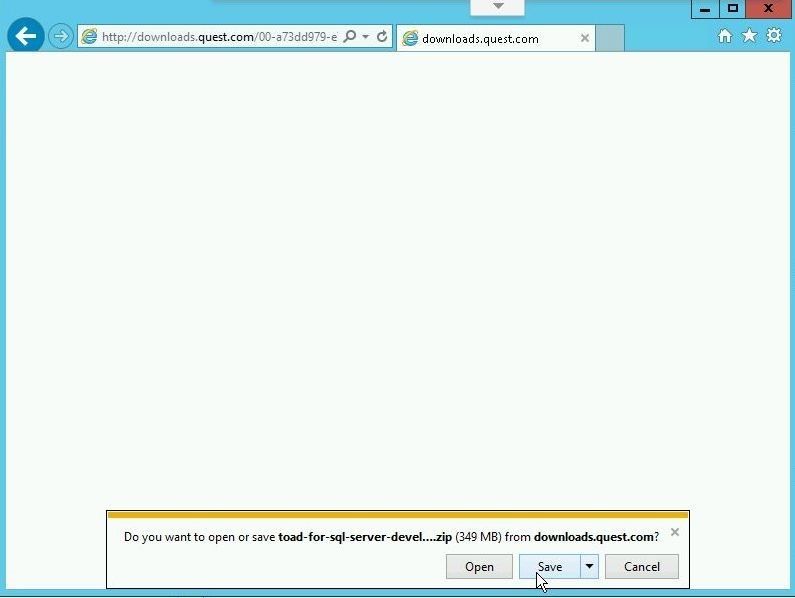
Figure 2. Saving Downloaded Toad for SQL Server Zip File
The download gets completed, as shown in Figure 3. Click on Open folder.
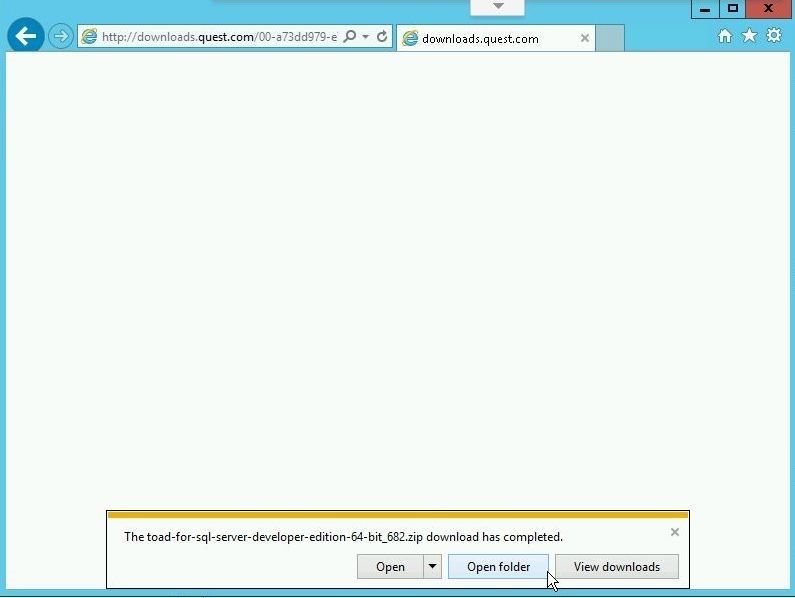
Figure 3. Download Completed>Open folder
Double-click on the Toad for SQL Server application as shown in Figure 4.
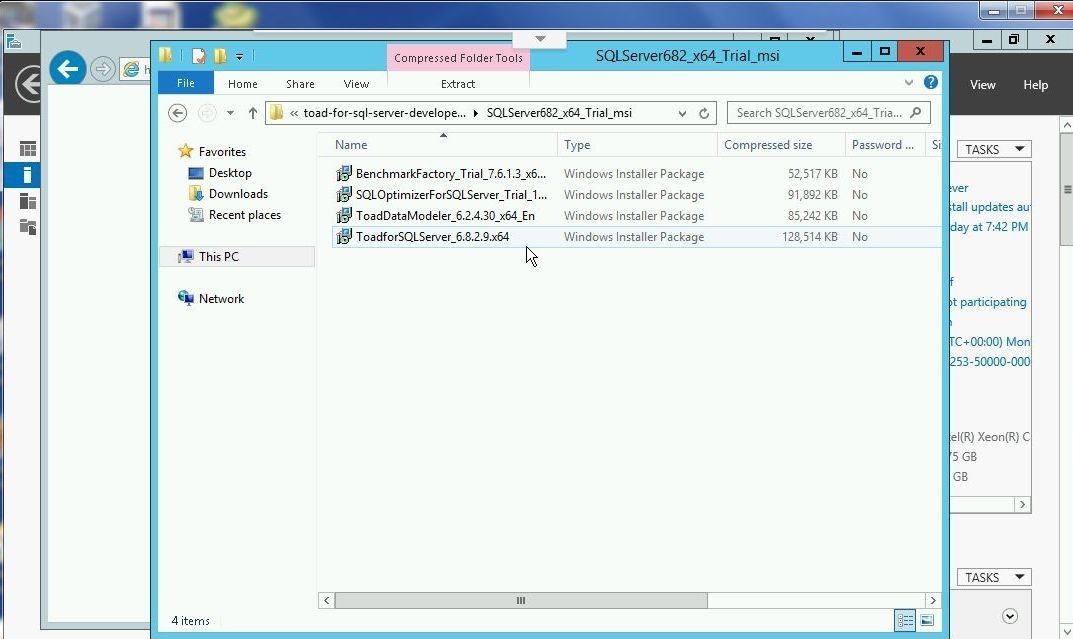
Figure 4. Toad for SQL Server application
Click on Run in the Open File dialog. In the User Account Control window click on Yes as shown in Figure 5 to allow the program to make changes to the VM.
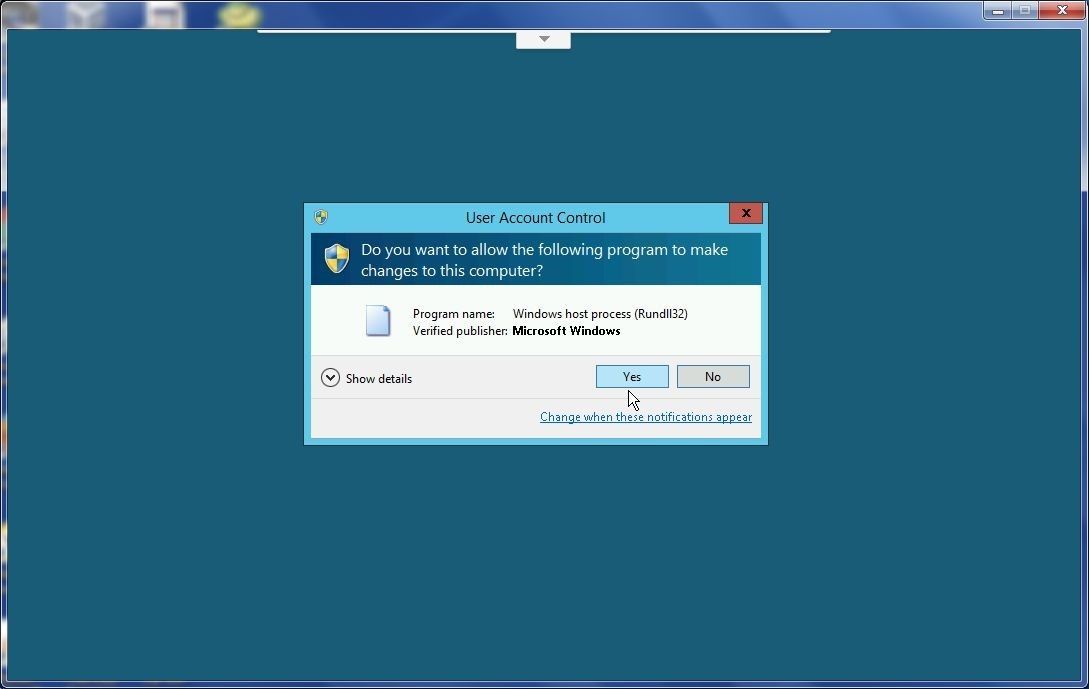
Figure 5. User Account Control
The Toad for SQL Server Installation wizard gets started, as shown in Figure 6. Click on Next.
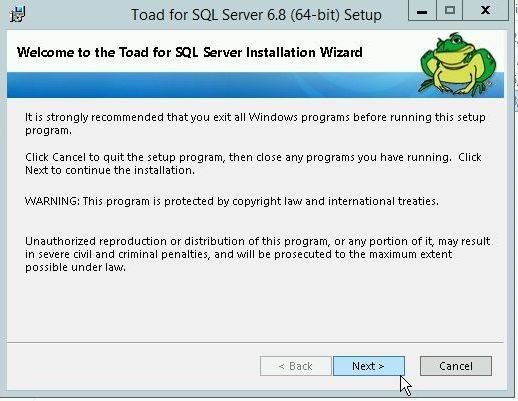
Figure 6. Toad for SQL Server Installation wizard
In License Agreement select I accept the license agreement and click on Next. In Destination folder select the default destination folder and click on Next as shown in Figure 7.
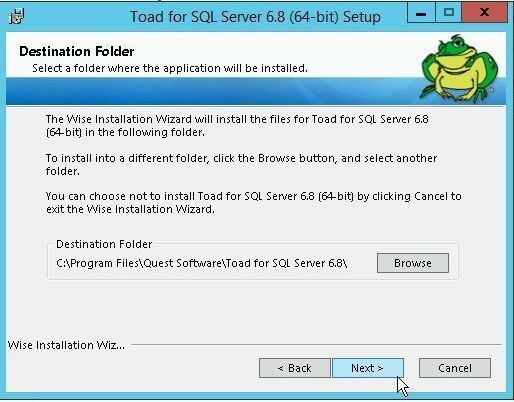
Figure 7. Selecting Destination Folder
Select the default settings for Register File Extensions and click on Next. As we won’t be using the SQL Server Management Studio, select the option Do not install the SQL Server Management Studio as shown in Figure 8.
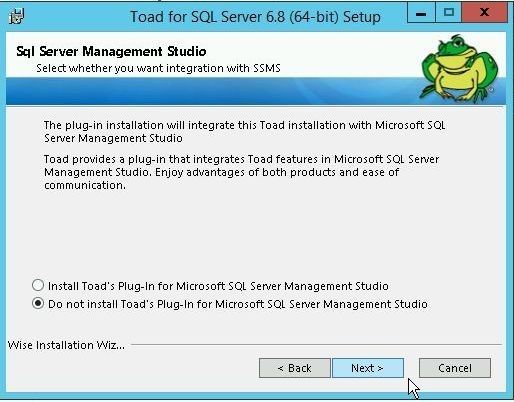
Figure 8. Selecting whether to install SQL Server Management Studio
In Additional Properties select the default setting to Allow saving passwords and click on Next as shown in Figure 9.
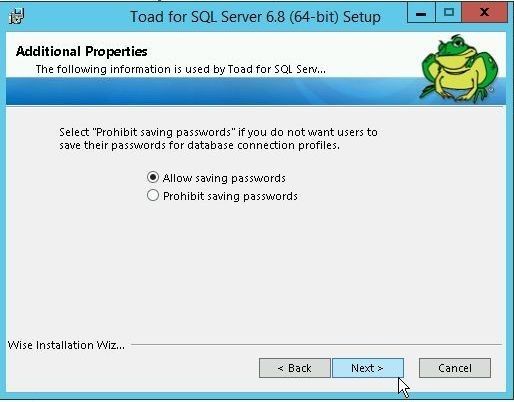
Figure 9. Additional Properties
SQL Server starts to get installed, as shown in Figure 10.
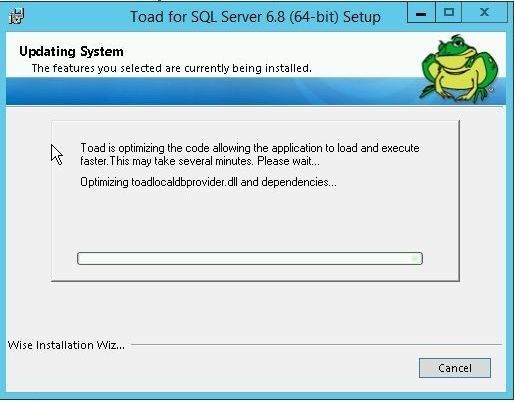
Figure 10. Installing Toad for SQL Server
After Toad for SQL Server gets installed click on Finish as shown in Figure 11.
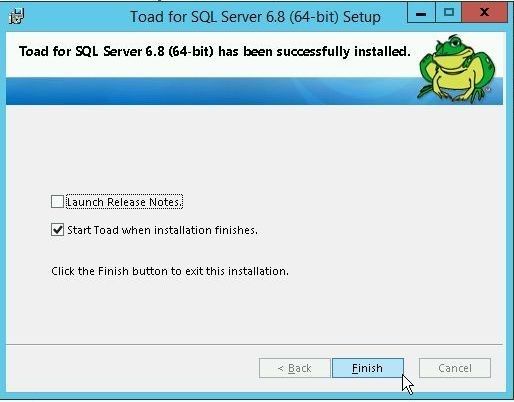
Figure 11. Toad for SQL Server successfully installed
An Installer Information dialog prompts to restart the system for the configuration changes to take effect. Click on Yes. Toad for SQL Server is shown to be installed on Windows Server in Figure 12.
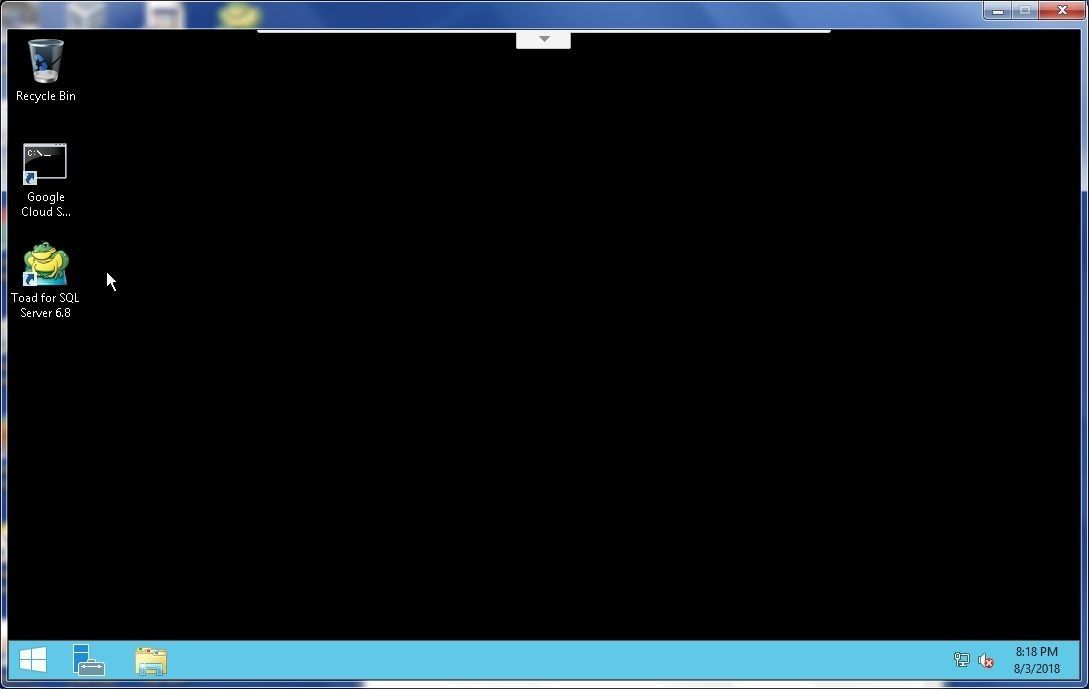
Figure 12. Toad For SQL Server installed
Toad for SQL Server gets launched. In the Configuration Wizard Layout and Settings select the option that includes Toad for SQL Server and click on Finish as shown in Figure 13.
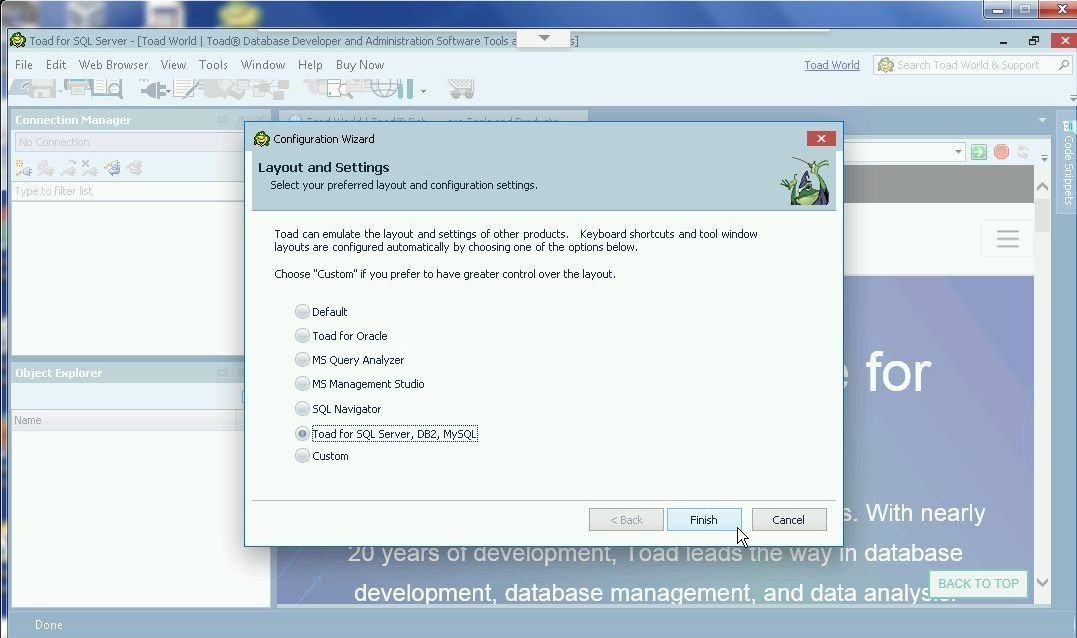
Figure 13. Configuration Wizard>Layout and Settings
The Toad for SQL Server gets started, as shown in Figure 14.
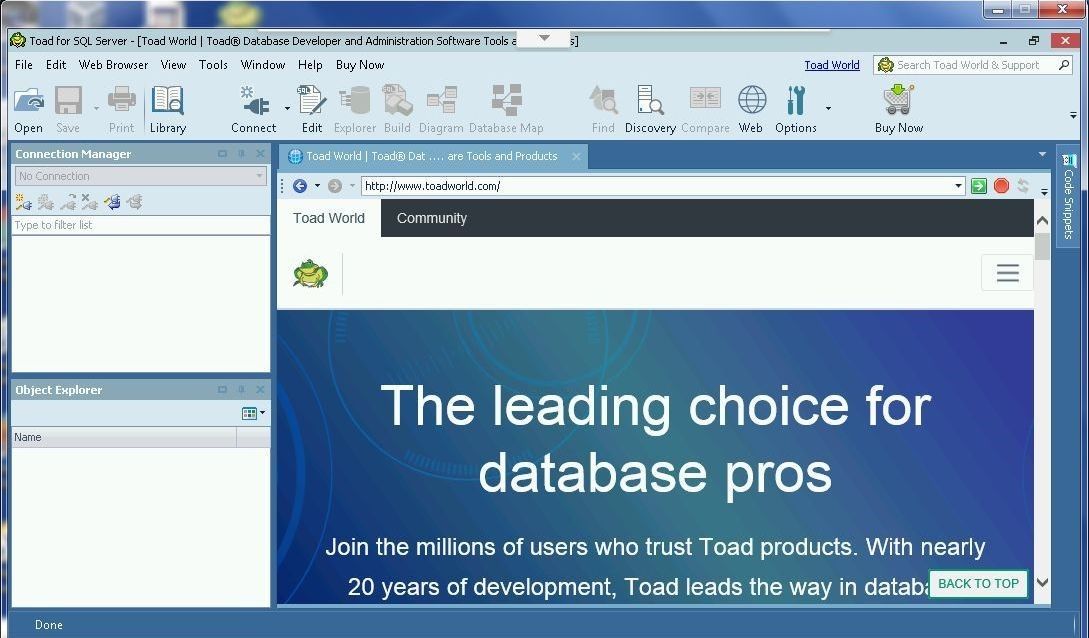
Figure 14. Toad for SQL Server started
Connecting to SQL Server Database with Toad for SQL Server
In this section we shall create a connection to SQL Server running on the Windows Server VM on Google Cloud platform with Toad for SQL Server. Select Connect>New Connection as shown in Figure 15.
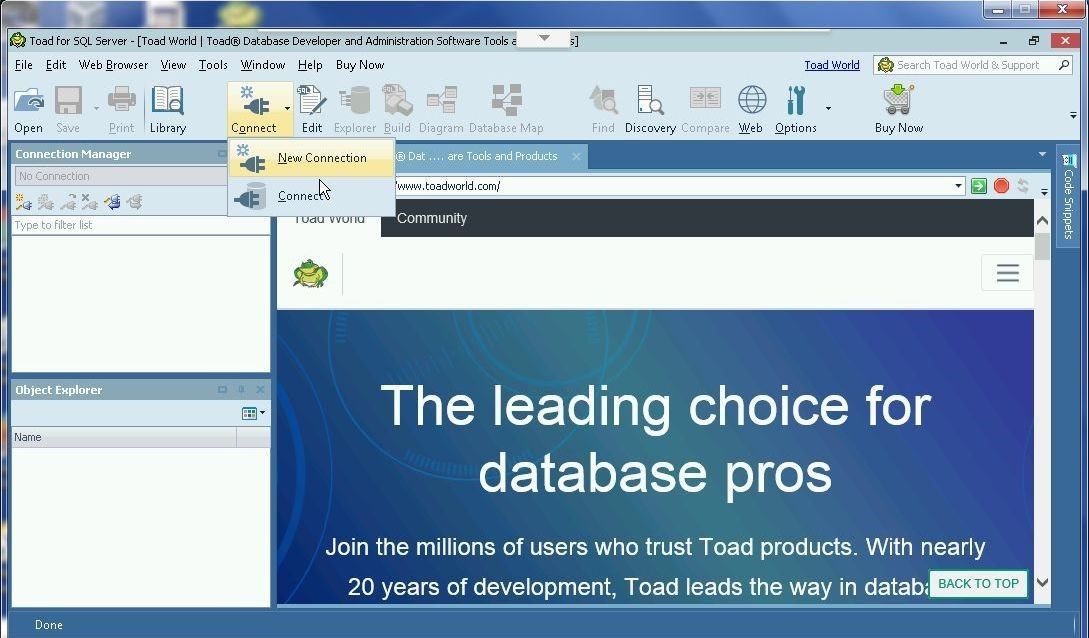
Figure 15. Connect>New Connection
In the Create New Connection wizard the Server name is selected by default. The Authentication is selected by default to Windows Authentication, which is what we shall use. To select the database click on the … icon for the Database field as shown in Figure 16.
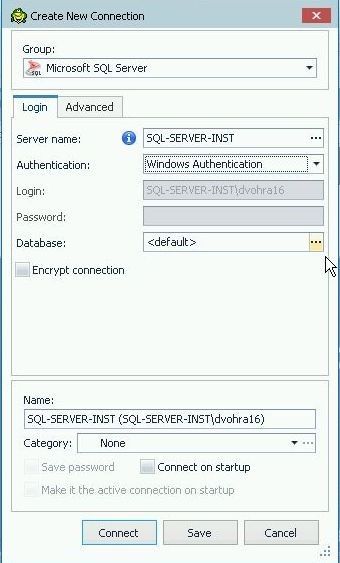
Figure 16. Create New Connection
In Browse Databases select the tempdb database as shown in Figure 17. Click on OK.
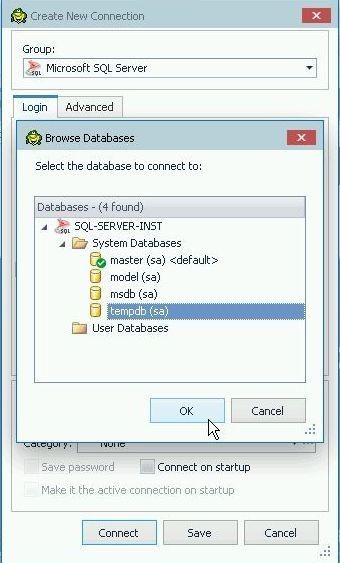
Figure 17. Browse Databases
The tempdb gets selected. Click on Connect to connect to the database as shown in Figure 18.
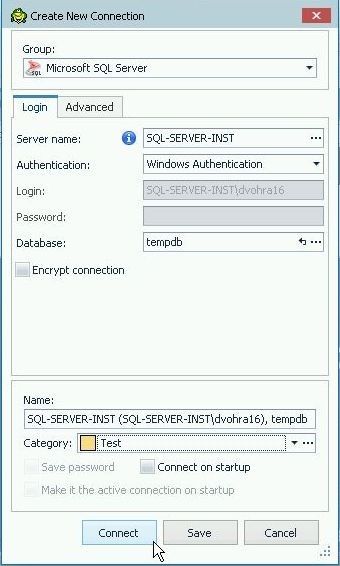
Figure 18. Connect
A new connection gets added in the Toad for SQL Server Connection Manager, as shown in Figure 19. The Object Explorer displays the tempdb and the tables in the database.
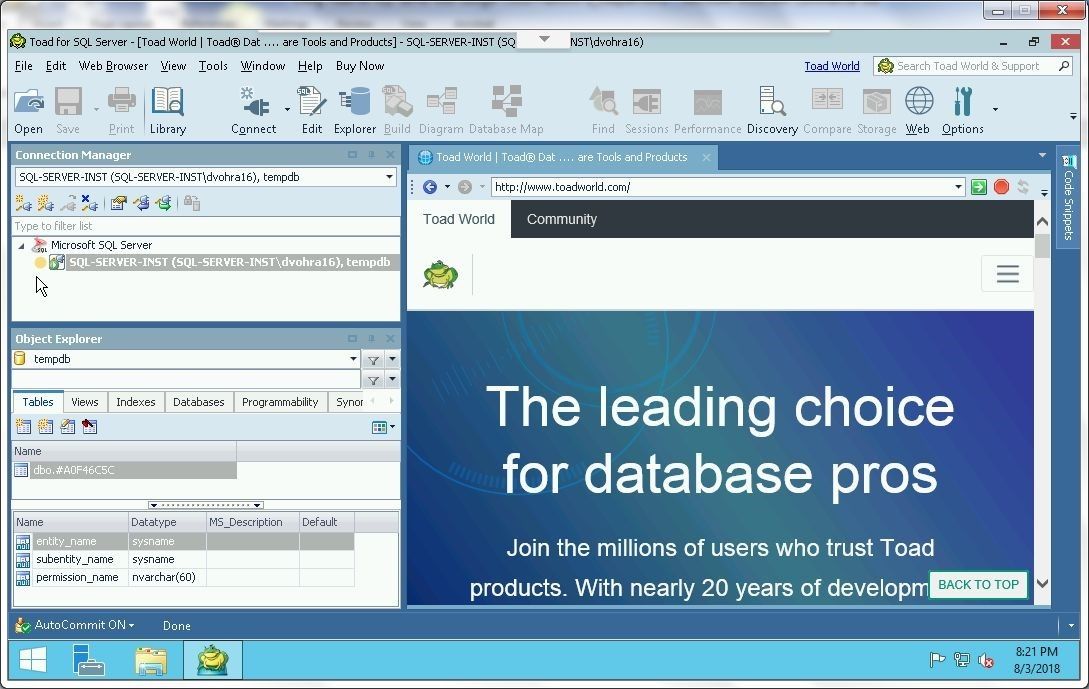
Figure 19. Connection added
Select the connection in the Connection Manager and click on Tools to display the several options for the connection, including SQL Editor, Explorer, Query Builder, Find, Import, Export, and Data Generator as shown in Figure 20.
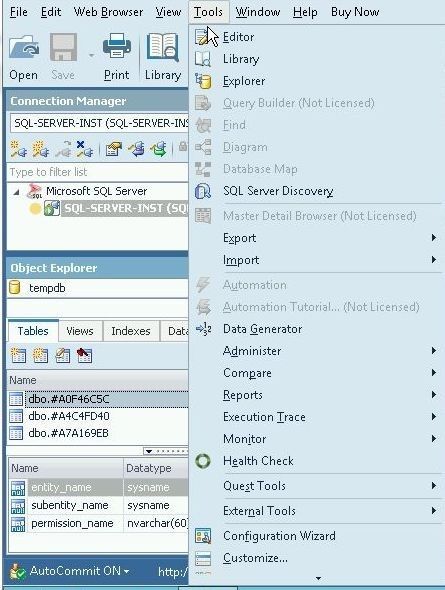
Figure 20. Options for a connection in Tools
Choosing a Database
To choose the current database click on Choose Database in Object Explorer as shown in Figure 21.
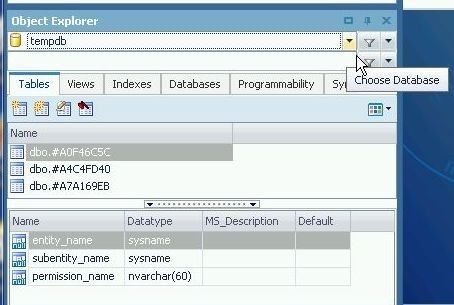
Figure 21. Object Explorer>Choose Database
Select a database from the drop-down as shown in Figure 22.
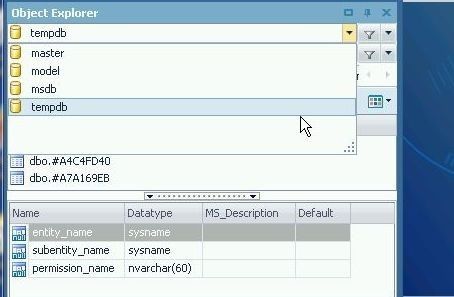
Figure 22. Choosing a Database
Opening and Arranging Toad for SQL Server Views
A View is an inset window in Toad for SQL Server. Commonly used Views are Connection Manager, Object Explorer, Project Manager, SQL Recall, and Output. These and other Views may be selected from Views in the toolbar, as shown in Figure 23.
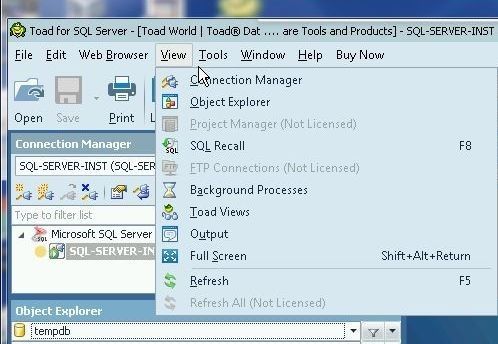
Figure 23. Selecting Views
As an example, add the SQL Recall and Output views as shown in Figure 24. The SQL Recall view is displayed vertically and the Output view horizontally.
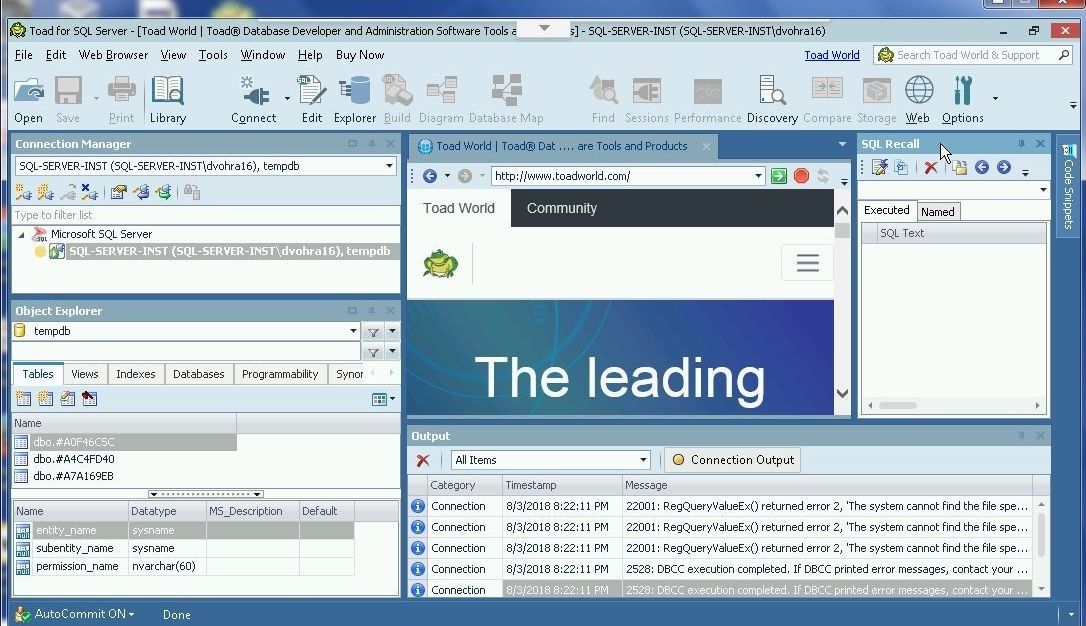
Figure 24. Adding Views
The Views displayed may be arranged vertically or horizontally. Individual tabs may be selected and dragged to rearrange, as shown for the SQL Recall view displayed horizontally instead of vertically, in Figure 25.
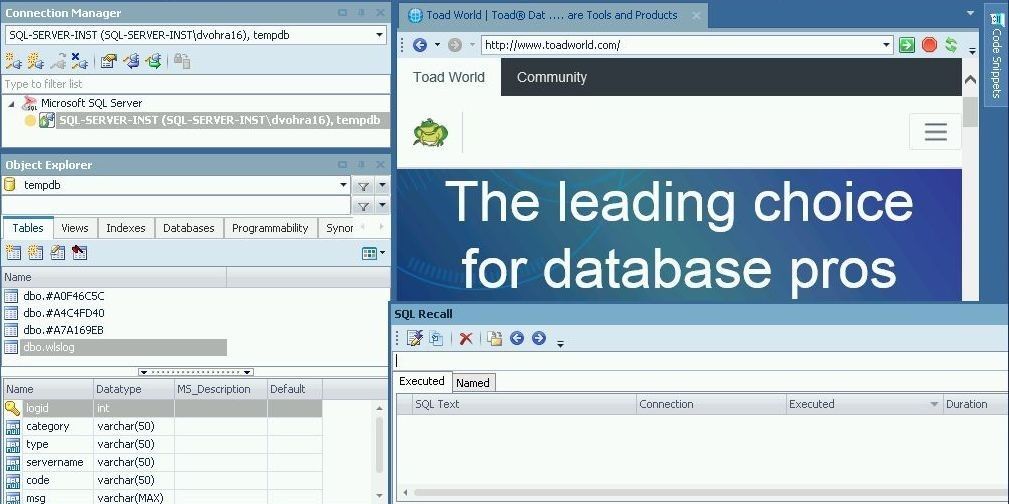
Figure 25. Arranging SQL Recall View Horizontally
Summary
In this article we installed Toad for SQL Server on a Windows Server on EC2 and connected to the SQL Server instance running on the same Windows server. We started to explore the different features of Toad for SQL Server by choosing a database, and opening and arranging Views. In a subsequent article we shall create a database table, add table data, explore database objects, and query table.
Start the discussion at forums.toadworld.com