Let’s use the data model we created with Toad Data Modeler in the first part of this tutorial.
Toad Edge is a one-stop integrated development environment (IDE) for a database developer and DBA. It provides all the features that a developer or DBA would need to connect to a database and explore database objects, and run SQL statements. Toad Edge is not a data modeling tool. Toad Data Modeler provides the data modeling. In an earlier article we discussed creating a data model for MySQL 5.7 in Toad Data Modeler. In this continuation article we shall generate DDL from the model and run the DDL in Toad Edge to create database tables in a MySQL 5.7 database. This article has the following sections.
Generating DDL
Creating Connection in Toad Edge
Running DDL to Create Tables
Running DML to Add Table Data
Querying Table
Dropping Table
Generating DDL
Before generating the DDL it would be suitable to preview the SQL that shall get generated so that if any modifications need to be made to the model those could be made. To preview the DDL that the Log entity would generate, double-click in the header for Log as shown in Figure 1.

Figure 1. Log Entity header>Double-click
In the Entity Properties window select the SQL Preview tab to display the DDL as shown in Figure 2.
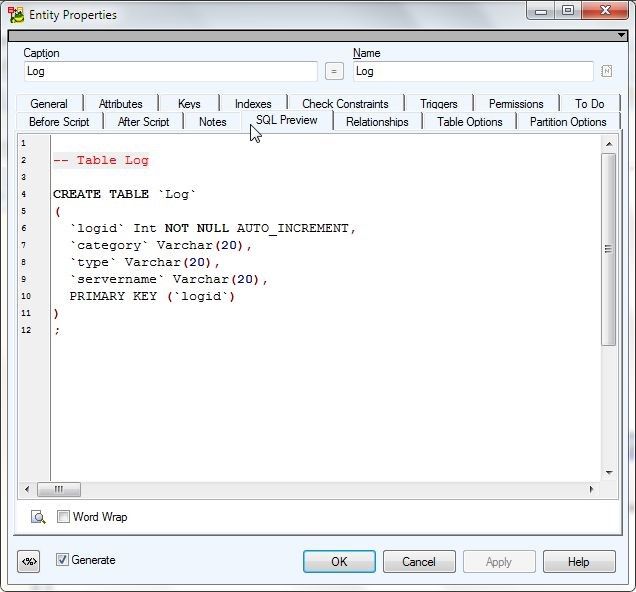
Figure 2. SQL Preview
Similarly, double-click in the LogEntry entity header as shown in Figure 3.
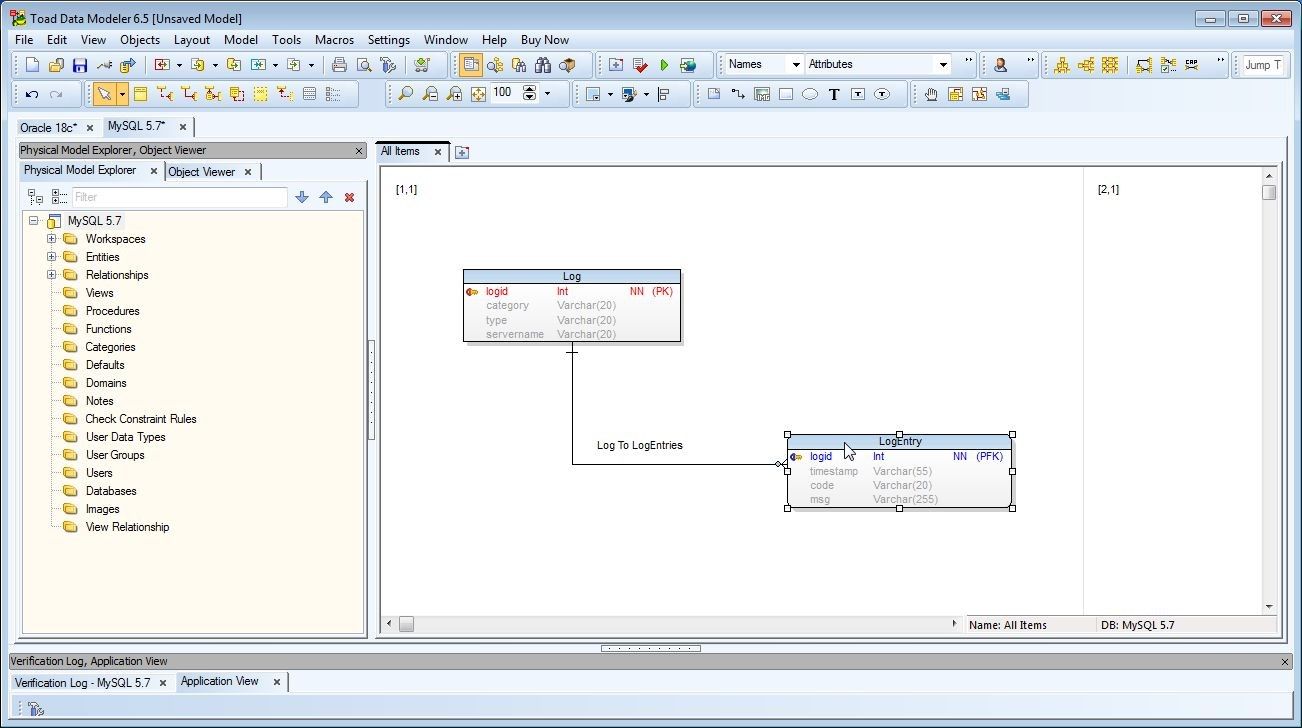
Figure 3. LogEntry Entity header>Double-click
In Entity Properties select the SQL Preview to display the DDL as shown in Figure 4.

Figure 4. SQL Preview for LogEntry
Similarly, double-click on the entity relationship label as shown in Figure 5.
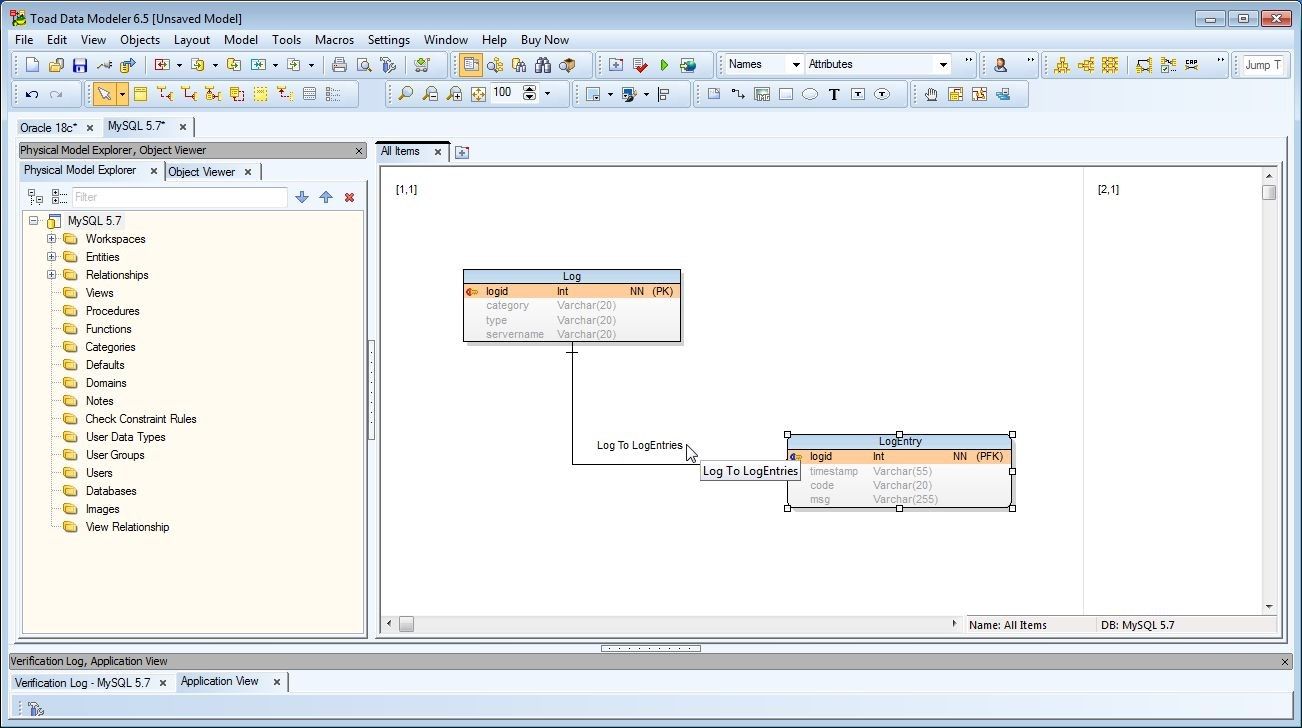
Figure 5. Entity Relationship>Double-click
In Relationship Properties select the SQL Preview tab to display the DDL as shown in Figure 6.

Figure 6. SQL Preview for Relationship
The default settings are applied when generating DDL from a model and these settings may be modified by selecting Model>Generate DDL>Edit Default Settings… as shown in Figure 7.
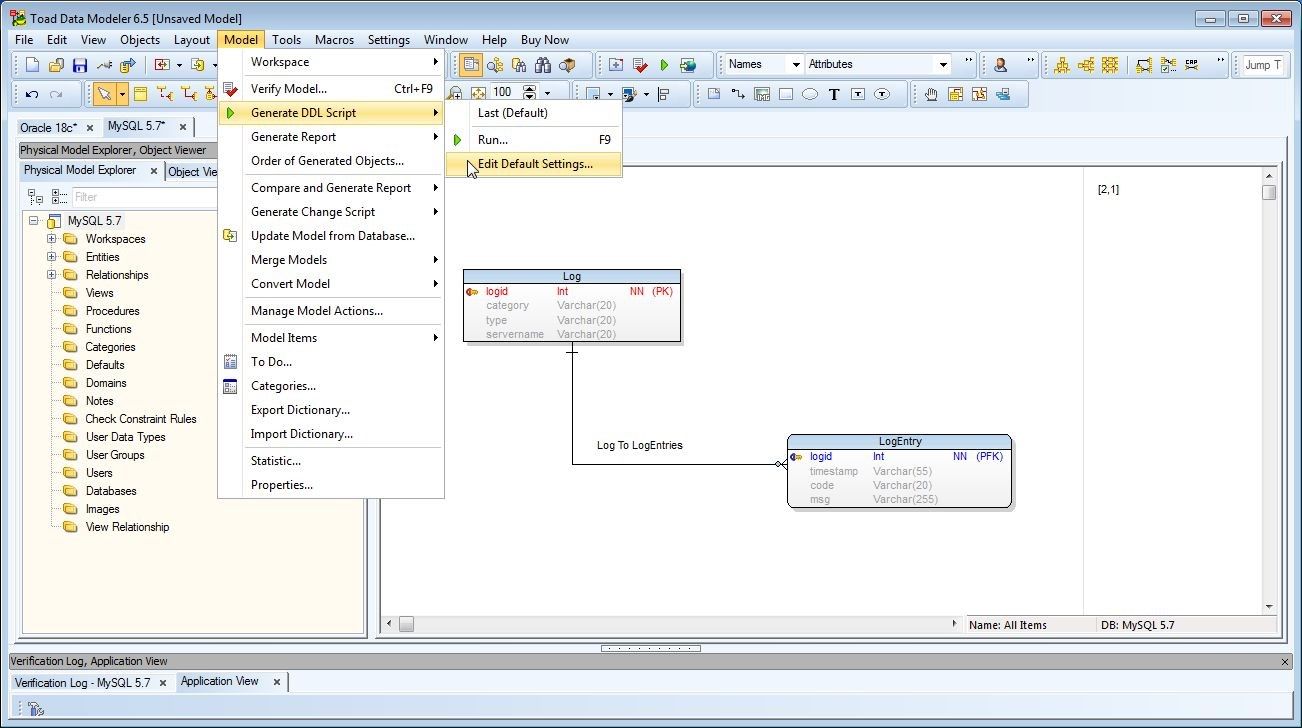
Figure 7. Model>Generate DDL>Edit Default Settings…
The DDL Script Generation of MySQL 5.7 window gets displayed, as shown in Figure 8.
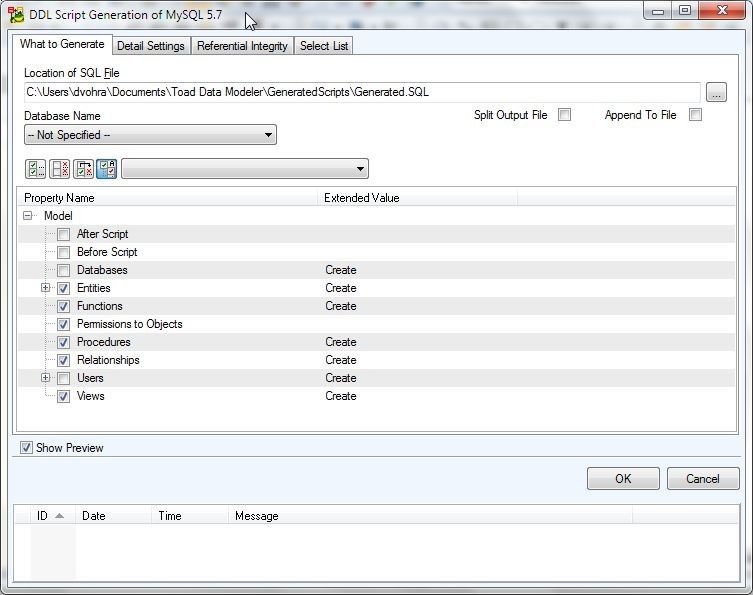
Figure 8. DDL Script Generation
The Detail Settings tab displays the detailed settings, as shown in Figure 9. We shall be using the default detail settings.
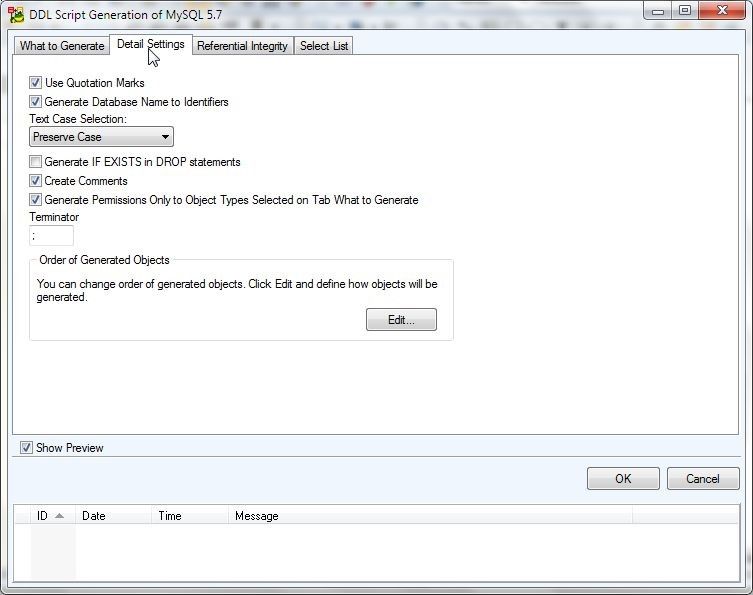
Figure 9. Detail Settings
Similarly, the Referential Integrity tab lists the settings for referential integrity. The Select List tab lists the model entities for which DDL shall be generated. To verify the DDL generation click on Verify as shown in Figure 10.
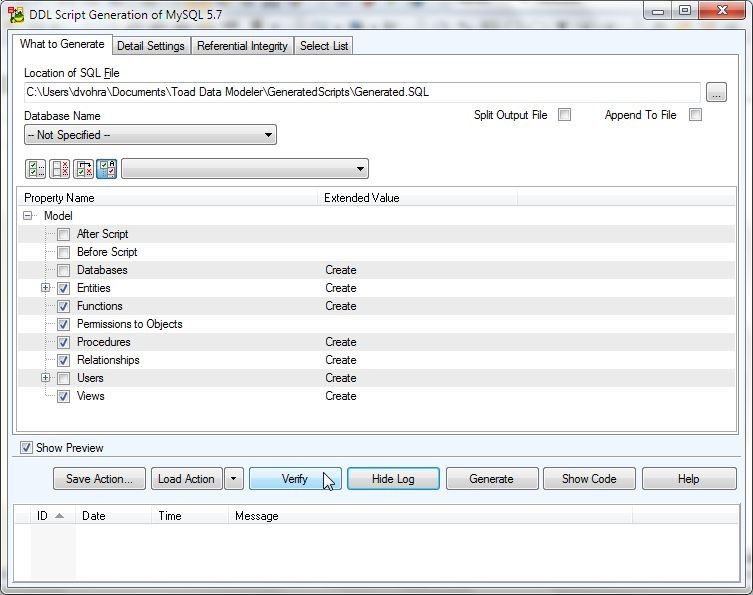
Figure 10. Verify
An Information dialog indicates that the verification has completed without errors, as shown in Figure 11.
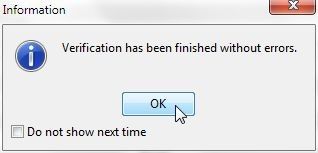
Figure 11. Verification has completed
Before generating the DDL we need to modify the SQL file suffix to lowercase .sql as shown in Figure 12. Toad Edge does not support opening a SQL file with uppercase suffix (.SQL).
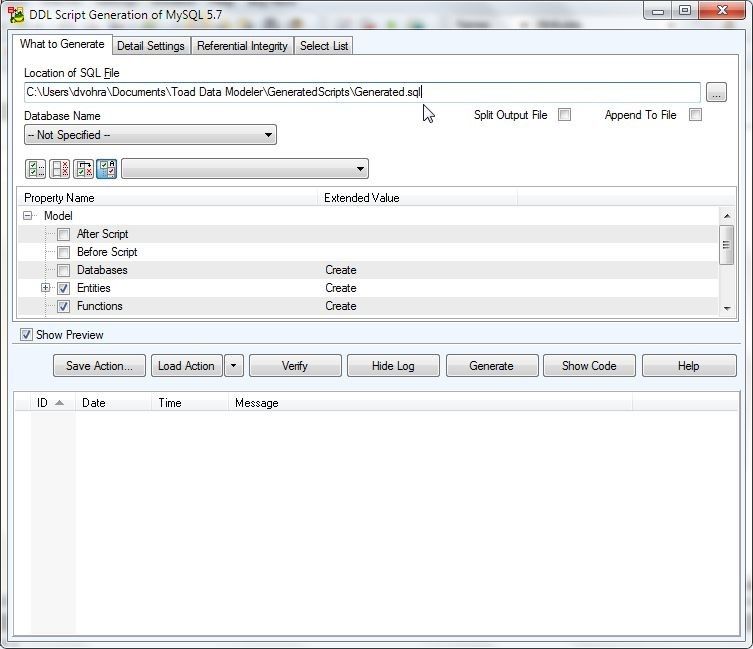
Figure 12. Modifying the SQL file suffix to lowercase .sql
The DDL Script Generation window may be closed after modifying the SQL File name. When DDL needs to be generated select Model>Generate DDL Script>Run as shown in Figure 13.
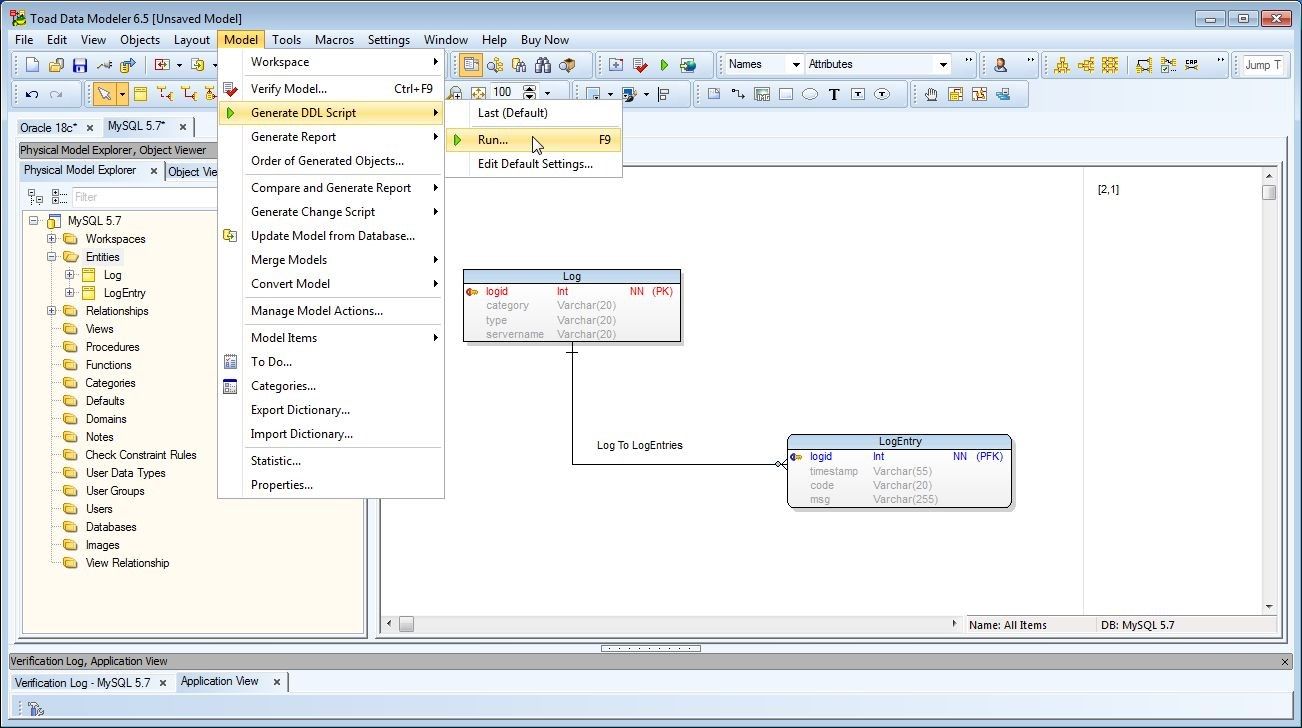
Figure 13. Model>Generate DDL Script>Run
Click on Generate in DDL Script Generation window as shown in Figure 14.
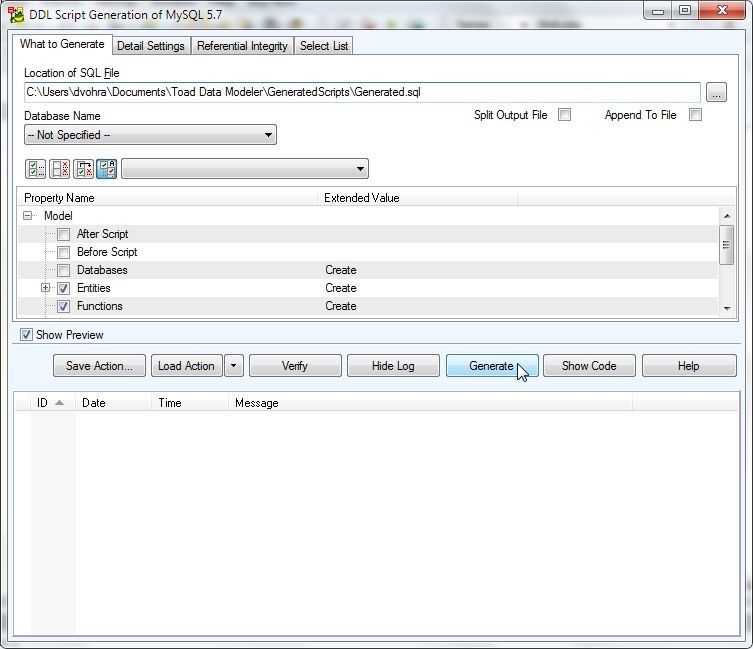
Figure 14. DDL Script Generation>Generate
A SQL File Viewer window displays the DDL generated, as shown in Figure 15.
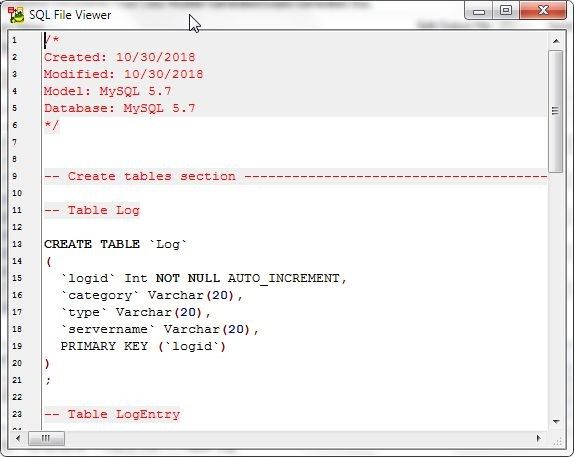
Figure 15. SQL File Viewer
Close the SQL File Viewer, and the dialog prompts whether the SQL preview is to be saved to a file, as shown in Figure 16. Click on Yes.
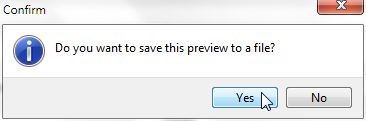
Figure 16. Confirmation to save SQL to a file
The SQL gets saved to the file specified in the Location of SQL File in DDL Script Generation window. The Generated.sql that is generated is listed:
/*
Created: 10/30/2018
Modified: 10/30/2018
Model: MySQL 5.7
Database: MySQL 5.7
*/
— Create tables section ————————————————-
— Table Log
CREATE TABLE `Log`
(
`logid` Int NOT NULL AUTO_INCREMENT,
`category` Varchar(20),
`type` Varchar(20),
`servername` Varchar(20),
PRIMARY KEY (`logid`)
)
;
— Table LogEntry
CREATE TABLE `LogEntry`
(
`logid` Int NOT NULL,
`timestamp` Varchar(55),
`code` Varchar(20),
`msg` Varchar(255)
)
;
ALTER TABLE `LogEntry` ADD PRIMARY KEY (`logid`)
;
— Create foreign keys (relationships) section ————————————————-
ALTER TABLE `LogEntry` ADD CONSTRAINT `Log To LogEntries` FOREIGN KEY (`logid`) REFERENCES `Log` (`logid`) ON DELETE RESTRICT ON UPDATE RESTRICT
;
Creating Connection in Toad Edge
Next, we shall connect to a local MySQL 5.7 database to run the DDL generated. Select Connect>New Connection in Toad Edge as shown in Figure 17.
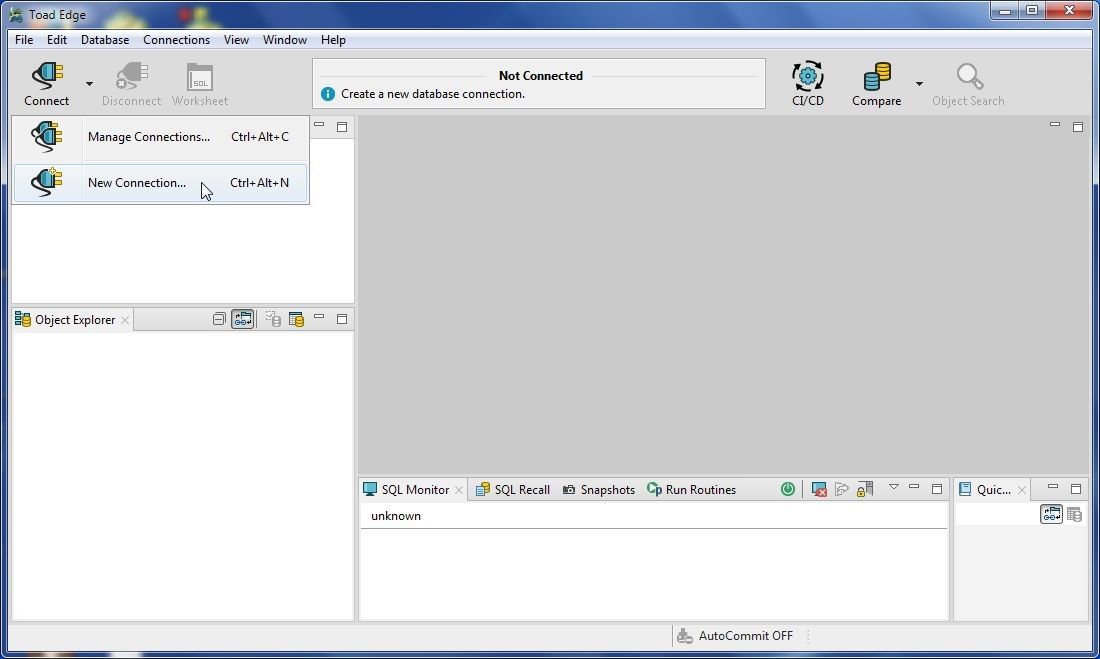
Figure 17. Connect>New Connection
In New Connection window select Database Platform as MySQL as shown in Figure 18 and click on Next.
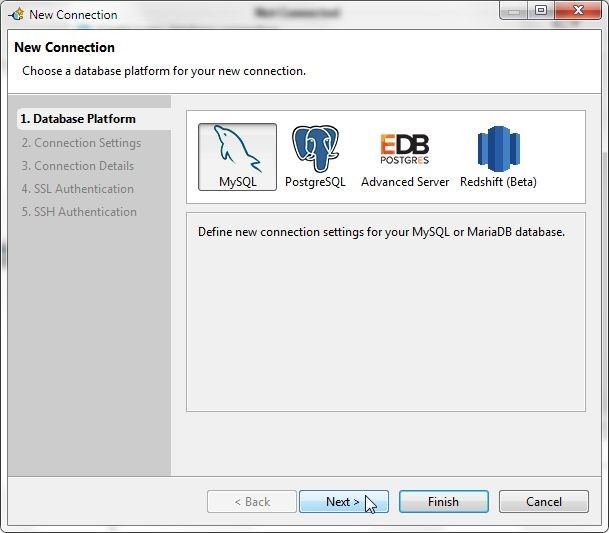
Figure 18. New Connection>Database Platform>MySQL
In Connection Settings set Hostname aslocalhost, Port as3306 and Database as mysql as shown in Figure 19. Specify a password for the root user. Click on Test Connection to test the connection.
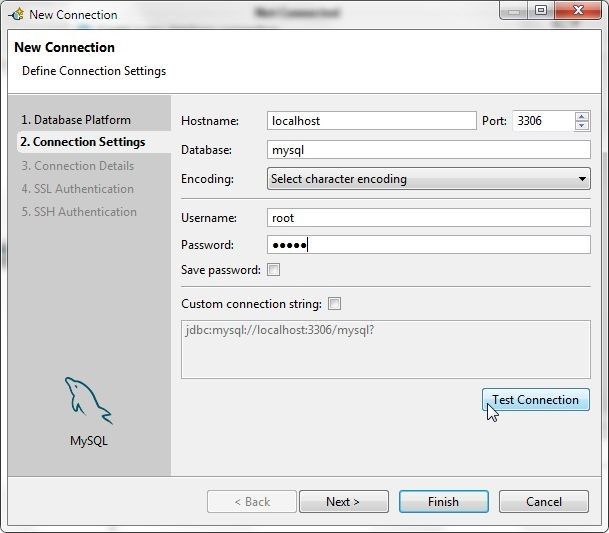
Figure 19. New Connection
The Connection is OK message in Figure 20 indicates that connection gets established. Click on Next.
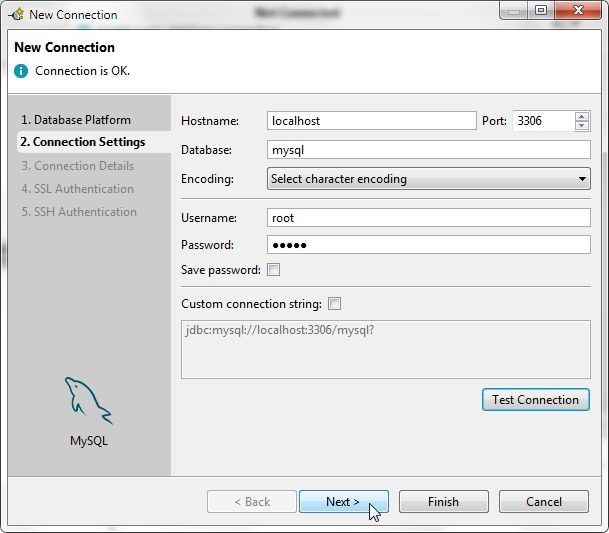
Figure 20. Connection is OK
The Connection Details lists the connection details, as shown in Figure 21.
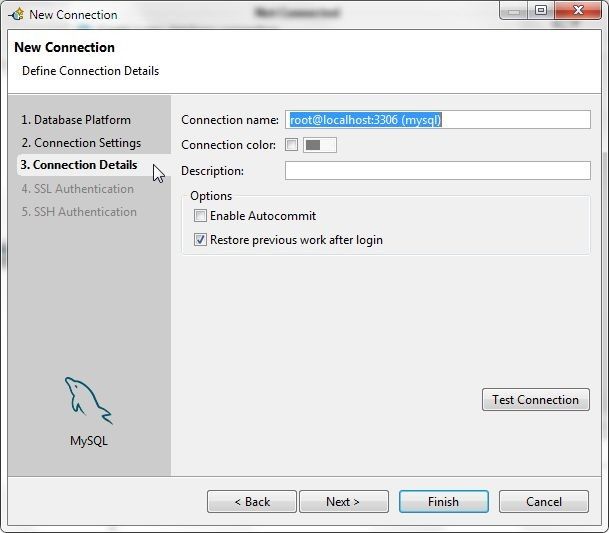
Figure 21. Connection Details
Optionally modify Connection name (mysql) and select the Enable Autocommit option as shown in Figure 22. Click on Finish.
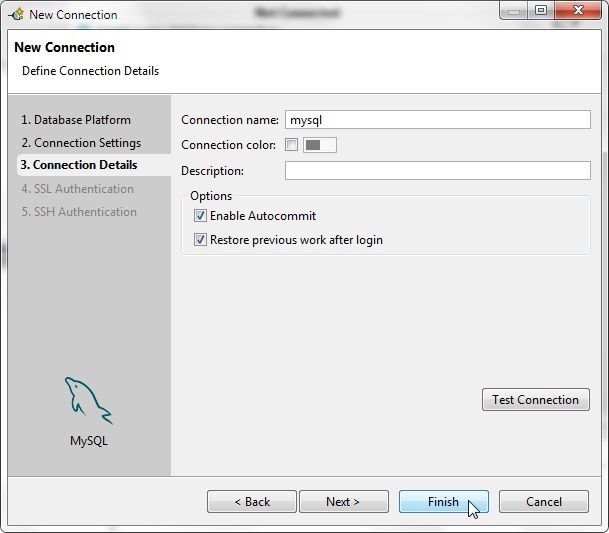
Figure 22. Connection Details
A new connection gets created and gets added to Connections, as shown in Figure 23.
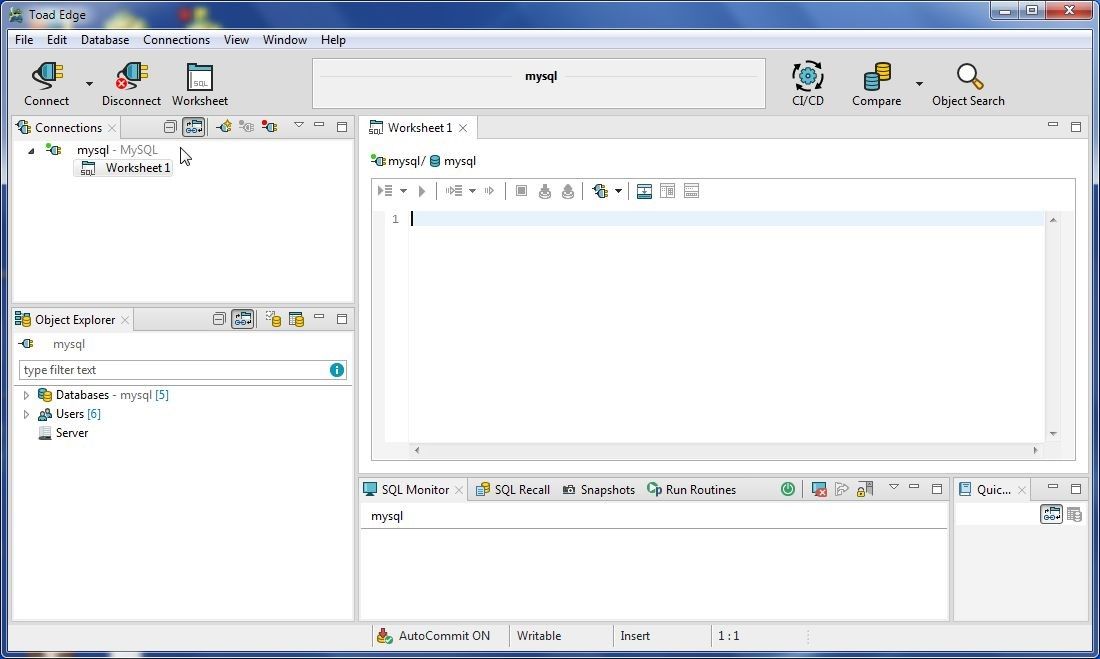
Figure 23. New Connection added
Running DDL to Create Tables
In this section we shall run the DDL generated in Toad Edge to create database tables in the MySQL database that we connected to in the previous section. Select File>Open in Toad Edge as shown in Figure 24.
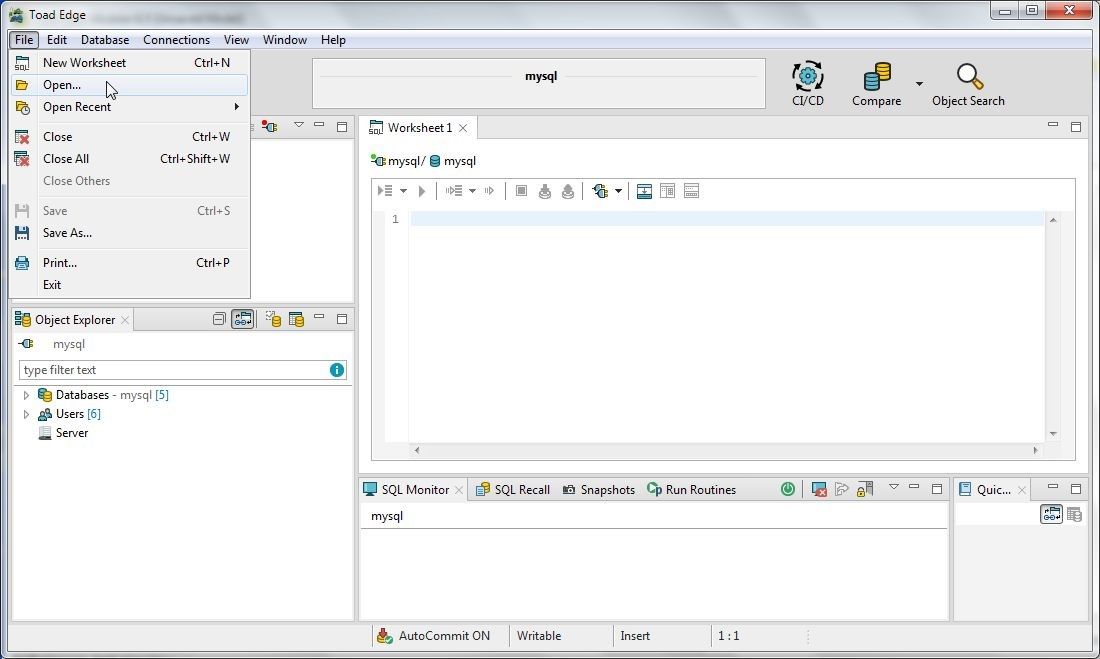
Figure 24. File>Open
In the Open File window select the Generated.sql file and click on Open as shown in Figure 25.
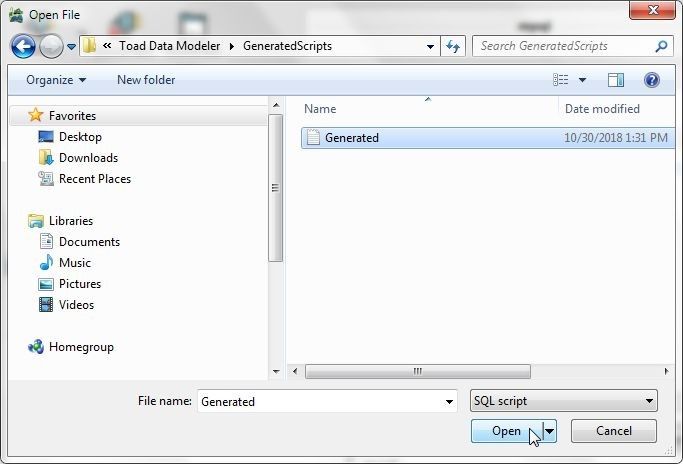
Figure 25. Open File>Open
The Generated.sql file gets opened in a SQL Worksheet, as shown in Figure 26.
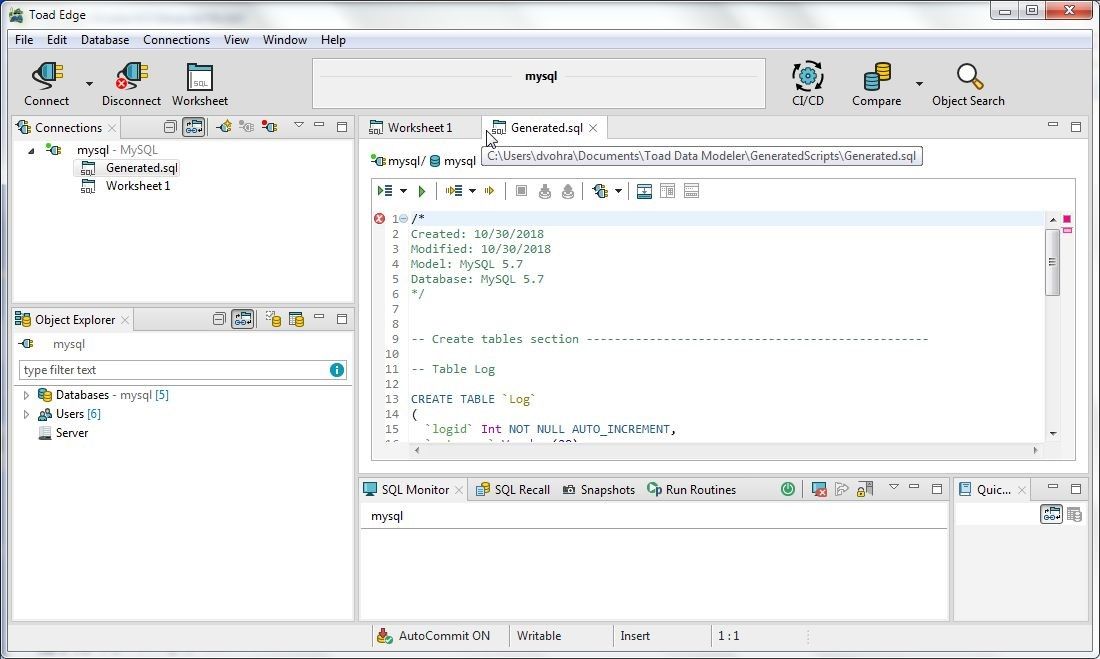
Figure 26. Generated.sql in SQL Worksheet
Remove the /* */ style comments at the beginning of the SQL Worksheet if the comment indicates an error in syntax. Alternatively, reformat the comment. Click on Execute All Statements as shown in Figure 27 to run the DDL.
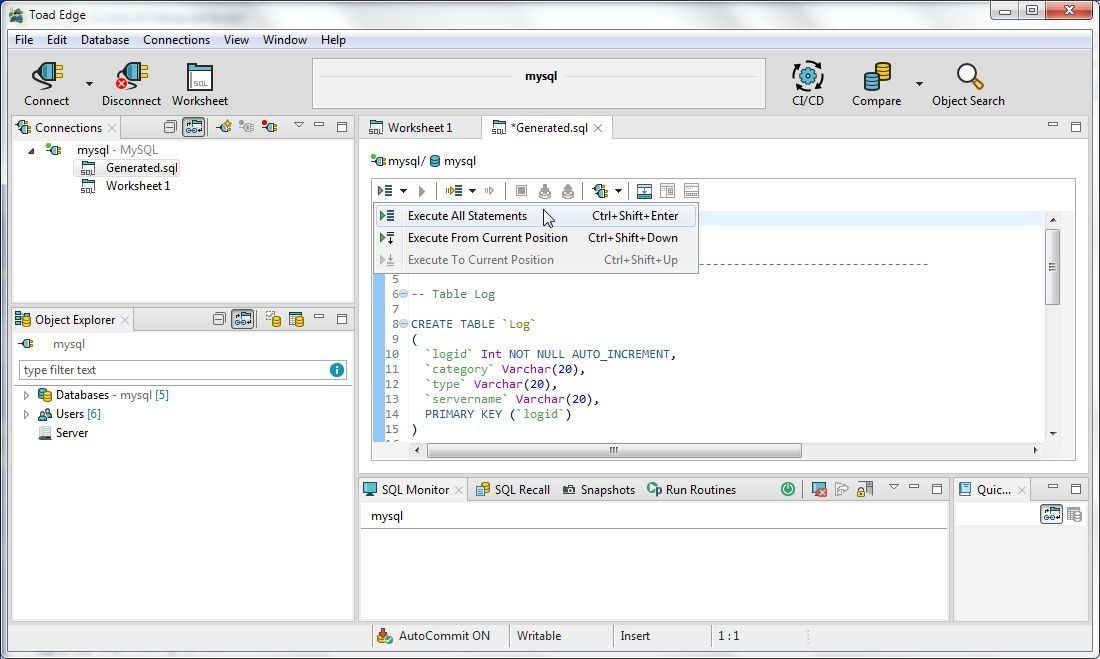
Figure 27. Execute All Statements
The four DDL statements get processed, as shown in Figure 28.
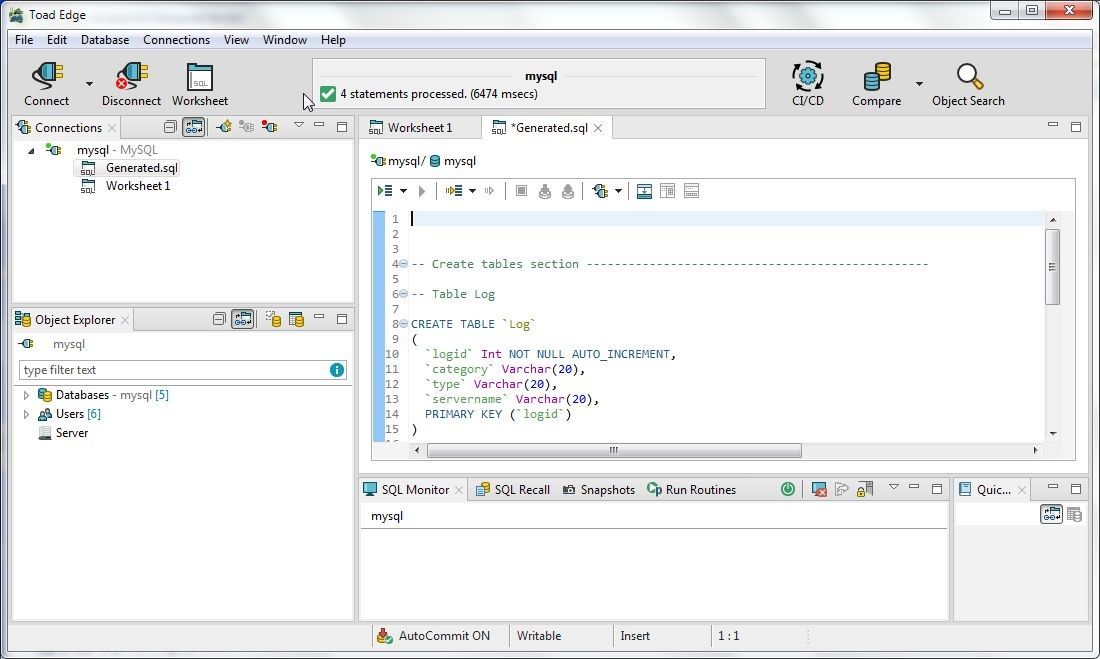
Figure 28. DDL Statements processed
The SQL Recall view lists which DDL statements got processed, as shown in Figure 29.
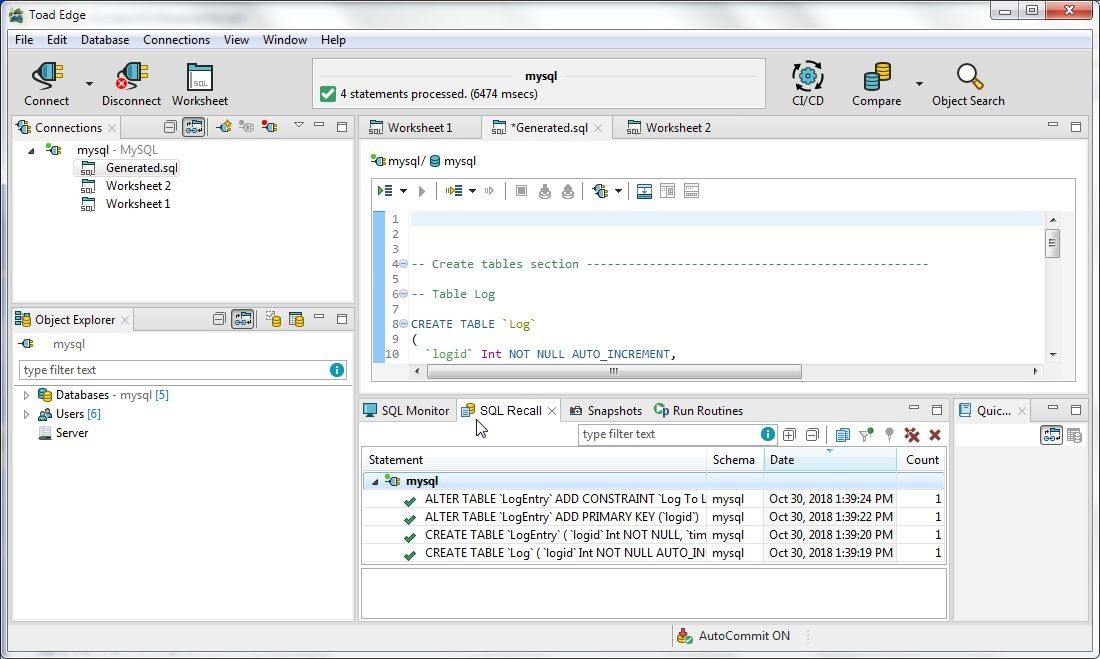
Figure 29. SQL Recall
To describe the tables created, run DESC statements in the same or new SQL Worksheet. A new SQL Worksheet may be opened with Open SQL Worksheet in toolbar, as shown in Figure 30.
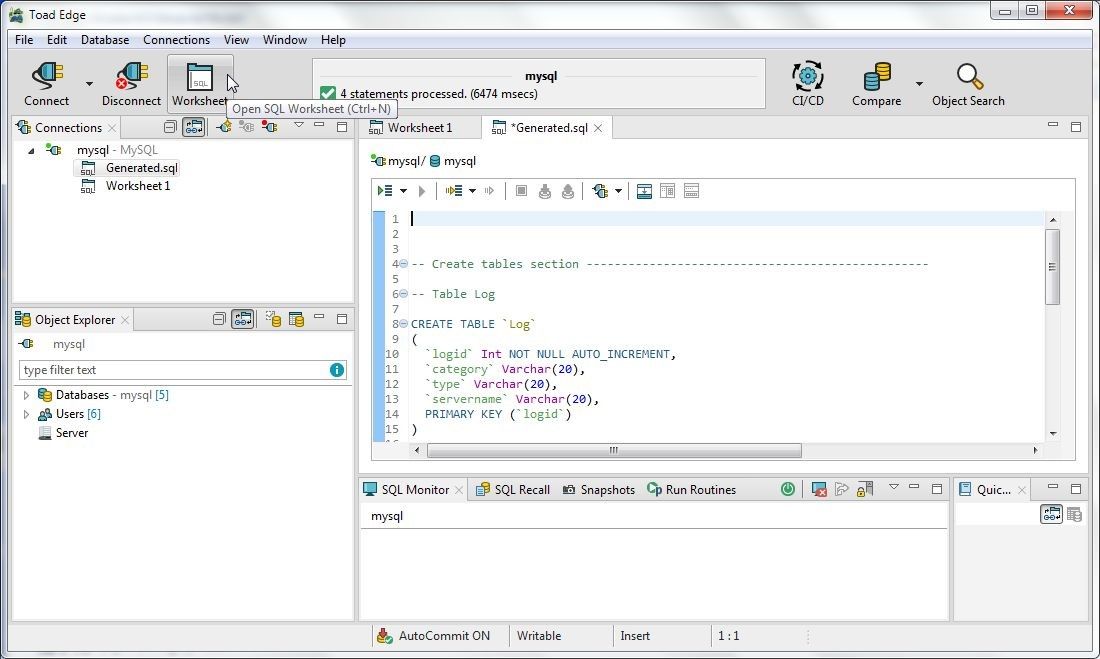
Figure 30. Open SQL Worksheet
Add a DESC statement for theLog table as shown in Figure 31.
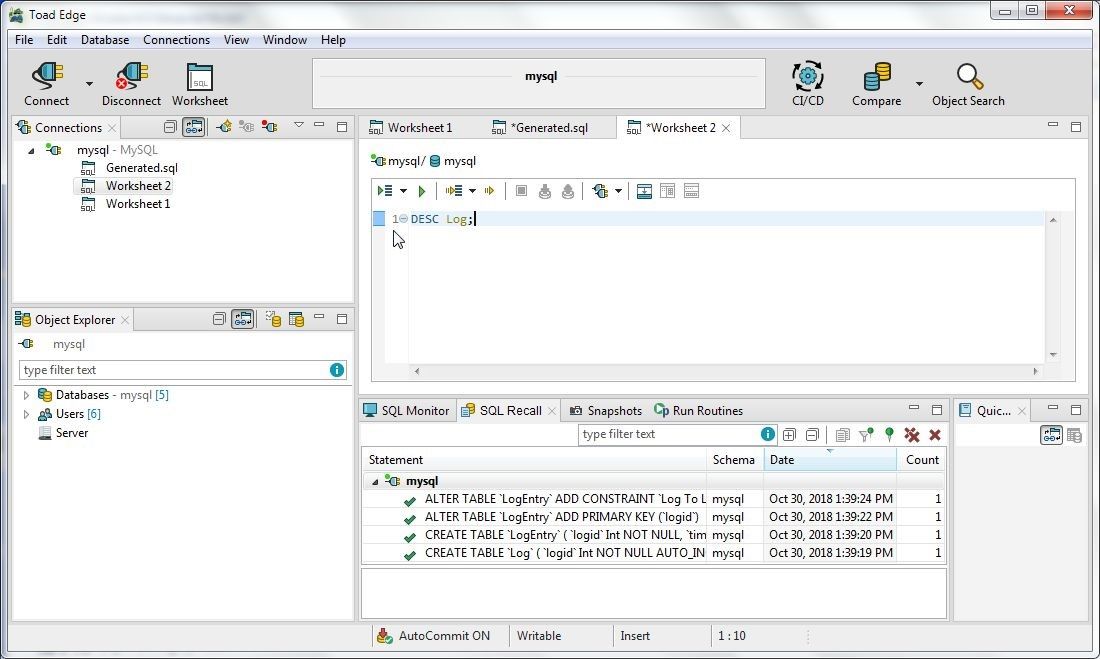
Figure 31. DESC Statement for Log Table
Click on Execute SQL Statement as shown in Figure 32.
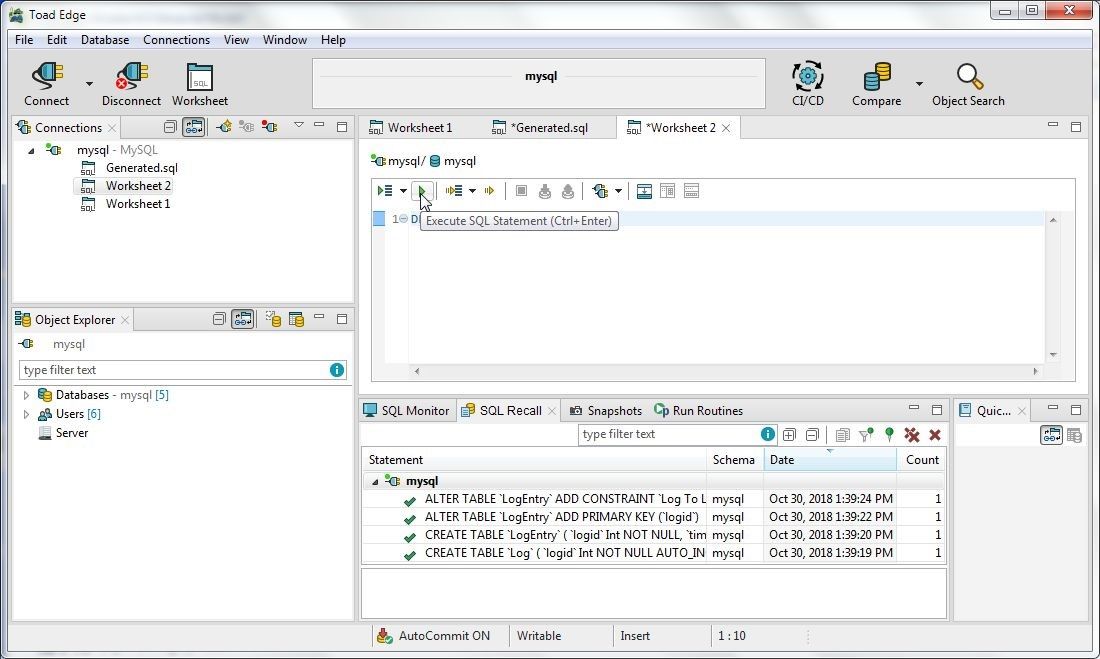
Figure 32. Execute SQL Statement
The table description for Log table gets displayed, as shown in Figure 33.
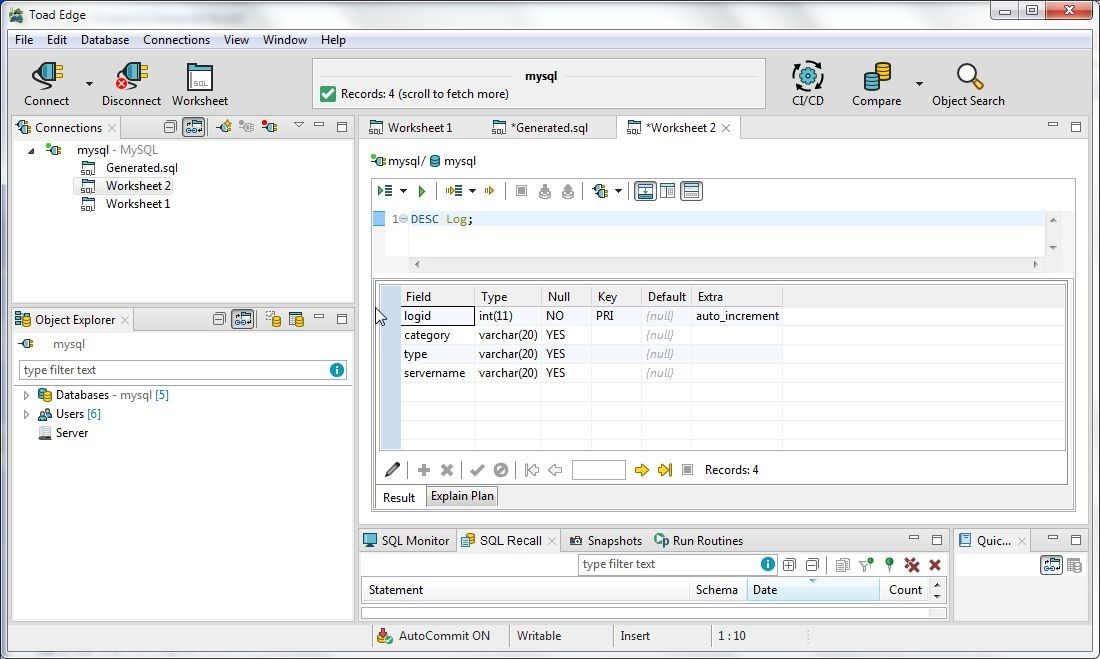
Figure 33. Table Description for Log Table
Similarly, get the table description for the LogEntry table as shown in Figure 34.
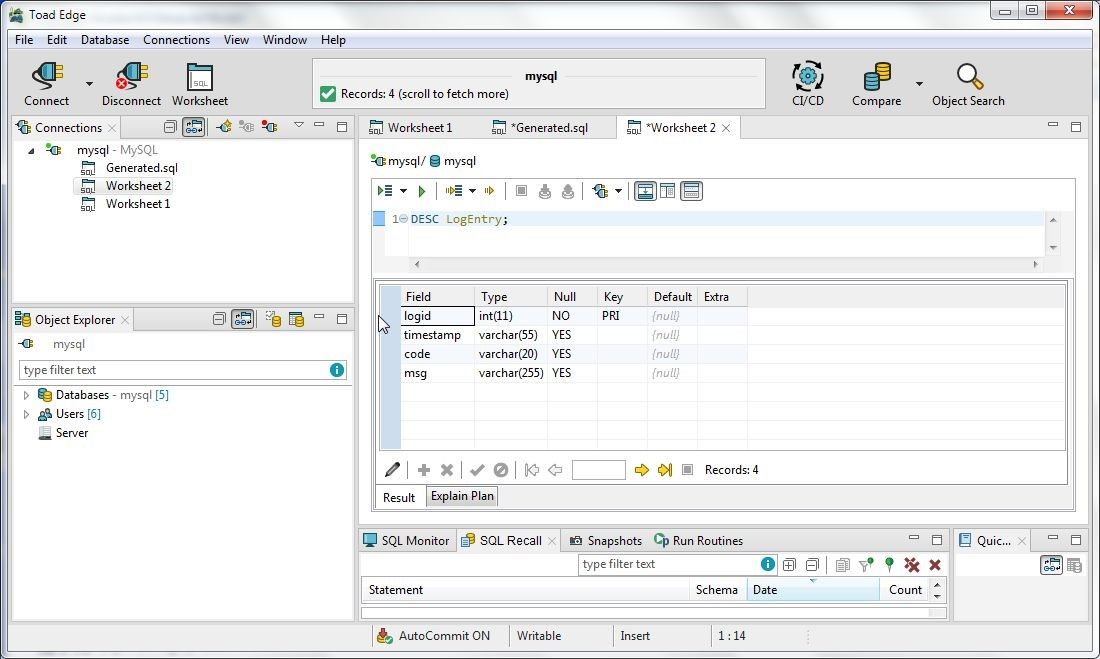
Figure 34. DESC command output for LogEntry Table
The log andlogentry tables are shown in Figure 35.
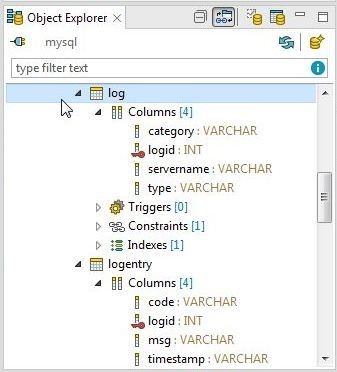
Figure 35. Log and logentry Tables
Running DML to Add Table Data
Next, we shall run DML statements to add data to the two tables Log and LogEntry. Copy the following DML statements to a SQL Worksheet in Toad Edge.
INSERT INTO Log(logid,category,type,servername) VALUES(1,'Notice','WebLogicServer','AdminServer');
INSERT INTO Log(logid,category,type,servername) VALUES(2,'Notice','WebLogicServer','AdminServer');
INSERT INTO Log(logid,category,type,servername) VALUES(3,'Notice','WebLogicServer','AdminServer');
INSERT INTO Log(logid,category,type,servername) VALUES(4,'Notice','WebLogicServer','AdminServer');
INSERT INTO Log(logid,category,type,servername) VALUES(5,'Notice','WebLogicServer','AdminServer');
INSERT INTO Log(logid,category,type,servername) VALUES(6,'Notice','WebLogicServer','AdminServer');
INSERT INTO Log(logid,category,type,servername) VALUES(7,'Notice','WebLogicServer','AdminServer');
INSERT INTO LogEntry(logid,timestamp,code,msg) VALUES(1,'Apr-8-2014-7:06:16-PM-PDT','BEA-000365','Server state changed to STANDBY');
INSERT INTO LogEntry(logid,timestamp,code,msg) VALUES(2,'Apr-8-2014-7:06:17-PM-PDT','BEA-000365','Server state changed to STARTING');
INSERT INTO LogEntry(logid,timestamp,code,msg) VALUES(3,'Apr-8-2014-7:06:18-PM-PDT','BEA-000365','Server state changed to ADMIN');
INSERT INTO LogEntry(logid,timestamp,code,msg) VALUES(4,'Apr-8-2014-7:06:19-PM-PDT','BEA-000365','Server state changed to RESUMING');
INSERT INTO LogEntry(logid,timestamp,code,msg) VALUES(5,'Apr-8-2014-7:06:20-PM-PDT','BEA-000361','Started WebLogic AdminServer');
INSERT INTO LogEntry(logid,timestamp,code,msg) VALUES(6,'Apr-8-2014-7:06:21-PM-PDT','BEA-000365','Server state changed to RUNNING');
INSERT INTO LogEntry(logid,timestamp,code,msg) VALUES(7,'Apr-8-2014-7:06:22-PM-PDT','BEA-000360','Server started in RUNNING mode');
Click on Execute All Statements as shown in Figure 36.
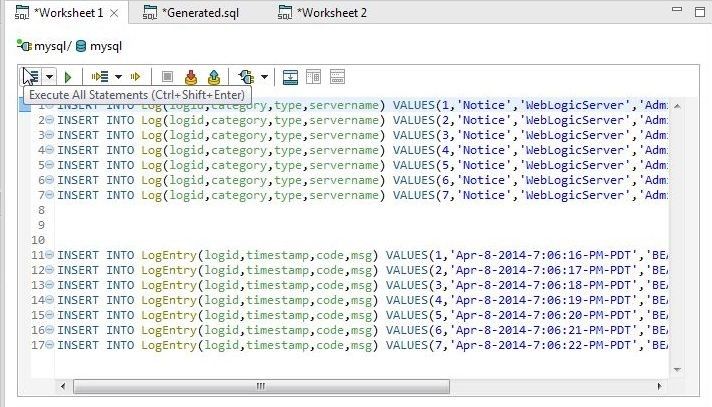
Figure 36. Execute All Statements
The 14 DML statements get processed, as shown in Figure 37.
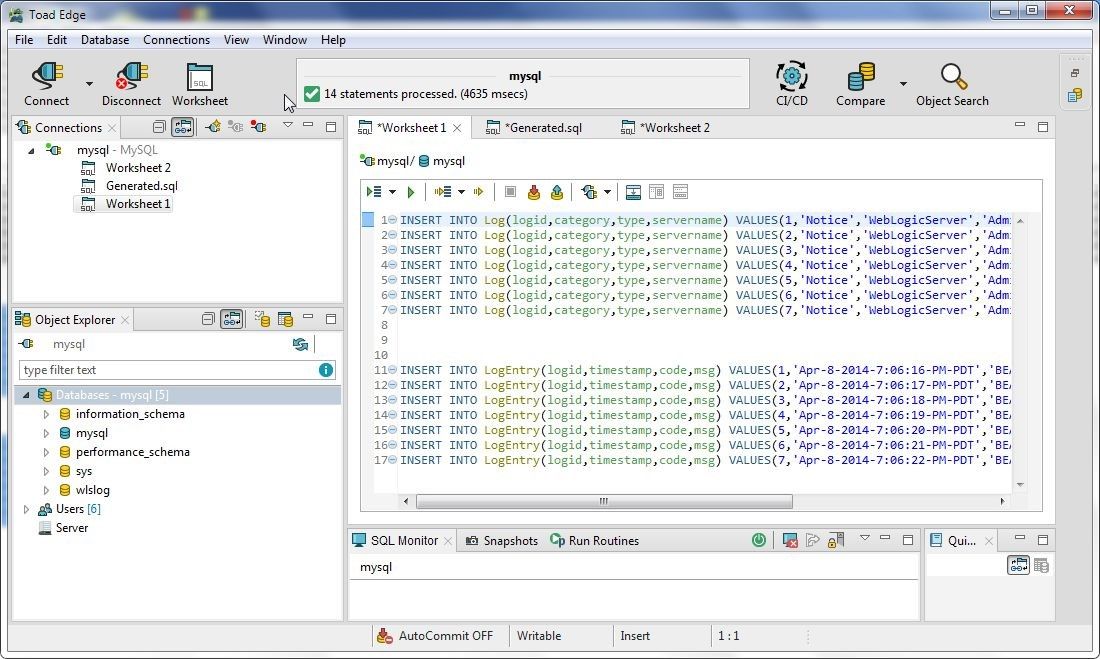
Figure 37. DML Statements processed
Querying a Table
Run a SQL statement to query the Log table.
SELECT * from Log;
Copy the SQL statement to a SQL Worksheet as shown in Figure 38.
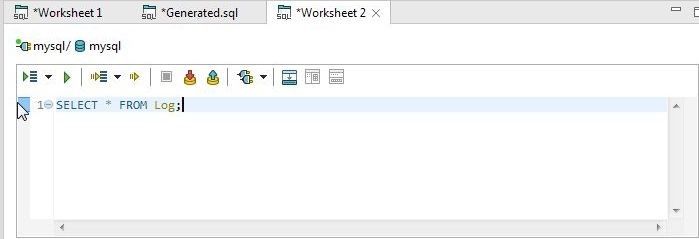
Figure 38. SQL SELECT Statement to Query Log table
Click on Execute SQL Statement as shown in Figure 39.
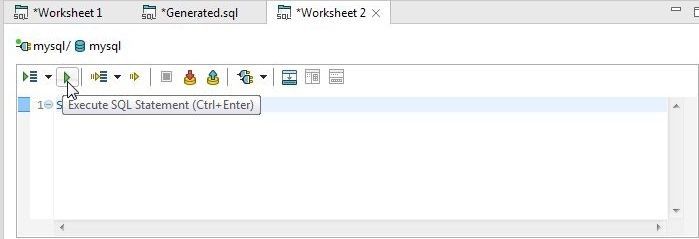
Figure 39. Execute SQL Statement
The resultset gets displayed, as shown in Figure 40.
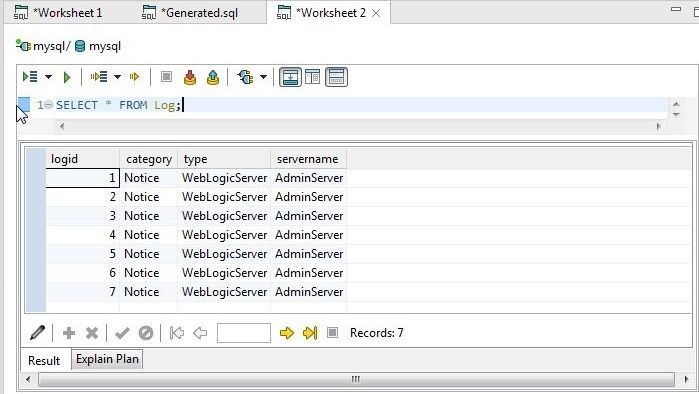
Figure 40. Resultset for Log Table
Similarly, the resultset for a SQL query on LogEntry table is shown in Figure 41.
Figure 41. Resultset for LogEntry Table
Dropping a Table
Because the foreign key logid in the LogEntry table that references primary keylogid in the Log table has the ON DELETE RESTRICT ON UPDATERESTRICT constraint set on it, the Log table cannot be deleted or updated without first deleting or updating the LogEntry table. The constraint is set with the following DDL that was generated by Toad Data Modeler and run in Toad Edge.
ALTER TABLE `LogEntry` ADD CONSTRAINT `Log To LogEntries` FOREIGN KEY (`logid`) REFERENCES `Log` (`logid`) ON DELETE RESTRICT ON UPDATE RESTRICT;
If a DROP Table Log statement is run theLog table does not get dropped and an error message gets generated, as shown in Figure 42.
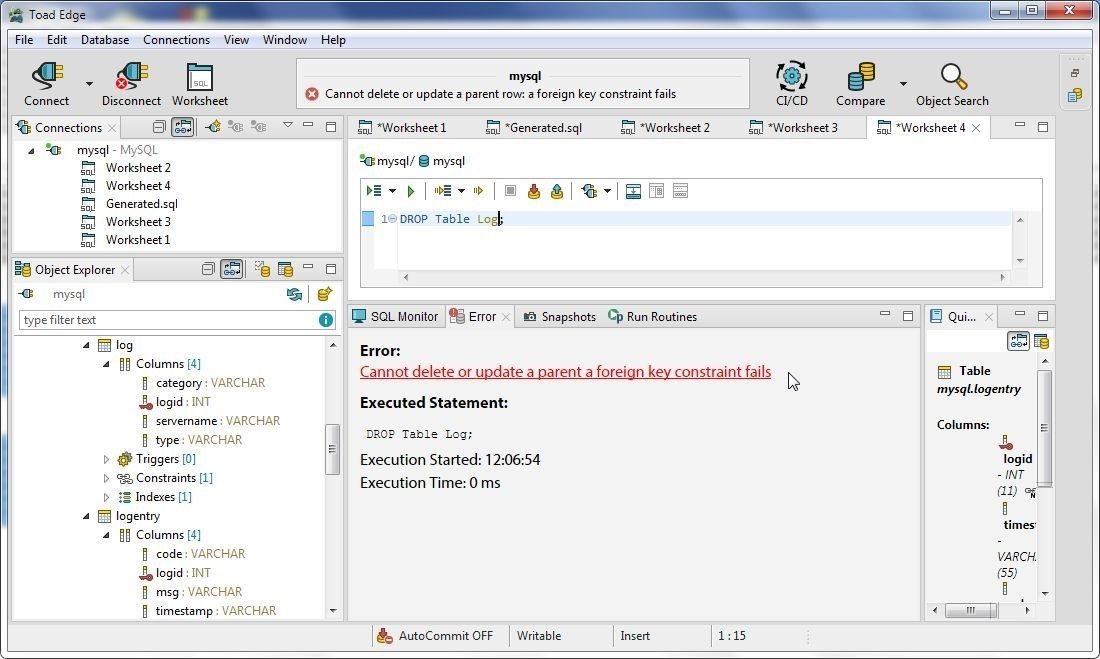
Figure 42. Log Table cannot be deleted or updated
Drop the LogEntry table first and Log table subsequently, as shown by DROP statements in Figure 43.
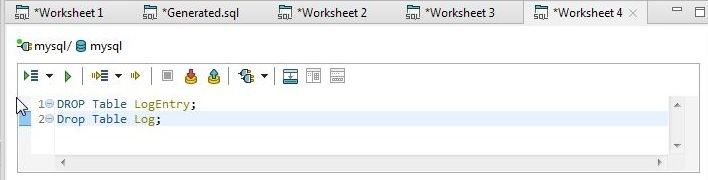
Figure 43. DROP Statements
Run the two DROP statements in the sequence listed, and the two statements get processed, as shown in Figure 44.
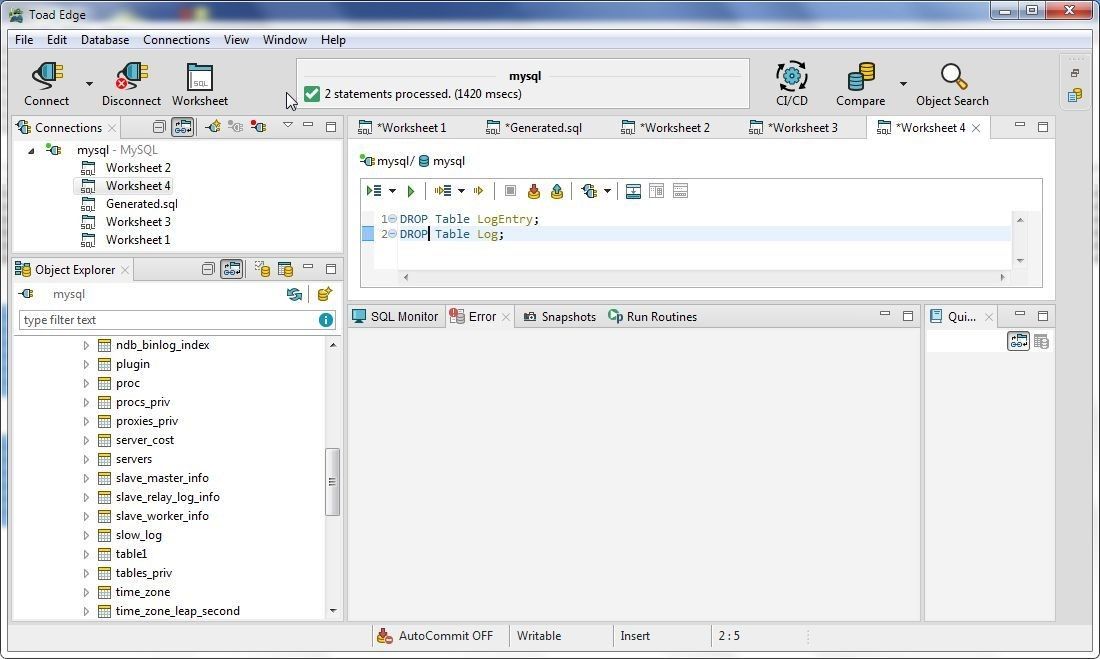
Figure 44. Two DROP Statements processed
Thelog and logentry tables get dropped and are not listed in Object Explorer, as shown in Figure 45.
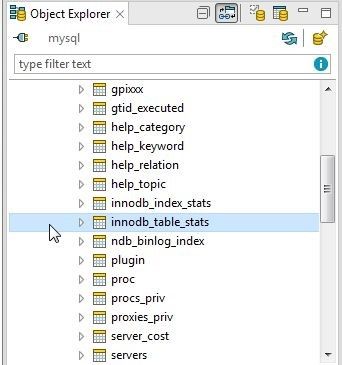
Figure 45. Tables log and logentry dropped
Conclusion
In two articles we have discussed using Toad Data Modeler and Toad Edge with MySQL 5.7 database. Toad Data Modeler is used to model entities and generate DDL. Toad Edge is used to run DDL and DML statements.
Start the discussion at forums.toadworld.com