Toad Data Modeler is a design and modeling tool for data with support for forward- and reverse-engineering to most of the commonly used relational database management systems (RDBMS). In the first of two articles we started by creating an empty model in Toad Data Modeler. Subsequently we reverse-engineered an Oracle Database instance from AWS RDS to the model. In this continuation article we shall discuss some of the other Toad Data Modeler features, as used with the model we reverse engineered. This article has the following sections.
Verifying a Model
Exploring Database Objects
Generating DDL for Model
Browsing Generated DDL in Toad Oracle
Saving a Model
Searching for Database Objects
Creating a Report
Converting a Model
Verifying a Model
A new model, whether created in Toad Data Modeler or reverse engineered, should be verified before use. To verify the model we reverse-engineered, select the model tab and select Model>Verify Model as shown in Figure 1.
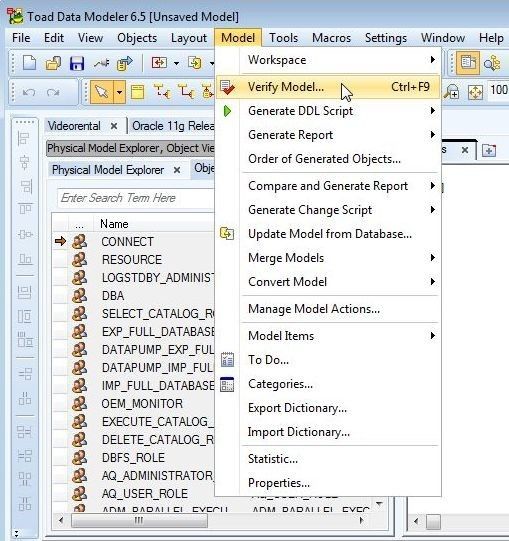
Figure 1. Model>Verify Model
In Model Verification the default Verification Settings are displayed, as shown in Figure 2. Click on Save & Verify.
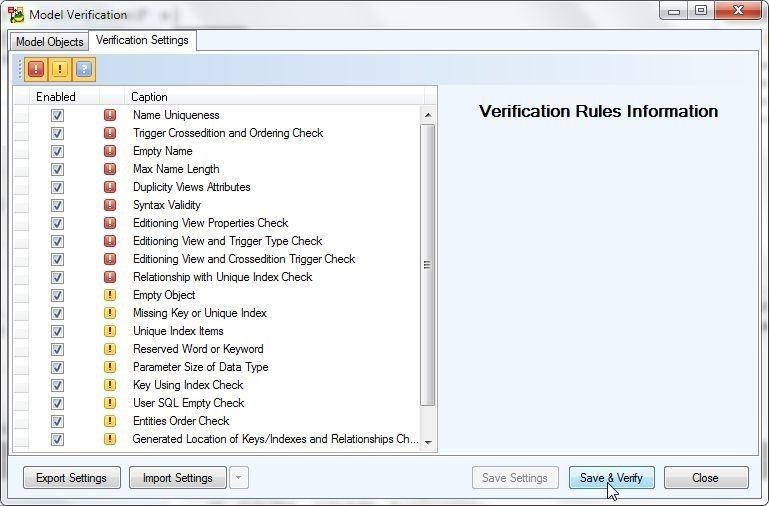
Figure 2. Model Verification
An Information dialog indicates that “Verification has finished without errors”, as shown in Figure 3. Click on OK.
Figure 3. Verification Information
The verification settings may be modified by selecting Options as shown in Figure 4.
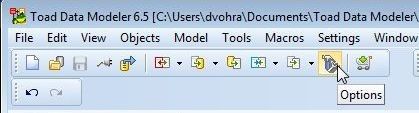
Figure 4. Options
In Options select Model>Oracle>Oracle 11g Release 2 as shown in Figure 5. The default Verificator settings are listed and may be modified.
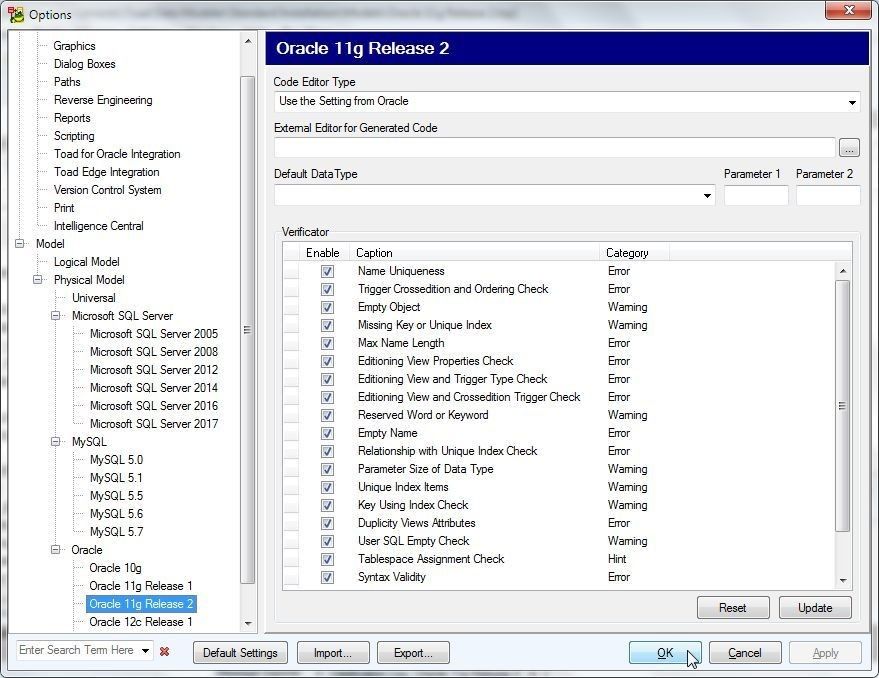
Figure 5. Default Verificator Settings
Exploring Database Objects
The database objects in the model we reverse-engineered are listed in the Object Viewer tab in Figure 6.
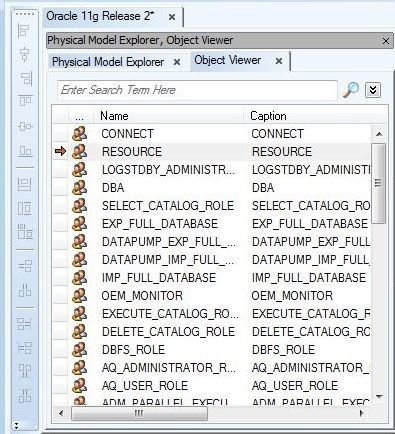
Figure 6. Object Viewer
To display detail about an object double-click on the object in Physical Model Explorer, the DBA object as an example, as shown in Figure 7.
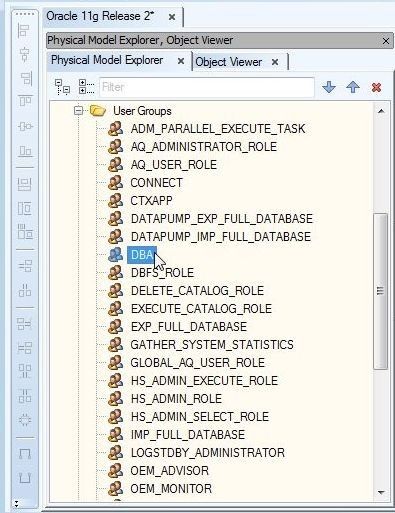
Figure 7. Selecting DBA Object
The User Group Settings for the DBA group get displayed, as shown in Figure 8.
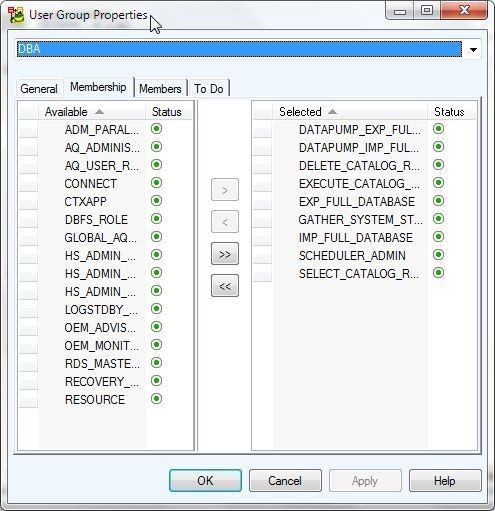
Figure 8. User Group Settings for DBA
An object may also be selected from the Physical Model Explorer, as shown for DVOHRA user in Figure 9.
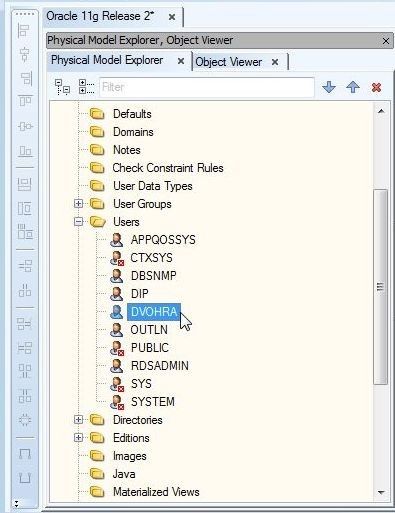
Figure 9. Selecting User DVOHRA
The User Properties for DVOHRA get displayed, as shown in Figure 10.
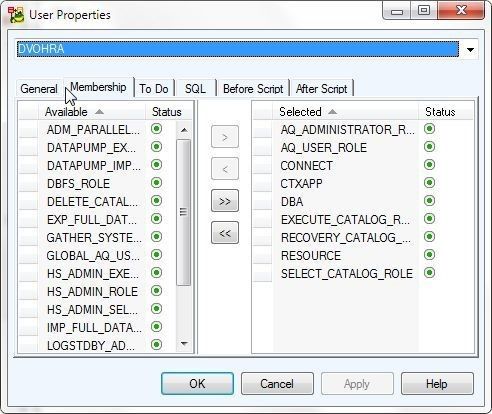
Figure 10. User Properties for DVOHRA
The Object Viewer may also be selected from the toolbar. A specific type of model items may be selected from Model>Model Items, as shown in Figure 11. Select User Groups as an example.
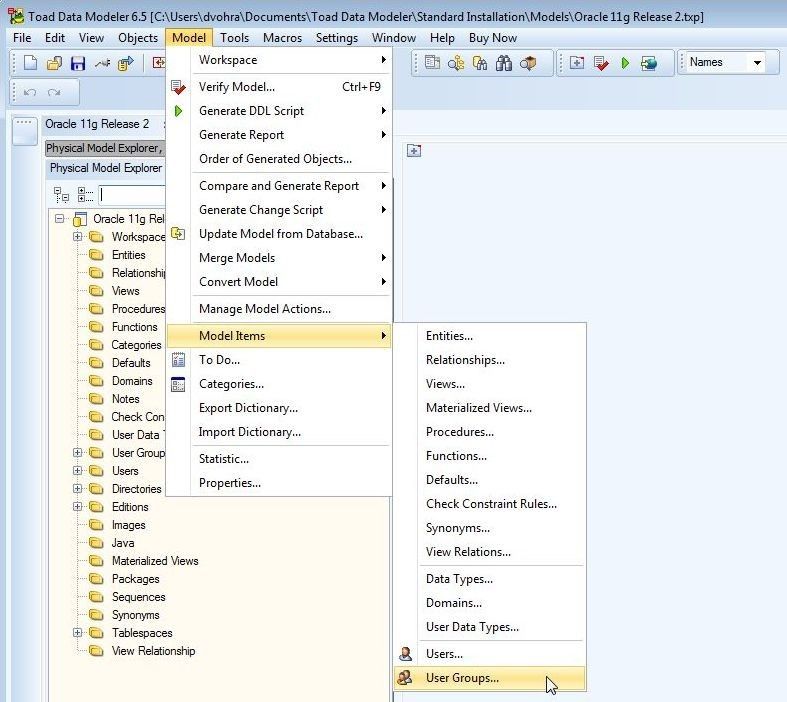
Figure 11. Model>Model Items>User Groups
The User Groups get listed, as shown in Figure 12.
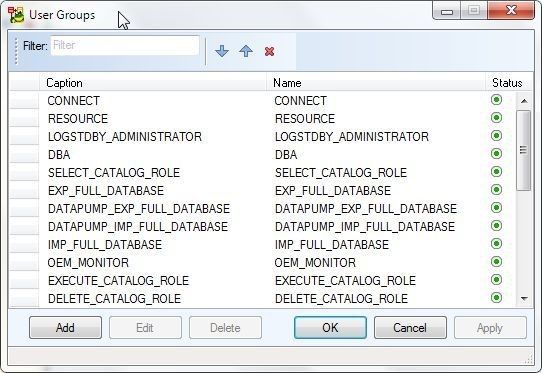
Figure 12. User Groups
Generating DDL for Model
To generate DDL for a model select the model in Physical Model Explorer and select Model>Generate DDL Script>Run, as shown in Figure 13.
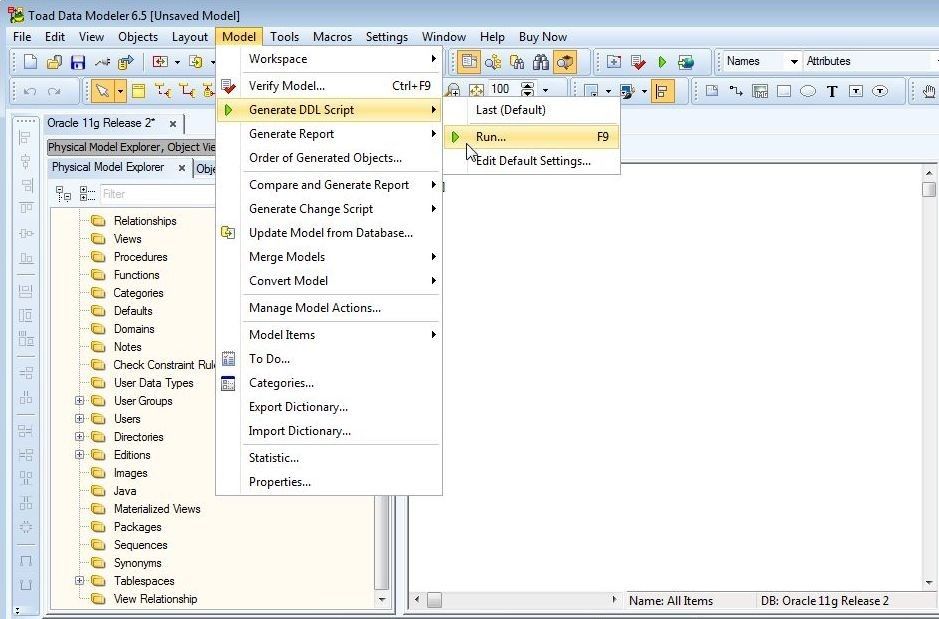
Figure 13. Model>Generate DDL Script>Run
The DDL Script Generation wizard gets launched, as shown in Figure 14. The Location of SQL File field specifies the default file, including directory path generated. Select a User/Schema from the drop-down.
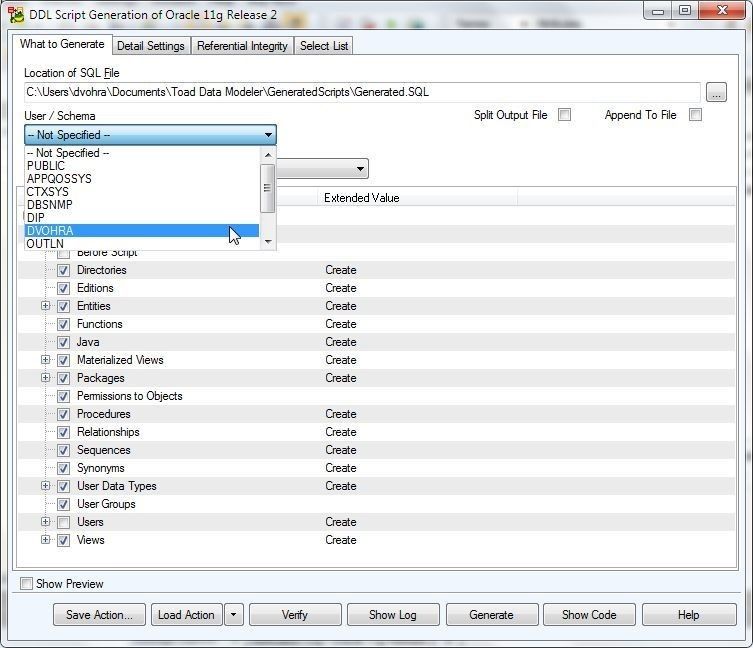
Figure 14. DDL Script Generation Wizard
Select DDL Script Generation strategy as Create or Replace as shown in Figure 15.
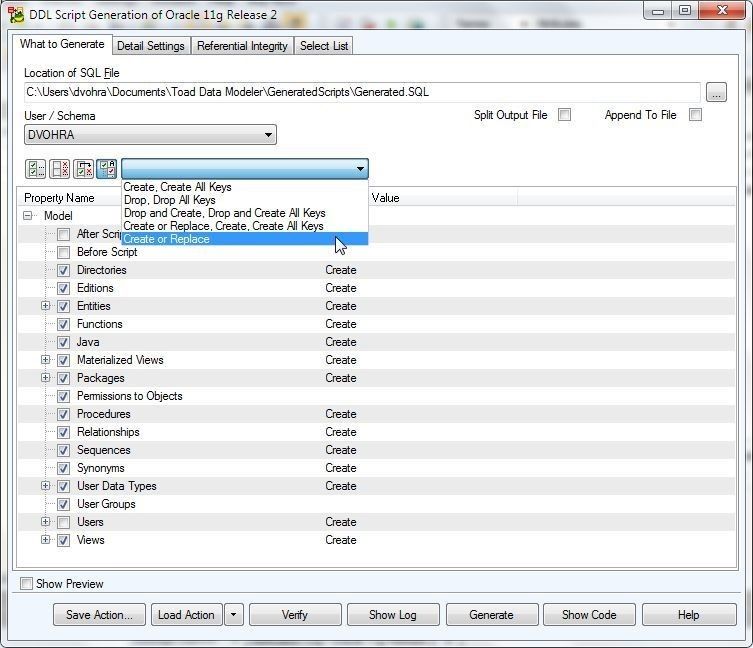
Figure 15. Create or Replace DDL Script Generation Strategy
Click on Verify as shown in Figure 16.
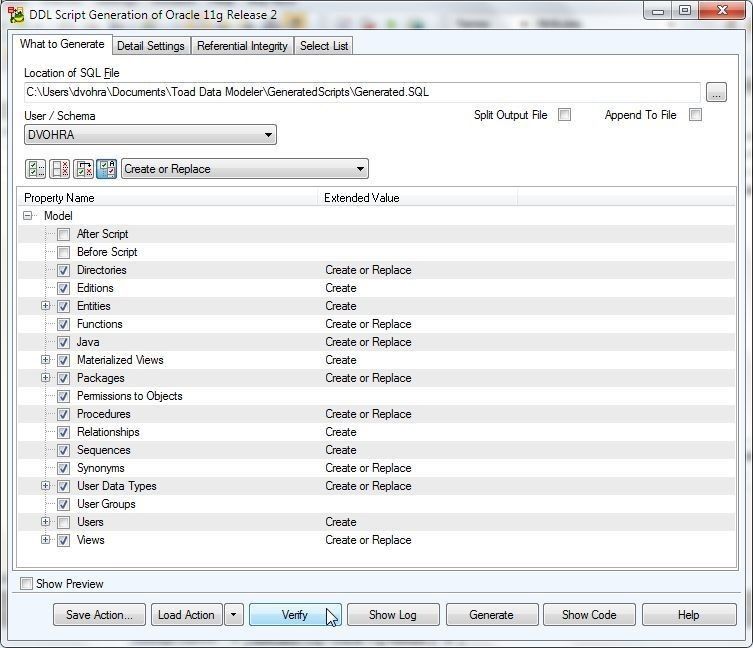
Figure 16. Verify
AnInformation dialog indicates that “Verification has been finished without errors”, as shown in Figure 17.
Figure 17. Verification Completed without any errors found
Click on Generate as shown in Figure 18 to generate an SQL script.
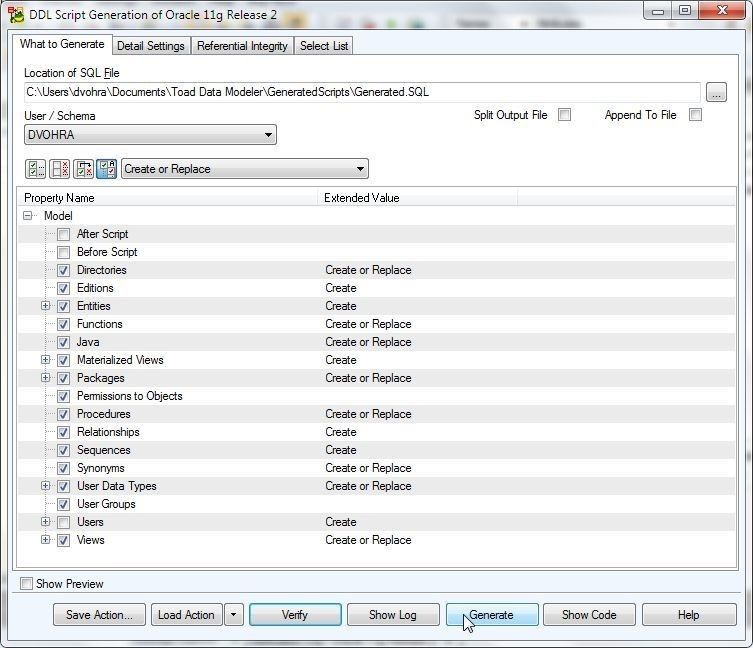
Figure 18. Generate
If the script generated contains multiple objects, a Confirm dialog prompts whether to split the file, as shown in Figure 19. Click on Yes if the generated DLL file may be split. Click on No if the file should not be split.
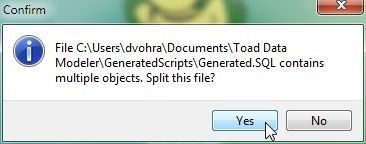
Figure 19. Confirm Dialog to Split File
A second Confirm dialog may get displayed if the number of files generated could be so large that it could affect the system performance. The Generated file is shown in Figure 20.
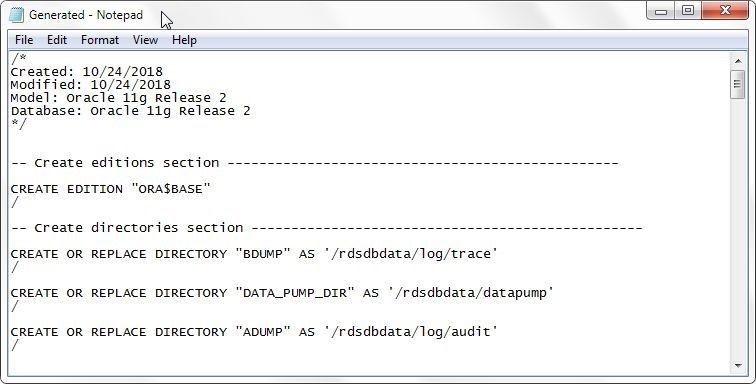
Figure 20. Generated DDL Script
To display the log for the generated DDL, click on Show Log as shown in Figure 21.

Figure 21. Show Log
As indicated by a log message in Figure 22, SQL Generation has been finished successfully.
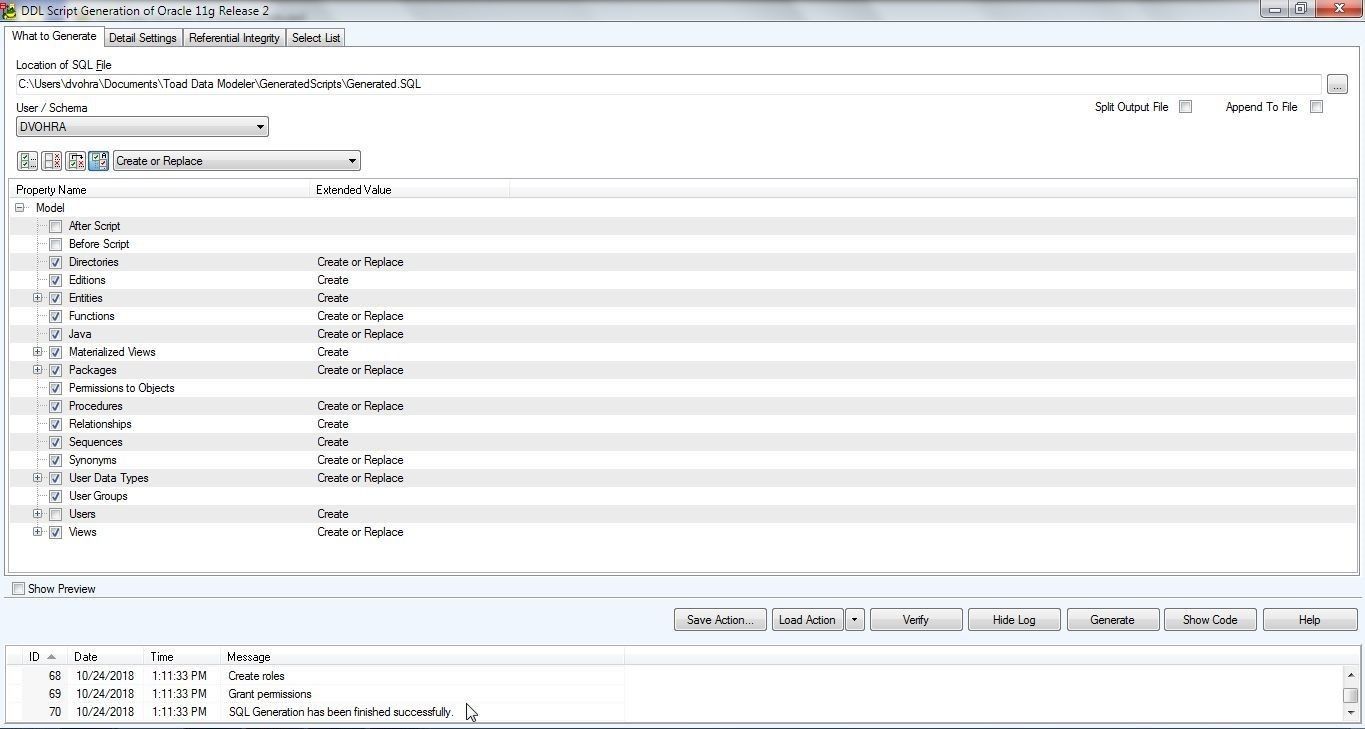
Figure 22. Log Messages
The DDL Script Generation Wizard may also be launched by selecting Generate DDL Script from the toolbar, as shown in Figure 23.
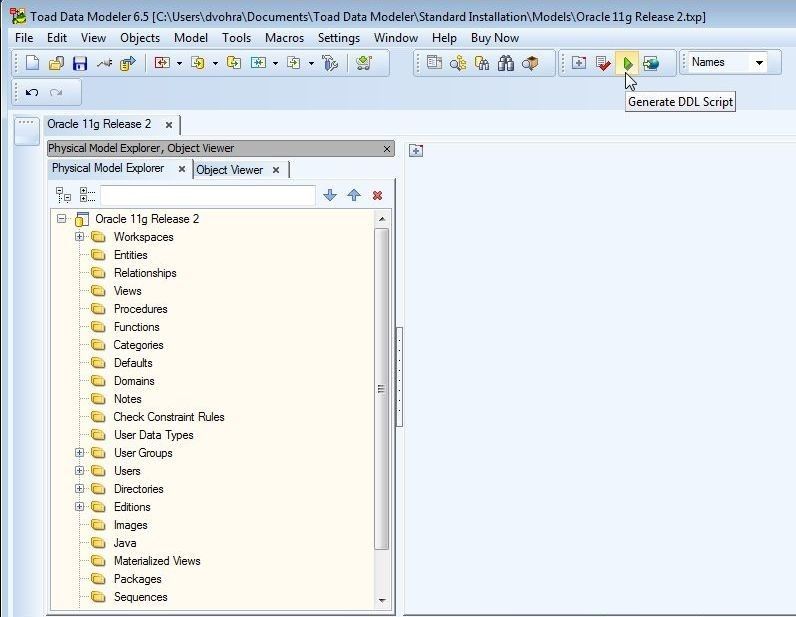
Figure 23. Generate DDL Script
Browsing Generated DDL in Toad for Oracle
To browse the generated DDL in Toad for Oracle, click on Show Code in the DDL Generation wizard, as shown in Figure 24.
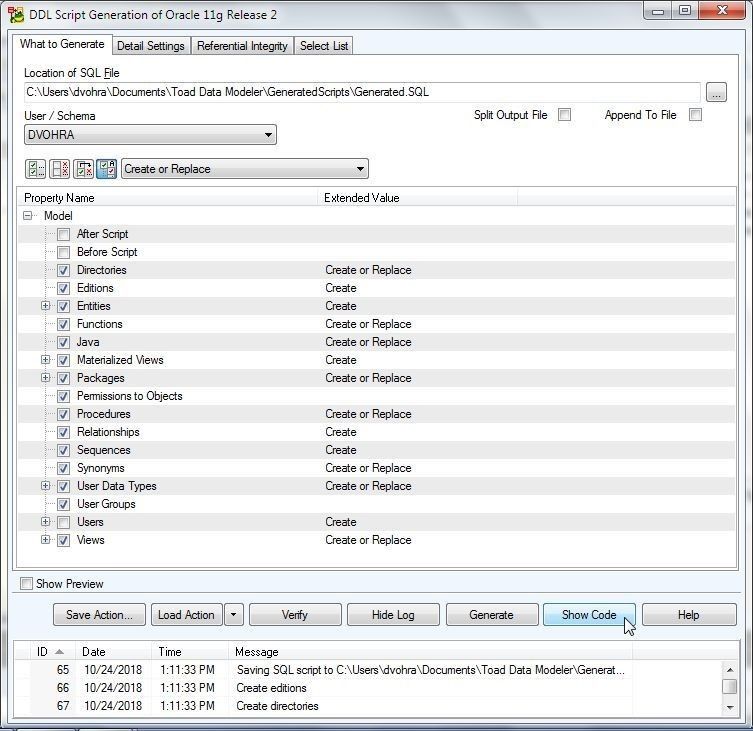
Figure 24. Show Code
The Toad for Oracle tool gets launched. The generated SQL gets displayed in Toad for Oracle, as shown in Figure 25.
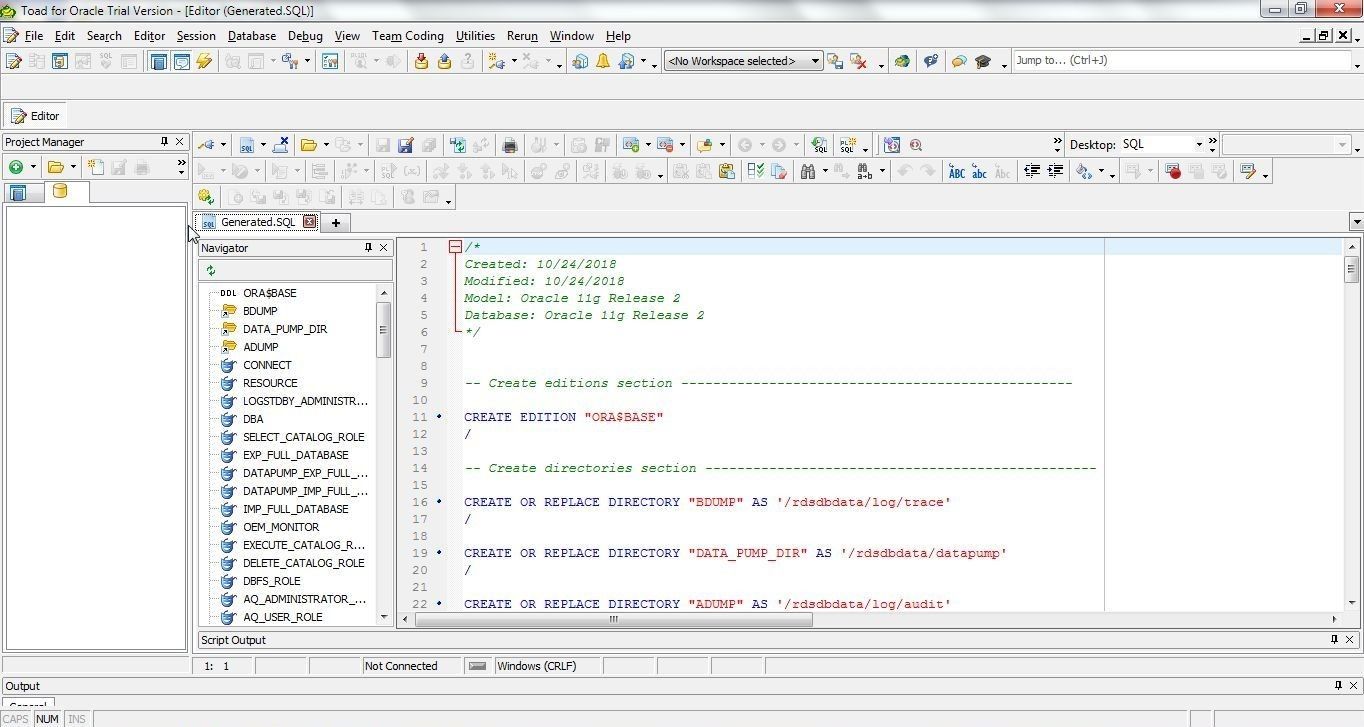
Figure 25. Generated SQL in Toad for Oracle
Saving a Model
To save the model we reverse-engineered, select the model tab in Physical Model Explorer and select Save Model from the toolbar as shown in Figure 26.
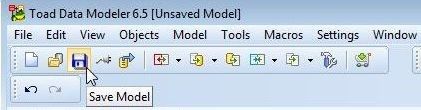
Figure 26. Save Model
In the Save Modelas window specify a file name and click on Save as shown in Figure 27.
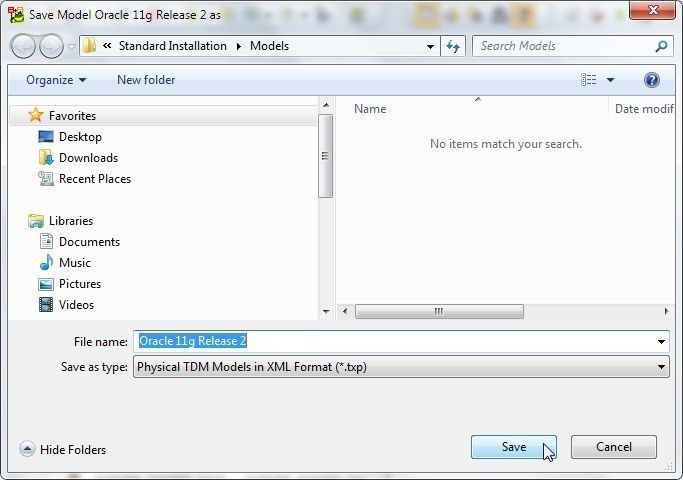
Figure 27. Save Model as
Searching for Database Objects
To search for database objects click on Quick Search in the toolbar as shown in Figure 28.

Figure 28. Quick Search
In Quick Search wizard specify a search term or object to search, and the objects get listed as shown in Figure 29.
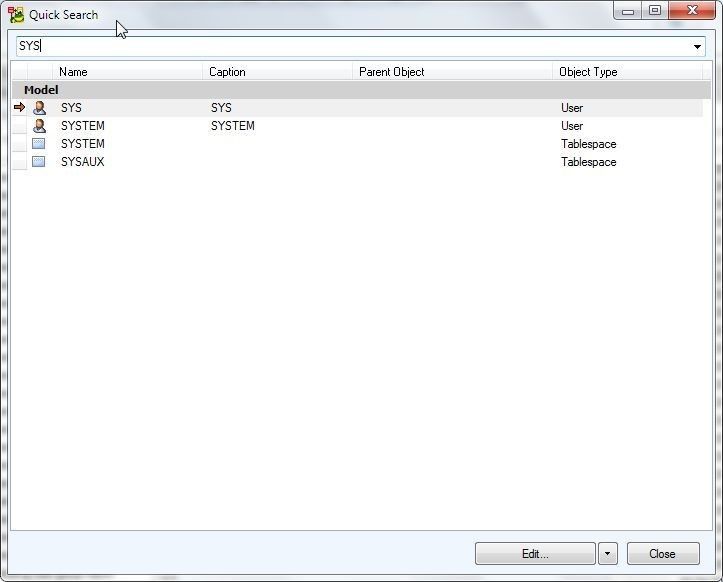
Figure 29. Quick Search wizard
Creating a Report
In this section we shall discuss creating a report from the model we reverse-engineered. To generate a report, select the Model tab and select Model>Generate Report>Run as shown in Figure 30.
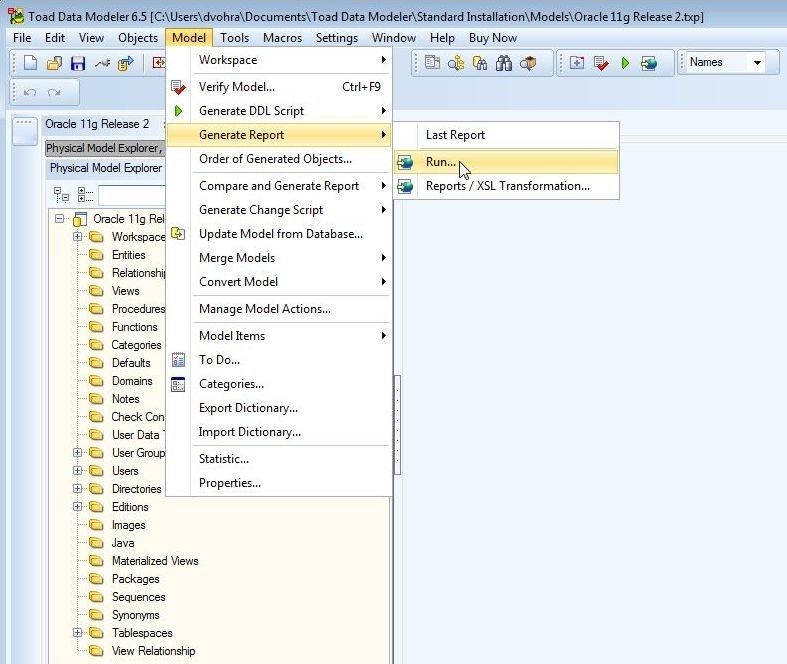
Figure 30. Model>Generate Report>Run
The Report Wizard gets launched, as shown in Figure 31. Select a report format from the choices of HTML, RTF, and PDF and click on Next as shown in Figure 31.
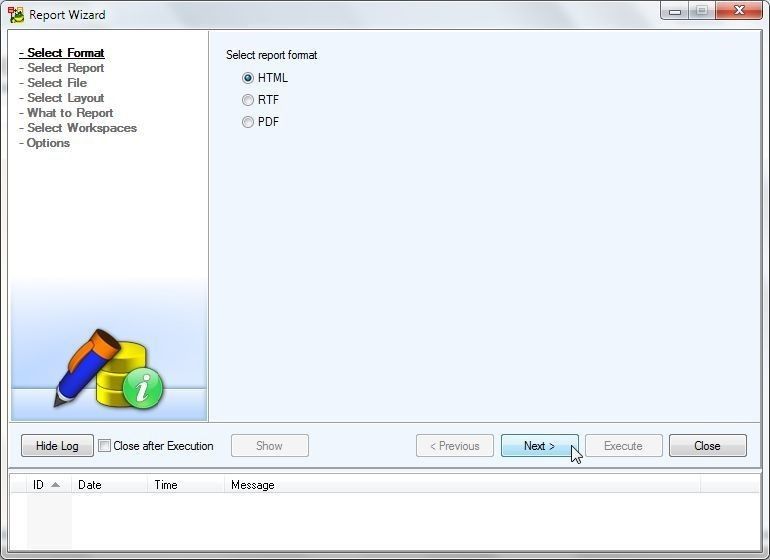
Figure 31. Report Wizard>Selecting a report format
Next, select report type, as shown in Figure 32, in which Basic HTML Report for PER Model is selected. Click on Next.
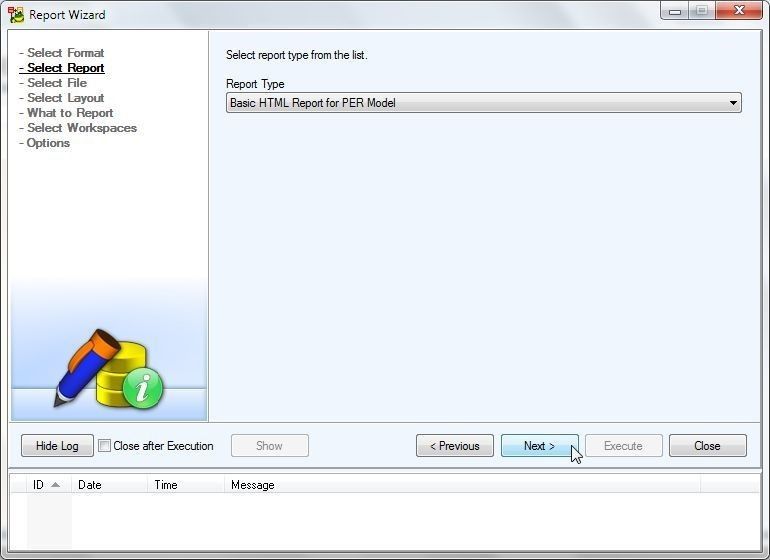
Figure 32. Selecting Report Type
Next, select the file and folder to save report to as shown in Figure 33. Click on Next.
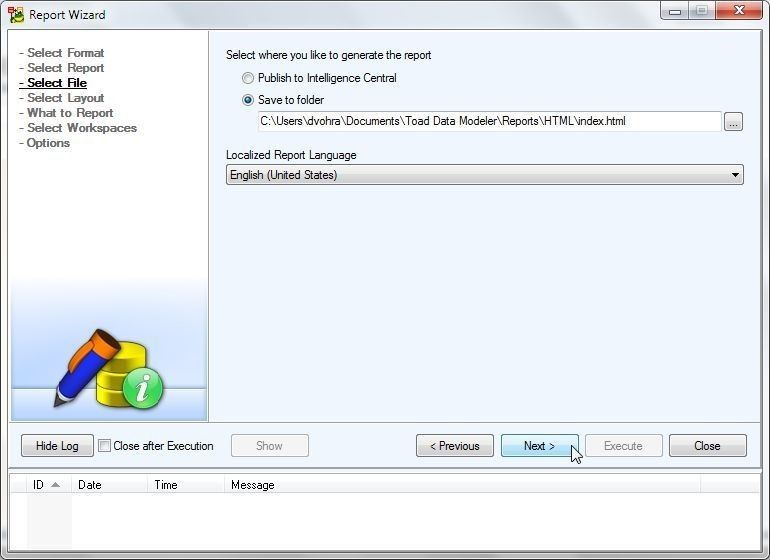
Figure 33. Select File
Next, select layout as Frameless as shown in Figure 34. Select CSS Style as Default. Click on Next.
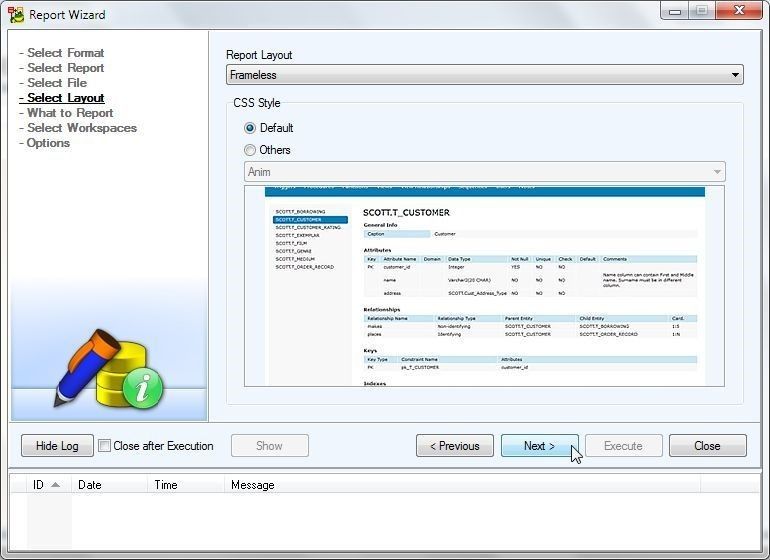
Figure 34. Selecting Layout
Next, select What to Report as shown in Figure 35.
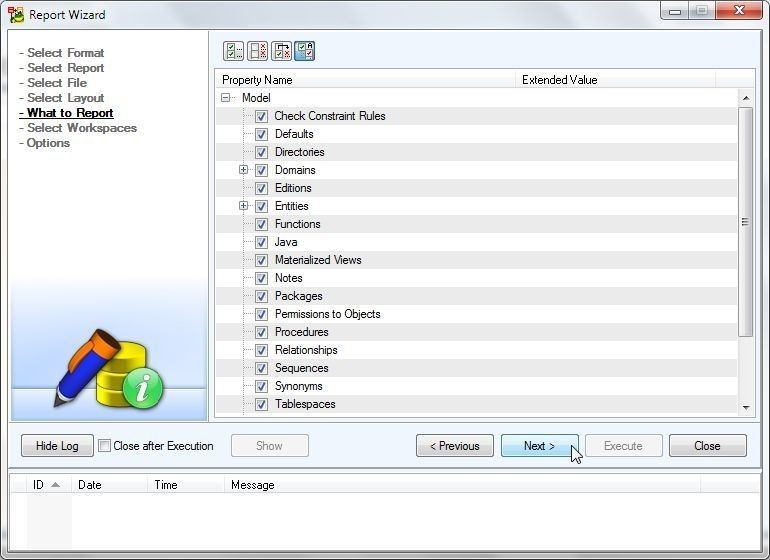
Figure 35. What to Report
In Select Workspaces select the default settings as shown in Figure 36.
Click on Next.
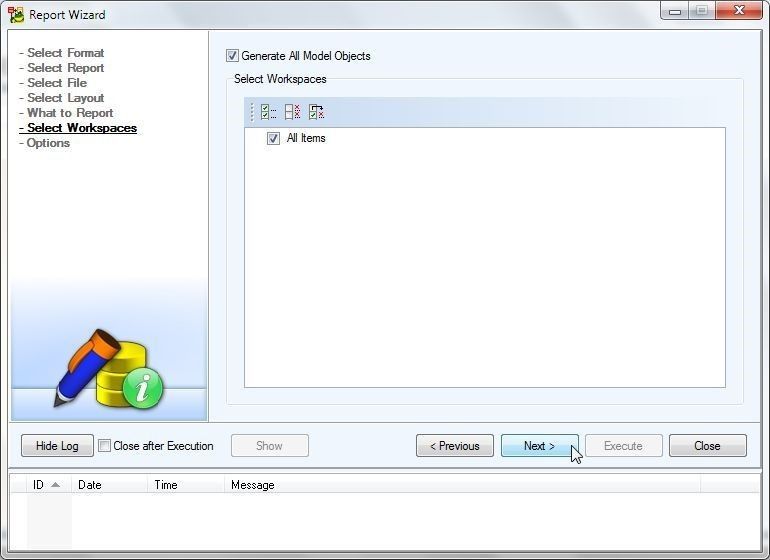
Figure 36. Select Workspaces
In Options, the various options including Display Mode are listed for selection, as shown in Figure 37. Click on Next. Click on Execute.
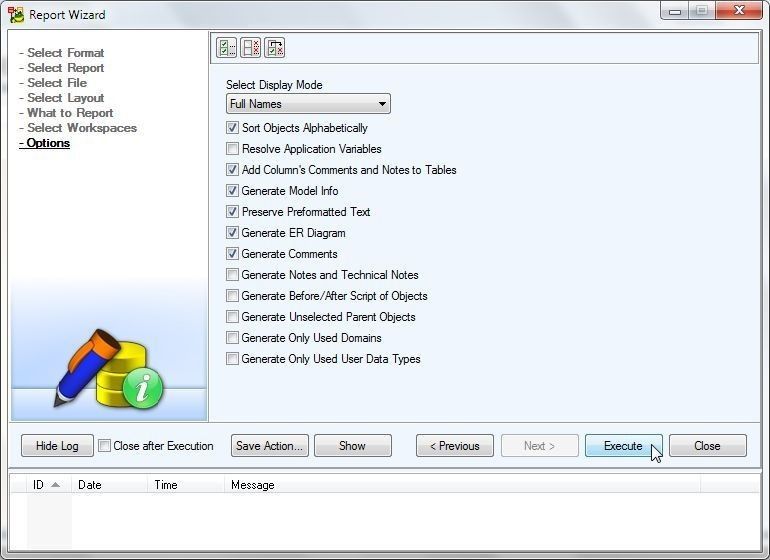
Figure 37. Options
An Information dialog indicates that “Report was generated”, as shown in Figure 38.
Figure 38. Information dialog
The log messages should also indicate that a report was generated, as shown in Figure 39.

Figure 39. Log Messages
Display the report in a browser, as shown in Figure 40. In addition to the basic Model Info, tabs are generated for ER (entity relation) Diagram, Tablespaces, Directories, Editions, Users, and User Groups.
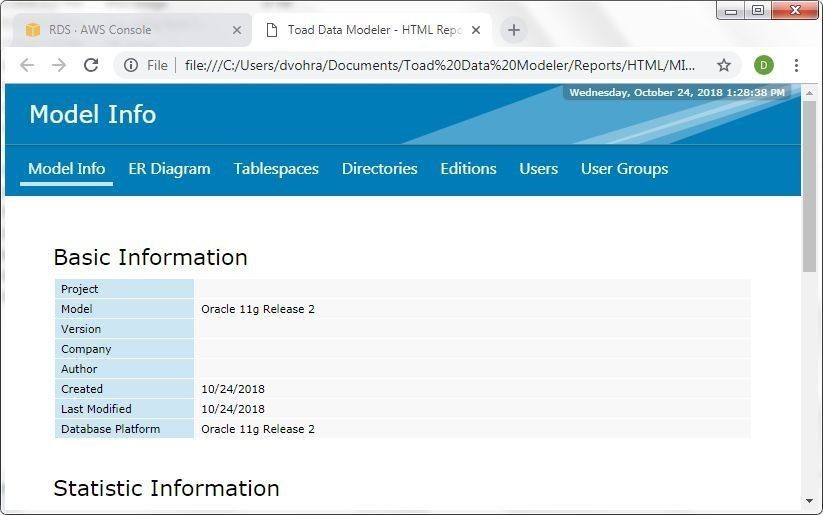
Figure 40. HTML Report
Scroll to list the number of different database objects in the model as shown in Figure 41.
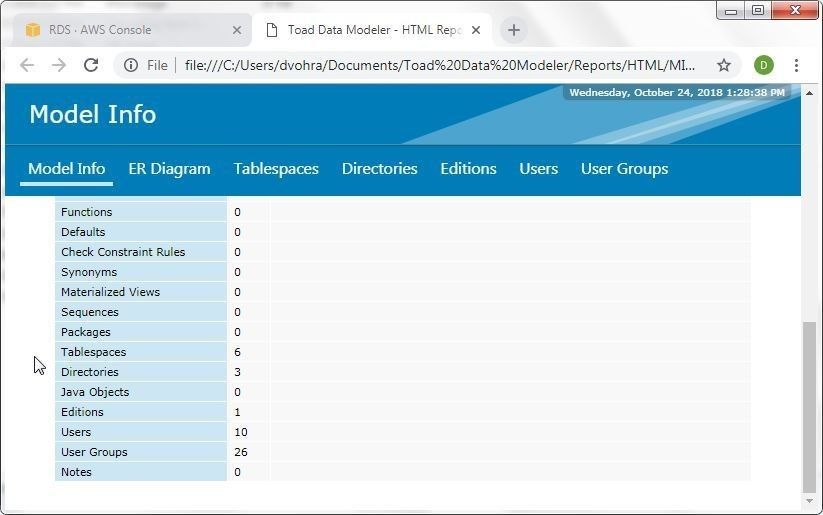
Figure 41. Number of Database Objects
The Tablespaces tab displays the tablespaces in the Oracle Database on RDS, as shown in Figure 42.
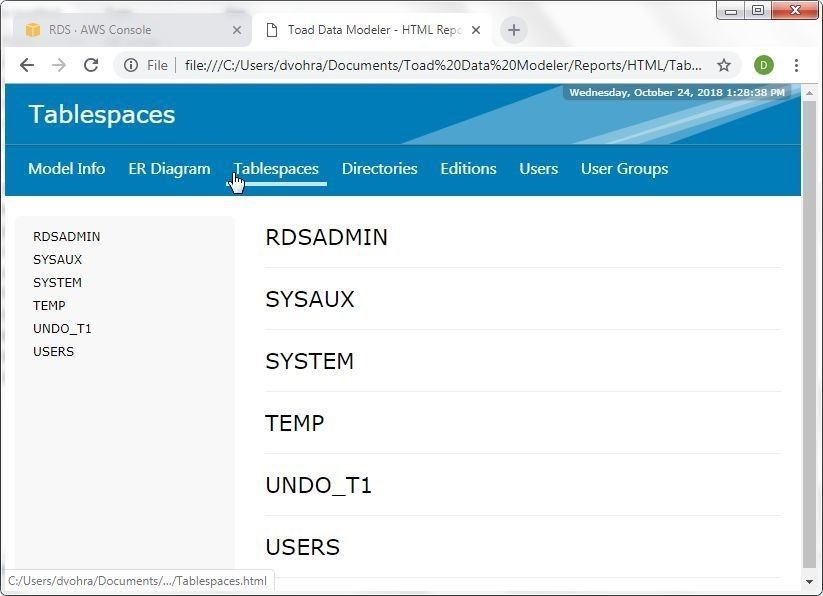
Figure 42. Tablespaces
The Directories tab lists the directories, as shown in Figure 43.
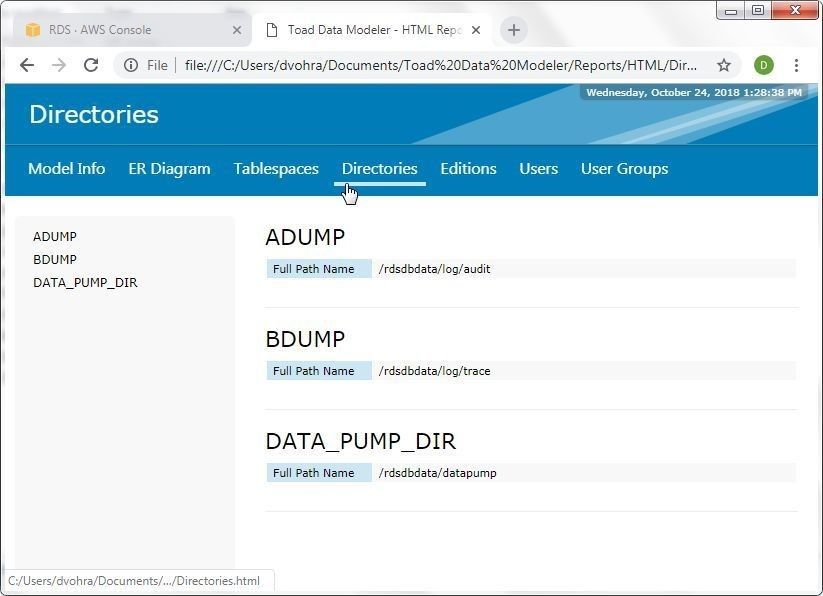
Figure 43. Directories
The Users tab lists the users. A user may be selected, as shown in Figure 44.
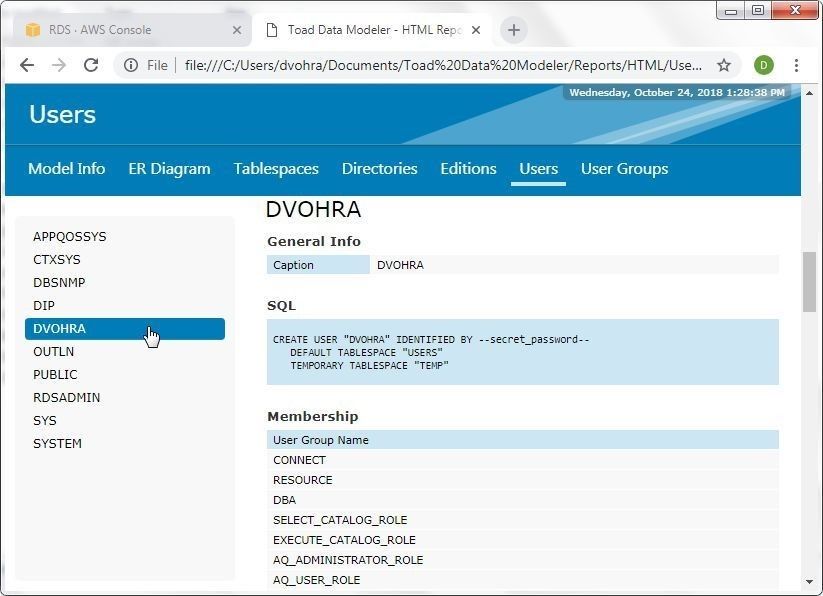
Figure 44. Users>DVOHRA
The User Groups tab lists the user groups, from which a user group may be selected to get detailed information about the user group, as shown for DBA in Figure 45.
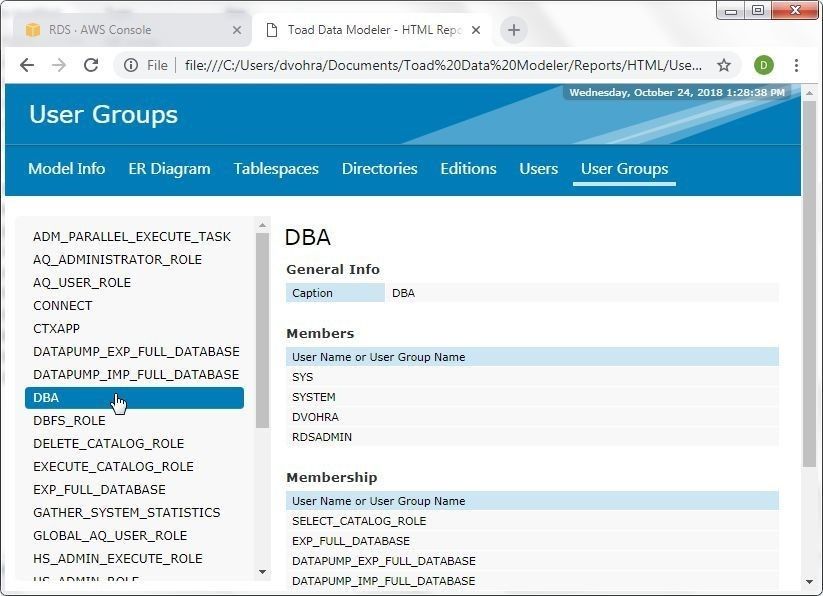
Figure 45. User Groups>DBA
The Report Wizard may also be launched from the toolbar, as shown in Figure 46.
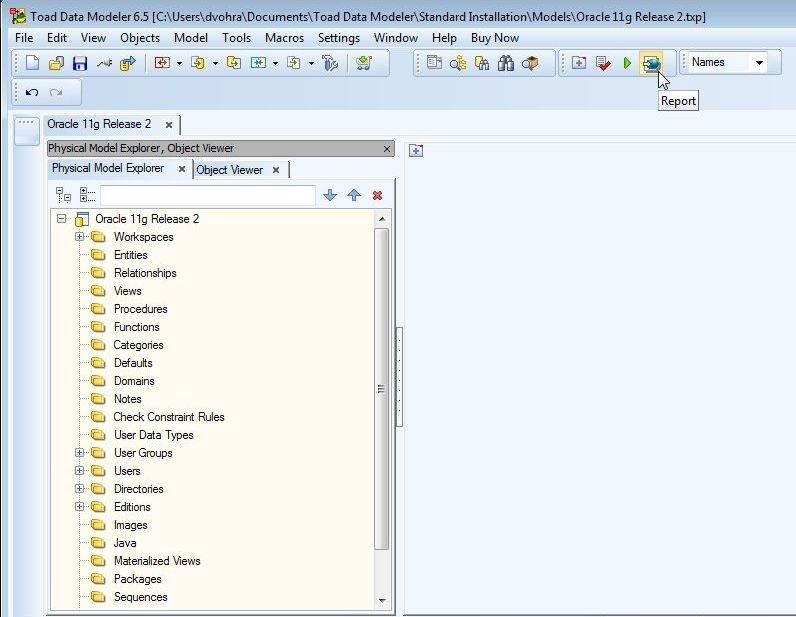
Figure 46. Selecting Report from Toolbar
Converting a Model
Toad Data Modeler provides a wizard to convert a data model created for one database to a model for another database. To launch the model conversion wizard, select Model>Convert Model>Run as shown in Figure 47.
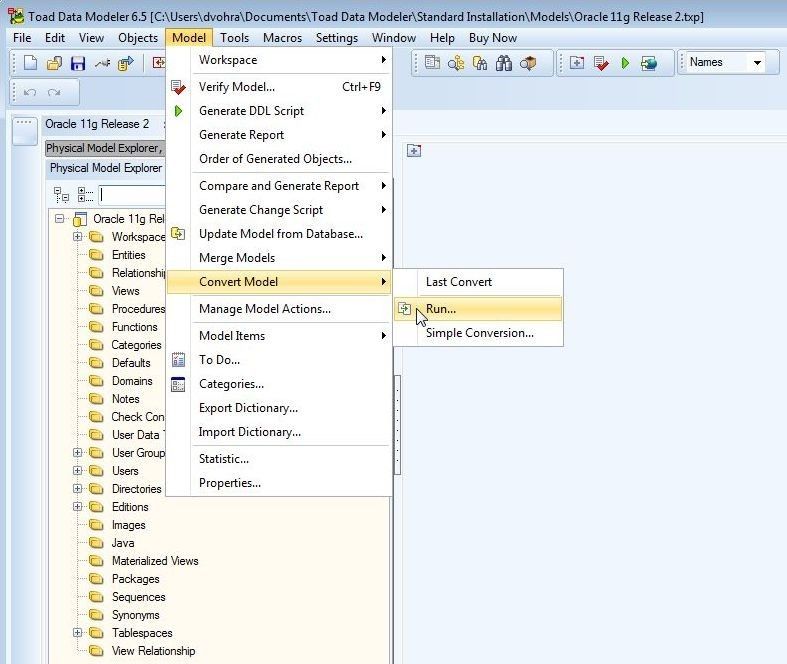
Figure 47. Model>Convert Model>Run
The Model Conversion wizard gets launched, as shown in Figure 48. First select a Target (Database) Platform.
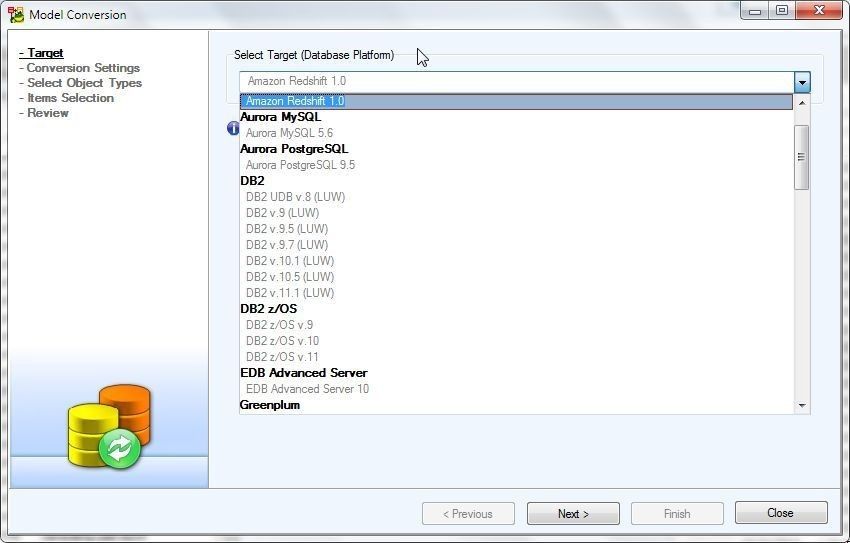
Figure 48. Model Conversion Wizard
Select Oracle 18c as the target database platform as shown in Figure 49.
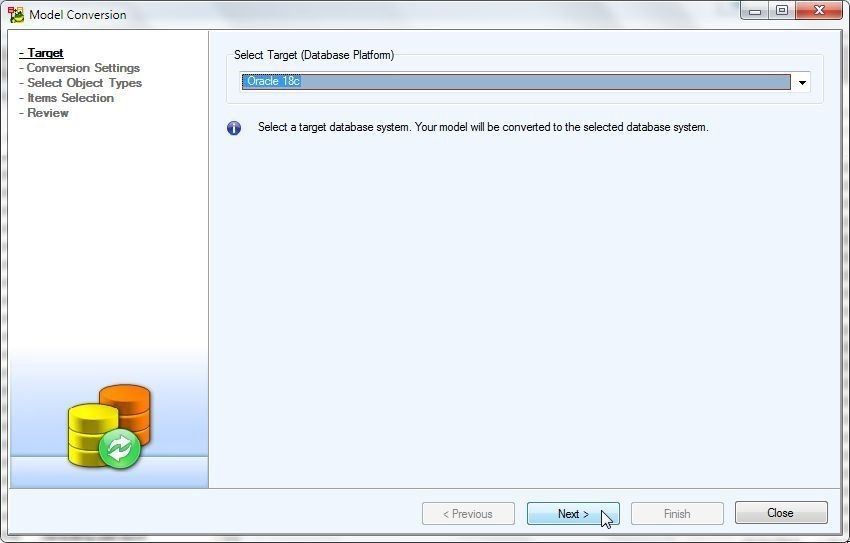
Figure 49. Selecting Oracle 18c as Target Database Platform
Next, select Conversion Settings as shown in Figure 50. Click on Next.
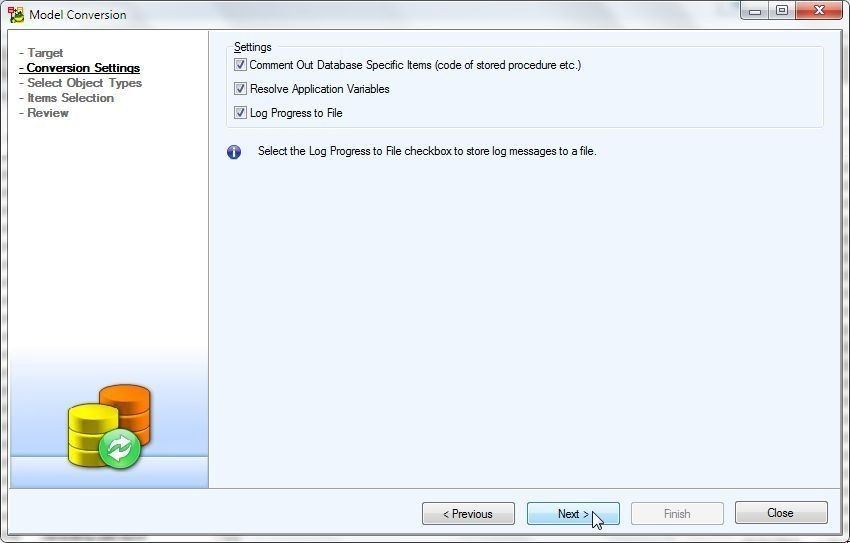
Figure 50. Model Conversion>Conversion Settings
Next, select object types to convert as shown in Figure 51. Select Convert All to convert all objects.
Click on Next.
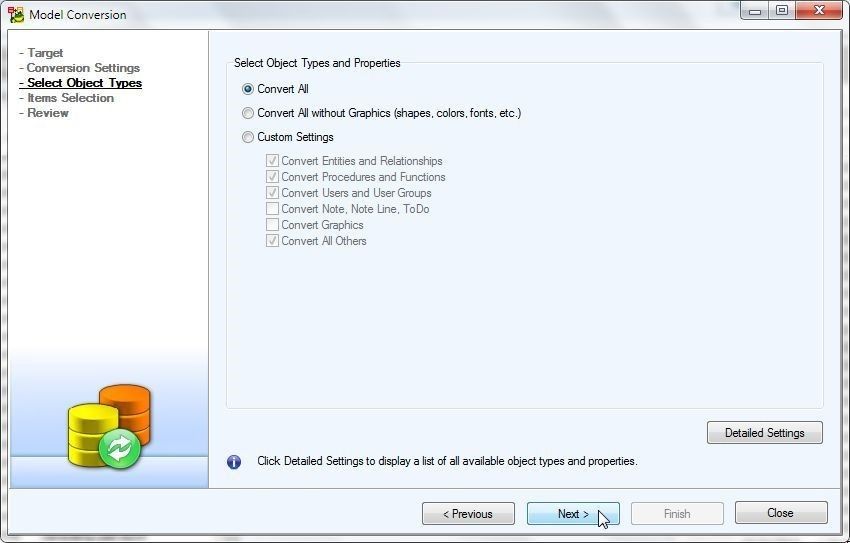
Figure 51. Model Conversion>Select Object Types
Next, select the items to convert, as shown in Figure 52. Click on Next.
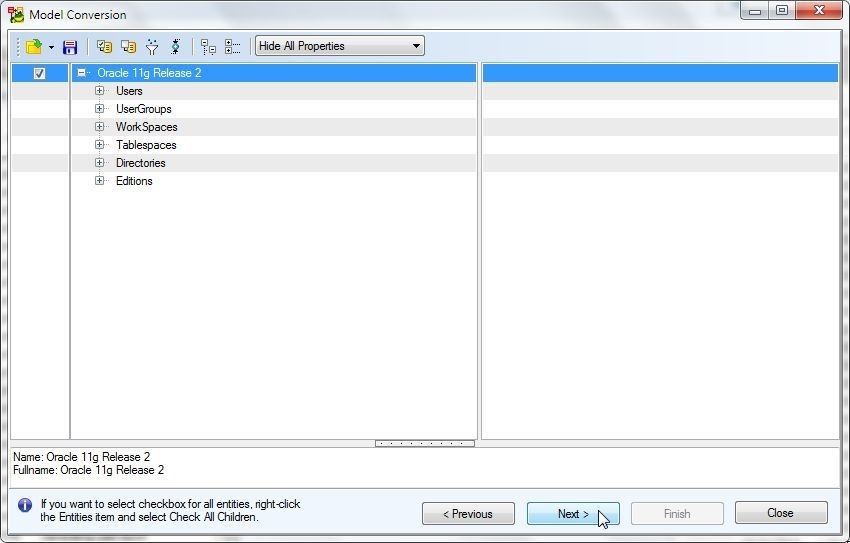
Figure 52. Model Conversion> Items Selection
In Review the summary of items to be converted are listed including number of Commits for each as shown in Figure 53. Click on Finish.
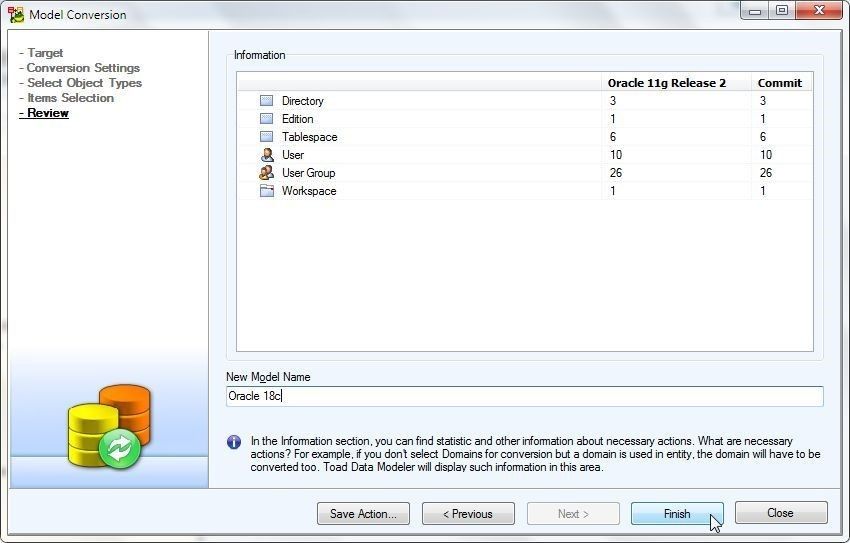
Figure 53. Model Conversion>Review
The model conversion gets started as shown in Figure 54.
Figure 54. Converter converting
The Oracle 18c model gets generated and added to Physical Model Explorer as shown in Figure 55.
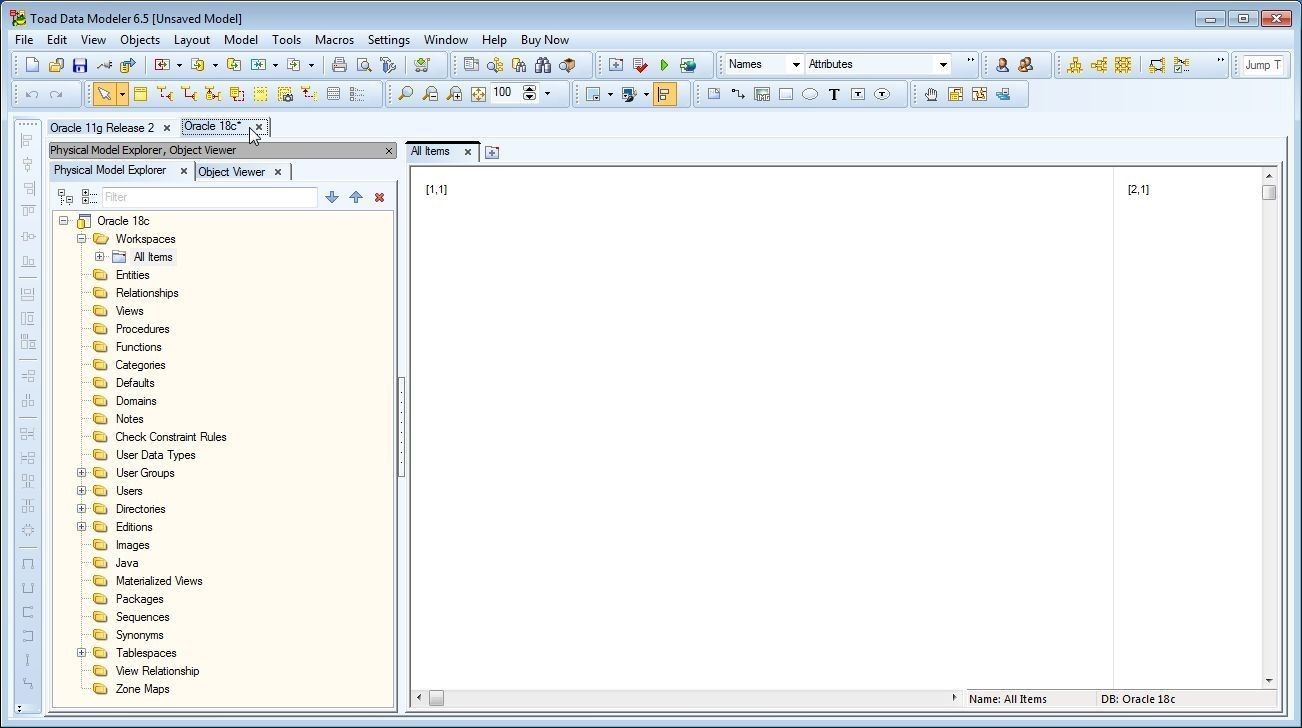
Figure 55. Oracle 18c Model
To verify the converted model select Model>Verify Model as shown in Figure 56.

Figure 56. Model>Verify Model
In Model Verification dialog click on Save & Verify as shown in Figure 57.
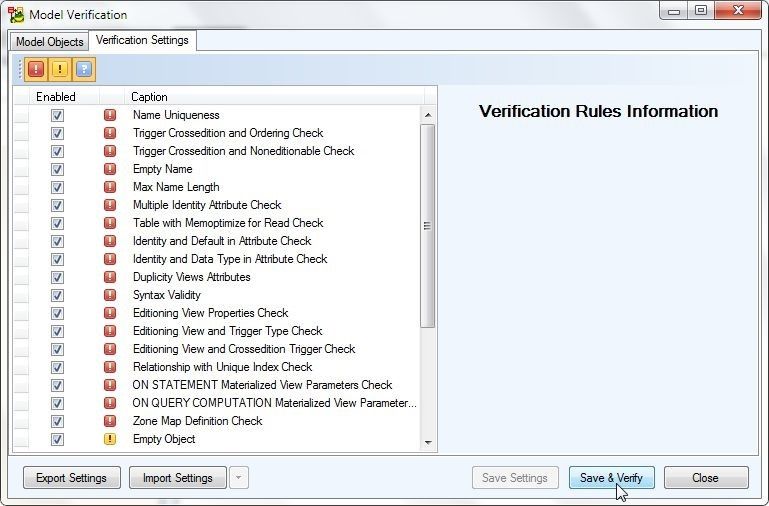
Figure 57. Model Verification>Save & Verify
An Information dialog indicates that the verification finished without errors as shown in Figure 58. Click on OK.
Figure 58. Information Dialog
Conclusion
In two articles we have discussed using Toad Data Modeler to reverse engineer ] Oracle Database on AWS RDS. The benefits of using Toad Data Modeler for data design and modeling include an integrated support for modeling all the common relational databases, and support to forward- and reverse-engineer the databases.
Start the discussion at forums.toadworld.com