Oracle's got a new thing called "Database Cloud Service" which, as the name implies, is just a database out in the cloud somewhere. It's hosted on an Oracle Unix server and you have complete control over it. Remote SQL*Net connections are allowed, so in this blog I'll show you how to set up a Cloud Database, and in the next, I'll show you how to connect to it with Toad.
Go here to create your account if you don't have one already. https://cloud.oracle.com/database
I am doing this all with a trial account which gives me 2 free months of cloud databases. Once you get your account created, go here: https://myaccount.cloud.oracle.com/mycloud/faces/dashboard.jspx, and hopefully you’ll see something like what’s below.
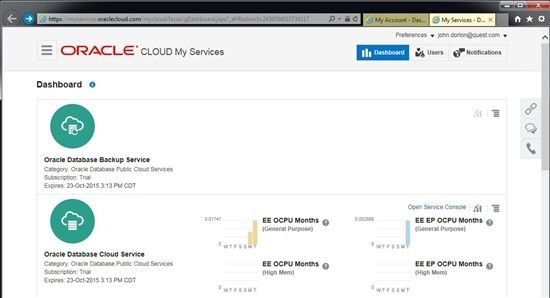
The 2nd item – Oracle Database Cloud Service – That's our guy. Click on the image or the words "Oracle Database Cloud Service" and it should take you to the page where you can create a database (below). In this screenshot, I already have a database called ORCLOUD2 created, but I'll create another one.
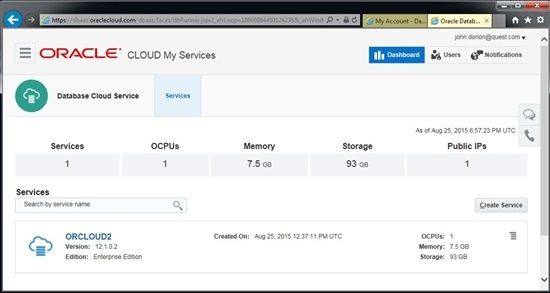
To create a new database, click on the right where it says "Create Service". The next few steps are fairly simple and I'm not going to walk you through all of them. There is one particular step that I want to talk about. Below, it's asking me for, among other things, a "VM Public Key". We need this because the only way that we'll be able to connect to this database is through SSH.
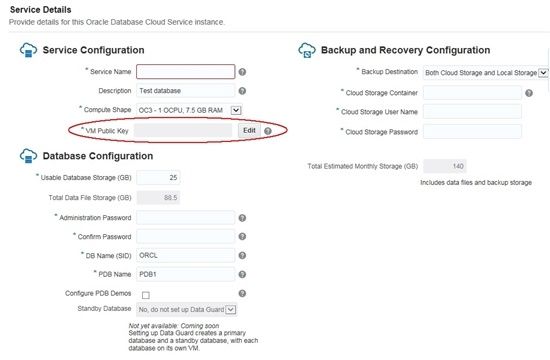
Assuming you don't already have one, you'll have to make a VM Public Key to create this database. At the same time, you have to make a private key that you'll use later to connect to the database. We're going to use PuTTY to do that. PuTTY is free and it has been around about as long as Toad.
So, set aside what you're doing, and if you don't have PuTTY installed, download and install it. http://www.chiark.greenend.org.uk/~sgtatham/putty/download.html. Click putty-0.65-installer.exe and install it. Note that that file name will change when they release a new version.
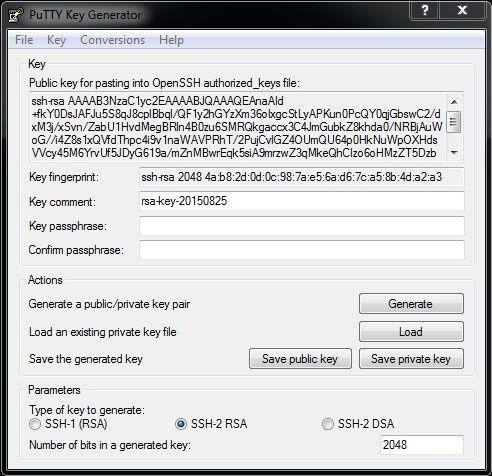
After you have PuTTY installed, browse to the folder where you installed it and double-click on puttygen.exe.

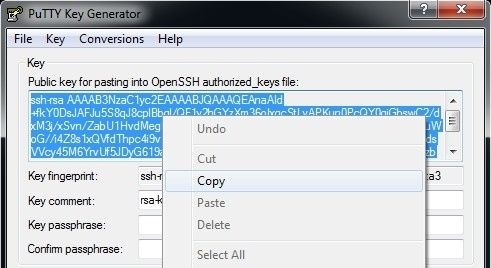
Click "Generate", and PuTTY will ask you to move your mouse around in the blank area to generate some randomness. Did you ever think that one day you'd be paid to "Generate Randomness"? Well, your time has come. Enjoy the next 15 seconds. I wrote my name with the mouse. Anyway, when you're done, it will look like this:
DON'T just click "Save public key" and "Save private key" and then close it. If you do (like I did the first time), you’ll spend some time later wondering why your key doesn’t work.

Enter a Key Passphrase if you want to. You don't have to. Remember it if you do.
Click "Save Private Key". I called mine "Key.ppk". You may want to be more clever with the file name, but use that extension. You will need this file later one to connect to your database.
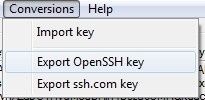
Next, click "Conversions" off the main menu, then "Export OpenSSH key".
Put that file in the same location. Save it with the same name but with the SSH extension. So for me, "Key.ssh". I'm not 100% sure that we actually need this file since we don't actually use it again, but it was in the instructions that I found.
Now, to save the public key, select all of this stuff, rt-click and choose "Copy". Then paste it into a text file called "Key.pub" using notepad. This file will be your "VM Public Key".
Ok, so we've created our keys and you can close puttygen.exe.
Go back to your browser where you have the Close Database Configuration page open. Click here to specify your VM Public Key.

Fill in the rest of the blanks and when you get to the last page, click "Create". After that, you should see this:

For me, it said "In progress" for a couple of hours. You can close the browser if you want and check it again later.
I'll show you how to connect in the next blog.
Start the discussion at forums.toadworld.com