In three articles we are exploring using Toad for Oracle with Oracle Database Exadata Express Cloud Service. In the first article we created an Oracle Database Exadata Express Cloud Service instance, which includes an Oracle Database 12c R2 instance. In this continuation article we shall discuss connecting to the database with Toad for Oracle, creating tables, and comparing tables and schemas. This article has the following sections.
Creating a Connection
Creating Tables
Comparing Tables
Comparing Schemas
Creating a Connection
To create a connection select Session>New Connection as shown in Figure 1.
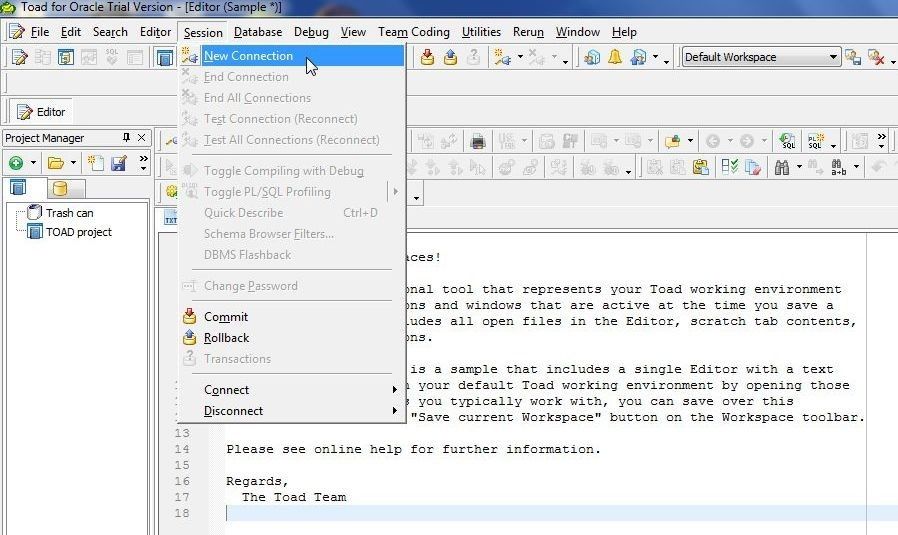
Figure 1. Session>New Connection
In the Toad for Oracle Login select the TNS tab and specify a User/Schema (PDB_ADMIN) and the Password for the admin user as configured in the first article. In Database select the dbaccess net service that is configured in the tnsnames.ora, as shown in Figure 2.

Figure 2. Selecting Database as dbaccess
Click on TNSNames Editor to display thetnsnames.ora entries as shown in Figure 3.
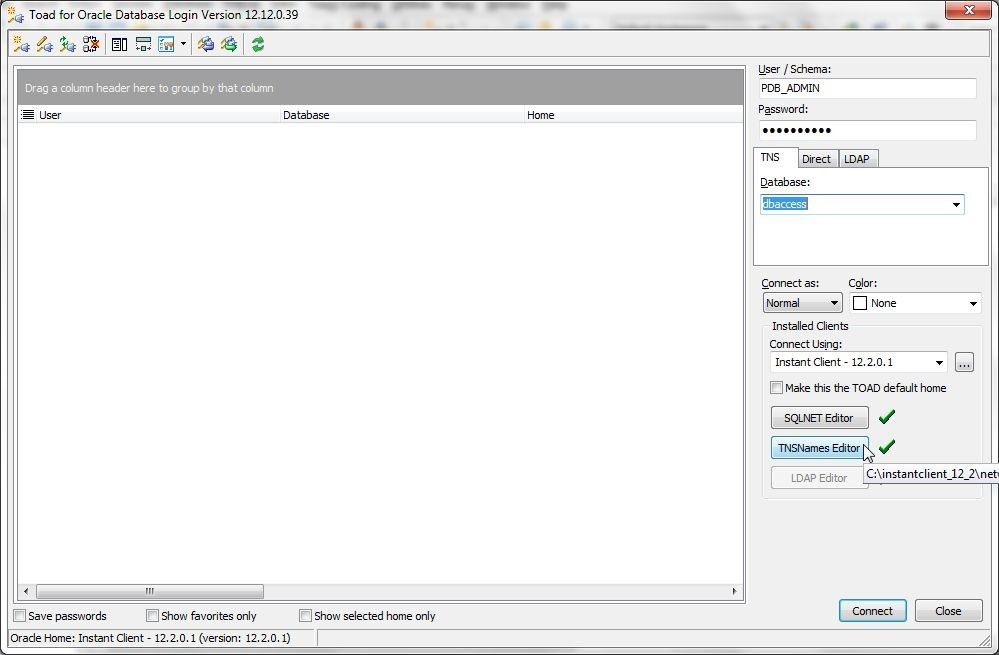
Figure 3. TNSNames Editor
A dbaccess net service is generated automatically. The credentials zip file downloaded from the Oracle Exadata Express Service Console includes a tnsnames.ora file in which the dbaccess net service is generated automatically and configured. This dbaccess net service gets listed, as shown in Figure 4. Click on OK to close the TNSNames Editor.
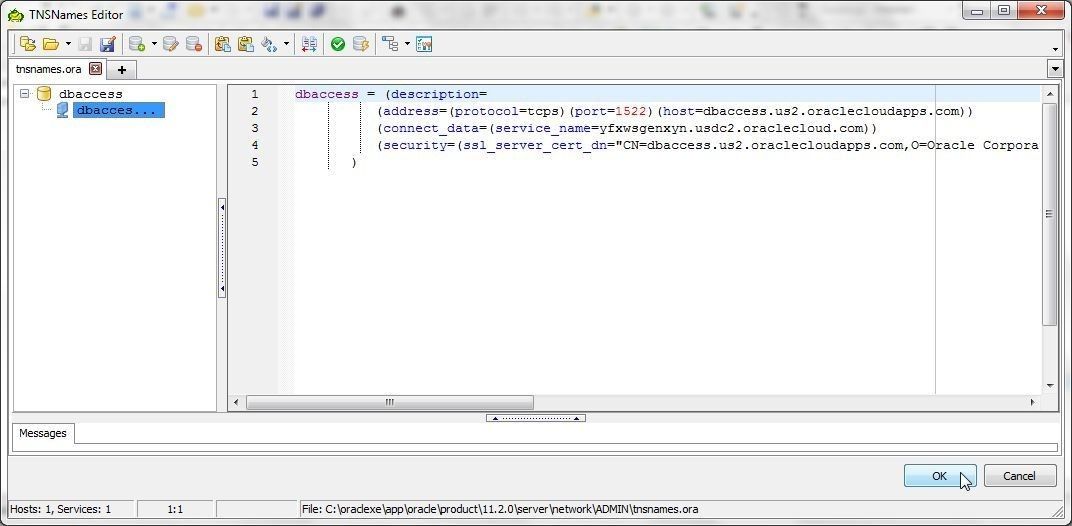
Figure 4. Net Service dbaccess
Click on Connect in the Login dialog as shown in Figure 5.
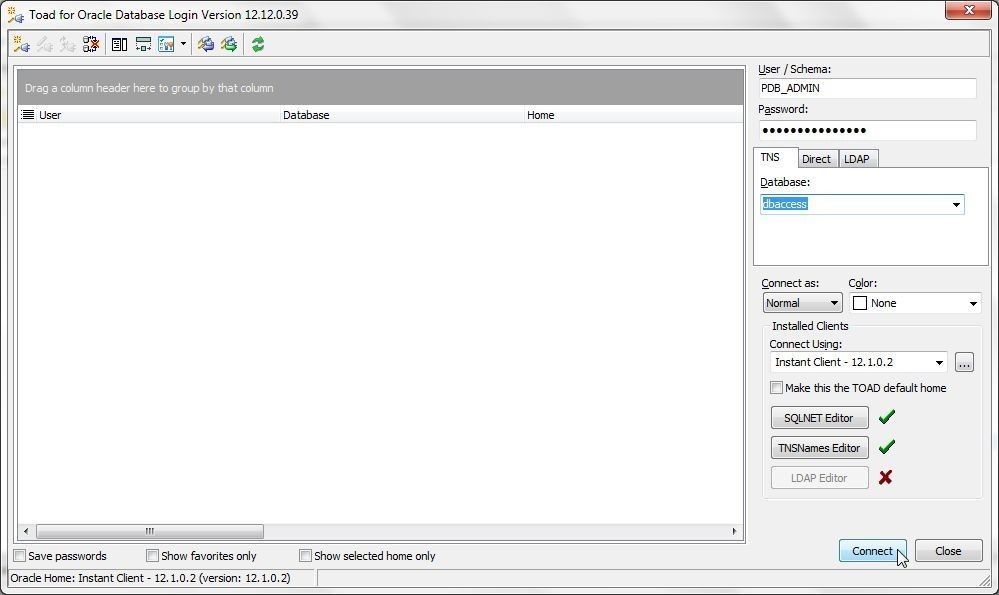
Figure 5. Login>Connect
A connection gets created and added to Toad for Oracle as shown in Figure 6.
Figure 6. Connection created
Creating Tables
To create an example table copy the following SQL script to an SQL Editor.
CREATE TABLE wlslog(logid int PRIMARY KEY,category VARCHAR(255),type VARCHAR(255),servername VARCHAR(255), code VARCHAR(255),msg VARCHAR(255));
INSERT INTO wlslog(logid,category,type,servername,code,msg) VALUES(1,'Notice','WebLogicServer','AdminServer','BEA-000365','Server state changed to STANDBY');
INSERT INTO wlslog(logid,category,type,servername,code,msg) VALUES(2,'Notice','WebLogicServer','AdminServer','BEA-000365','Server state changed to STARTING');
INSERT INTO wlslog(logid,category,type,servername,code,msg) VALUES(3,'Notice','WebLogicServer','AdminServer','BEA-000365','Server state changed to ADMIN');
INSERT INTO wlslog(logid,category,type,servername,code,msg) VALUES(4,'Notice','WebLogicServer','AdminServer','BEA-000365','Server state changed to RESUMING');
INSERT INTO wlslog(logid,category,type,servername,code,msg) VALUES(5,'Notice','WebLogicServer','AdminServer','BEA-000361','Started WebLogic AdminServer');
INSERT INTO wlslog(logid,category,type,servername,code,msg) VALUES(6,'Notice','WebLogicServer','AdminServer','BEA-000365','Server state changed to RUNNING');
INSERT INTO wlslog(logid,category,type,servername,code,msg) VALUES(7,'Notice','WebLogicServer','AdminServer','BEA-000360','Server started in RUNNING mode');
Click on Execute as Script as shown in Figure 7.
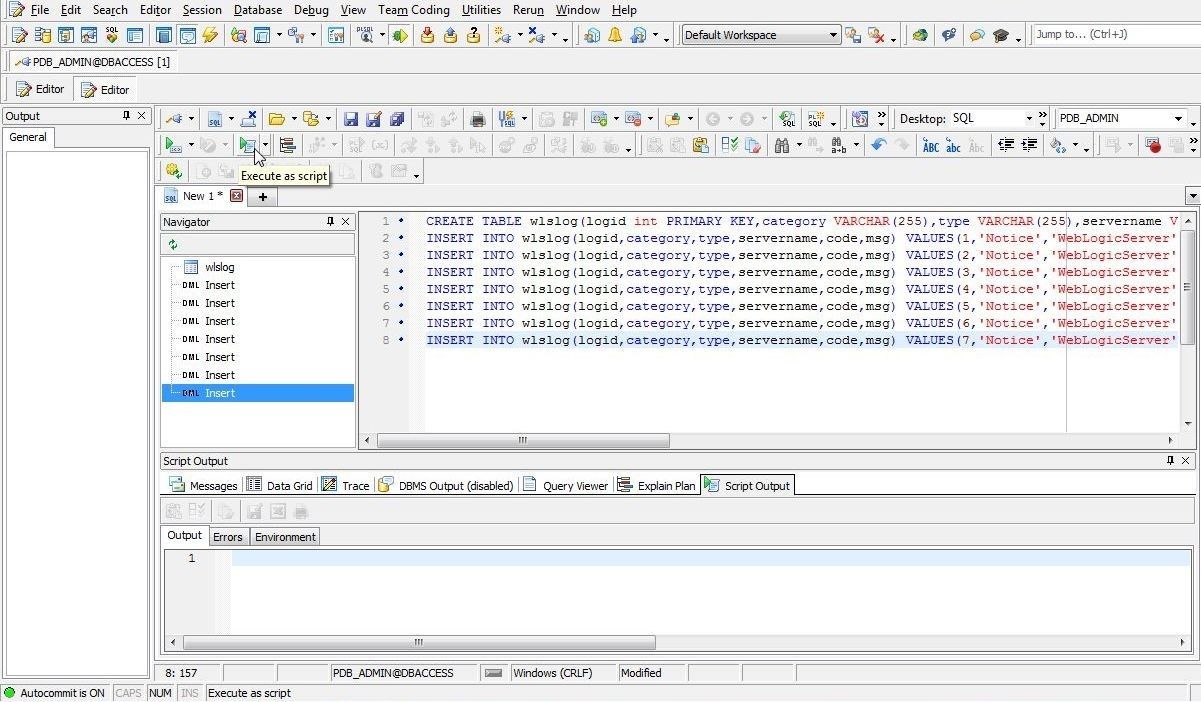
Figure 7. Execute as Script
A Processing Script dialog displays the number of the statements run, as shown in Figure 8.
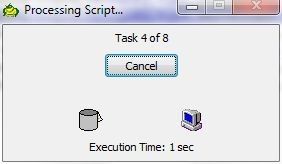
Figure 8. Processing Script
A table gets created, as indicated by the Script Output messages shown in Figure 9. Because AutoCommit is ON the SQL statements get committed.

Figure 9. Table Created
We shall be demonstrating comparing tables; for which, create another table. To start another SQL Editor select Editor>New Tab>SQL Style as shown in Figure 10.
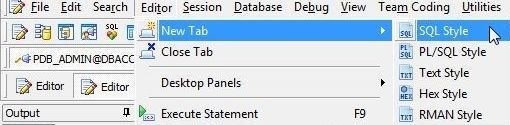
Figure 10. Editor>New Tab>SQL Style
Copy and paste the following SQL Script to the new SQL Editor to create the wlslog table in the ORCL schema. By default, tables that are to be compared must define the same columns, and the setting may be modified, as discussed later.
CREATE TABLE ORCL.wlslog(logid int PRIMARY KEY,category VARCHAR(255),type VARCHAR(255),servername VARCHAR(255), code VARCHAR(255),msg VARCHAR(255));
INSERT INTO ORCL.wlslog(logid,category,type,servername,code,msg) VALUES(1,'Notice','WebLogicServer','AdminServer','BEA-000365','Server state changed to STANDBY');
INSERT INTO ORCL.wlslog(logid,category,type,servername,code,msg) VALUES(2,'Notice','WebLogicServer','AdminServer','BEA-000365','Server state changed to STARTING');
INSERT INTO ORCL.wlslog(logid,category,type,servername,code,msg) VALUES(3,'Notice','WebLogicServer','AdminServer','BEA-000365','Server state changed to ADMIN');
INSERT INTO ORCL.wlslog(logid,category,type,servername,code,msg) VALUES(4,'Notice','WebLogicServer','AdminServer','BEA-000365','Server state changed to RESUMING');
INSERT INTO ORCL.wlslog(logid,category,type,servername,code,msg) VALUES(5,'Notice','WebLogicServer','AdminServer','BEA-000361','Started WebLogic AdminServer');
INSERT INTO ORCL.wlslog(logid,category,type,servername,code,msg) VALUES(6,'Notice','WebLogicServer','AdminServer','BEA-000365','Server state changed to RUNNING');
INSERT INTO ORCL.wlslog(logid,category,type,servername,code,msg) VALUES(7,'Notice','WebLogicServer','AdminServer','BEA-000360','Server started in RUNNING mode');
Click on Execute as script as shown in Figure 11.
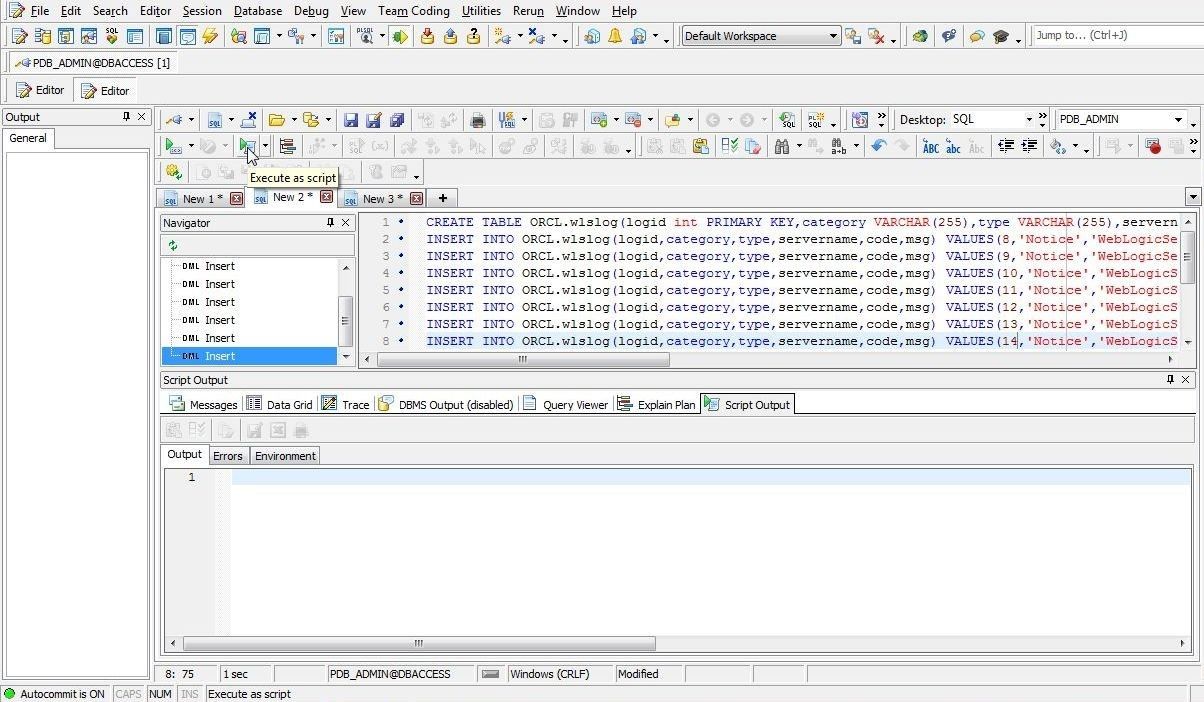
Figure 11. Execute as script to create second table
Table wlslog gets created in the ORCL schema, as indicated by the Script Output in Figure 12.
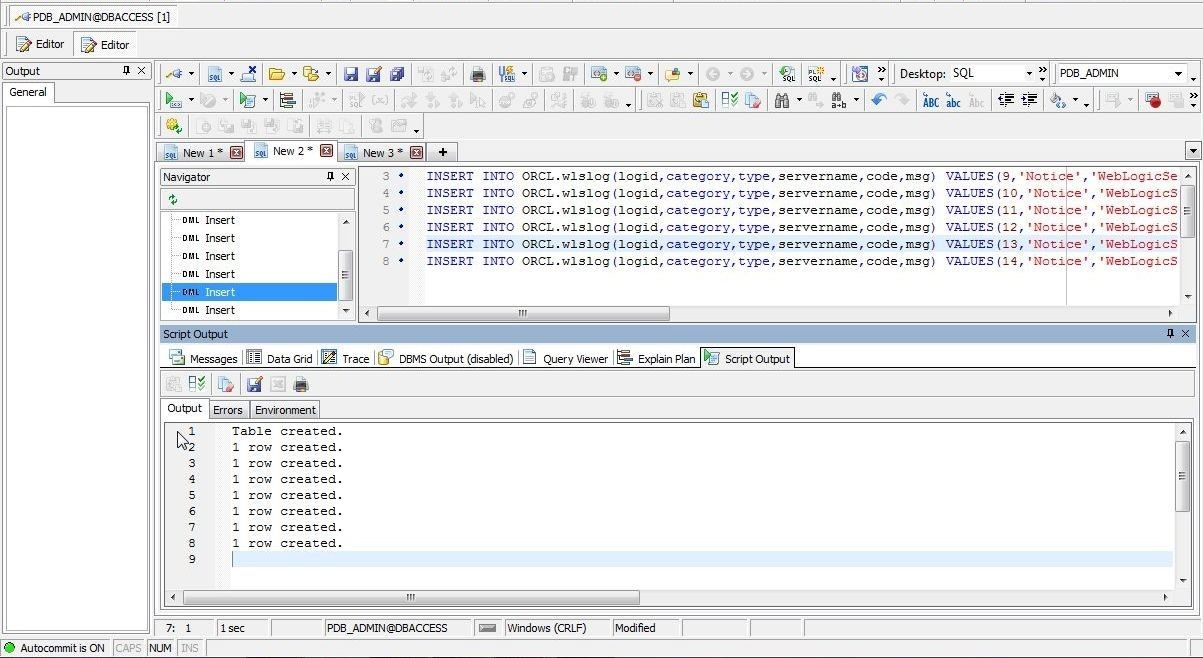
Figure 12. Script Output
Comparing Tables
When comparing tables the minimum of two tables must be selected for comparison; one on a source schema and the other in the target schema, with the source and target schemas being different. Multiple comparisons may also be made by selecting multiple pairs of tables. To compare two or more tables select Database>Compare>Multiple Tables as shown in Figure 13.
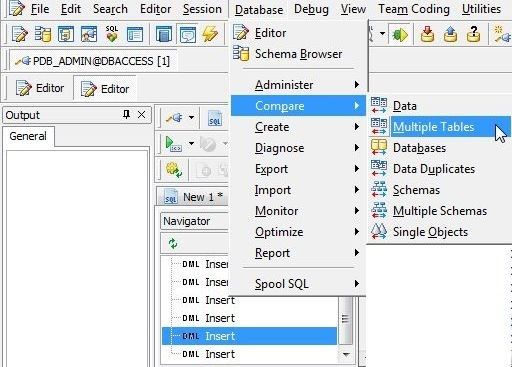
Figure 13. Database>Compare>Multiple Tables
The Compare and Sync Multiple Tables wizard gets started. First, choose schemas. Select Source schema as PDB_ADMIN and Target schema as ORCL as shown in Figure 14.
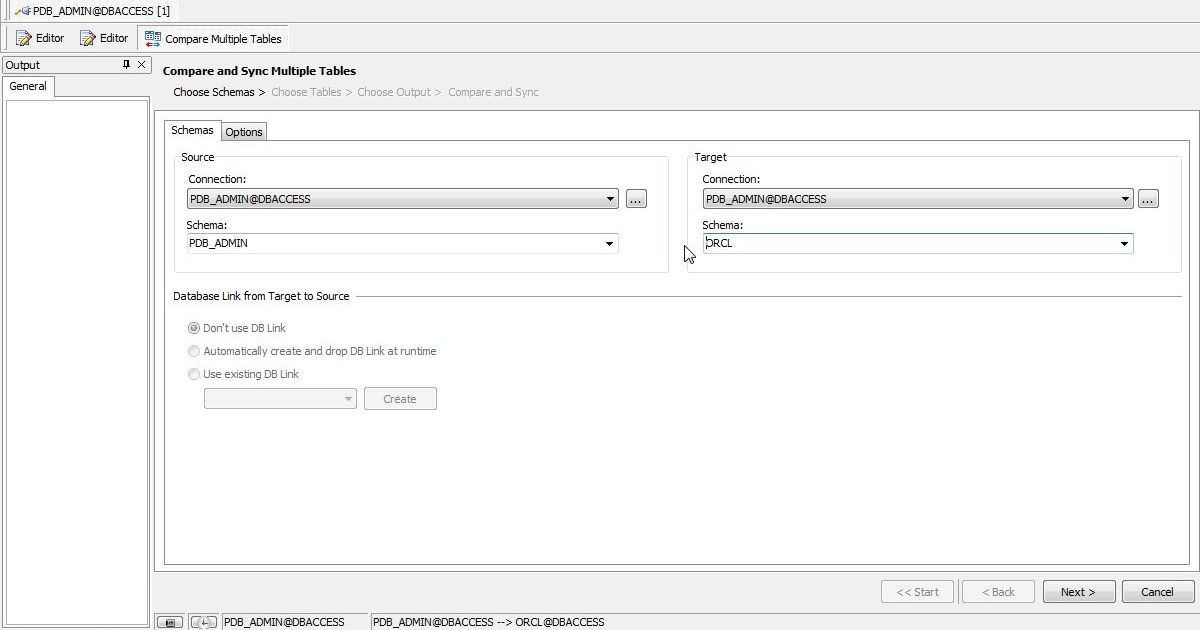
Figure 14. Compare and Sync Multiple Tables Wizard
The Options tab displays the different options for table comparison, as shown in Figure 15. By default if columns don’t match exactly, the table is skipped and not compared. By default if a table contains unsupported datatypes the table is skipped. By default if any table is to be skipped, only the incompatible tables are skipped. By default if an error occurs during synchronization, the current table is rolled back and the comparison continues. Any or all of these options may be modified. We have kept the default settings.
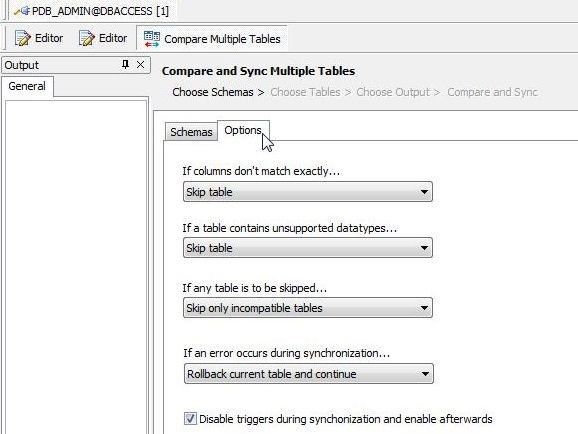
Figure 15. Options for comparison
Click on Next as shown in Figure 16.

Figure 16. Compare Multiple Tables Wizard >Next
Next, choose tables, as shown in Figure 17. Choose both the Source and Target tables as WLSLOG. Click on Next.
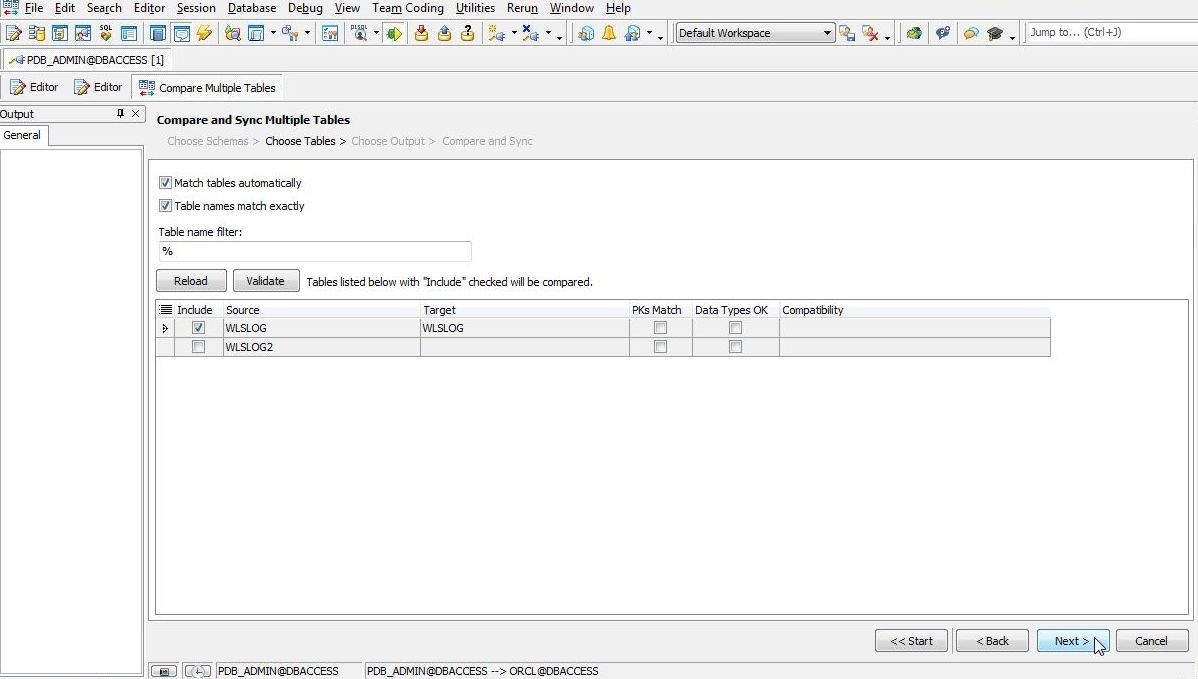
Figure 17. Choosing Tables
Next choose output; for which, three options are available:
– Synchronize target tables immediately
– Create the script for each table
– Create one script for all tables
Select the option Create the script for each table as shown in Figure 18 and select the output folder with the selector (…) button. Click on Next.
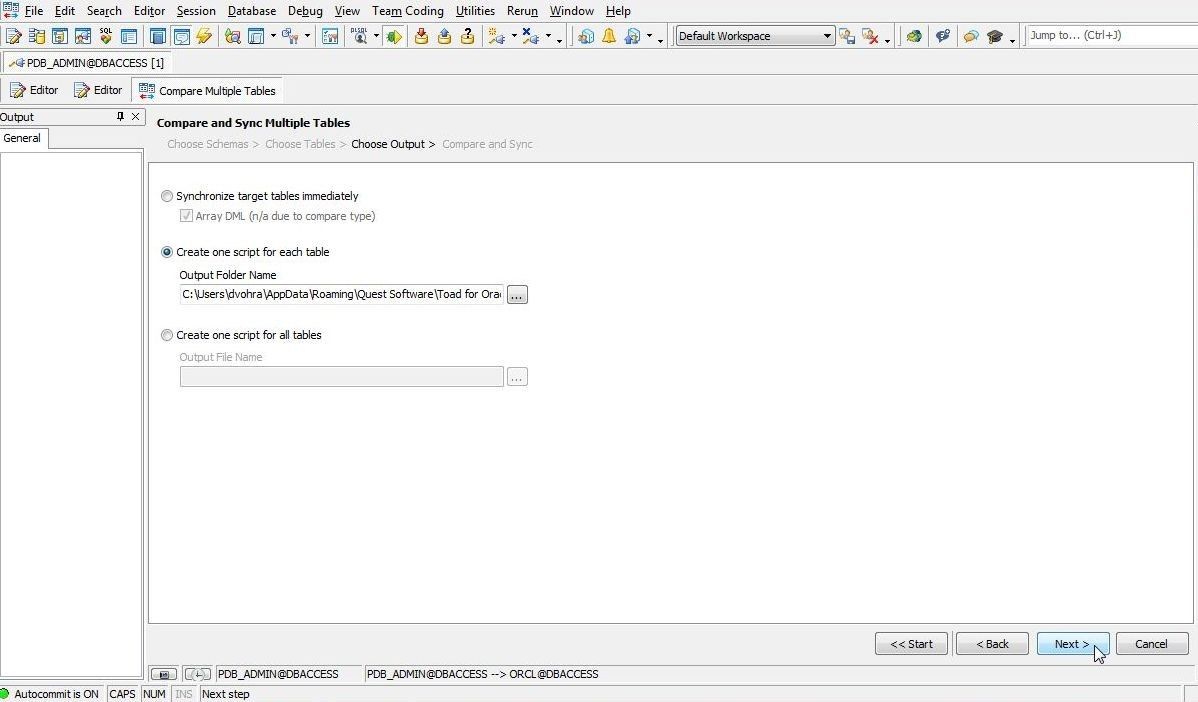
Figure 18. Choose Output>Next
Click on Compare table data and create sync script as shown in Figure 19.
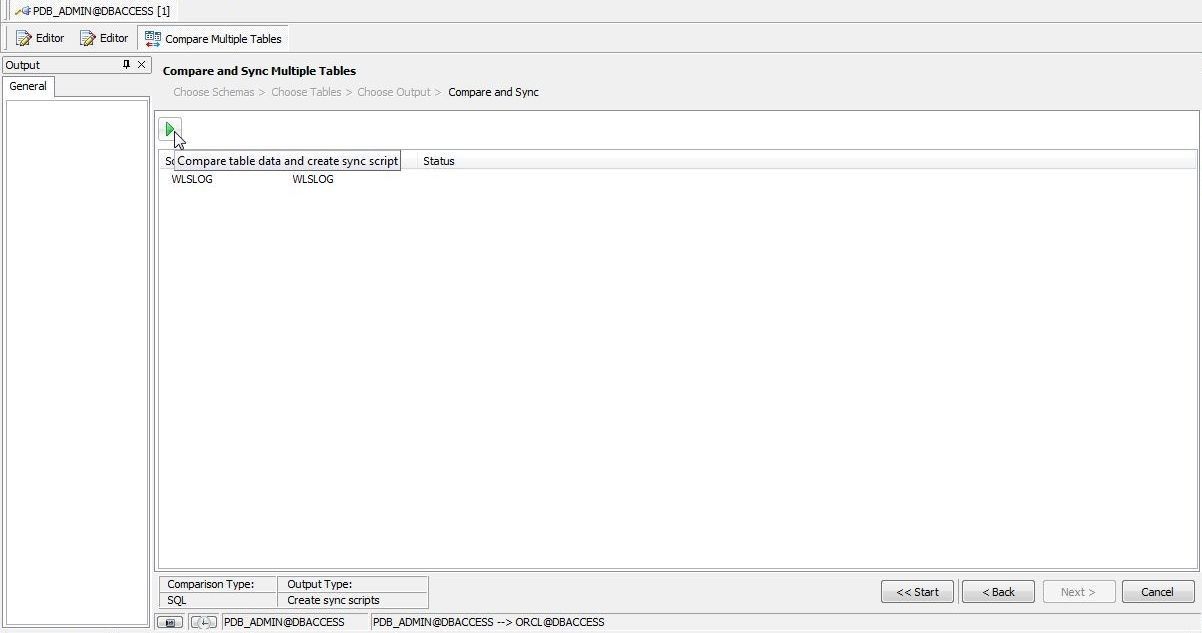
Figure 19. Compare table data and create sync script
The comparison gets completed and a sync script gets created, as shown in Figure 20.
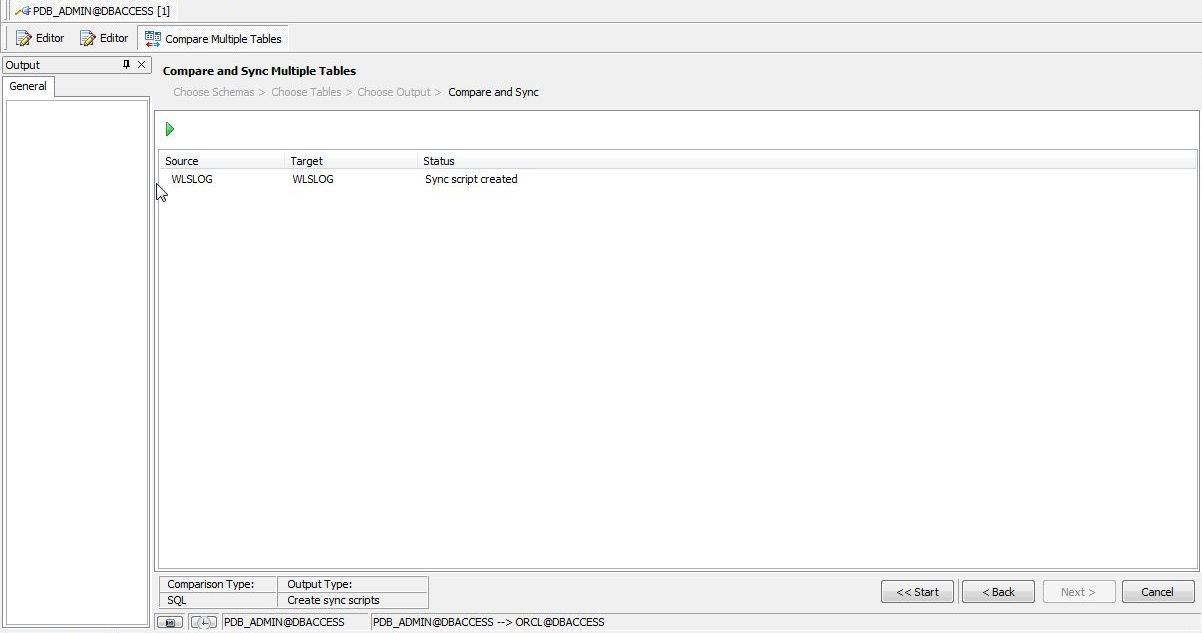
Figure 20. Sync Script created
The comparison output sync scripts are shown in Figure 21.
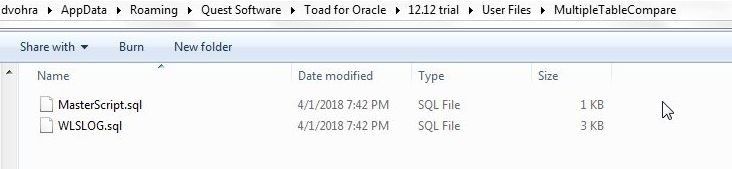
Figure 21. Output Scripts from Table Comparison
The MasterScript.sql shown in Figure 22 is the Table data synchronization script. The WLSLOG.sql script is invoked from the MasterScript.
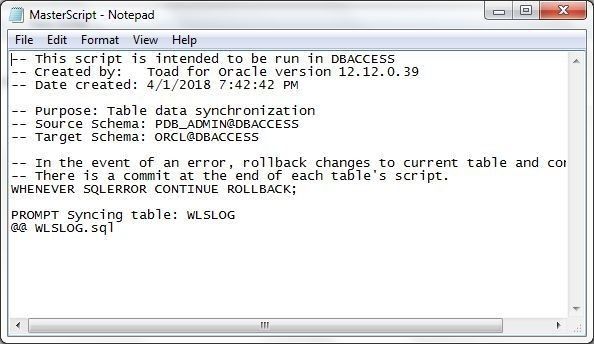
Figure 22. Table Data Synchronization Script
The MasterScript must be run by a user to synchronize the tables. If the tables being compared are to be synchronized automatically select Synchronize target tables immediately option in Choose Output as shown in Figure 23.
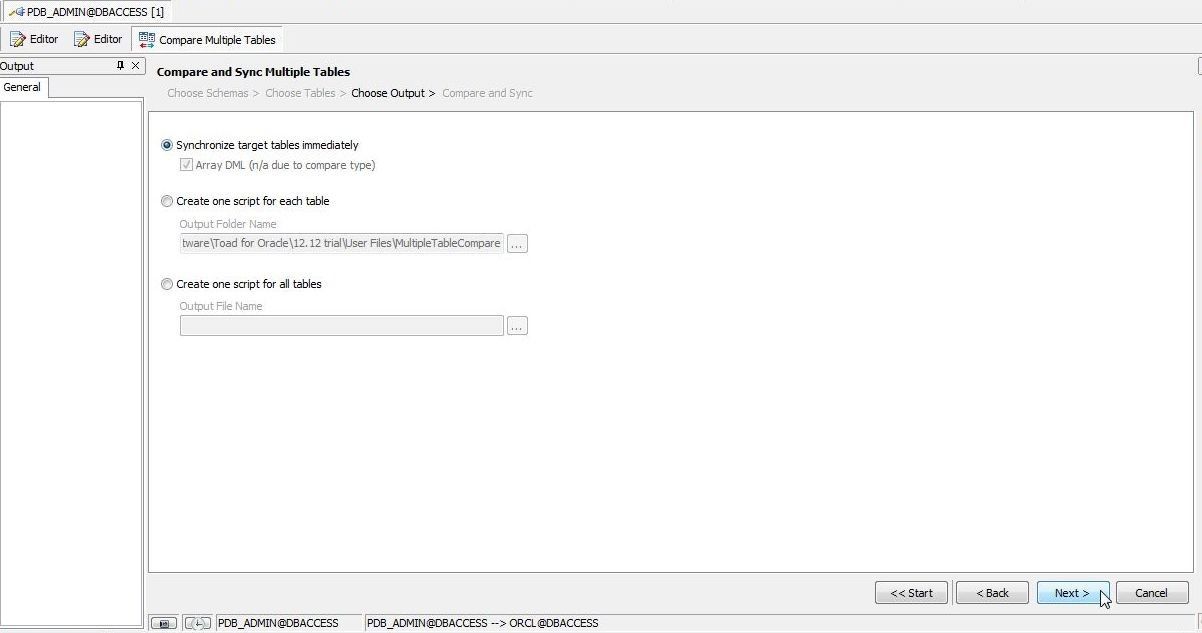
Figure 23. Synchronize target tables immediately
Click on Compare and sync table data as shown in Figure 24.
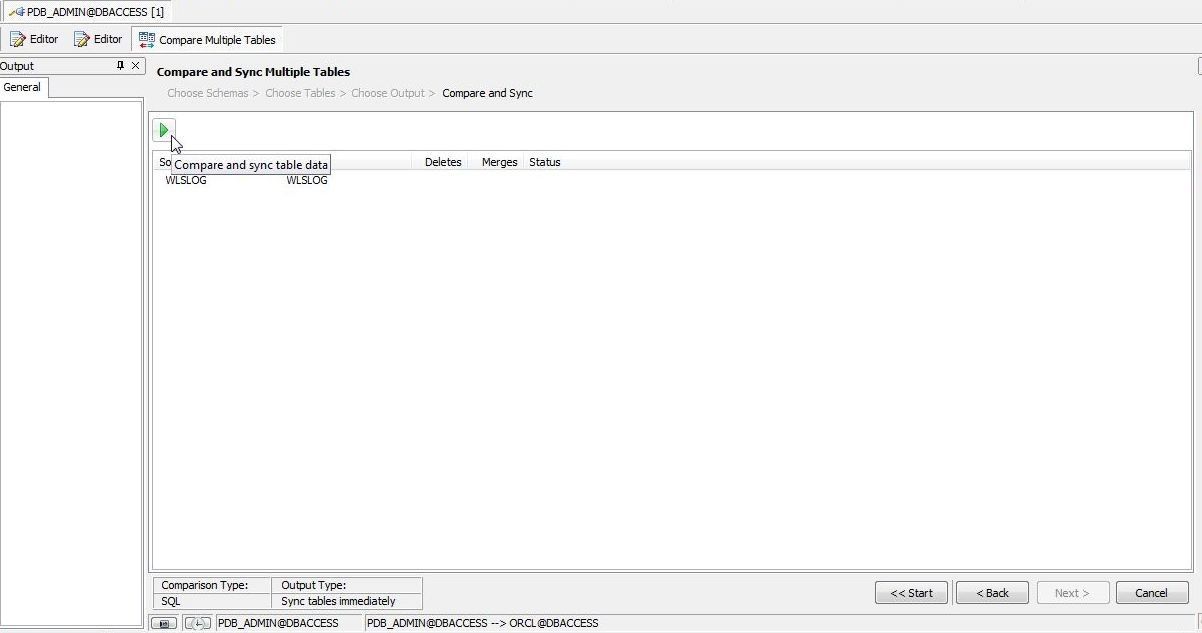
Figure 24. Compare and sync table data
The table comparison gets completed and the tables get synchronized, as shown in Figure 25.
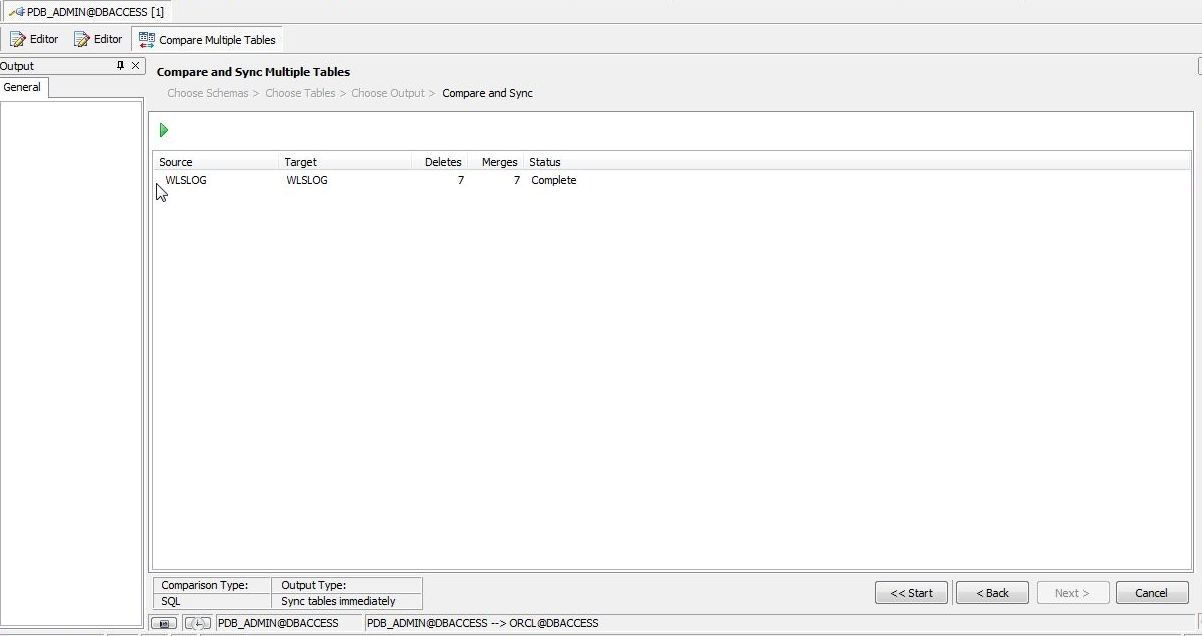
Figure 25. Tables compared and synchronized
Comparing Schemas
Similarly, data, databases, and schemas may also be compared. To compare schemas select Editor>Compare>Multiple Schemas as shown in Figure 26. Multiple Schemas compares two or more schemas. To compare only two schemas select Editor>Compare>Schemas.
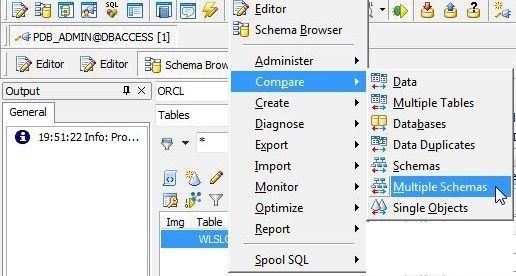
Figure 26. Editor>Compare>Multiple Schemas
In the Compare Multiple Schemas wizard the Source schema could either be a Database or a Snapshot. Select the PDB_ADMIN schema, which is also the default selection, as shown in Figure 27.
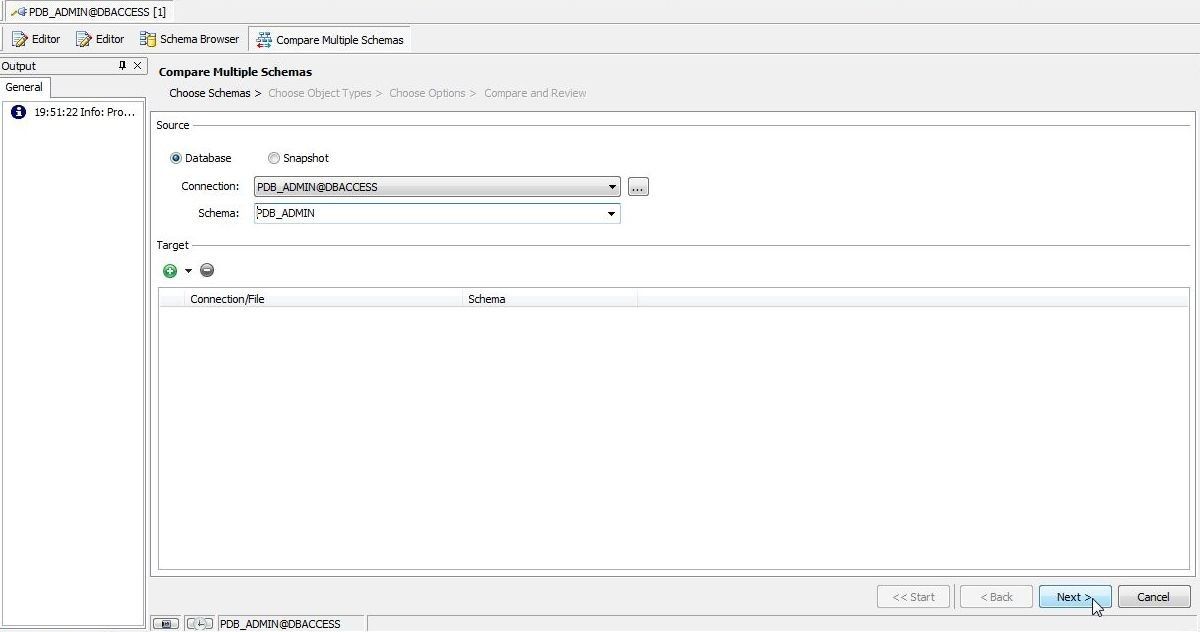
Figure 27. Compare Multiple Schemas
Click on Add Target Schema to select the target schema as shown in Figure 28.
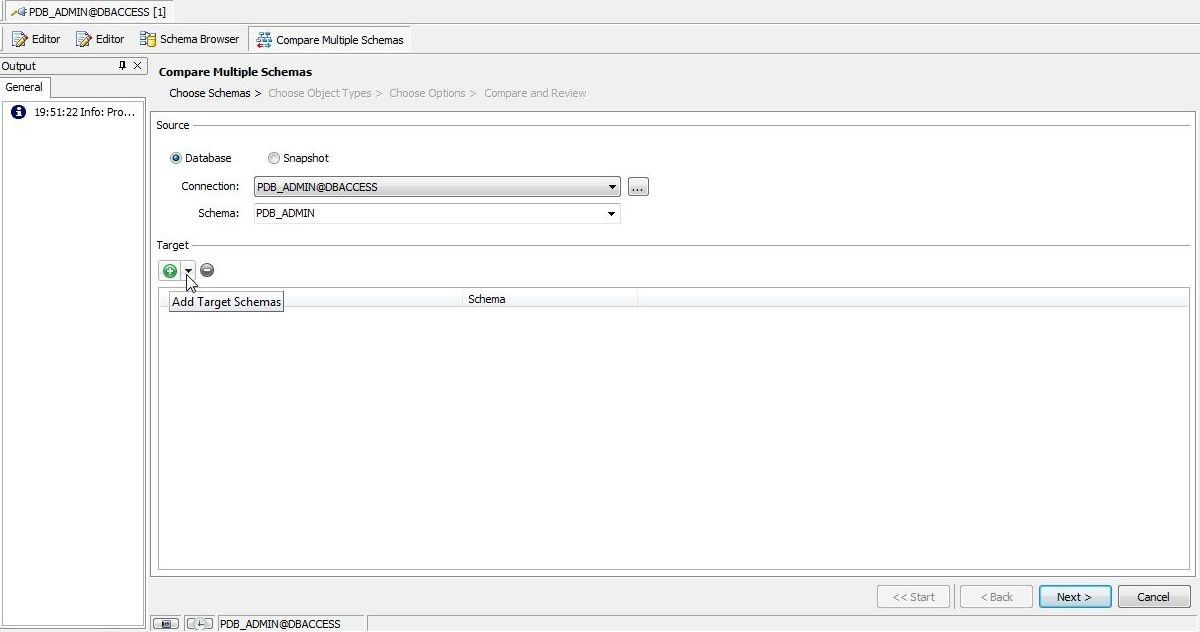
Figure 28. Add Target Schema
From the drop-down select Add one schema as shown in Figure 29. The other option is Add multiple schemas.
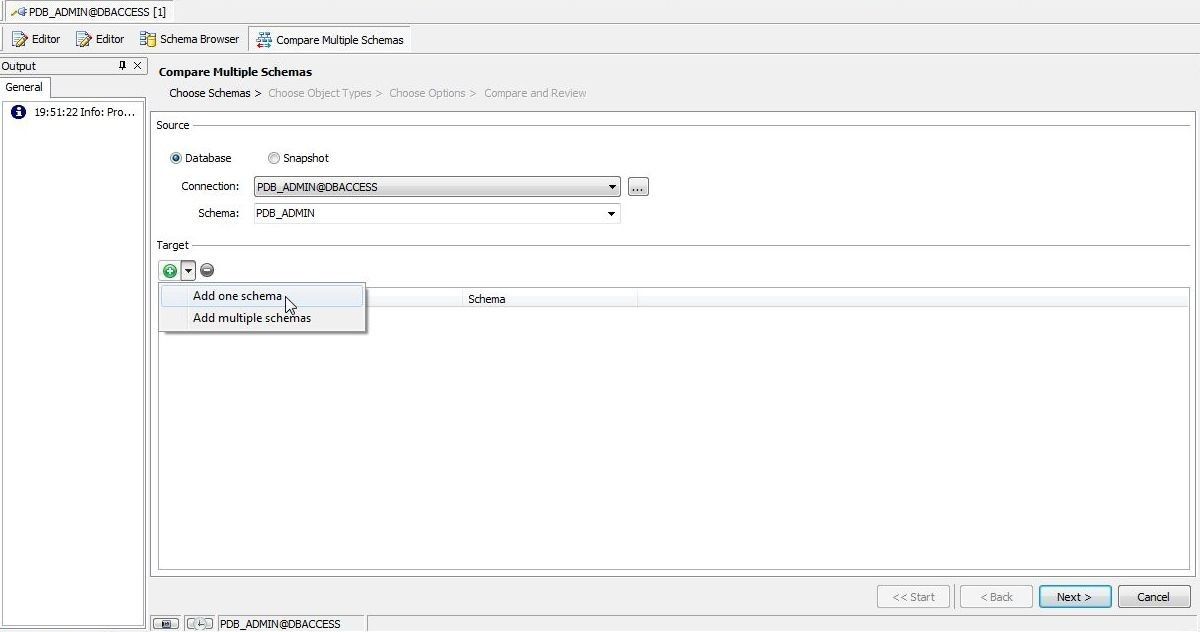
Figure 29. Add one schema
In Add Schema select the ORCL schema as shown in Figure 30 and click on OK.

Figure 30. Selecting Target Schema
With the Source and Target schemas selected click on Next as shown in Figure 31.
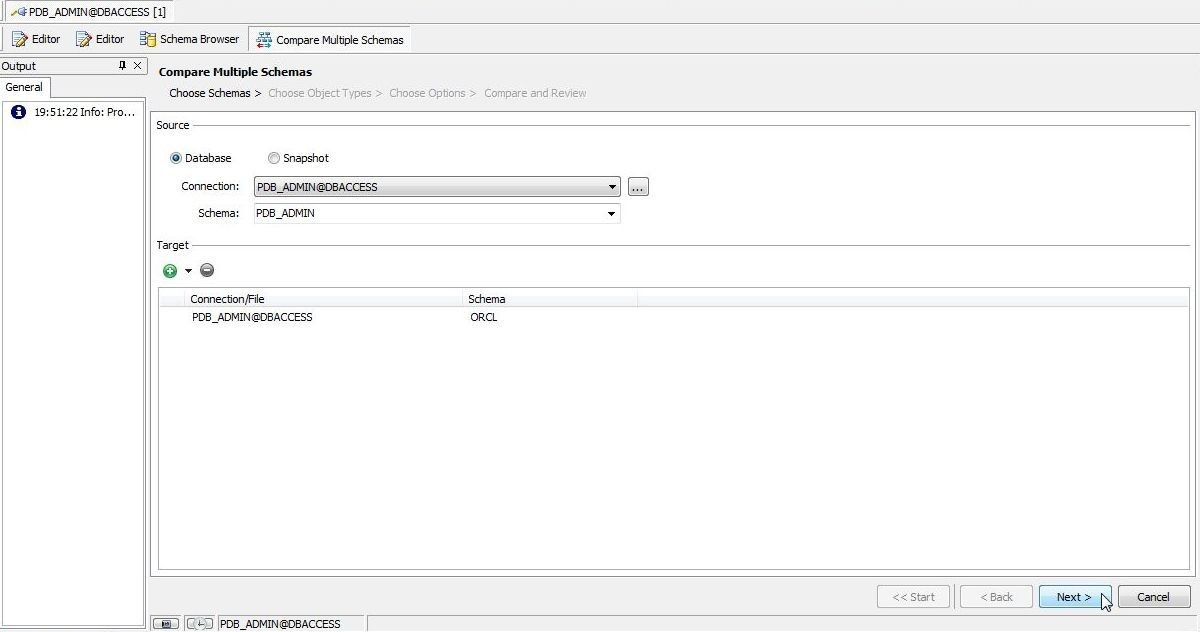
Figure 31. Compare Multiple Schemas>Next
Next, Choose Object Types as shown in Figure 32. Keep the default settings and click on Next.
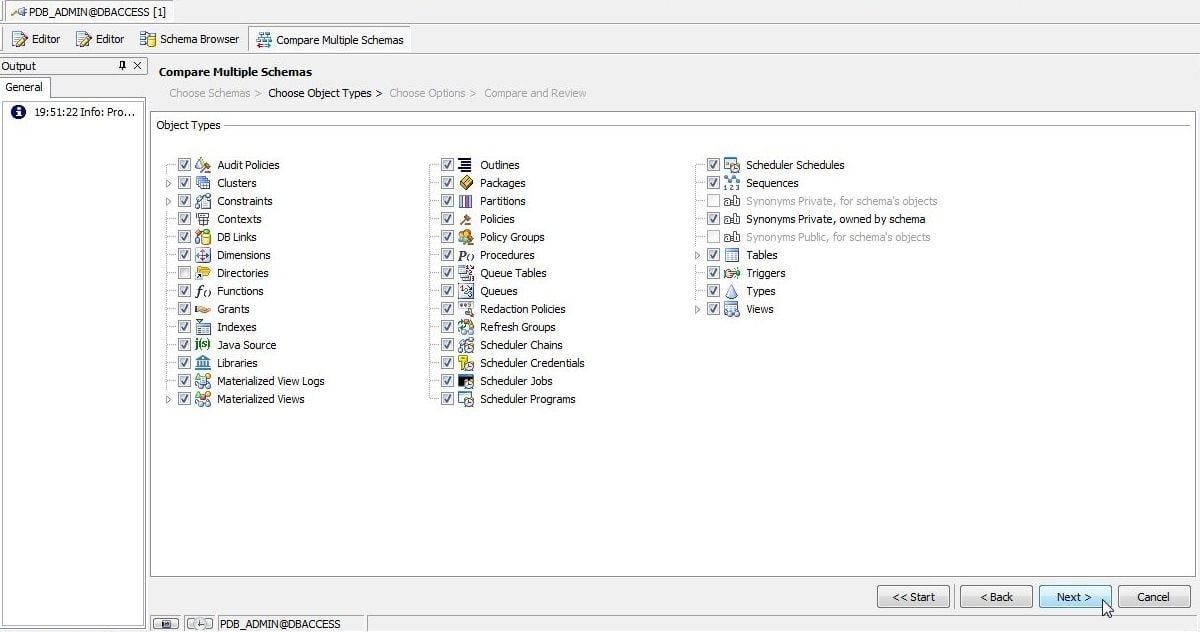
Figure 32. Choose Object Types
Next, Choose Options as shown in Figure 33.
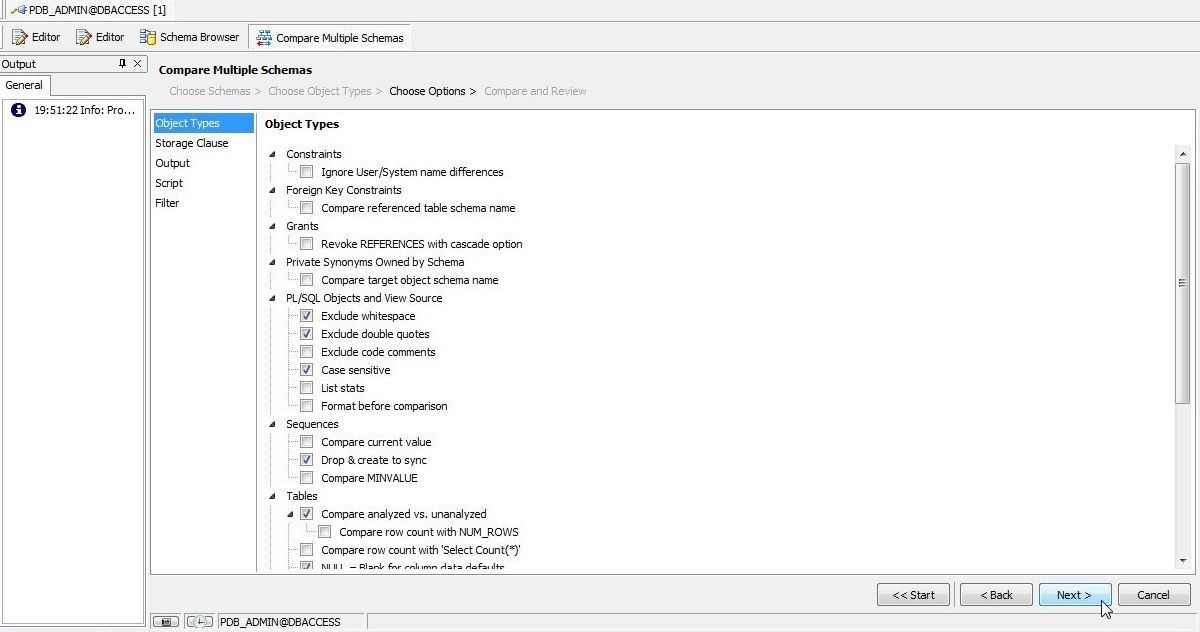
Figure 33. Choose Options
In Compare and Review click on Compare all as shown in Figure 34 to start the schema comparison.
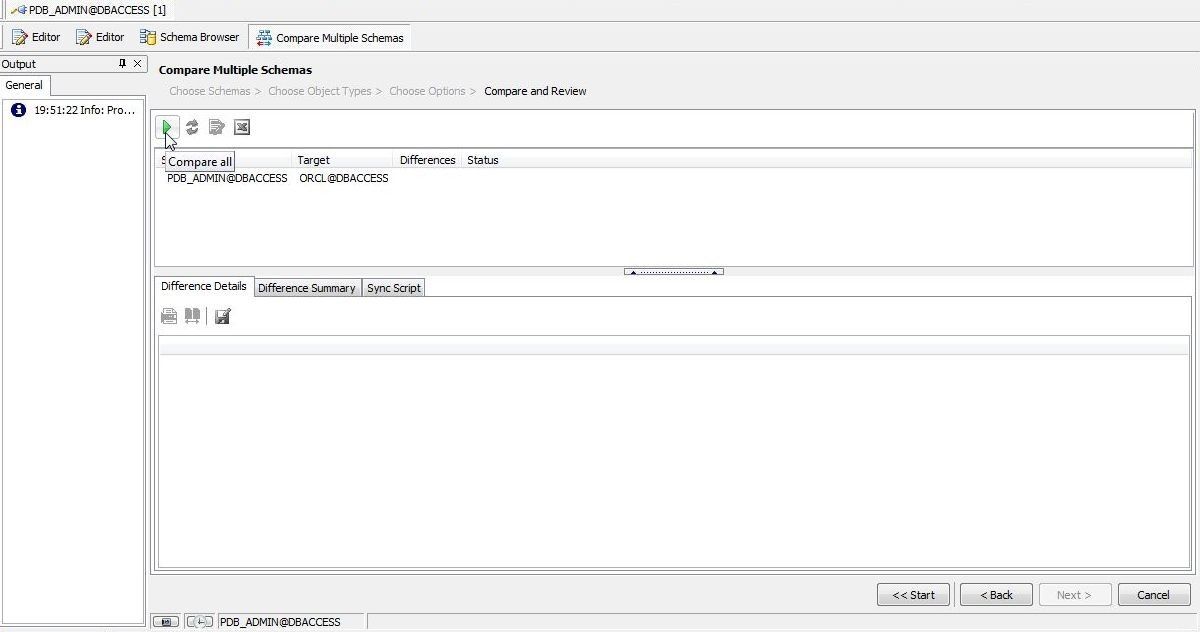
Figure 34. Compare all
Summary
In this second of three articles we discussed connecting to Oracle Database Exadata Express Service with Toad for Oracle. We also compared database tables from two different schemas and also discussed comparing schemas. In the third article we shall discuss some of the other features of Toad for Oracle that could be used with Oracle Database Exadata Express such as finding Data Duplicates, using Schema Browser, exporting dataset to HTML and running a Query.
Start the discussion at forums.toadworld.com