Oracle Database Exadata Express Cloud Service is a managed service for Oracle Database 12c R2 Enterprise Edition running on Oracle Exadata. Exadata Express is a lightweight version of the full-featured Oracle Exadata, suitable for small- to medium-scale data. Exadata Express provides functionality for application development, data analytics, and database optimization. Exadata Express opens a pluggable database by default with the provision to create multiple schemas. Some of the salient application development features are JSON document storage, schema-less documents storage, and access to the Exadata Express service with Simple Oracle Document Access API, Oracle REST Data Services (ORDS), Oracle Application Express 5 and 5.1, and SQL Developer 4. In three articles we shall learn to use Oracle Database Exadata Express Cloud Service with Toad for Oracle. The three articles have the following sections.
Setting the Environment
Creating an Exadata Instance
Setting Admin Password
Enabling Client Access
Creating a Schema
Downloading Client Credentials
Setting Permissions on Credentials Files
Creating a SQL Plus Connection
Creating a Connection
Creating Tables
Comparing Tables
Comparing Schemas
Finding Data Duplicates
Using Schema Browser
Exporting dataset to HTML
Running a Query
Finding Data
Exporting Result set to Excel
Creating a Report
Modifying a Report
Deleting Exadata Instance
Setting the Environment
Download and install Toad for Oracle. Create an Oracle Cloud account. Download Oracle Instant Client version 12.2.0.1.0 Basic Package zip file instantclient-basic-windows.x64-12.2.0.1.0.zip and SQL*Plus Package zip file instantclient-sqlplus-windows.x64-12.2.0.1.0.zip from http://www.oracle.com/technetwork/topics/winx64soft-089540.html. Create a directory C:instantclient_12_2 and extract the contents of the zip files to the directory. The subdirectories are not to be kept when the zip files are extracted. Only the files and the vc14 directory are to be extracted to C:instantclient_12_2 such that all the extracted files and the vc14 directory are at the top level within the C:instantclient_12_2 directory, as shown in Figure 1. Thesqlplus.exe application and the other SQL*Plus files are also directly in theC:instantclient_12_2 directory.
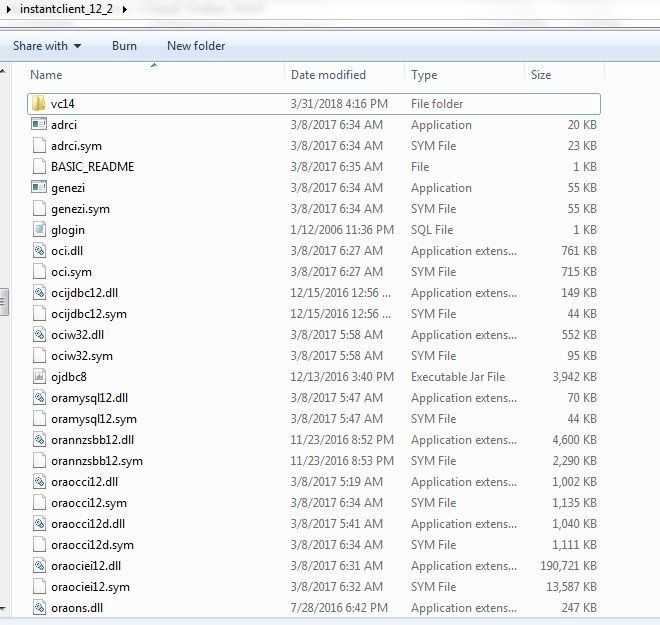
Figure 1. Directory Structure
We also need to modify the PATH environment variable to add the C:instantclient_12_2 directory path.
Creating an Exadata Instance
Login to the Oracle Cloud Dashboard with the URL of the format https://myservices.us.oraclecloud.com/mycloud/<user>/faces/dashboard.jspx that is sent to a user when a new account is created. Click on Create Instance as shown in Figure 2.

Figure 2. Create Instance
In the Create Instance dialog click on Create for the Exadata Express service as shown in Figure 3.
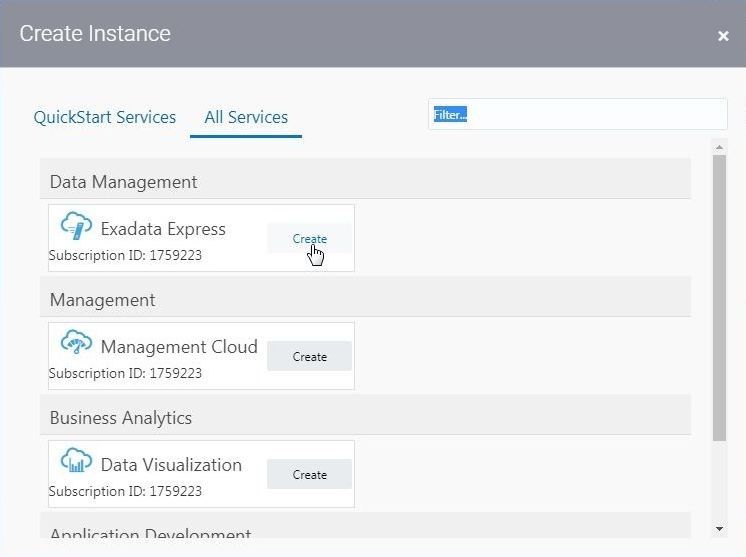
Figure 3. Exadata Express>Create
In the Instance Details page specify an Instance Name (oraexadata), select the default Plan Exadata Express Cloud Service, and select a Database Shape as shown in Figure 4. The other fields to be filled are Email, User Name, First Name and Last Name.
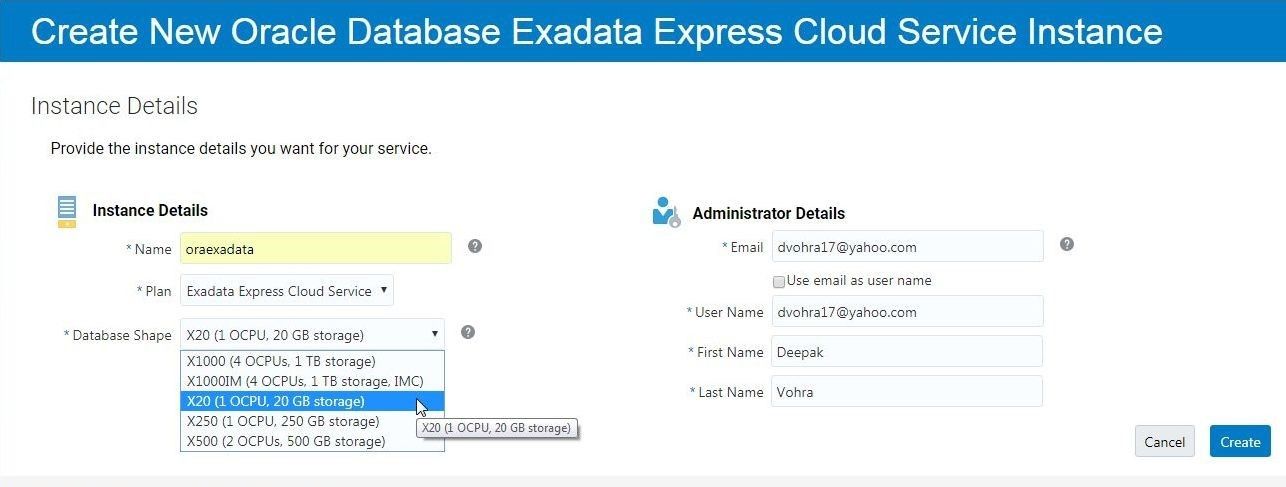
Figure 4. Instance Details
Click on Create to create an instance as shown in Figure 5.
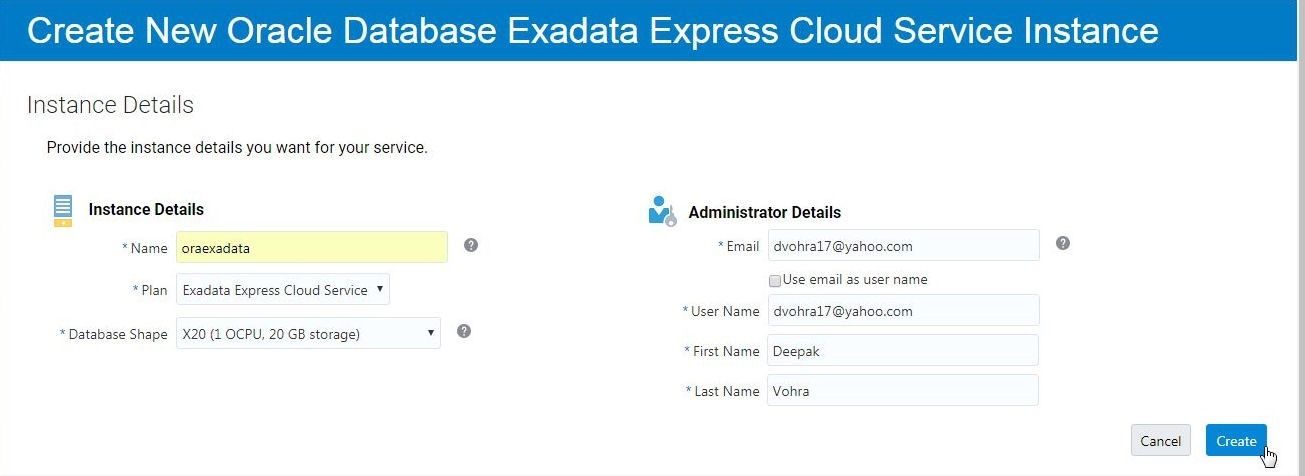
Figure 5. Instance Details>Create
In Confirmation click on Create as shown in Figure 6.
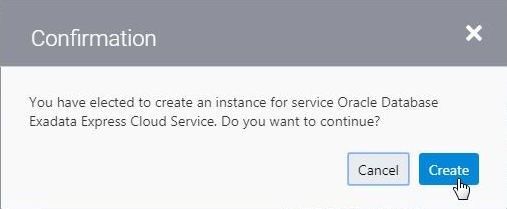
Figure 6. Confirmation>Create
The oraexadata instance starts to get created, as indicated by the message in Figure 7.

Figure 7. Instance oraexadata starts to get created
An Exadata Express service instance gets created and listed on the Dashboard, as shown in Figure 8.
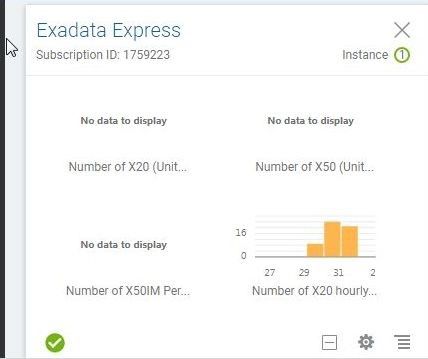
Figure 8. Exadata Express Instance in Dashboard
The Service Instances section on the instance Overview page lists the detail about the oraexadata instance. Click on the Oracle Service Console link as shown in Figure 9 to open the service console.
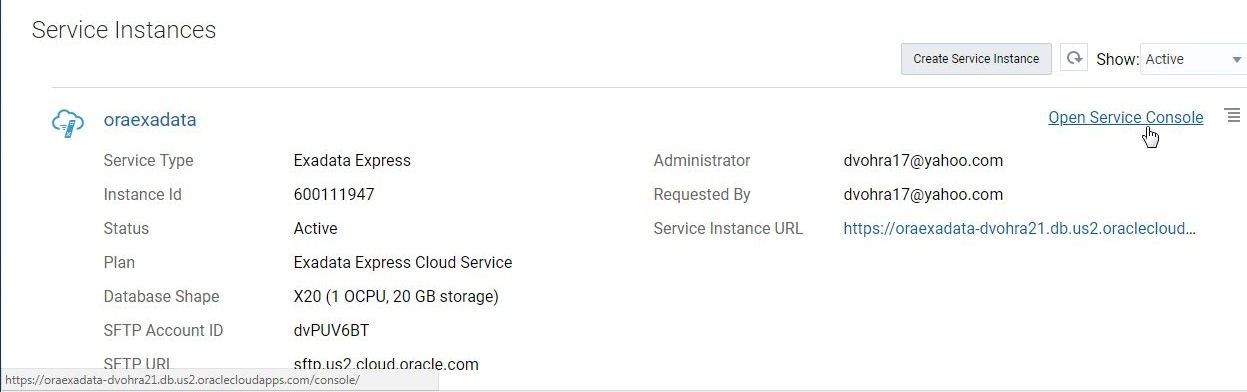
Figure 9. Oracle Service Console link
The Oracle Service Console page gets displayed, as shown in Figure 10.
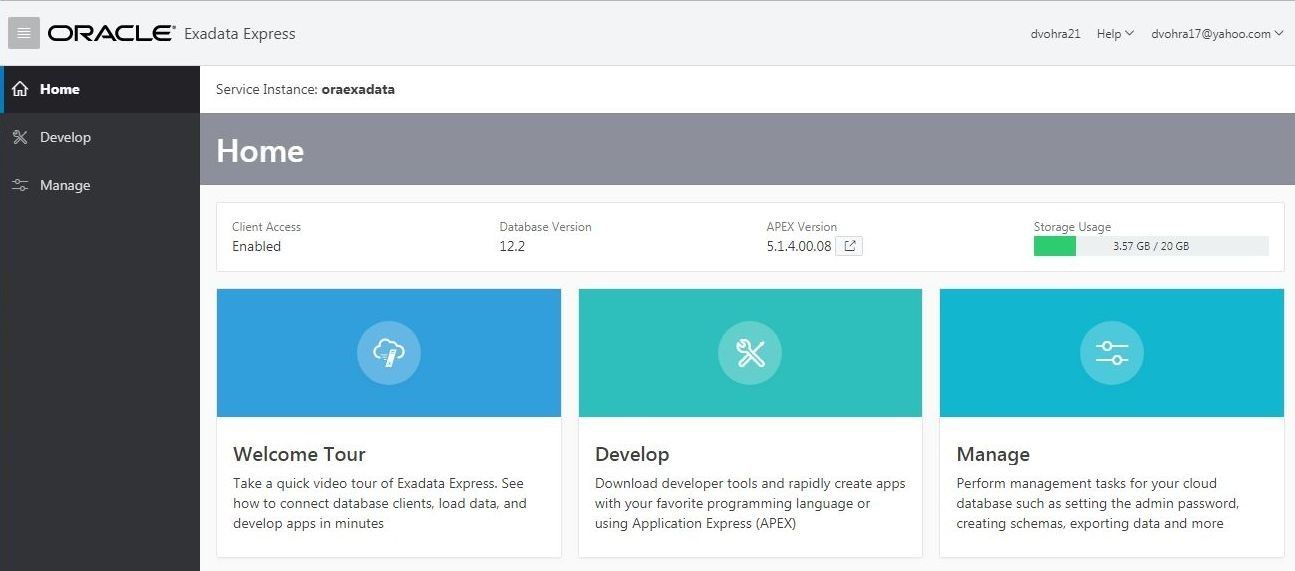
Figure 10. Oracle Service Console
Setting Admin Password
The default admin user for the Exadata Express is PDB_ADMIN. To set the password for the admin user click on Manage in the Service Console as shown in Figure 11.
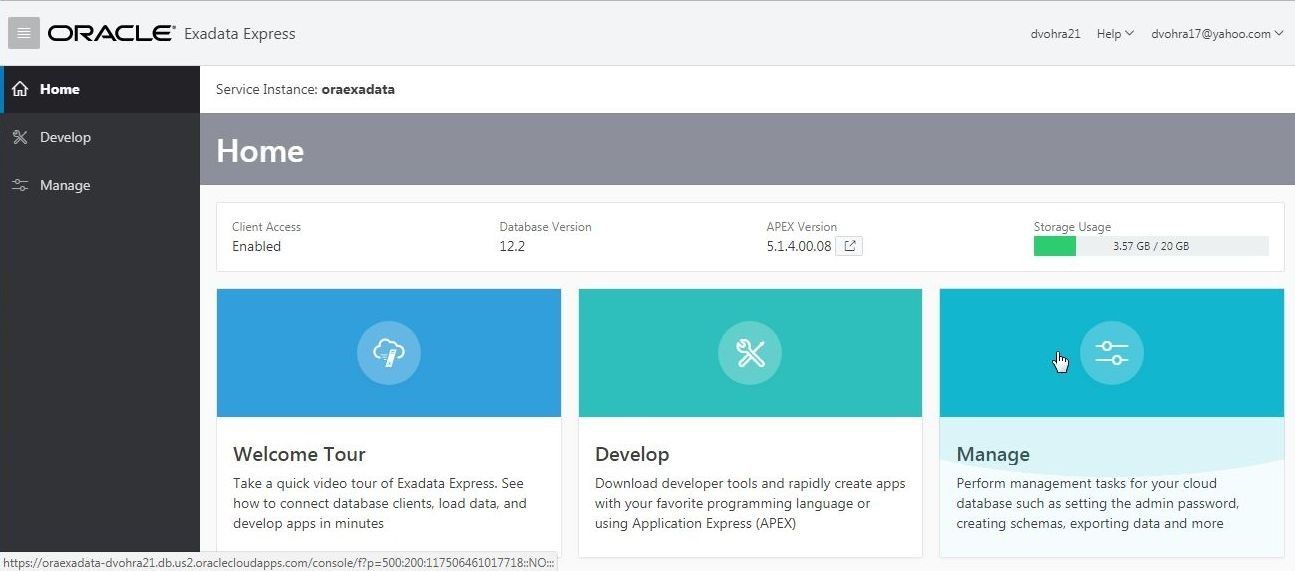
Figure 11. Manage
In Manage click on the Admin Password link as shown in Figure 12.
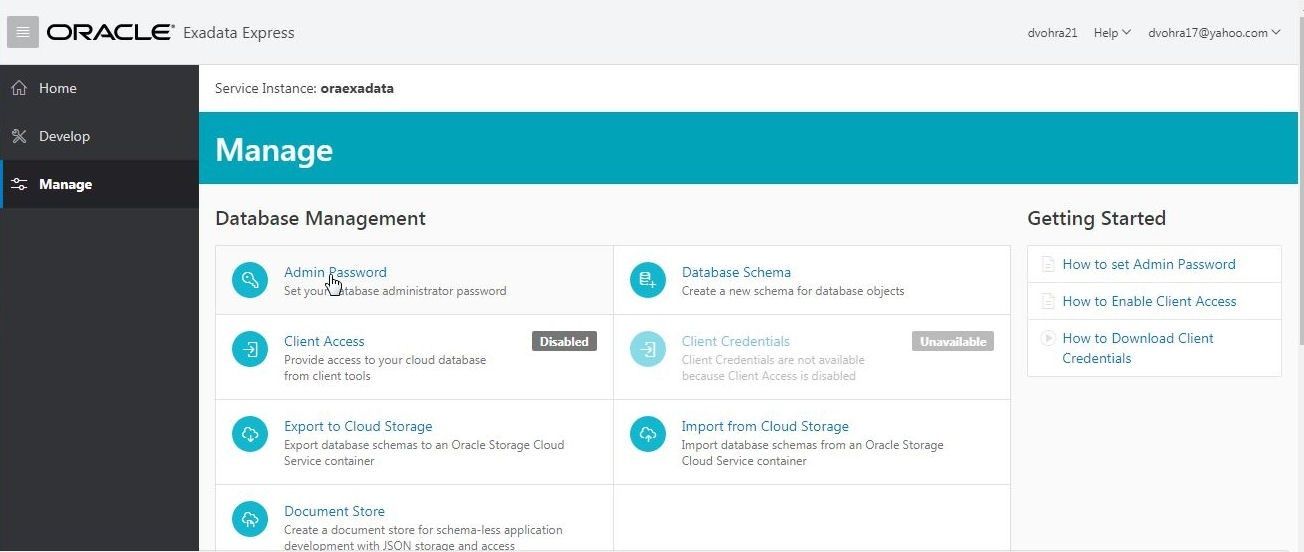
Figure 12. Admin Password
In the Admin Password dialog specify a New Password and a Confirm Password and click on Set Password as shown in Figure 13.
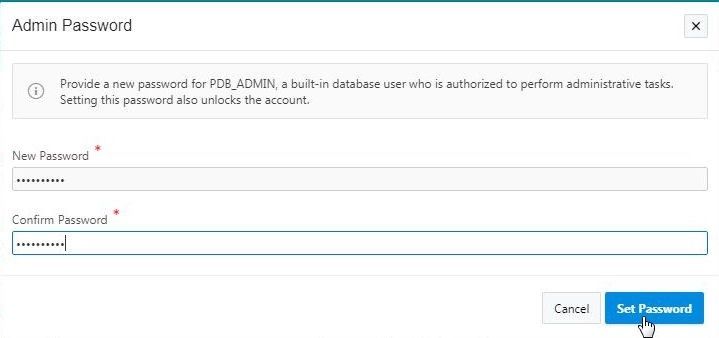
Figure 13. Admin Password
A Success dialog indicates that the password has been set as shown in Figure 14. Click on Close.
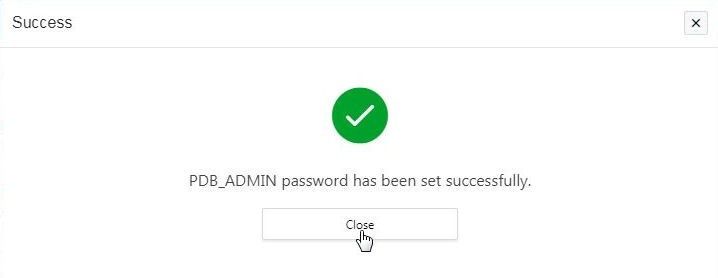
Figure 14. PDB_ADMIN Password Set
Enabling Client Access
By default client access to the database is not enabled. To enable access click on Client Access as shown in Figure 15.
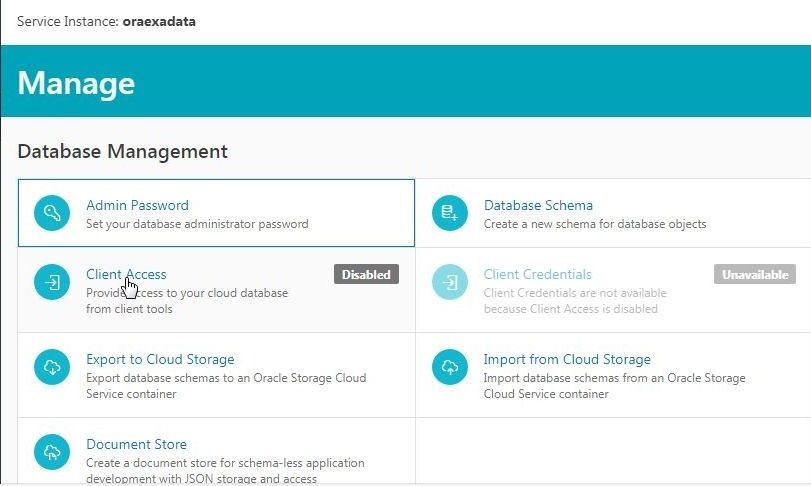
Figure 15. Client Access
In the Client Access dialog click on Enable Client Access as shown in Figure 16.
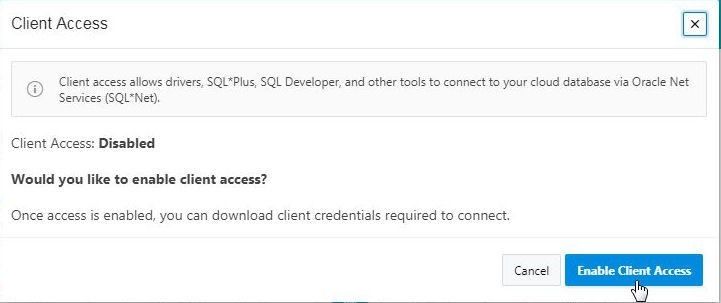
Figure 16. Client Access>Enable Client Access
The client access gets enabled as indicated by the Enabled label in Figure 17.
Figure 17. Client Access Enabled
Creating a Schema
One of the benefits of using Exadata Express is the provision to create multiple schemas. To create a schema click on Database Schema in Manage as shown in Figure 18.
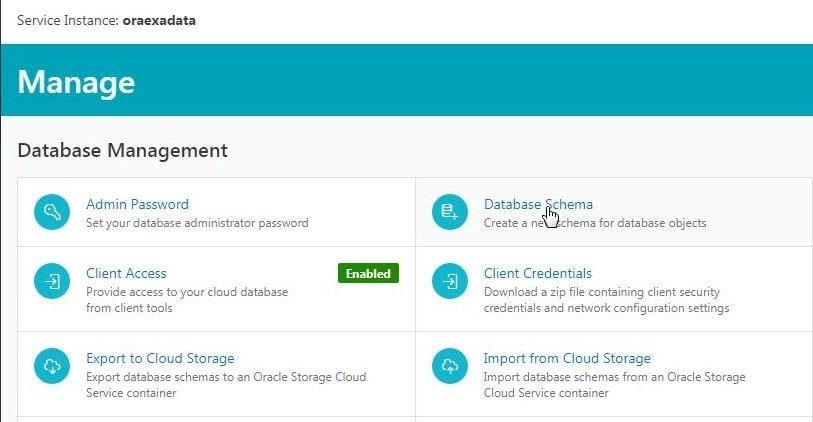
Figure 18. Manage>Database Schema
In Create Database Schema specify Schema name (ORCL) and specify Password and Confirm Password for the schema. Click on Create Database Schema as shown in Figure 19.
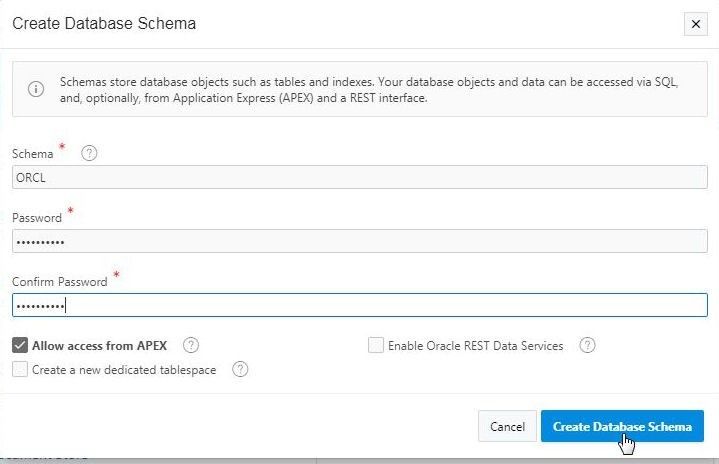
Figure 19. Create Database Schema
The database schema ORCL gets created as indicated in the Success message dialog shown in Figure 20. Click on Close.
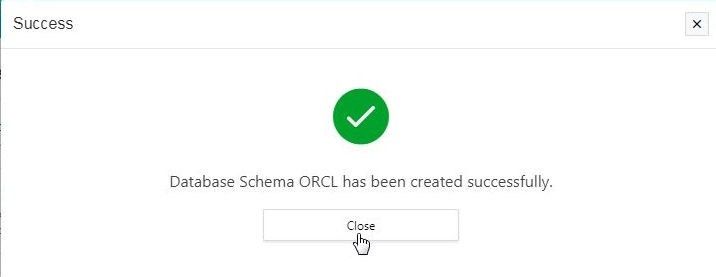
Figure 20. Schema ORCL created
Downloading Client Credentials
To download client credentials click on Client Credentials as shown in Figure 21.
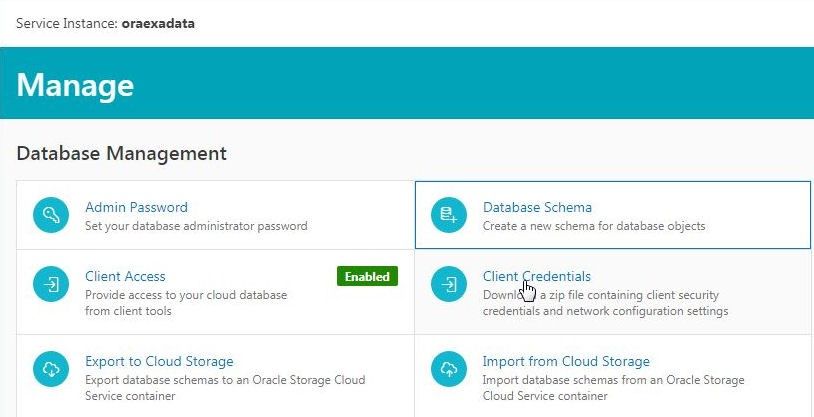
Figure 21. Client Credentials
In Client Credentials specify Password and Confirm password and click on Download as shown in Figure 22.
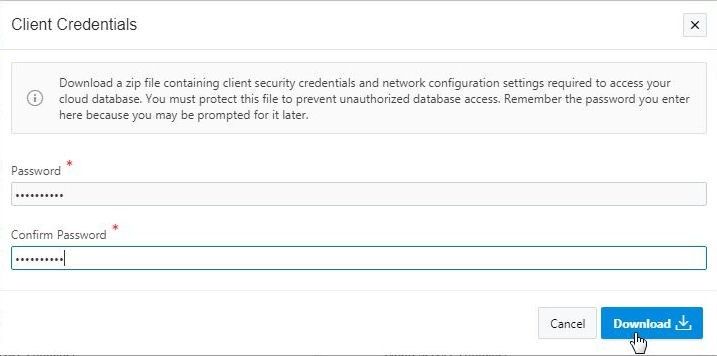
Figure 22. Client Credentials>Download
A client_credentials.zip file gets downloaded. Create a directory structure C:instantclient_12_2networkadmin and extract the files in the client_credentials.zip to the C:instantclient_12_2networkadmin directory as shown in Figure 23.
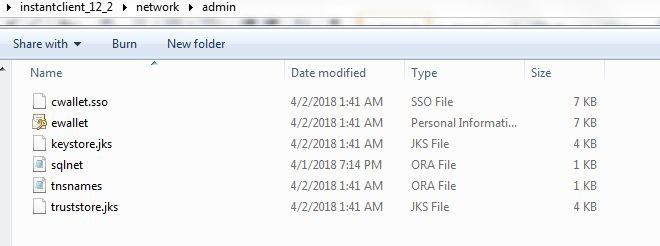
Figure 23. Credentials Files
The credentials files include the tnsnames.ora and sqlnet.ora configuration files. None of the files is to be modified. The tnsnames.ora file should not even be opened and reformatted, as the file is generated in a specific syntax which, if modified, makes the file unusable. Add an environment variable TNS_ADMIN with value as directory path C:instantclient_12_2networkadmin.
Setting Permissions on Credentials Files
We need to modify permissions on the credentials files to make the files accessible for the OS user that is logged into the local machine. The tnsnames.ora and sqlnet.ora files’ permissions are not to be set. As an example, to modify the permissions of the ewallet file right-click on the file and select Properties. In the ewallet Properties dialog select the Security tab and select the Users group and click on Edit as shown in Figure 24.
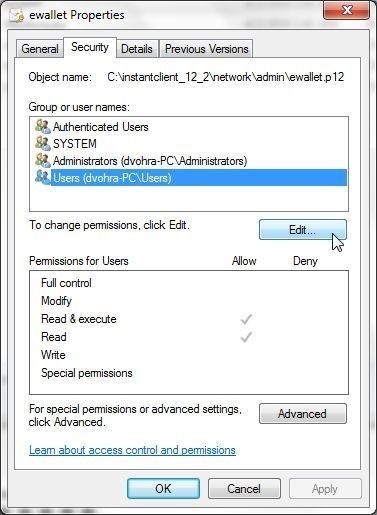
Figure 24. ewallet Properties>Security>Edit
In the Permissions for ewallet select Allow in Permissionsfor Users and click on Apply as shown in Figure 25.
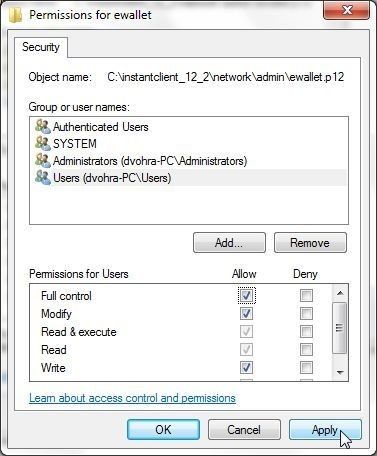
Figure 25. Setting Permissions for ewallet
Creating a SQL* Plus Connection
The tnsnames.ora file consists of a net service entrydbaccess for the Oracle Database running on Exadata Express. Run the following command to connect to Oracle Database using SQL*Plus. If the C:instantclient_12_2 directory has been added to PATH, the command may be run from any directory; but if the directory has not been added to PATH, change directory (cd) to the C:instantclient_12_2 directory to run the command.
sqlplus PDB_ADMIN@dbaccess

Specify a password for PDB_ADMIN user at the command prompt. A connection gets established with Oracle Database 12c.

C:instantclient_12_2>sqlplus PDB_ADMIN@dbaccess

SQL*Plus: Release 12.2.0.1.0 Production on Sun Apr 1 19:19:05 2018

Copyright (c) 1982, 2016, Oracle. All rights reserved.

Enter password:

Connected to:

Oracle Database 12c Enterprise Edition Release 12.2.0.1.0 - 64bit Production

SQL>
The pluggable database is already running, which may be verified with the startup command.
SQL> startup

ORA-65019: pluggable database YHTPGDZTLFV already open

SQL>
The output from the preceding SQL*Plus commands is shown in Figure 26.
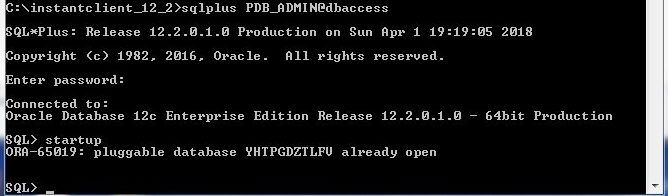
Figure 26. SQL*Plus Commands output
Summary
In this first of three articles on using Oracle Database Exadata Express Cloud Service with Toad for Oracle we have created an Exadata Express instance. In subsequent articles we shall connect to the database with Toad for Oracle and use some of its features.
Start the discussion at forums.toadworld.com