PostgreSQL database is an open source database that is almost fully SQL standard (SQL:2011) compliant. PostgreSQL provides features that are comparable or better than equivalent features in MySQL database. In the first article on using Toad Data Point with PostgreSQL on EC2 we discussed creating an EC2 instance for PostgreSQL database. In this continuation article we shall connect with the PostgreSQL database with Toad Data Point.
This article has the following sections.
- Connecting to PostgreSQL Database with Toad Data Point
- Creating a Database Table with Create Table Wizard
- Exploring Database Objects
- Adding Table Data with SQL Editor
- Querying Table with Query Builder
- Exporting Resultset to Excel
- Dropping Table
- Disconnecting and Connecting
- Dropping Connection
- Stopping EC2 Instance
Connecting to PostgreSQL Database with Toad Data Point
To connect to PostgreSQL database on EC2 click on Connect>New Connection in Toad Data Point as shown in Figure 1.
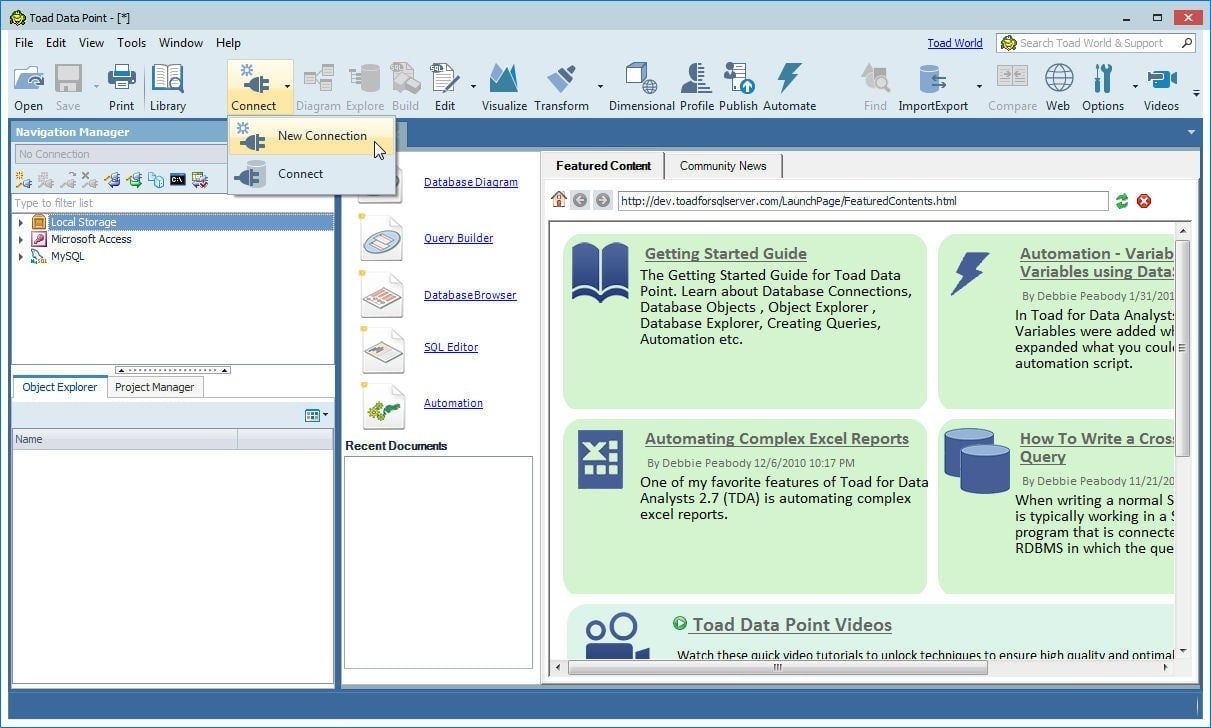
Figure 1. Connect>New Connection
Select PostgreSQL database from the list of data sources as shown in Figure 2.
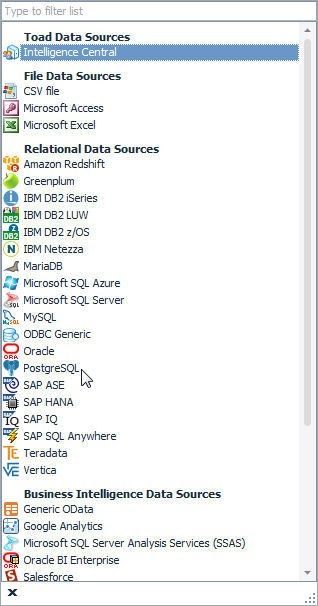
Figure 2. Selecting PostgreSQL
The Create New Connection wizard gets started, as shown in Figure 3.
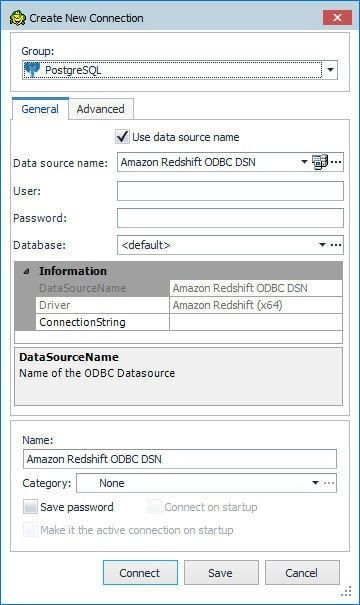
Figure 3. Create New Connection
With the General tab selected, click in the Use data source name checkbox and select PostgreSQL35W data source from the dropdown as shown in Figure 4.
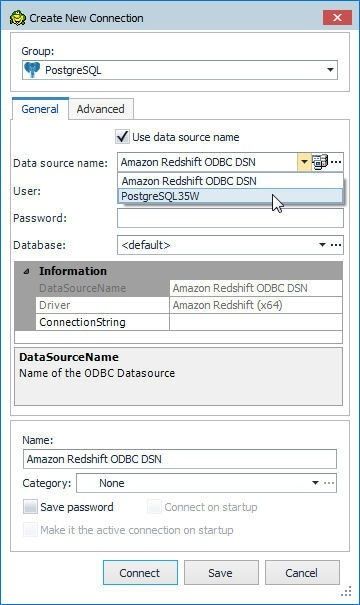
Figure 4. Selecting PostgreSQL35W data source
Specify User as postgres and specify the password for the user. Click on the selector(…) button for the Database field as shown in Figure 5.
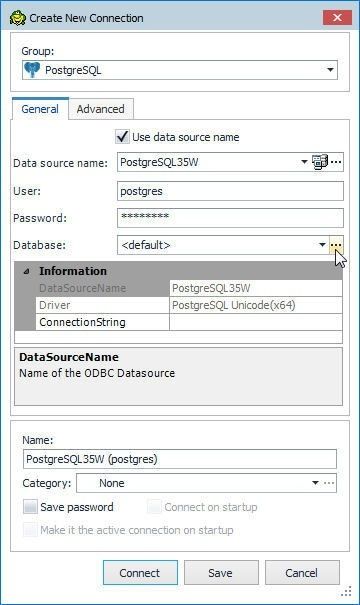
Figure 5. Adding Connection Detail
In the dialog prompting the user as to whether to continue browsing for available schemas, click onYes as shown in Figure 6.

Figure 6. Dialog prompting user input to continue
The connection gets established to browse for and list available databases. Select the public database as shown in Figure 7.
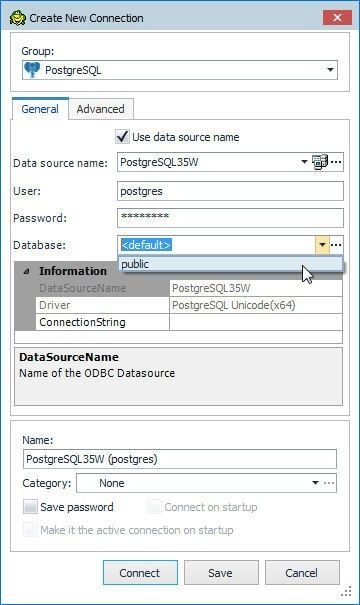
Figure 7. Selecting database as public
Click on Connect as shown in Figure 8 to create a connection.
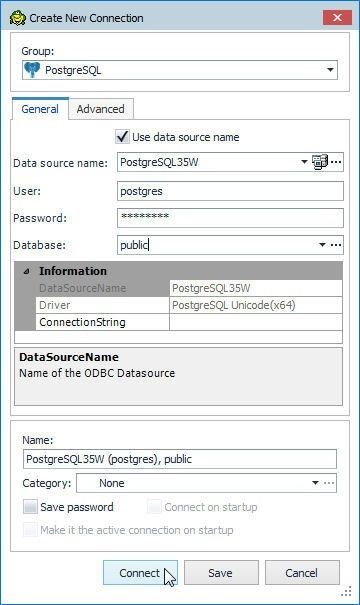
Figure 8. Connect
A new connection gets created and added to Navigation Manager, as shown in Figure 9. The Object Explorer displays the database objects for the public database.
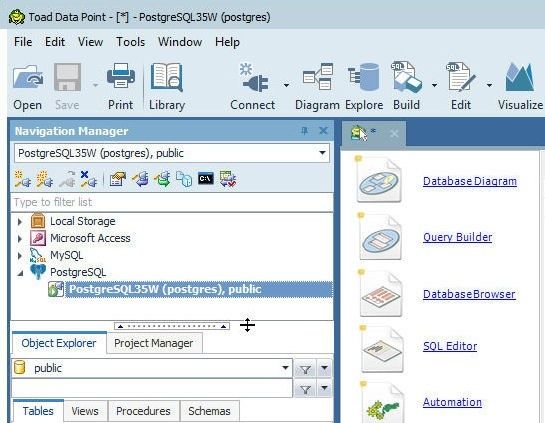
Figure 9. New Connection in Navigation Manager
Right-click on the connection to display the features and options available to a connection as shown in Figure 10.

Figure 10. Features and Options for a connection
Click on File in the toolbar to display options for disconnecting a connection or creating a new connection as shown in Figure 11.
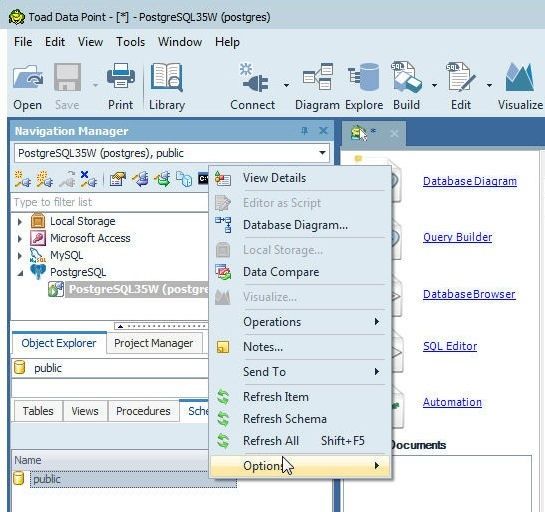
Figure 11. File>New>Connection
The different views available in Toad Data Point include Connection Manager and SQL Recall, as shown in Figure 12.
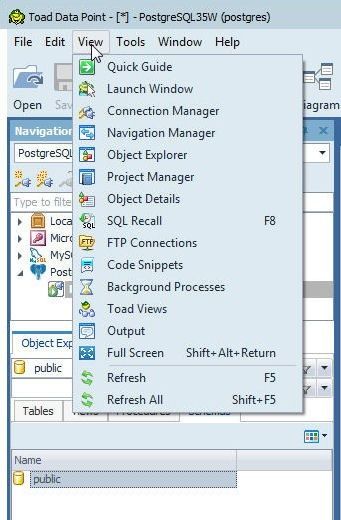
Figure 12. Views
The different tools are accessible from Tools, as shown in Figure 13.
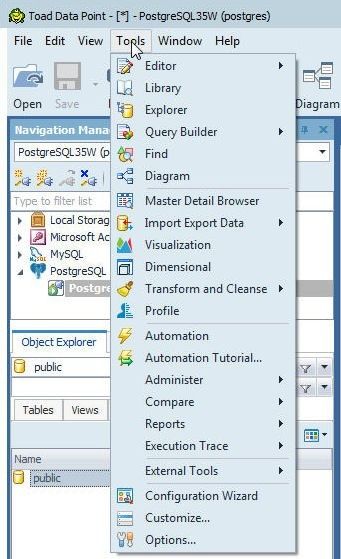
Figure 13. Tools
Creating a Database Table with Create Table Wizard
To create a database table click on Create a table in the Object Explorer with the Tables tab selected, as shown in Figure 14.
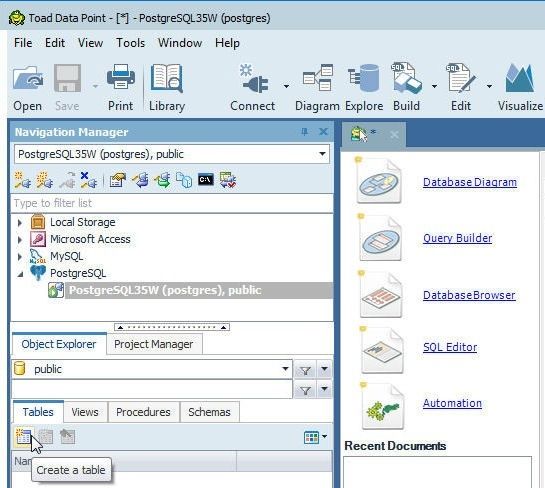
Figure 14. Object Explorer>Tables>Create a table
The Create Table wizard gets launched, as shown in Figure 15.

Figure 15. Create Table wizard
Specify a table name (wlslog) in the Name field. Add a primary key field (logid) and click in the Not Null checkbox as shown in Figure 16. Click on the Set Primary Key button.
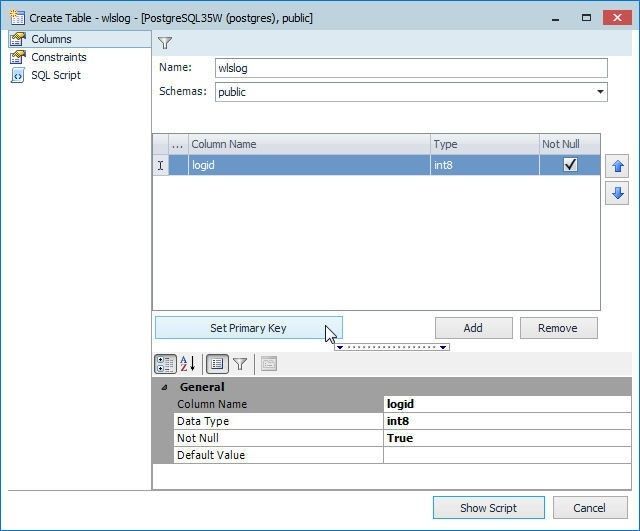
Figure 16. Adding Primary Key field
Click on Add as shown in Figure 17 to add other columns.
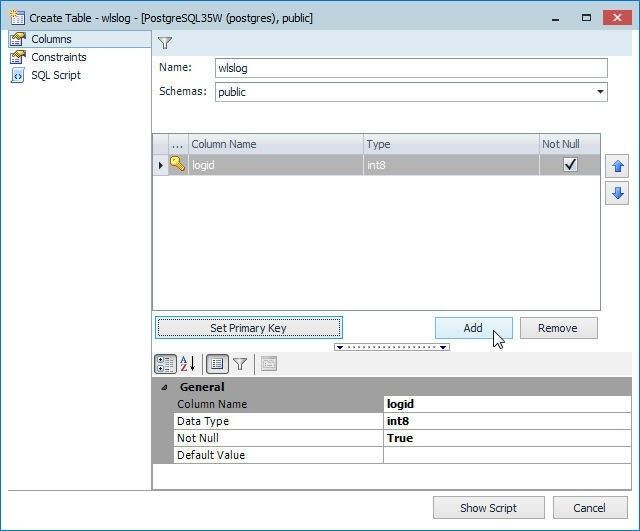
Figure 17. Adding a column with Add
Add columns category, type, servername, code, and msg, all of type varchar. The data type is selected in the Type drop-down, as shown in Figure 18.
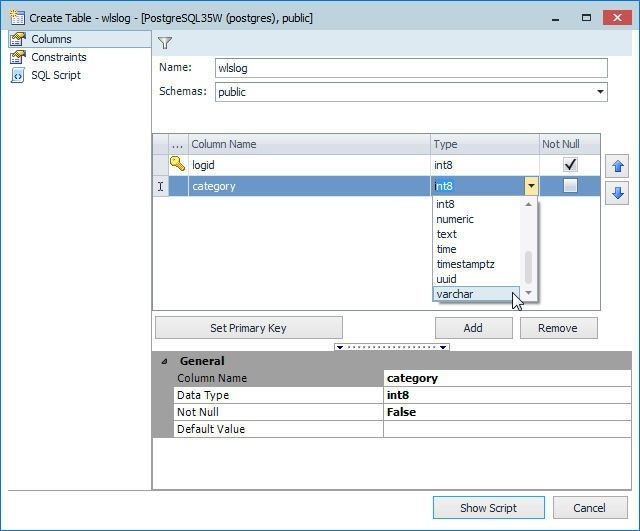
Figure 18. Adding a Column and setting Data Type
Similarly, add other columns. The default length of each new field is 20, as shown in Figure 19.
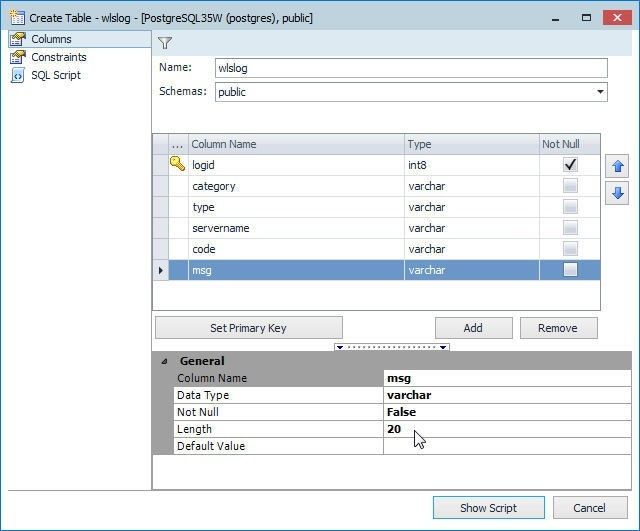
Figure 19. Adding columns and default field length
The default field length may be modified. Set field length of themsg column to255 as shown in Figure 20.
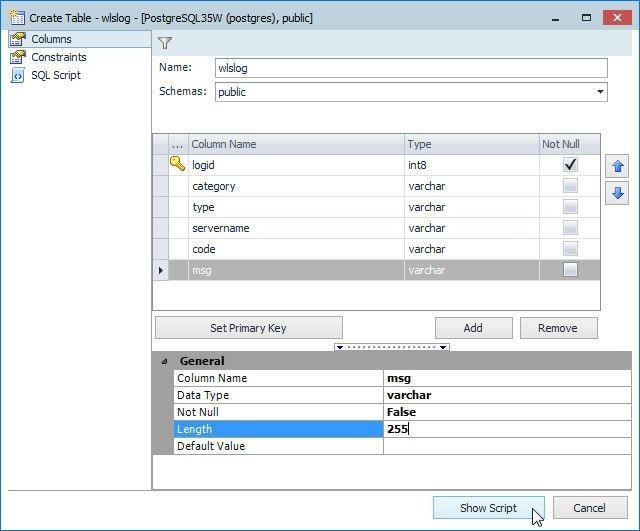
Figure 20. Modifying Field length
Click on Show Script as shown in Figure 21 to view the SQL script generated automatically to create the table. Click on Execute.
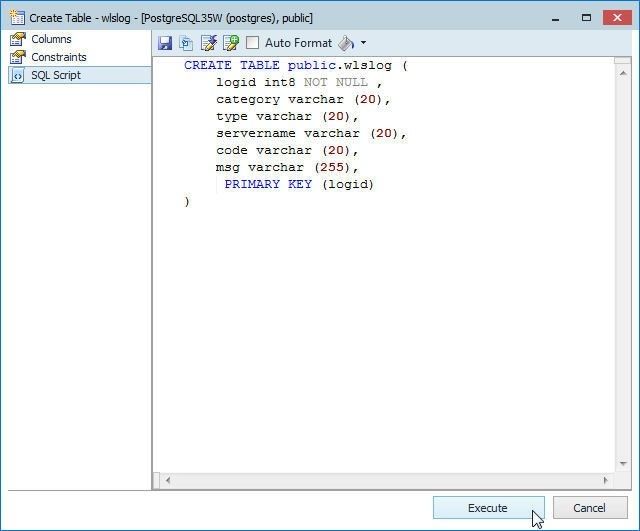
Figure 21. Running SQL Script
A table gets created, as confirmed by a message dialog shown in Figure 22.
Figure 22. Table created
The table does not get listed in the Object Explorer automatically. Click on View>Refresh All as shown in Figure 23 to refresh the Object Explorer.
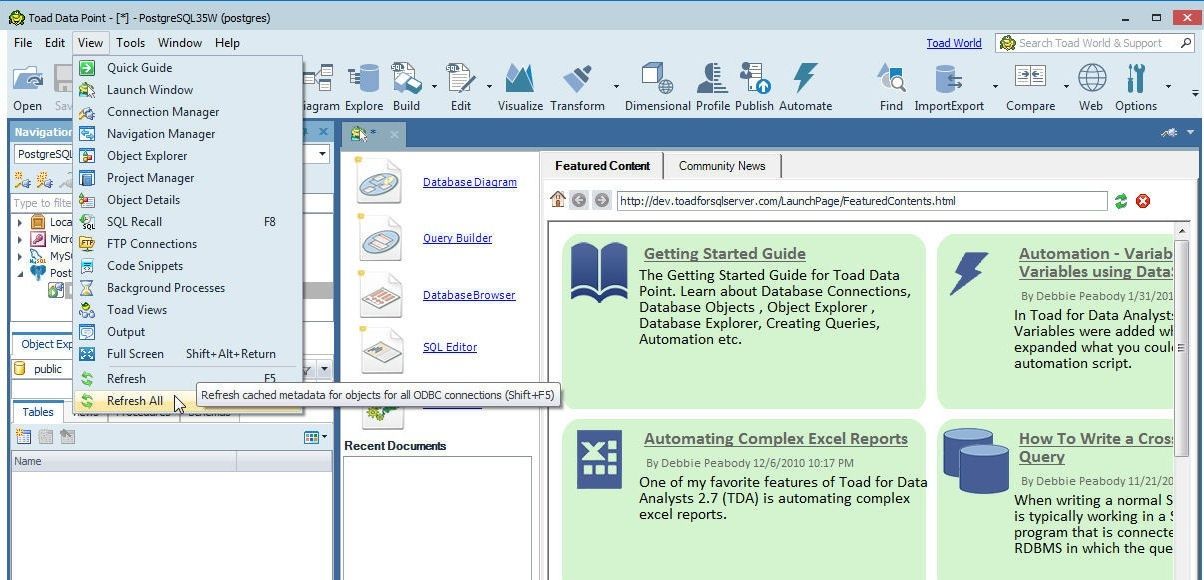
Figure 23. View>Refresh All
The table wlslog gets listed in the Object Explorer, as shown in Figure 24.
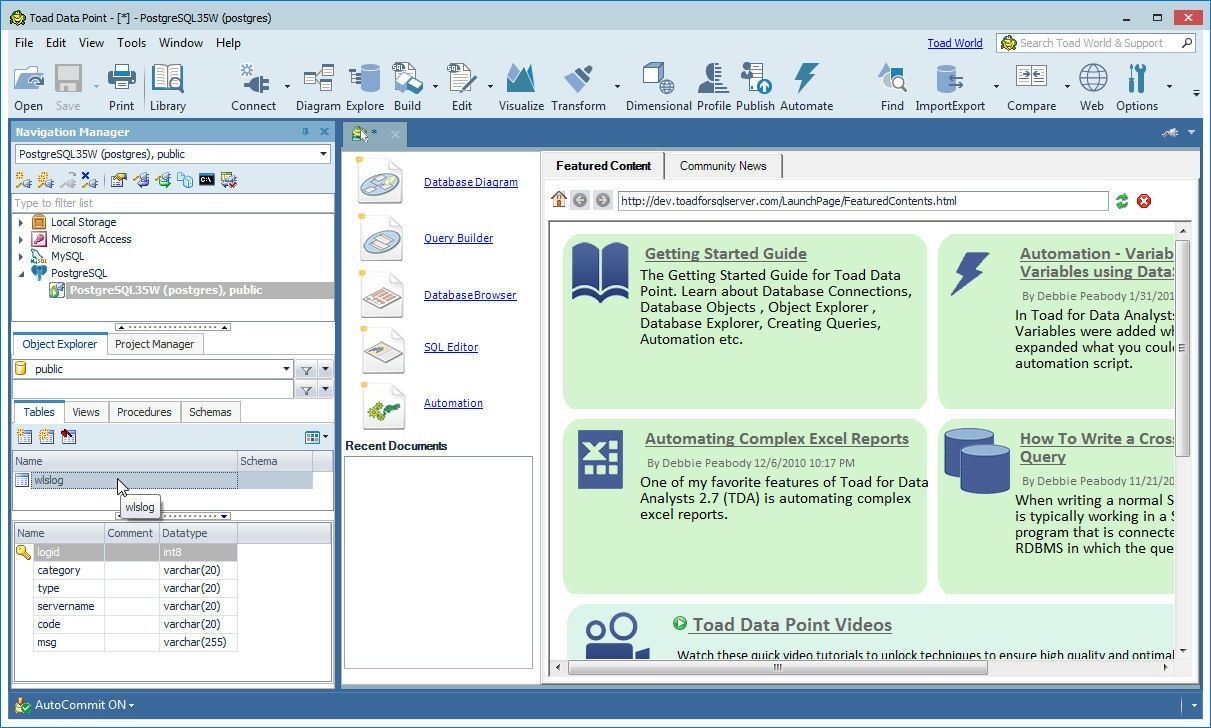
Figure 24. Table added to Object Explorer
Several tools are available to a table. Right-click on the table in Object Explorer as shown in Figure 25 to access the tools.
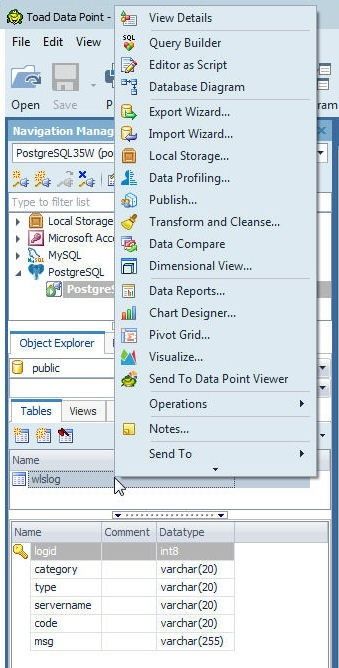
Figure 25. Tools available to a table
Exploring Database Objects
Database objects are explored by selecting Explore in the toolbar as shown in Figure 26.
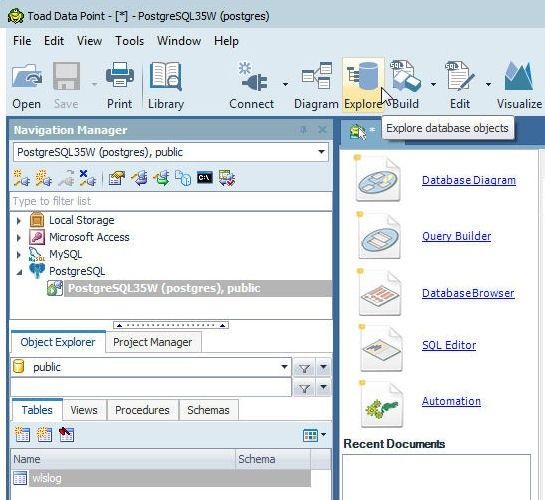
Figure 26. Explore
The wlslog table is shown in the Database Explorer in Figure 27.
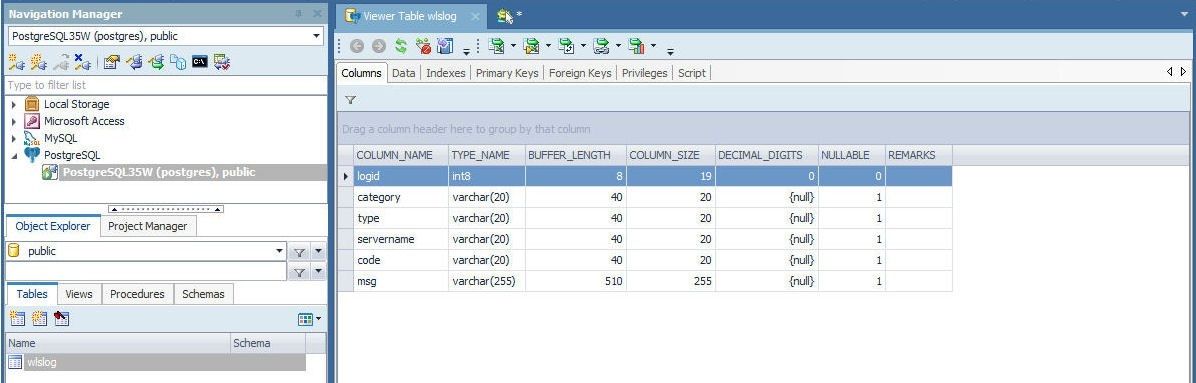
Figure 27. Table wlslog in Explorer
Click on the Data tab to display the table data. A new table is empty, as shown in Figure 28.
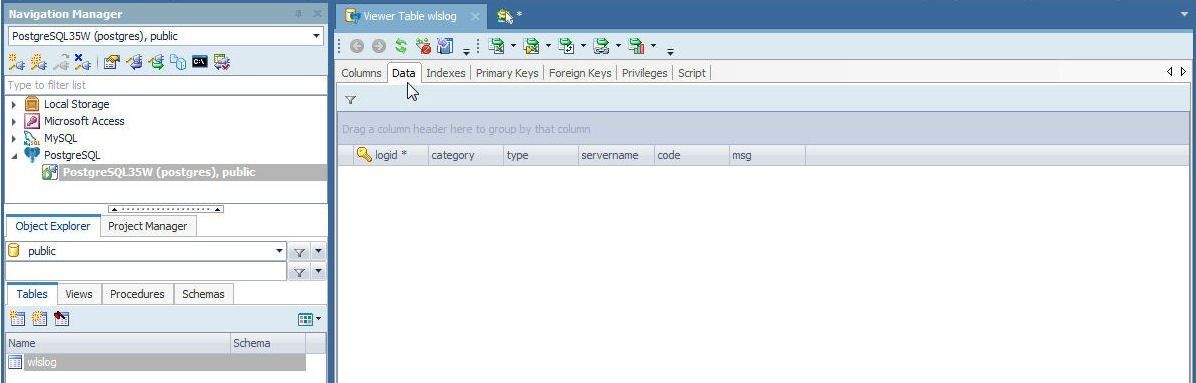
Figure 28. A new table is empty
Adding Table Data with SQL Editor
Next, we shall add table data using the following SQL script.
INSERT INTO wlslog(logid,category,type,servername,code,msg) VALUES(1,'Notice','WebLogicServer',
    'AdminServer','BEA-000365','Server state changed to STANDBY');
INSERT INTO wlslog(logid,category,type,servername,code,msg) VALUES(2,'Notice','WebLogicServer',
    'AdminServer','BEA-000365','Server state changed to STARTING');
INSERT INTO wlslog(logid,category,type,servername,code,msg) VALUES(3,'Notice','WebLogicServer',
    'AdminServer','BEA-000365','Server state changed to ADMIN');
INSERT INTO wlslog(logid,category,type,servername,code,msg) VALUES(4,'Notice','WebLogicServer',
    'AdminServer','BEA-000365','Server state changed to RESUMING');
INSERT INTO wlslog(logid,category,type,servername,code,msg) VALUES(5,'Notice','WebLogicServer',
    'AdminServer','BEA-000361','Started WebLogic AdminServer');
INSERT INTO wlslog(logid,category,type,servername,code,msg) VALUES(6,'Notice','WebLogicServer',
    'AdminServer','BEA-000365','Server state changed to RUNNING');
INSERT INTO wlslog(logid,category,type,servername,code,msg) VALUES(7,'Notice','WebLogicServer',
    'AdminServer','BEA-000360','Server started in RUNNING mode');
To run the SQL script start a SQL Editor with Edit in the toolbar as shown in Figure 29.
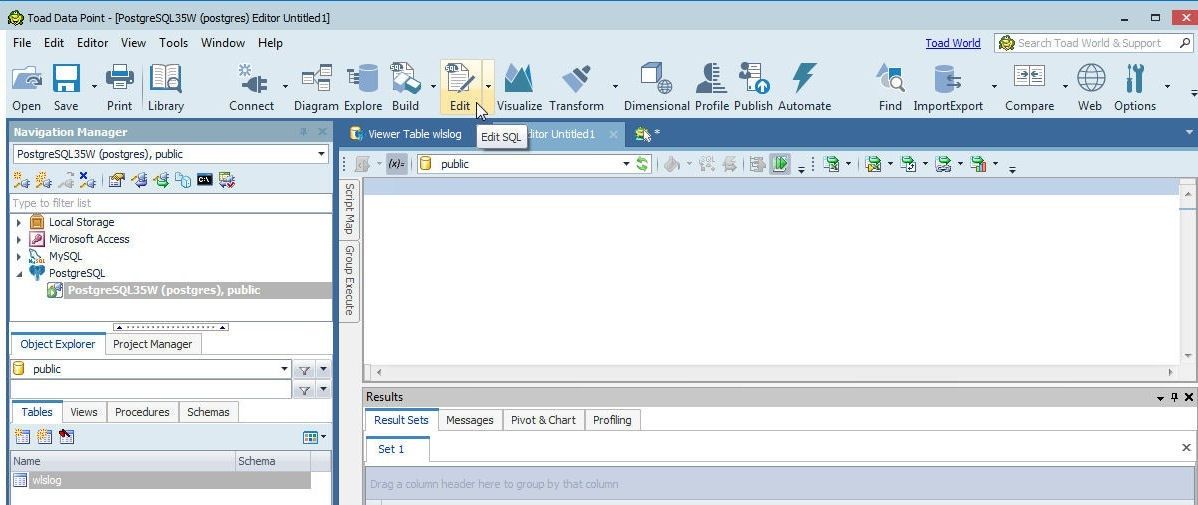
Figure 29. Starting SQL Editor
The SQL Editor may also be started by selecting File>New>Editor>SQL Editor as shown in Figure 30.
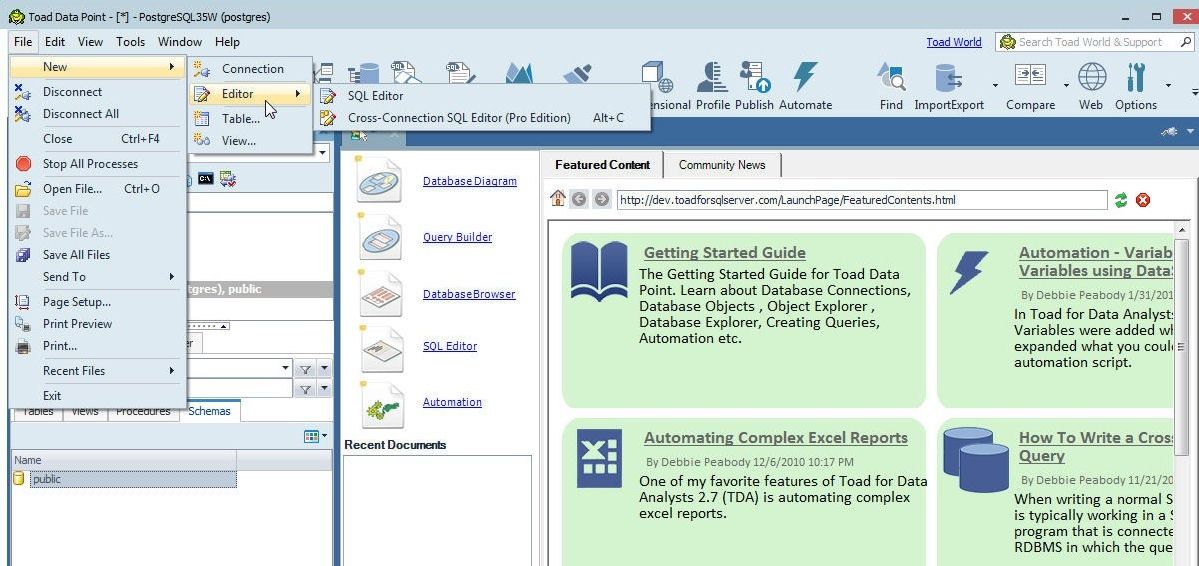
Figure 30. File>New>Editor>SQL Editor
Copy and paste the SQL script in the SQL Editor and click on Execute scripts as shown in Figure 31.
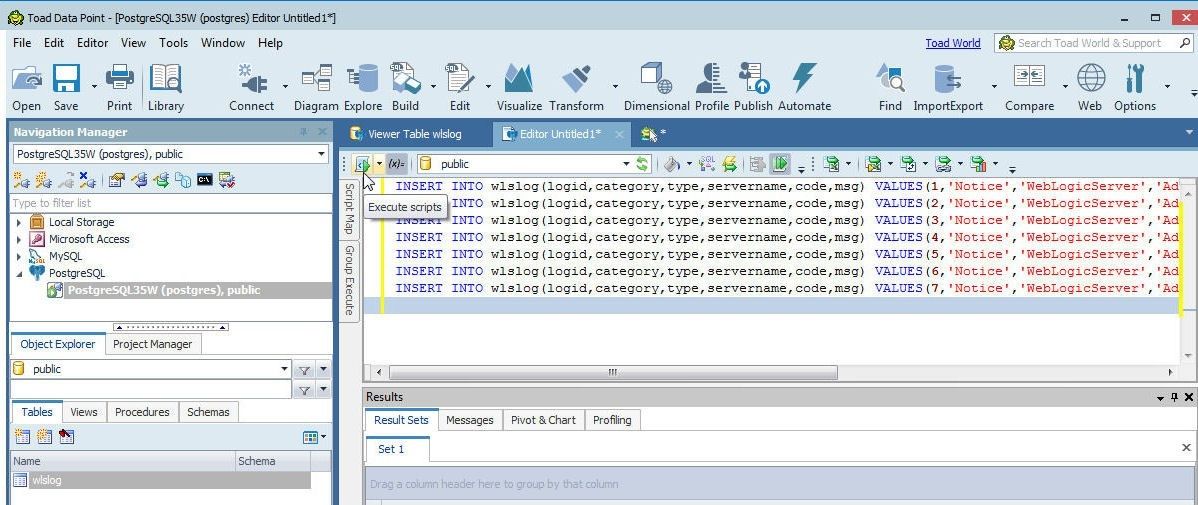
Figure 31. Execute scripts
While the SQL script is running the script may be cancelled with Cancel execution of the script or statement that is currently running as shown in Figure 32.
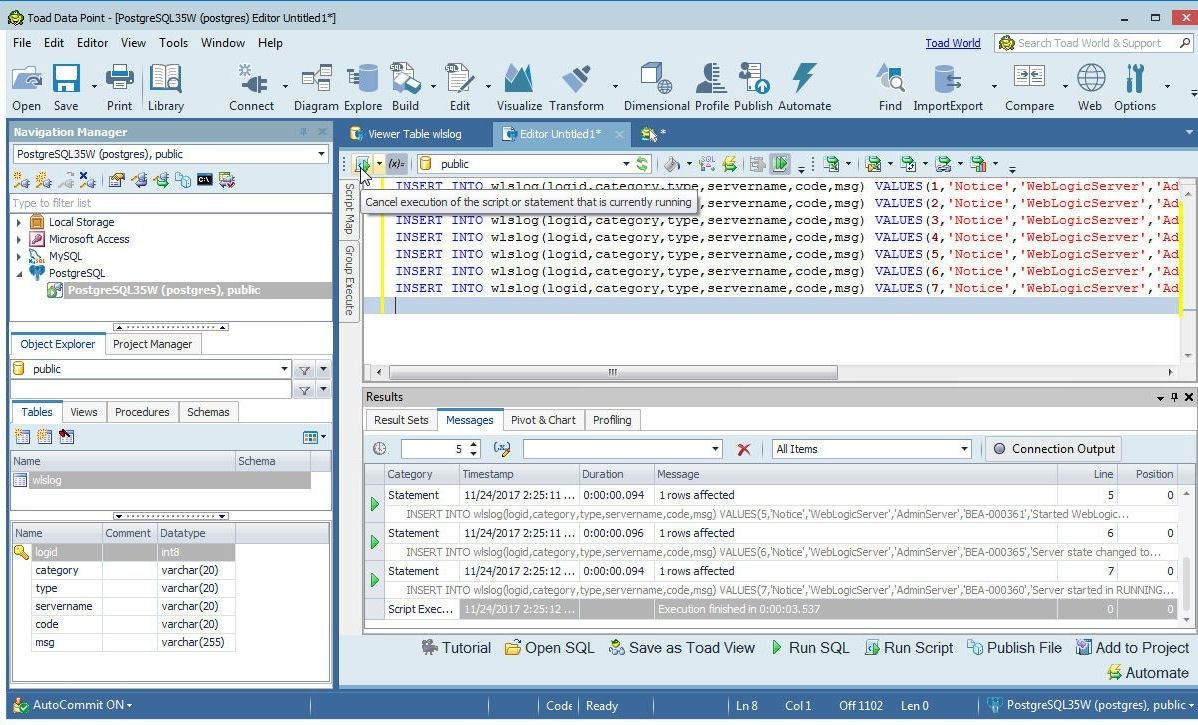
Figure 32. Cancel execution of the script or statement that is currently running
As the Messages tab in Figure 33 indicates, the SQL statements are run and data gets added. Because AutoCommit is ON by default the transactions don’t need to be committed explicitly.
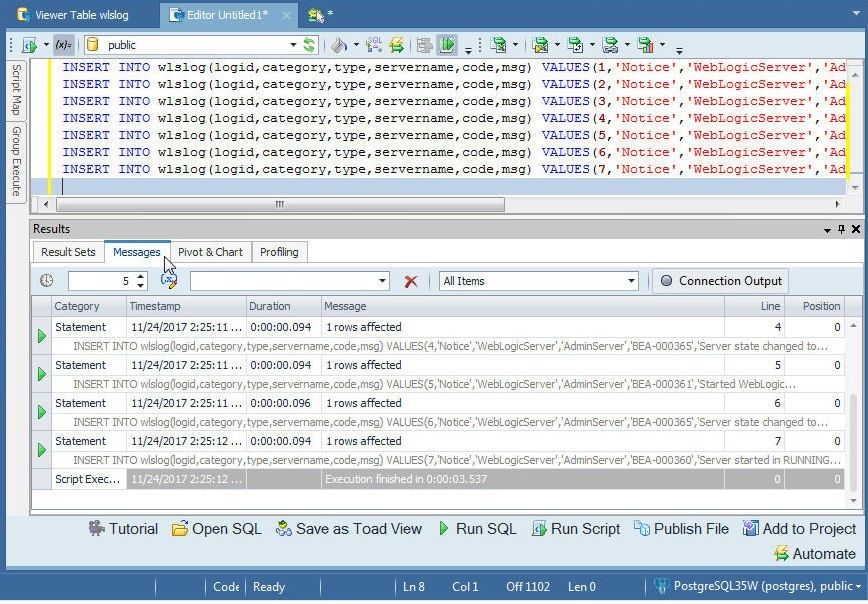
Figure 33. SQL Script run
After the table data has been added, the Viewer Table wlslog, which was started with Explore in the toolbar, should list the data in the Data tab, which is shown to be selected in Figure 34. But the Data tab does not display the data added automatically, as shown by the still empty Data tab display.
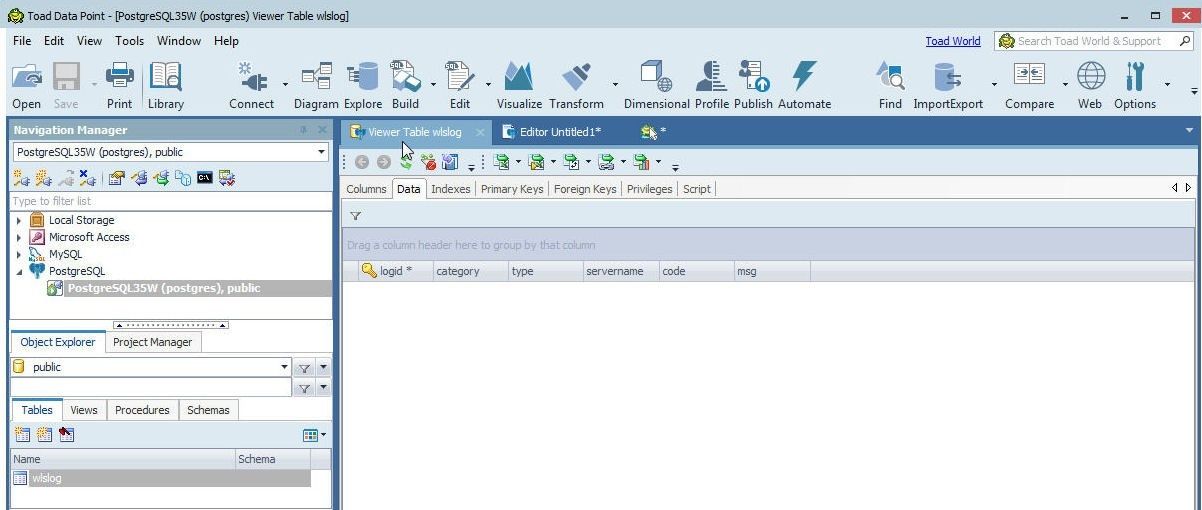
Figure 34. Empty Data Tab Display
To display the data click on Refresh as shown in Figure 35 in Viewer Table.
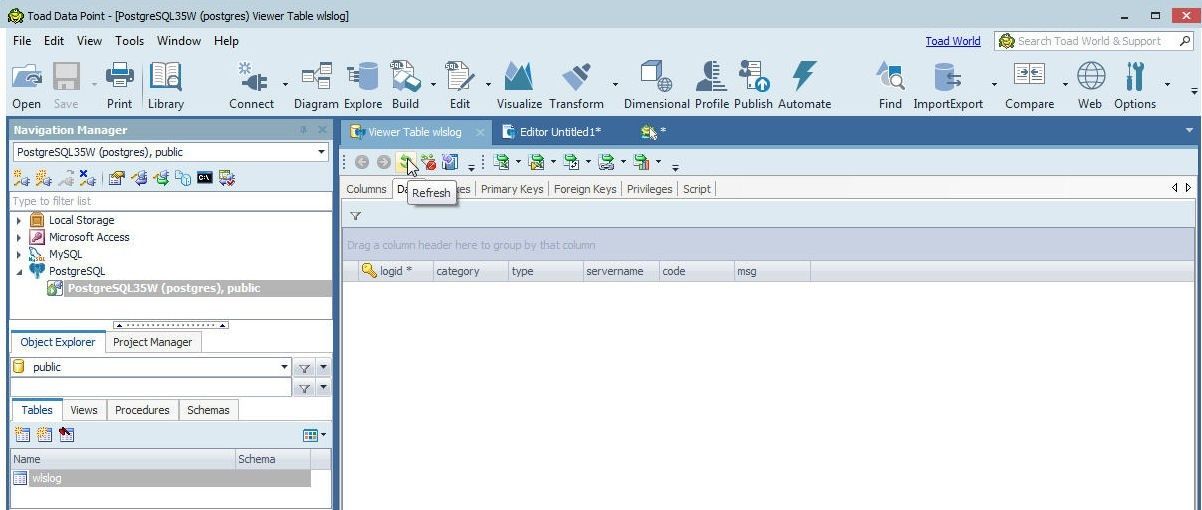
Figure 35. Viewer Table>Refresh
The data added gets displayed, as shown in Figure 36.
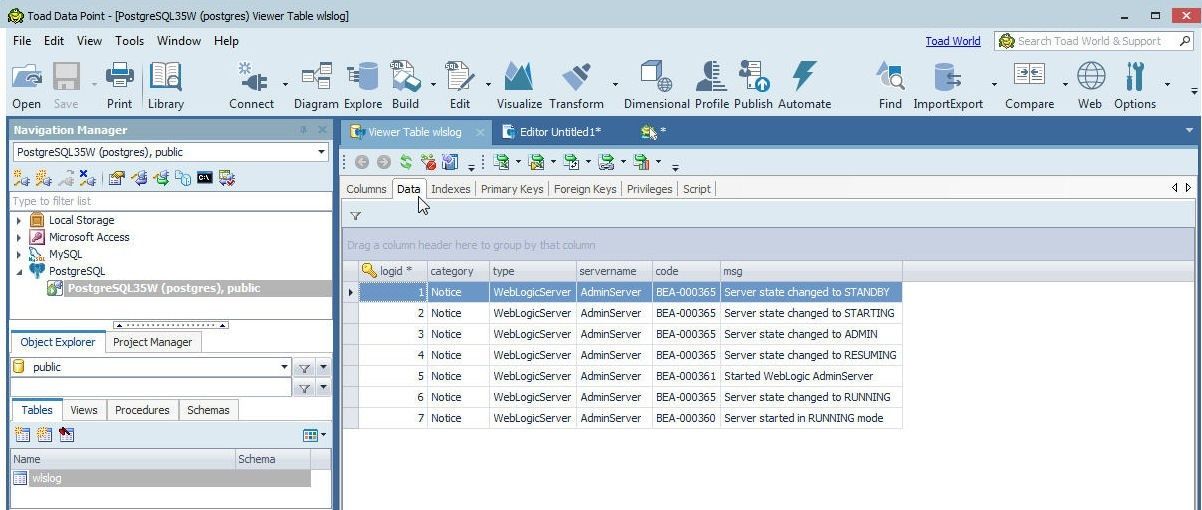
Figure 36. Viewer Table Data tab displays data
Querying Table with Query Builder
Next, we query the table using the Query Builder, which is started by selecting Build SQL statements in the toolbar as shown in Figure 37.
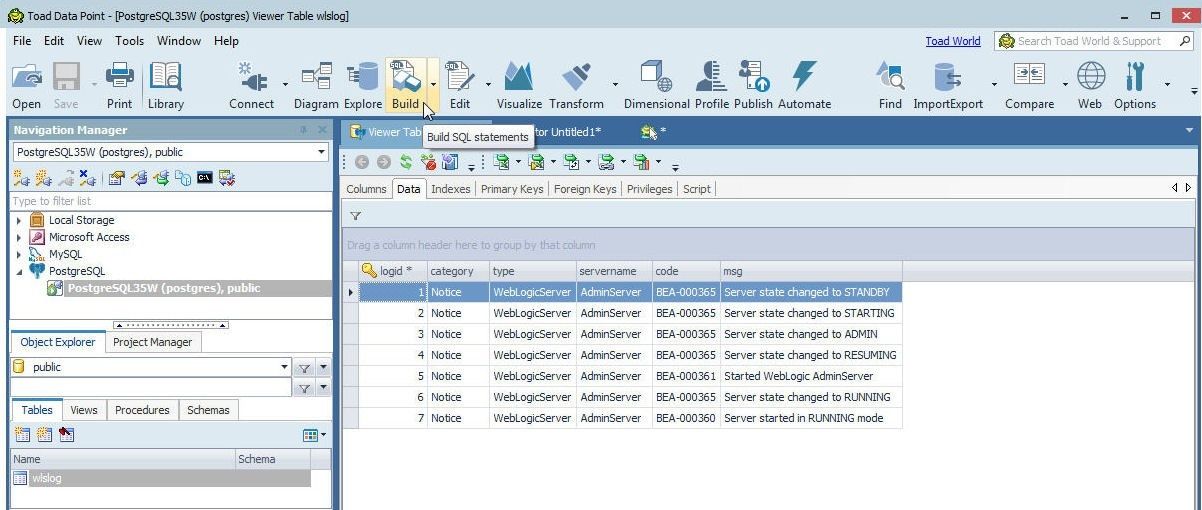
Figure 37. Build SQL statements
The Query Builder gets started. Select the table wlslog from the Object Explorer and add it to the Query Builder diagrammer as shown in Figure 38.
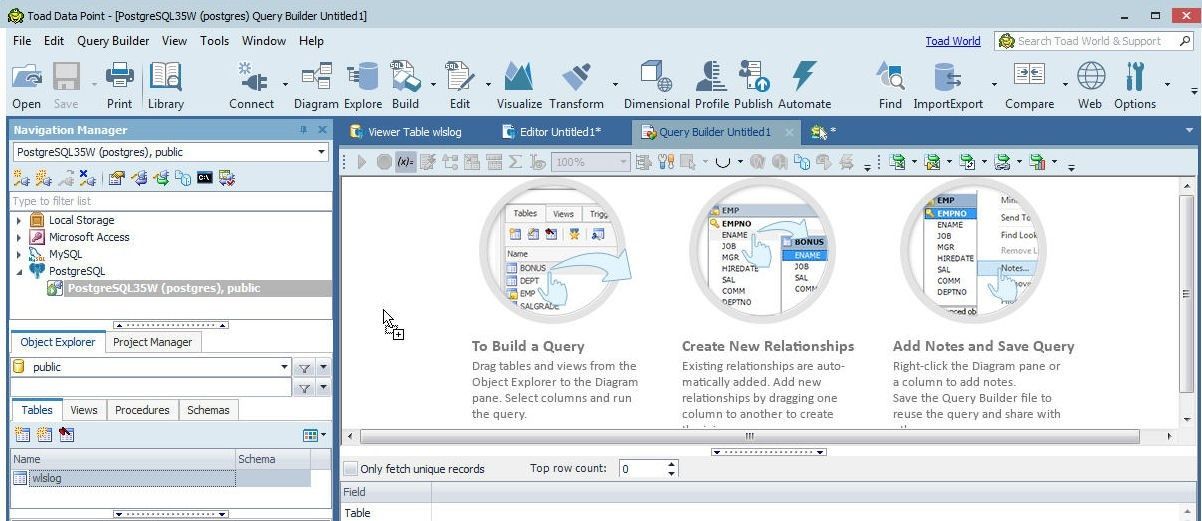
Figure 38. Adding Table to Diagrammer
A table diagram gets created, as shown in Figure 39, with the table columns listed as selectable to generate a SQL query. By default none of the columns are selected.
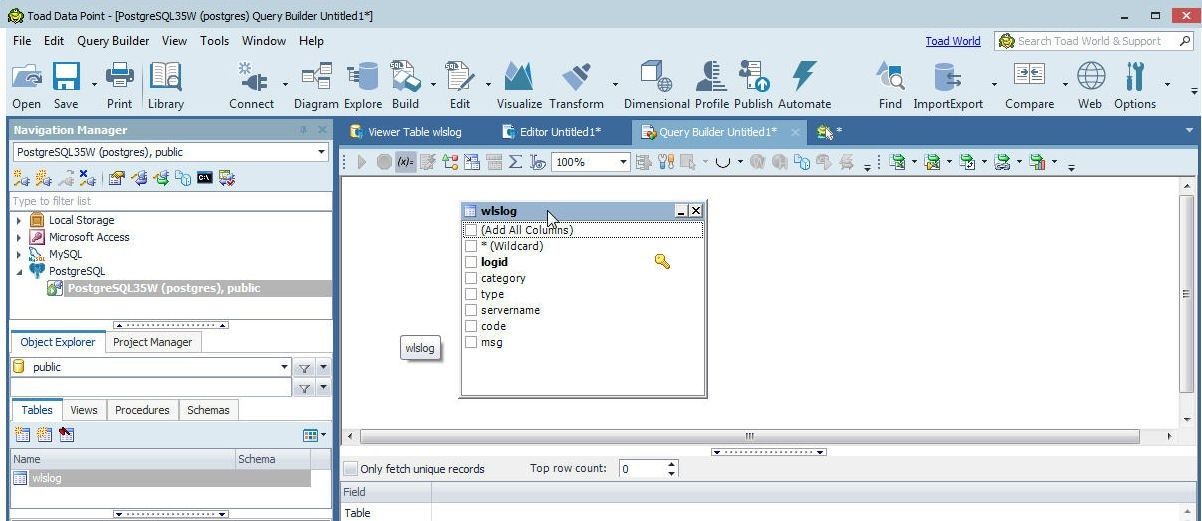
Figure 39. Table Diagram
Select the columns to be included in the SQL query. As an example, click on the Add all columns checkbox shown in Figure 39. The SQL query generated automatically is listed by selecting the Query tab, as shown in Figure 40. Click on Execute the SQL statement to run the SQL statement.
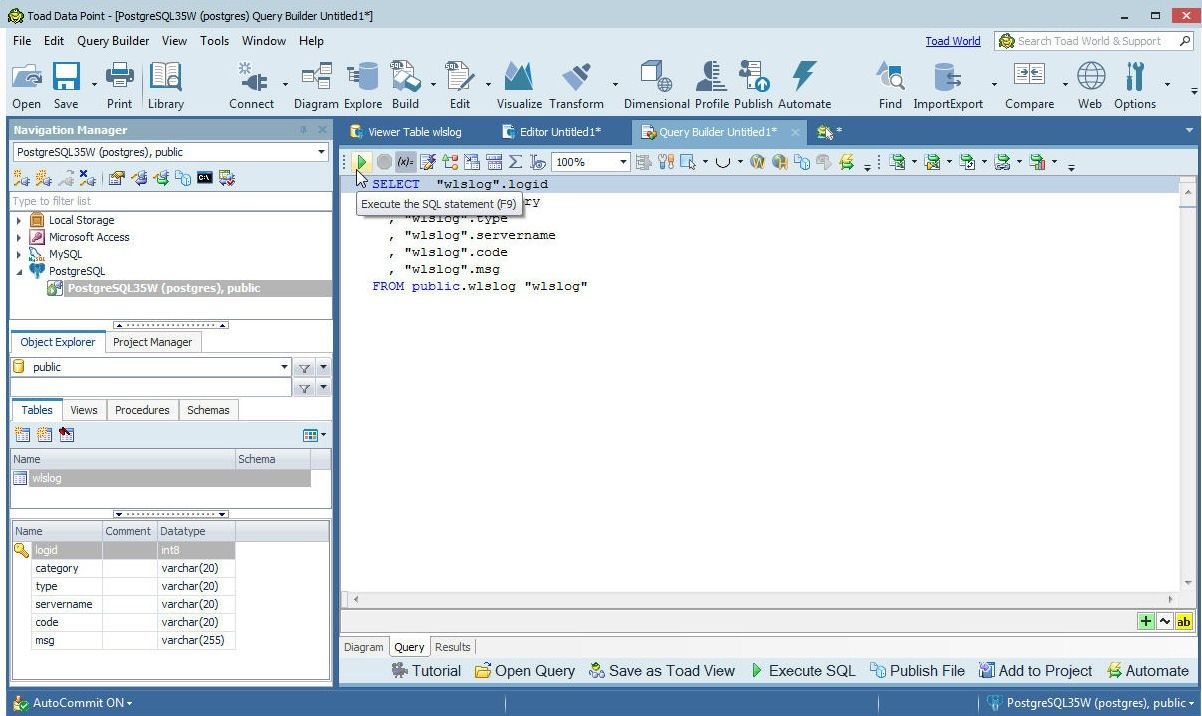
Figure 40. Query generated automatically
The SQL query runs and a result set gets generated, as shown in Figure 41.

Figure 41. Result Set for Query
Exporting Resultset to Excel
Several export tools are available to export the result set to an Excel instance or file. The export tools available are Export data to an Excel file, Export data to an Excel instance, Export data and column chart to an Excel instance, Export linked query to an Excel instance. Click on Export data to an Excel file as shown in Figure 42.
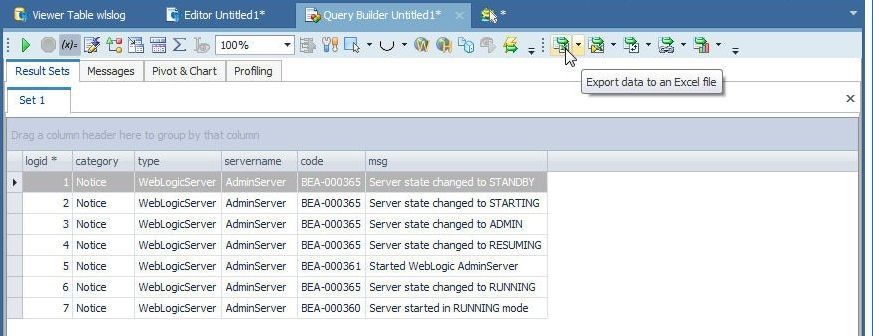
Figure 42. Export data to an Excel file
When the export gets completed the Export Finished dialog gets displayed, as shown in Figure 43. Click on the file link to display the Excel file.
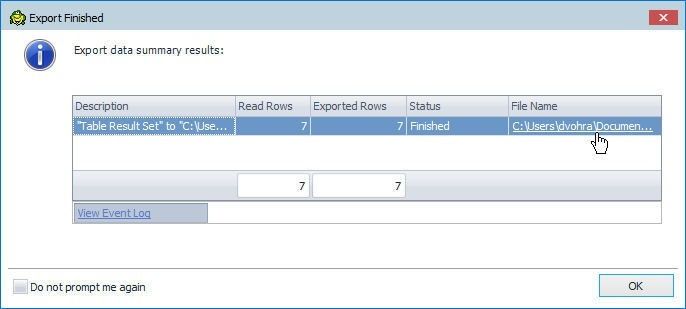
Figure 43. Export Finished
The Excel file gets displayed, as shown in Figure 44.
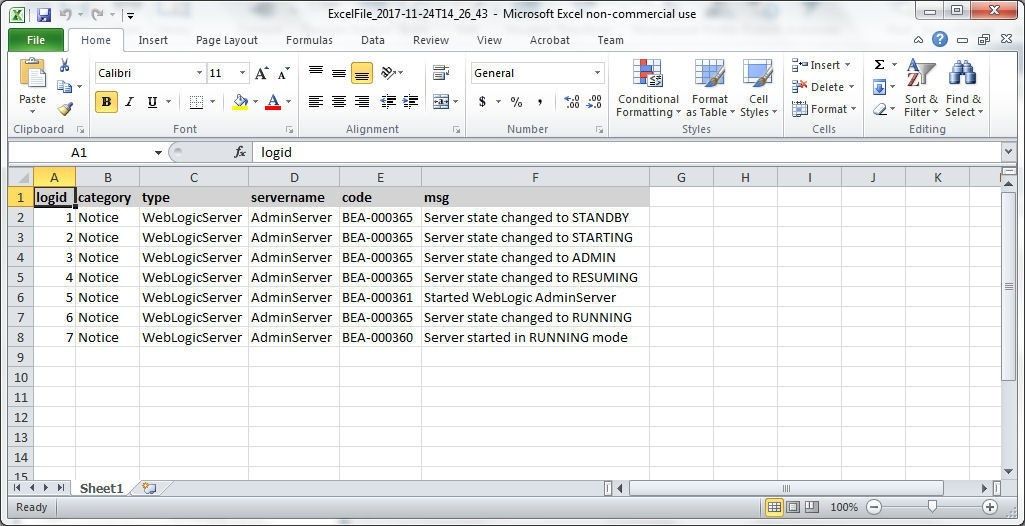
Figure 44. Excel file
Dropping Table
To drop a table select the table in the Object Explorer and click on Drop one or more tables as shown in Figure 45.
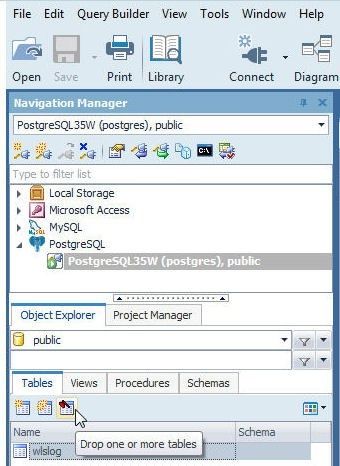
Figure 45. Drop one or more tables
Click on Show Script in the Drop Objects dialog as shown in Figure 46 to display the SQL script generated to delete the table.
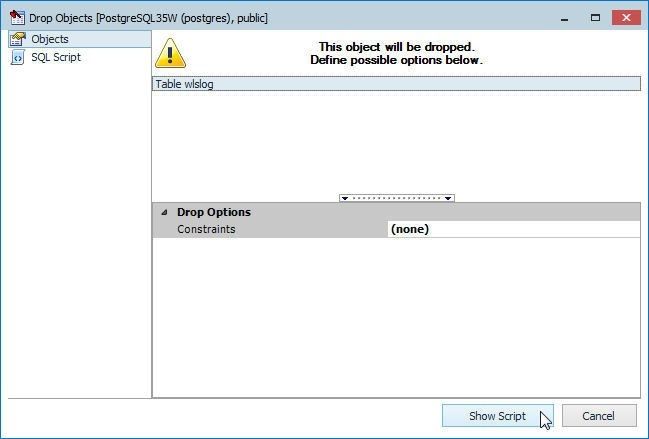
Figure 46. Drop Objects>Show Script
The SQL Script gets displayed, as shown in Figure 47. Click on Execute to run the SQL script.
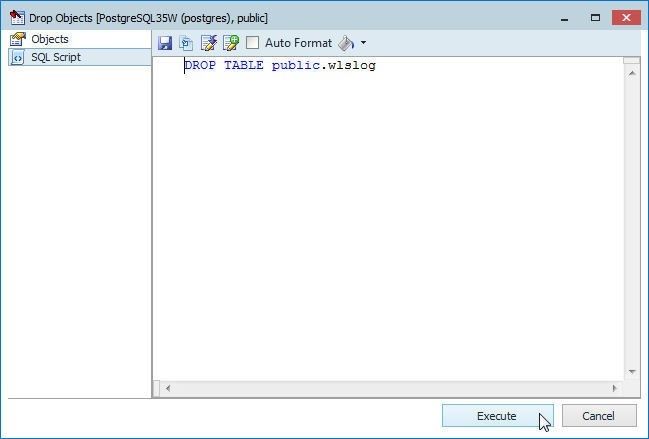
Figure 47. Running SQL Script
The table gets deleted as indicated by the confirmation dialog shown in Figure 48.
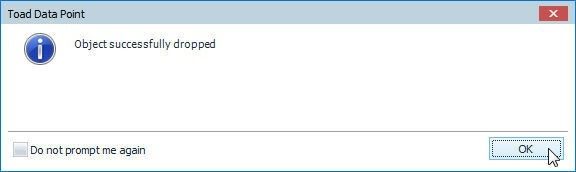
Figure 48. Table dropped confirmation dialog
The table is still listed in the Object Explorer view. To remove the table from the Object Explorer select View>Refresh All as shown in Figure 49.
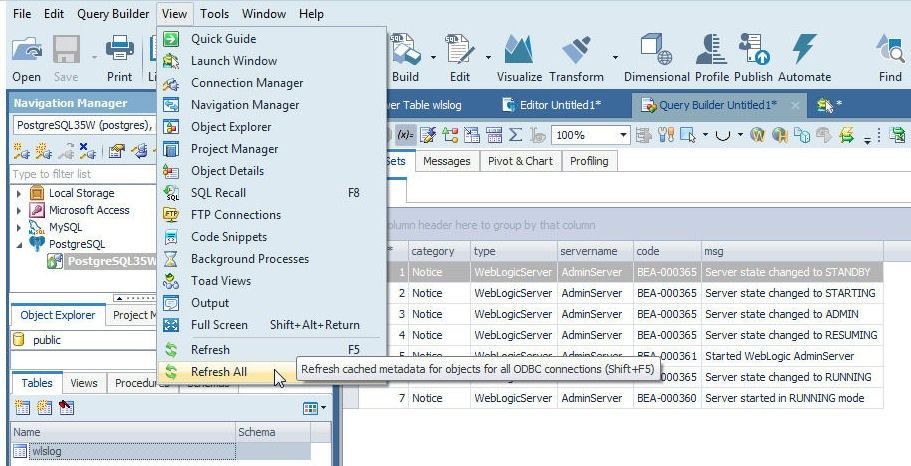
Figure 49. View>Refresh All
The table gets removed from the Object Explorer view, as shown in Figure 50.
Figure 50. Table removed from Object Explorer view
Disconnecting and Connecting
A connection may be reconnected, disconnected and connected back as required. To disconnect a connection right-click on the connection and select Disconnect as shown in Figure 51. An option to disconnect all connections is also provided.

Figure 51. Disconnect
Any unsaved files associated with the connection to be disconnected may be saved before the connection gets disconnected. A Modified File confirmation dialog gets displayed for each of the unsaved modified files as shown in Figure 52 for an Untitled1 file. Click on Yes or No to continue with disconnecting.
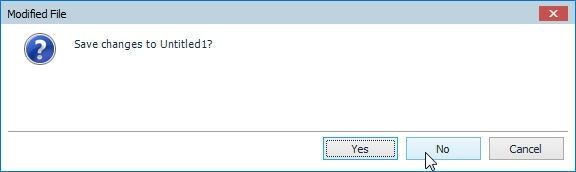
Figure 52. Modified File
The connection gets disconnected, as shown by the connection icon in Figure 53.
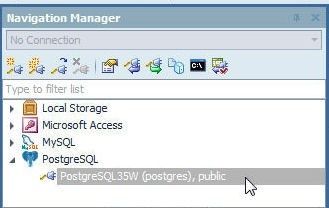
Figure 53. Connection disconnected
To connect back, right-click on the disconnected connection and select Connect as shown in Figure 54.
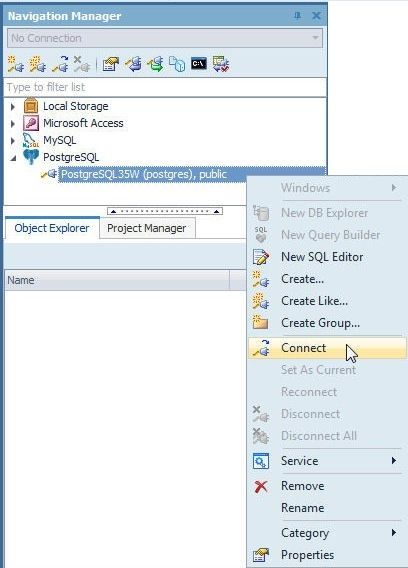
Figure 54. Connect
The Need More Information to Connect window gets displayed, as shown in Figure 55. Specify the password in the Password field and click on Connect.

Figure 55. Need More Information to Connect
The connection gets connected back, as shown in Figure 56.
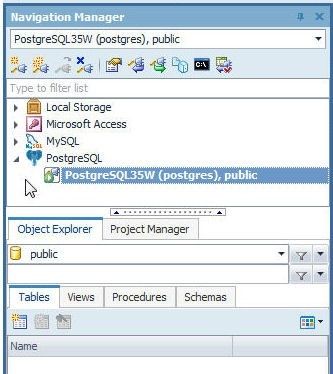
Figure 56. Connection connected
Dropping Connection
To remove a connection right-click on the connection in Navigation Manager and select Remove as shown in Figure 57.
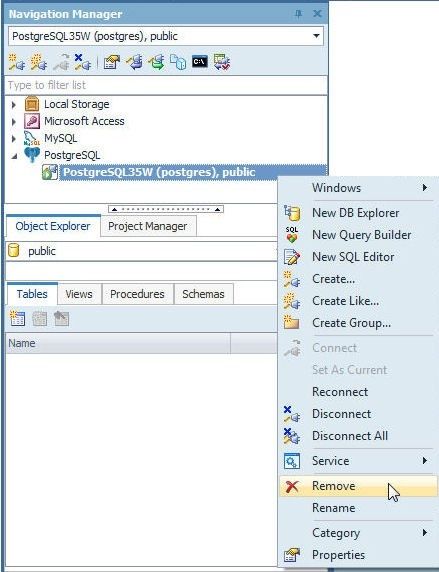
Figure 57. Remove
In the confirmation dialog click on Yes as shown in Figure 58.
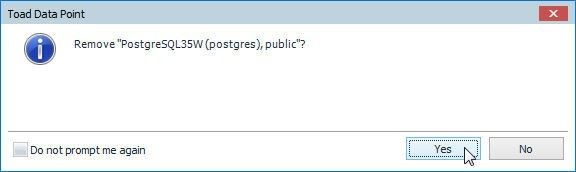
Figure 58. Confirmation dialog to remove a connection
Before a connection is removed a Modified File confirmation dialog is displayed to save changes to modified files, as shown for Untitled1 file in Figure 59. Click on Yes or No to continue removing the connection.
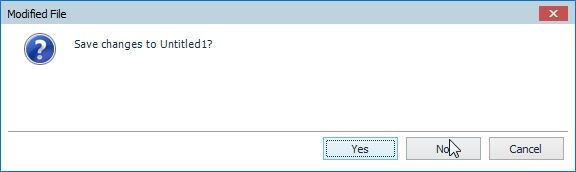
Figure 59. Modified File
The connection gets removed from the Navigation Manager, as shown in Figure 60.
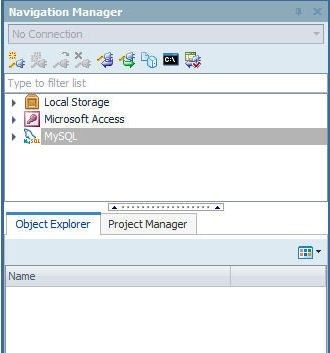
Figure 60. Connection removed
Stopping EC2 Instance
To stop the EC2 instance on which the PostgreSQL database is running, select Actions>Instance State>Stop as shown in Figure 61.
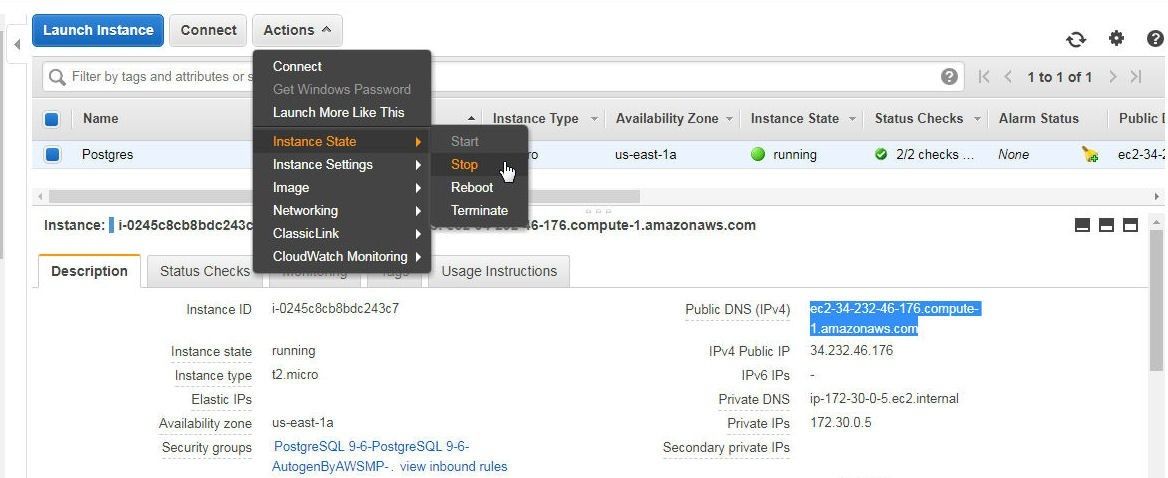
Figure 61. Actions>Instance State>Stop
Conclusion
In two articles we have discussed using Toad Data Point with a PostgreSQL database instance that is running on AWS EC2. A new PostgreSQL database on EC2 is connection-ready as such and a configuration file needs to be modified to add connectivity from an external IP address. We discussed connecting with the PostgreSQL database, creating a table, exploring database objects, querying a table, and managing the connection.
Start the discussion at forums.toadworld.com