Read this blog to learn how to manage database user accounts. Learn how to create a new user, alter an existing user, close a user and drop an existing user in Toad® for Oracle.
As a DBA there is a lot of activity that you are responsible for.
In this blog I want to take you through the process of managing database user accounts. I will cover:
- How to create a new user
- How to alter an existing user
- How to clone a user
- How to drop an existing user
These activities may come at random times and Toad makes it easy for you to quickly manage users without having to remember how to do this from the command line.
Since you are already using Toad for all of your other activities User Management is just a click away.
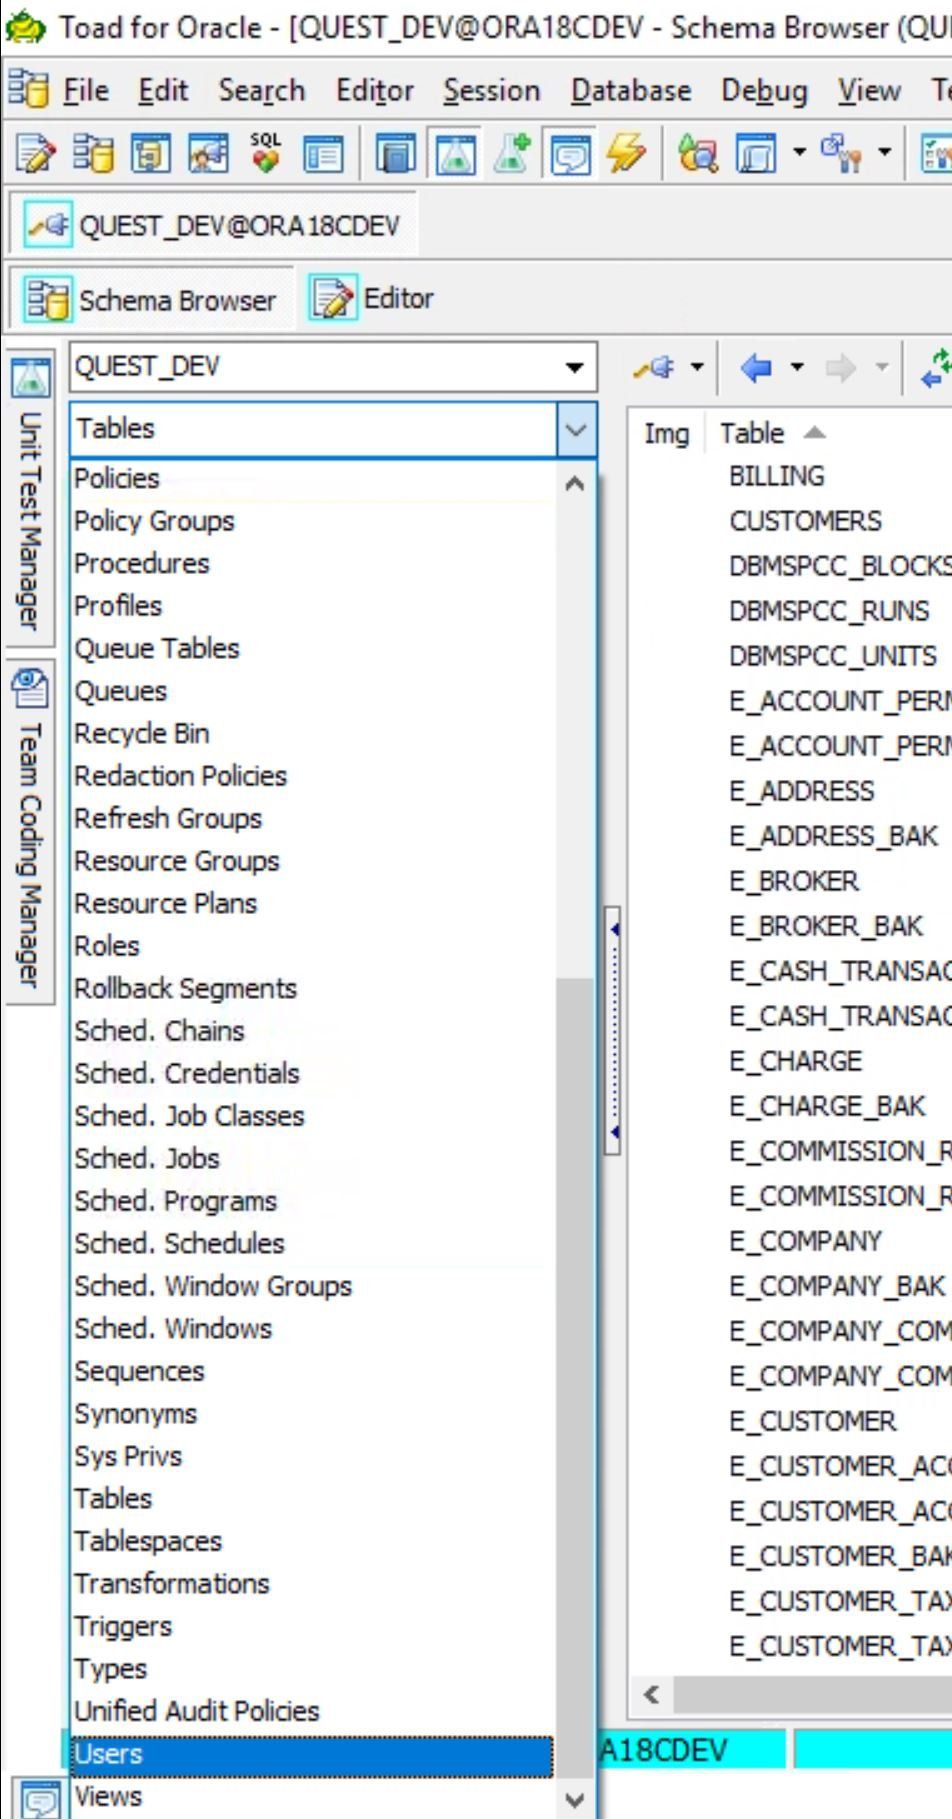
User Management
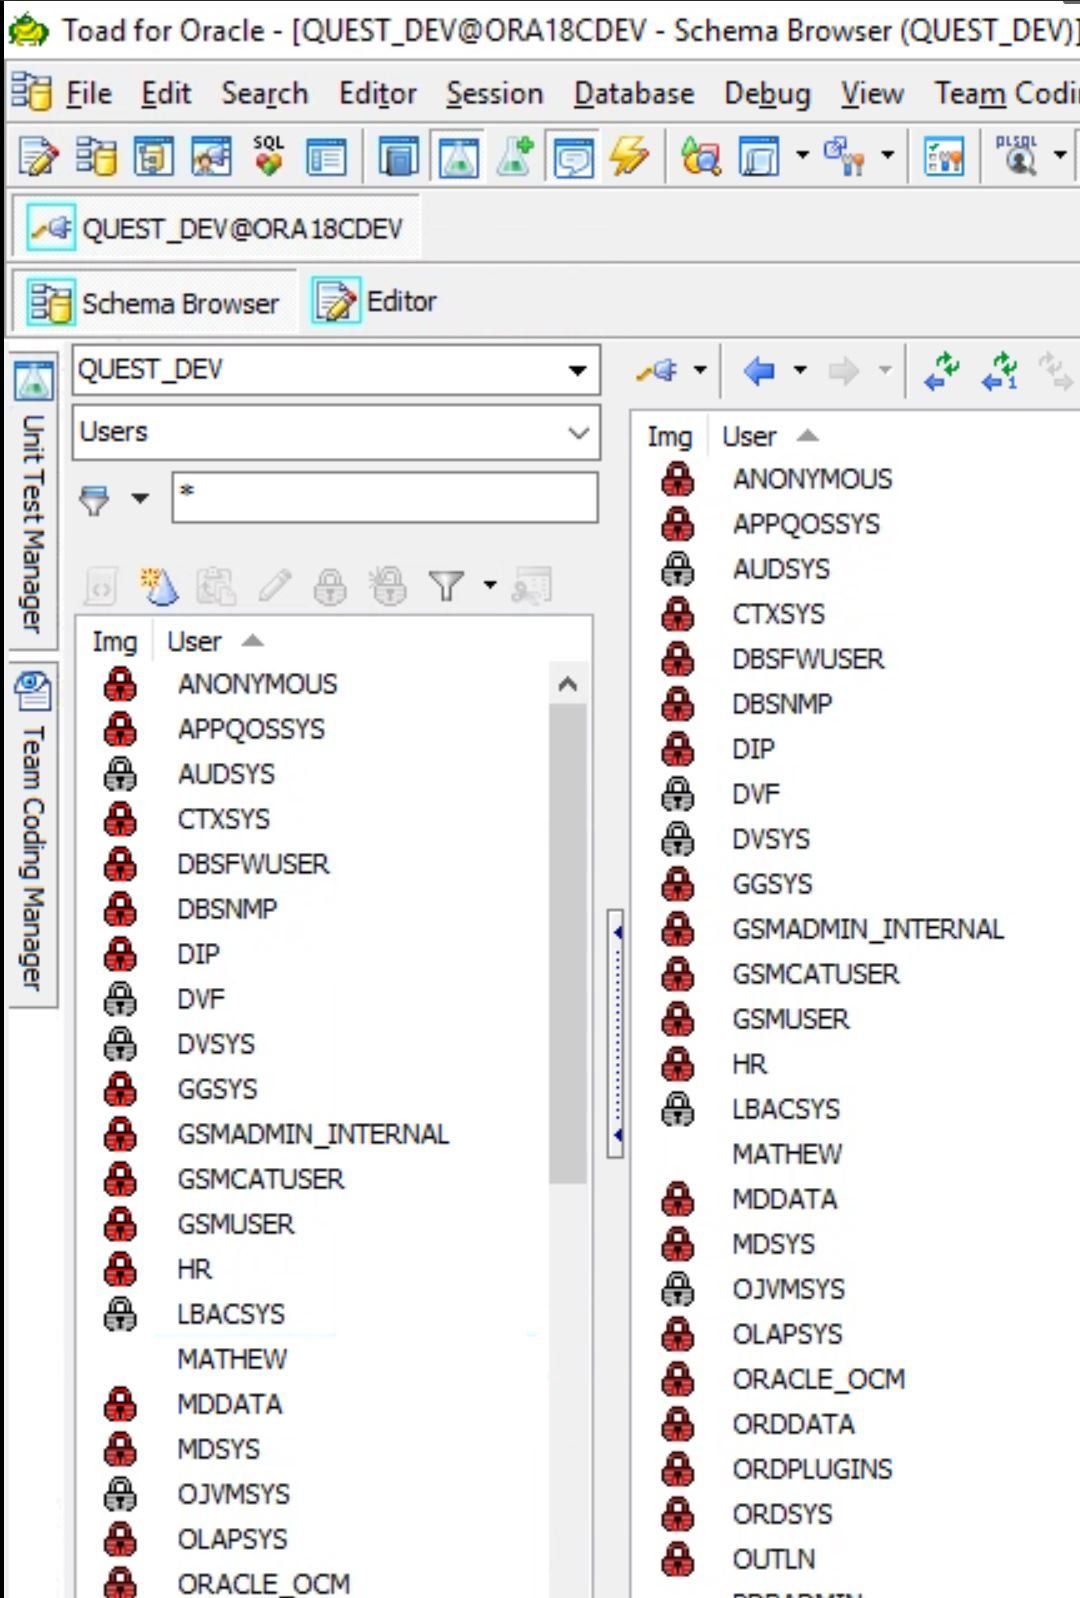
In the Schema Browser you will see Users on the menu:
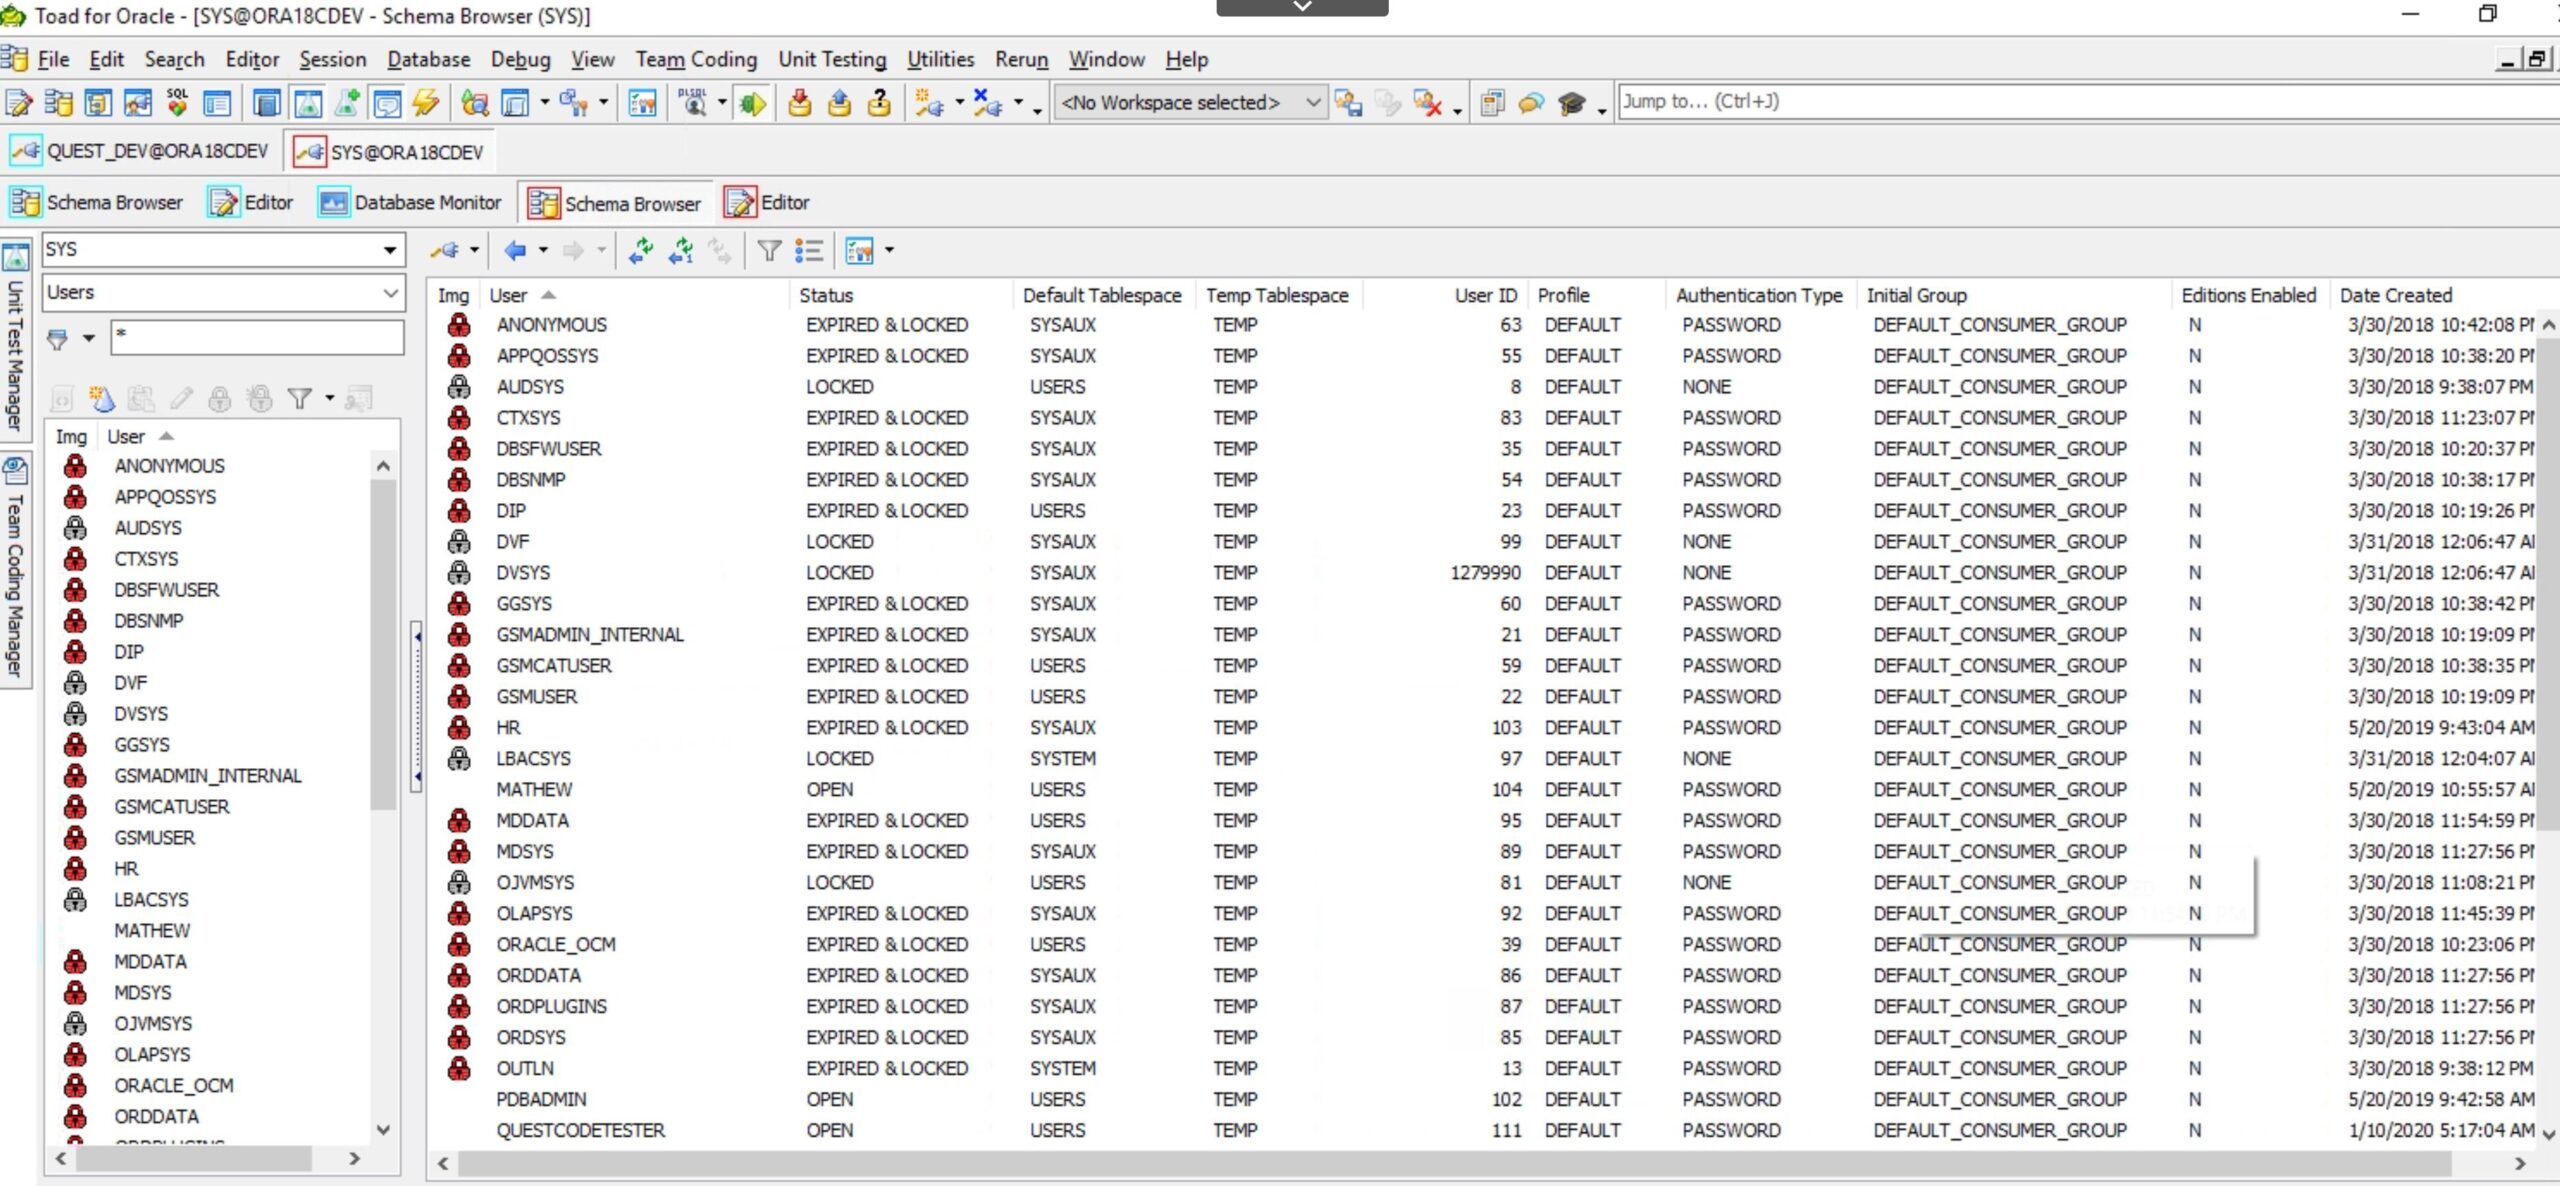
Choosing the Users menu item will show you all of the users that currently exist and provide an overview of their status, default tablespace, etc., etc. Everything that you see on the right-side of the screen below.
Create a new user
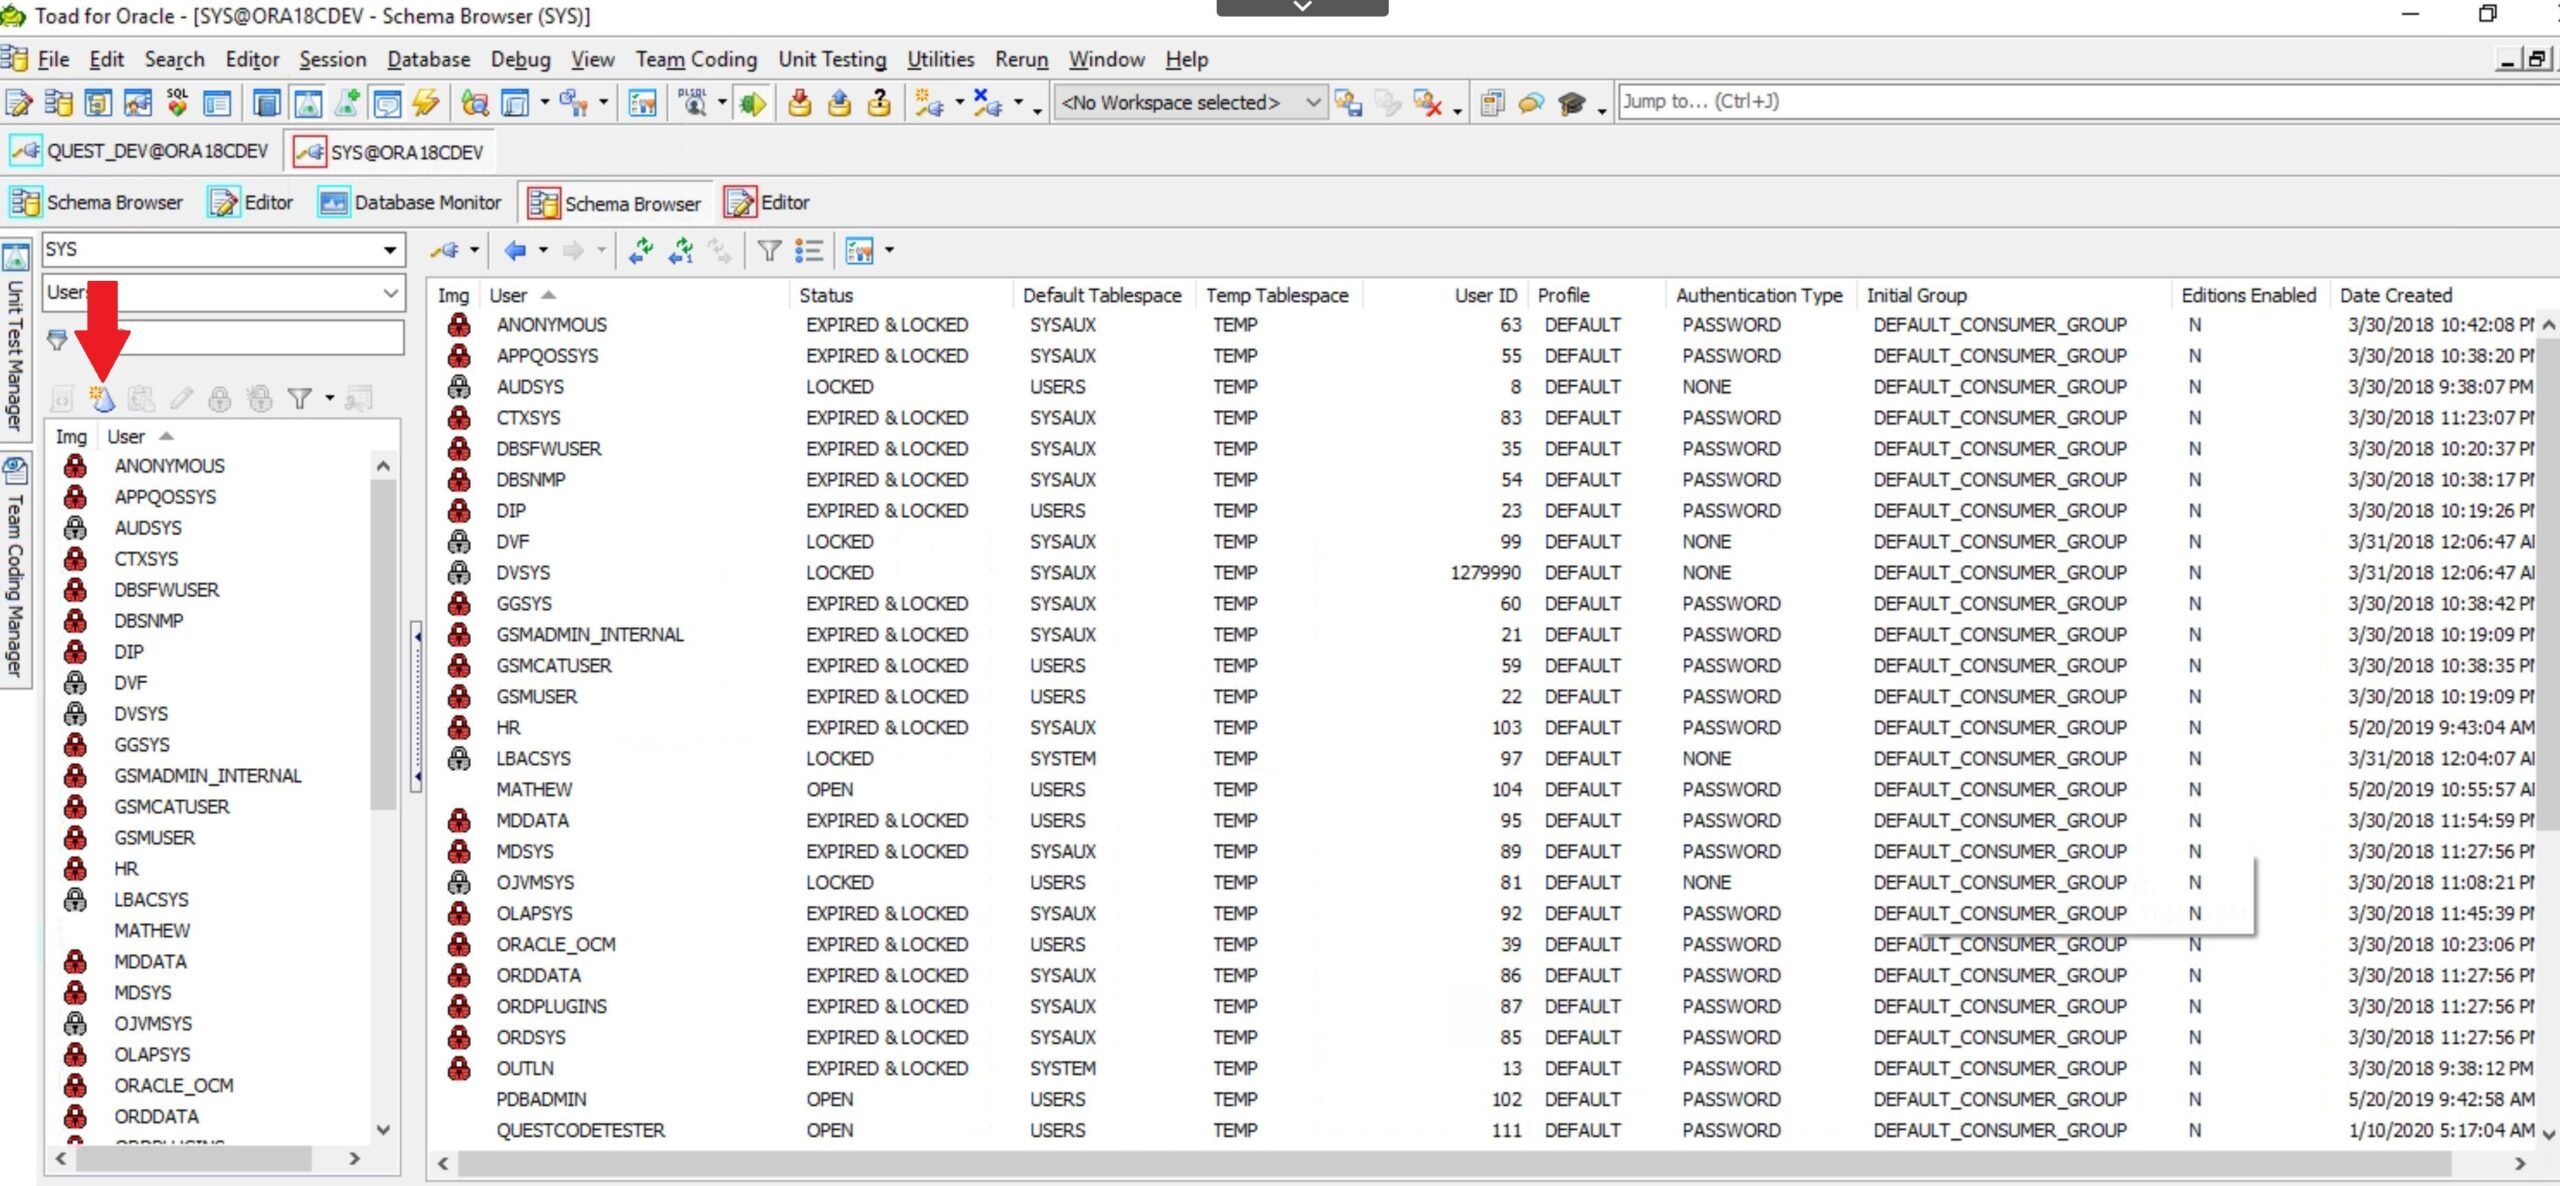
The first feature I would like to show you is how you can create a new user.
While inSchema Browser and looking at the Users dropdown the second icon from the left is the Create icon.
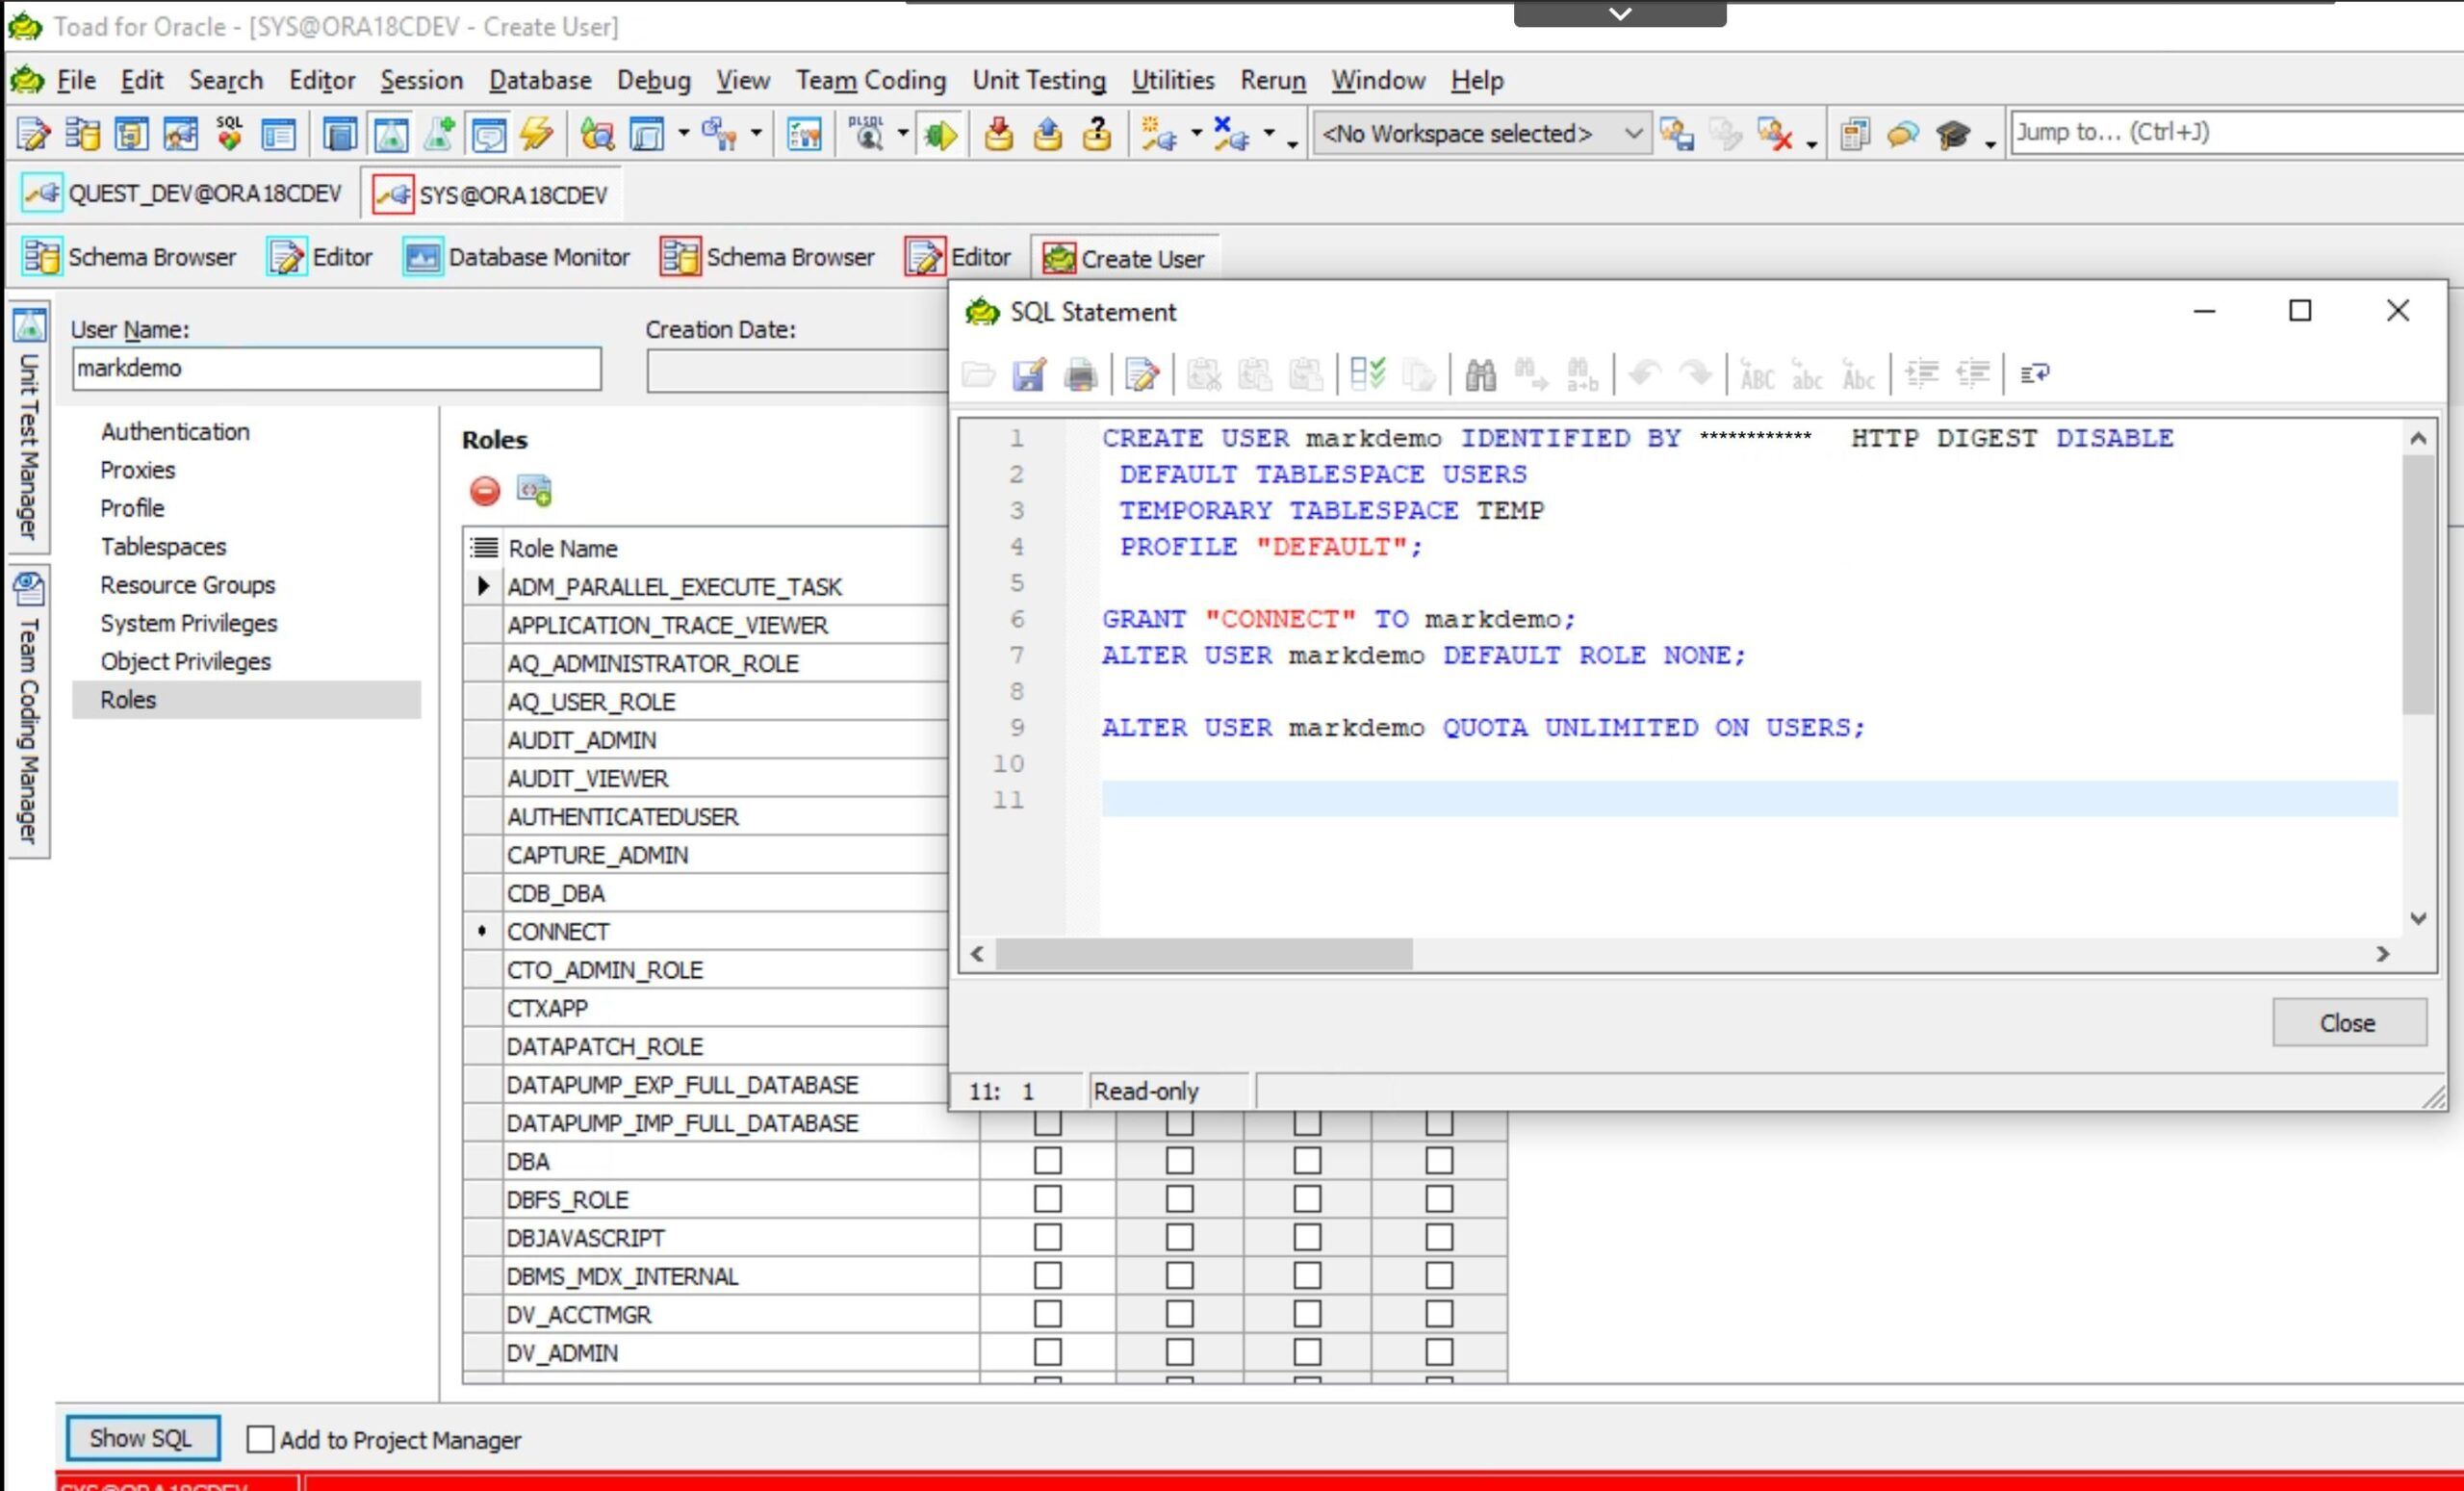
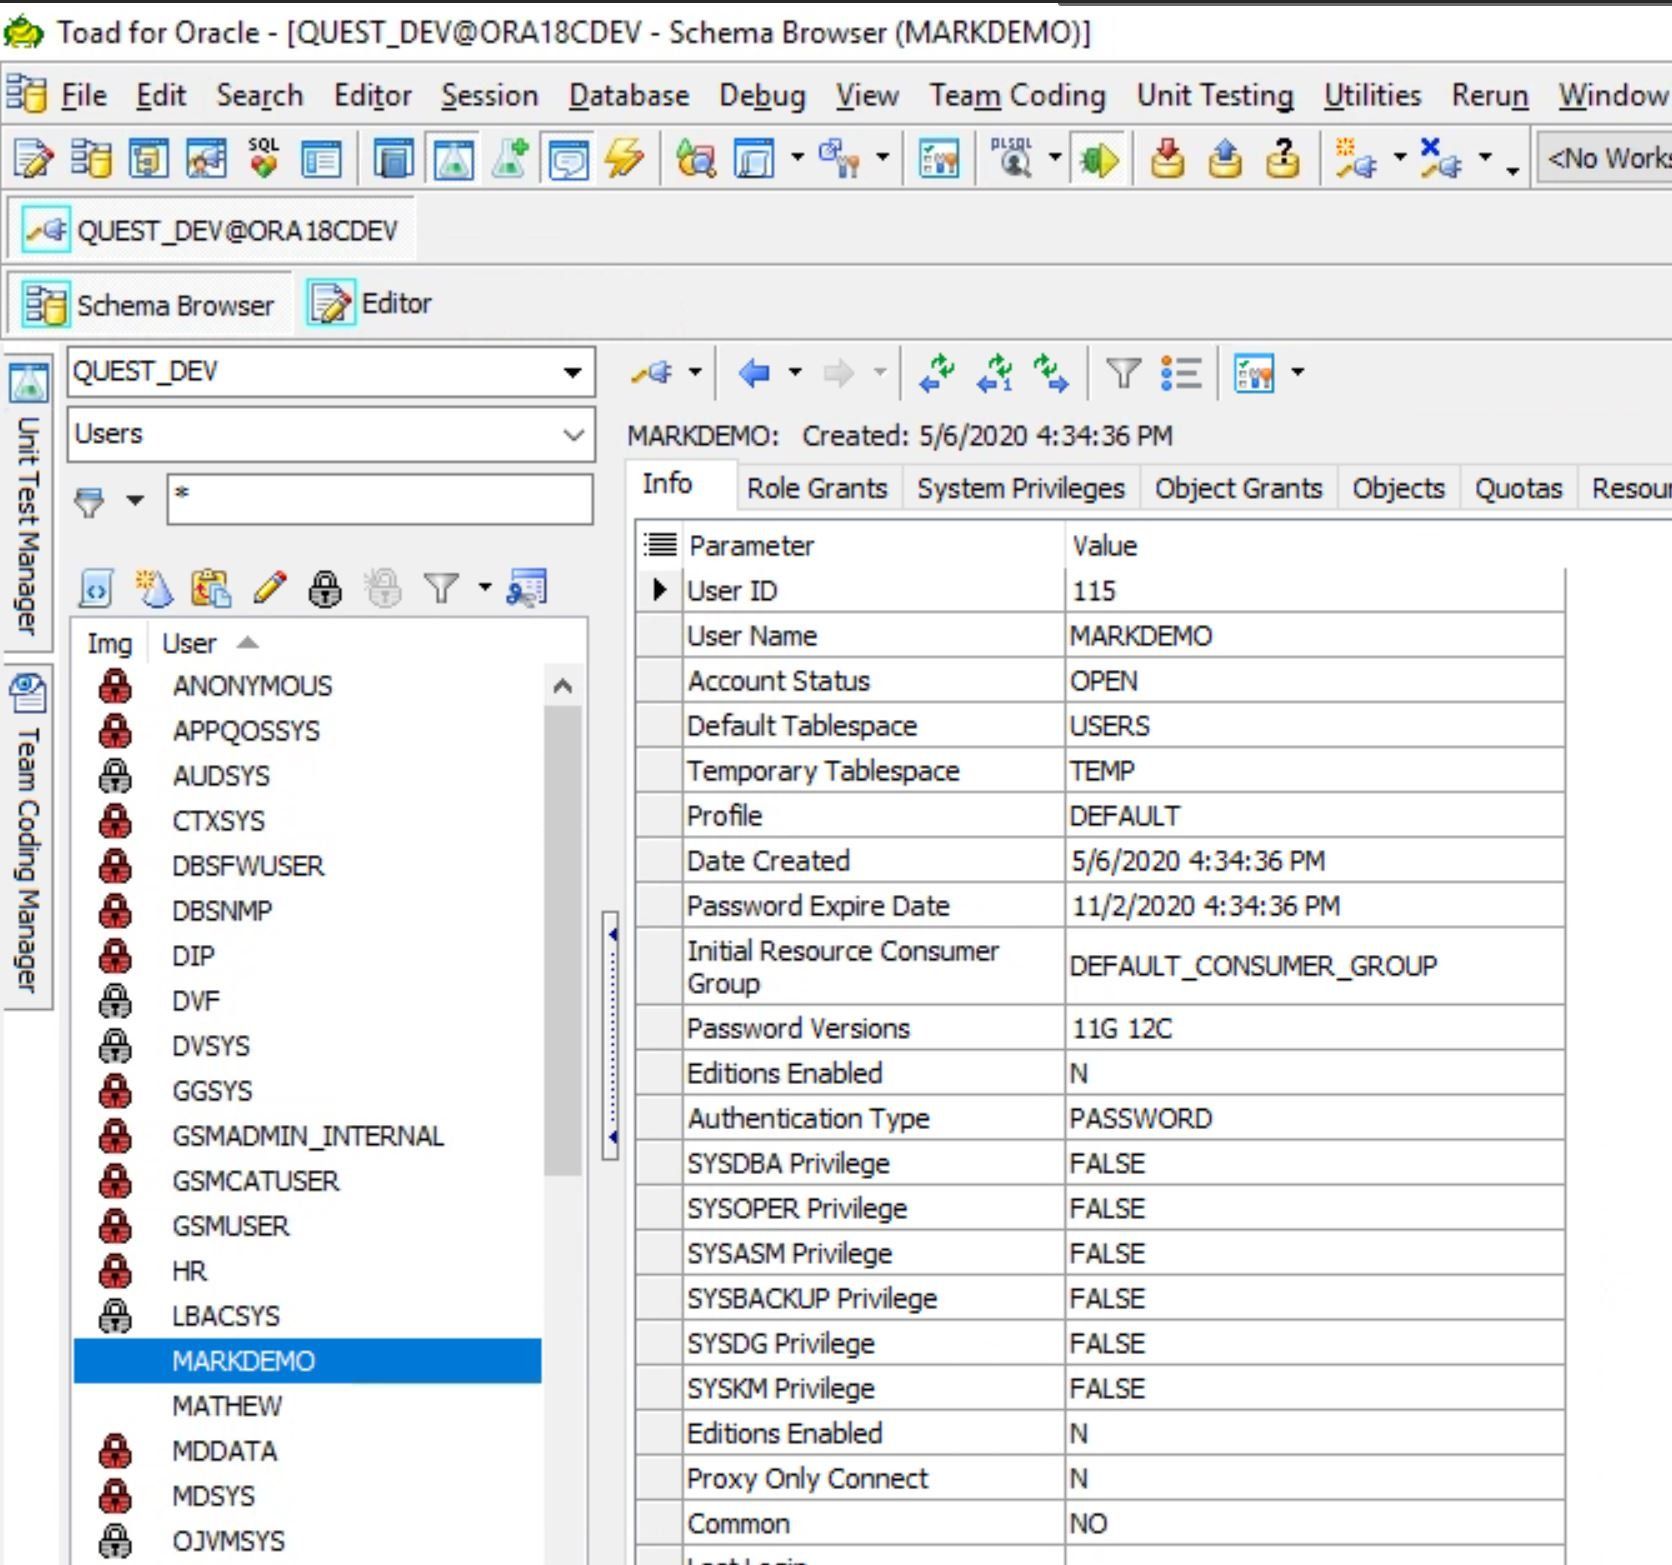
Click on the Create icon and the Create User dialog window opens. In this window you enter the new username that you want to create and choose all of the options and grants for this user. In this example we will create a user named “markdemo” and by clicking on the Show SQL button we can view the script that will be run. When you are happy with the script close the script viewer window and click on the OK button in the lower right and the new user will be created.
Refresh the left-side of the Schema Browser and you will see the new markdemo user that was just created.
Alter an existing user
The second feature I want to show you is how to Alter an existing user.
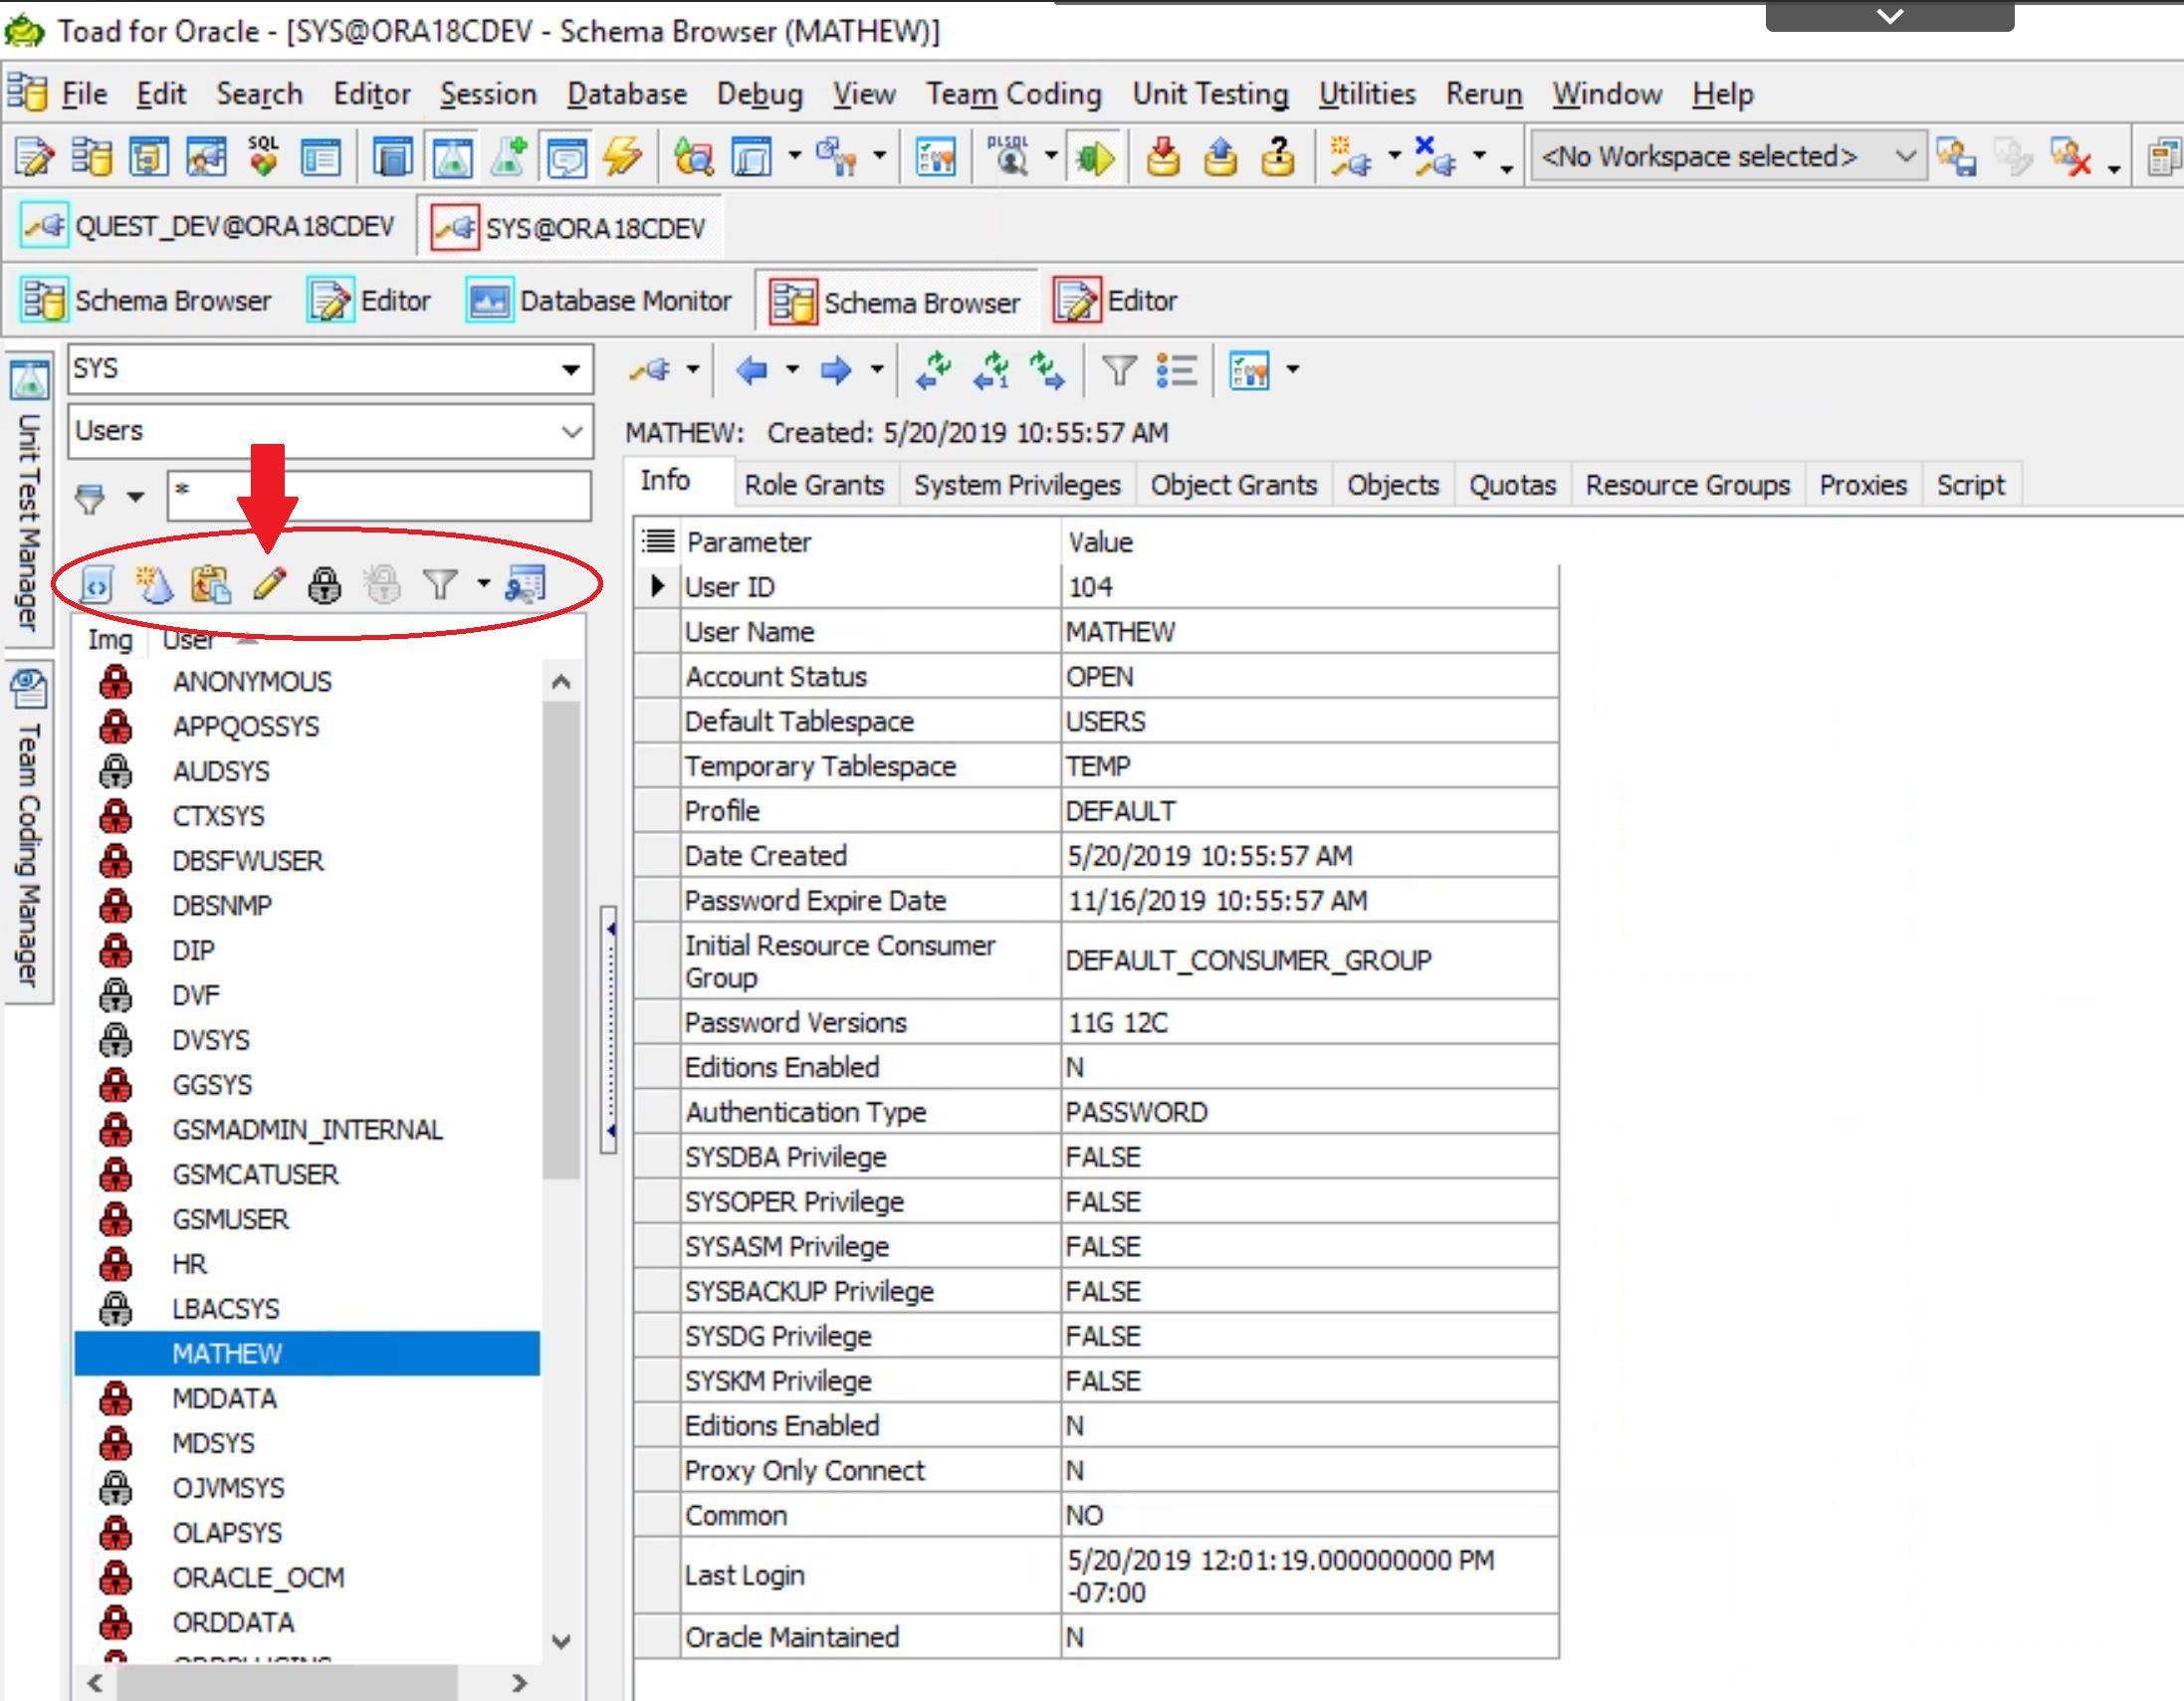
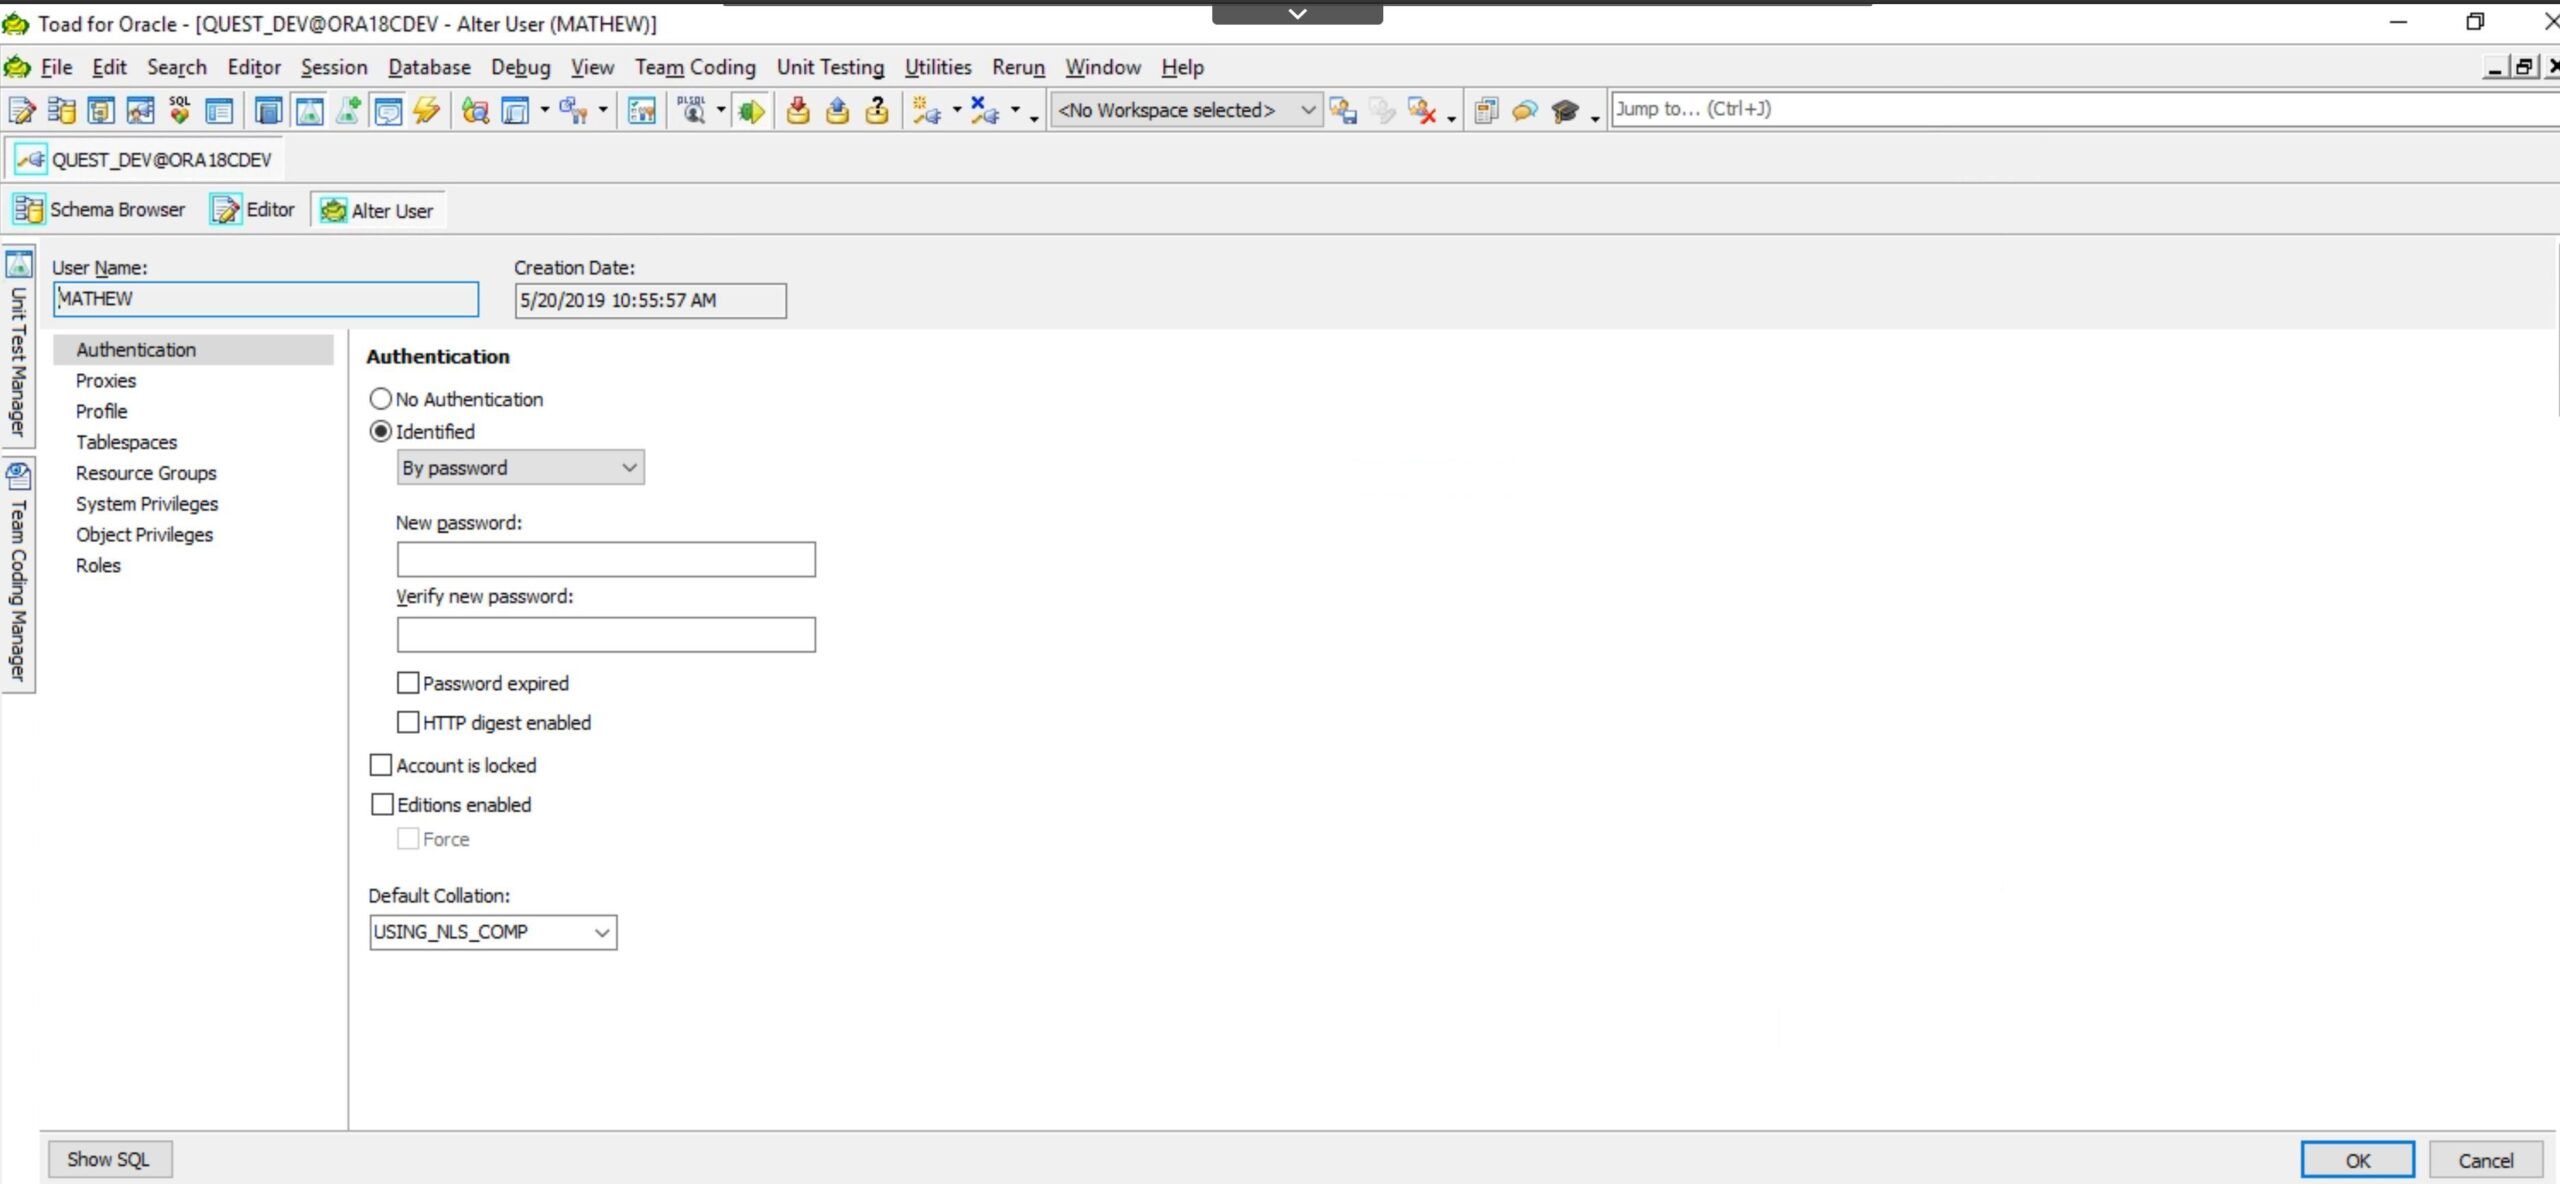
To alter a user you select the user account you want to make changes to and then choose the "pencil" icon as shown below. We will alter the account MATHEW.
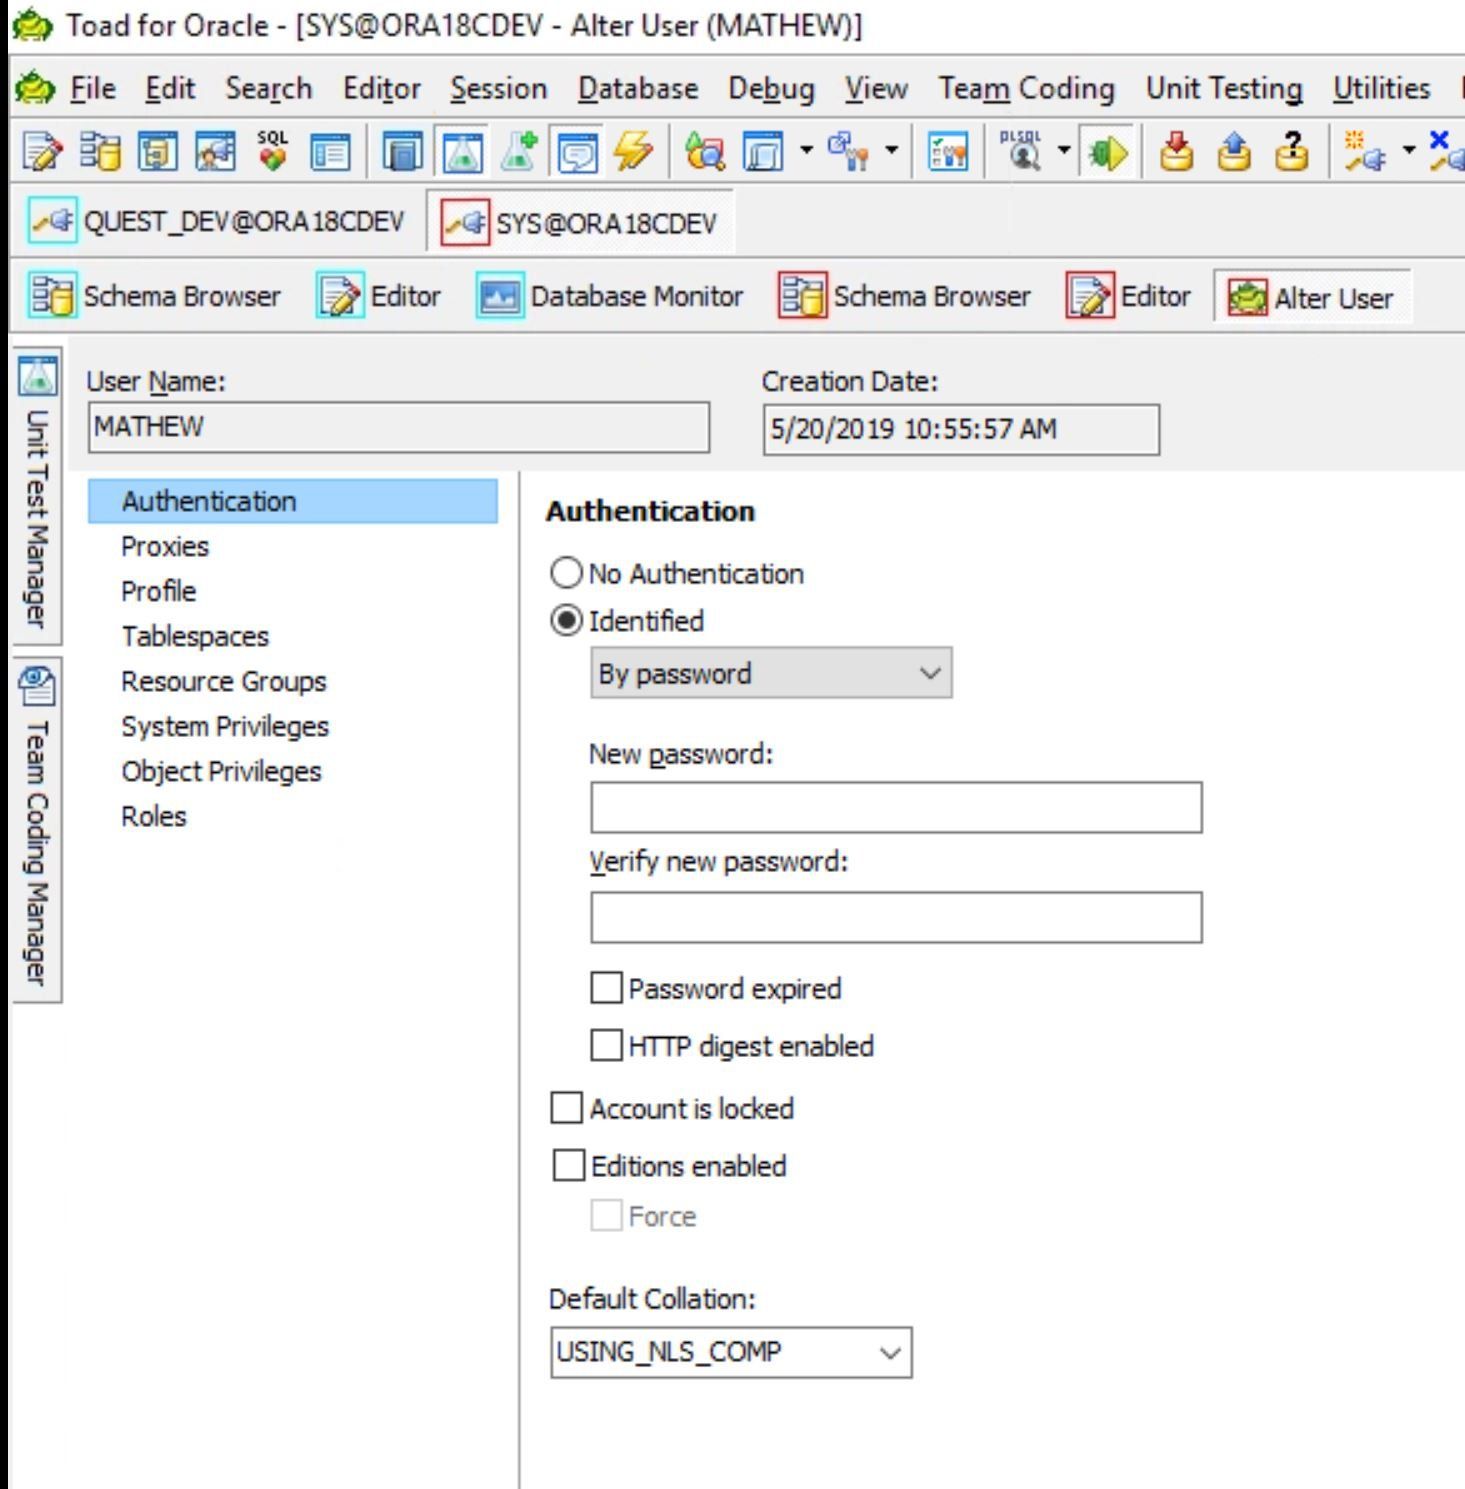
Once you choose alter you will see the window below. From here you choose what you would like to alter about the user.
The first option is ‘Authentication’. From here you can lock the account, expire their password and change their password.
You can alter the other features of the user account as shown on the left-hand menu.
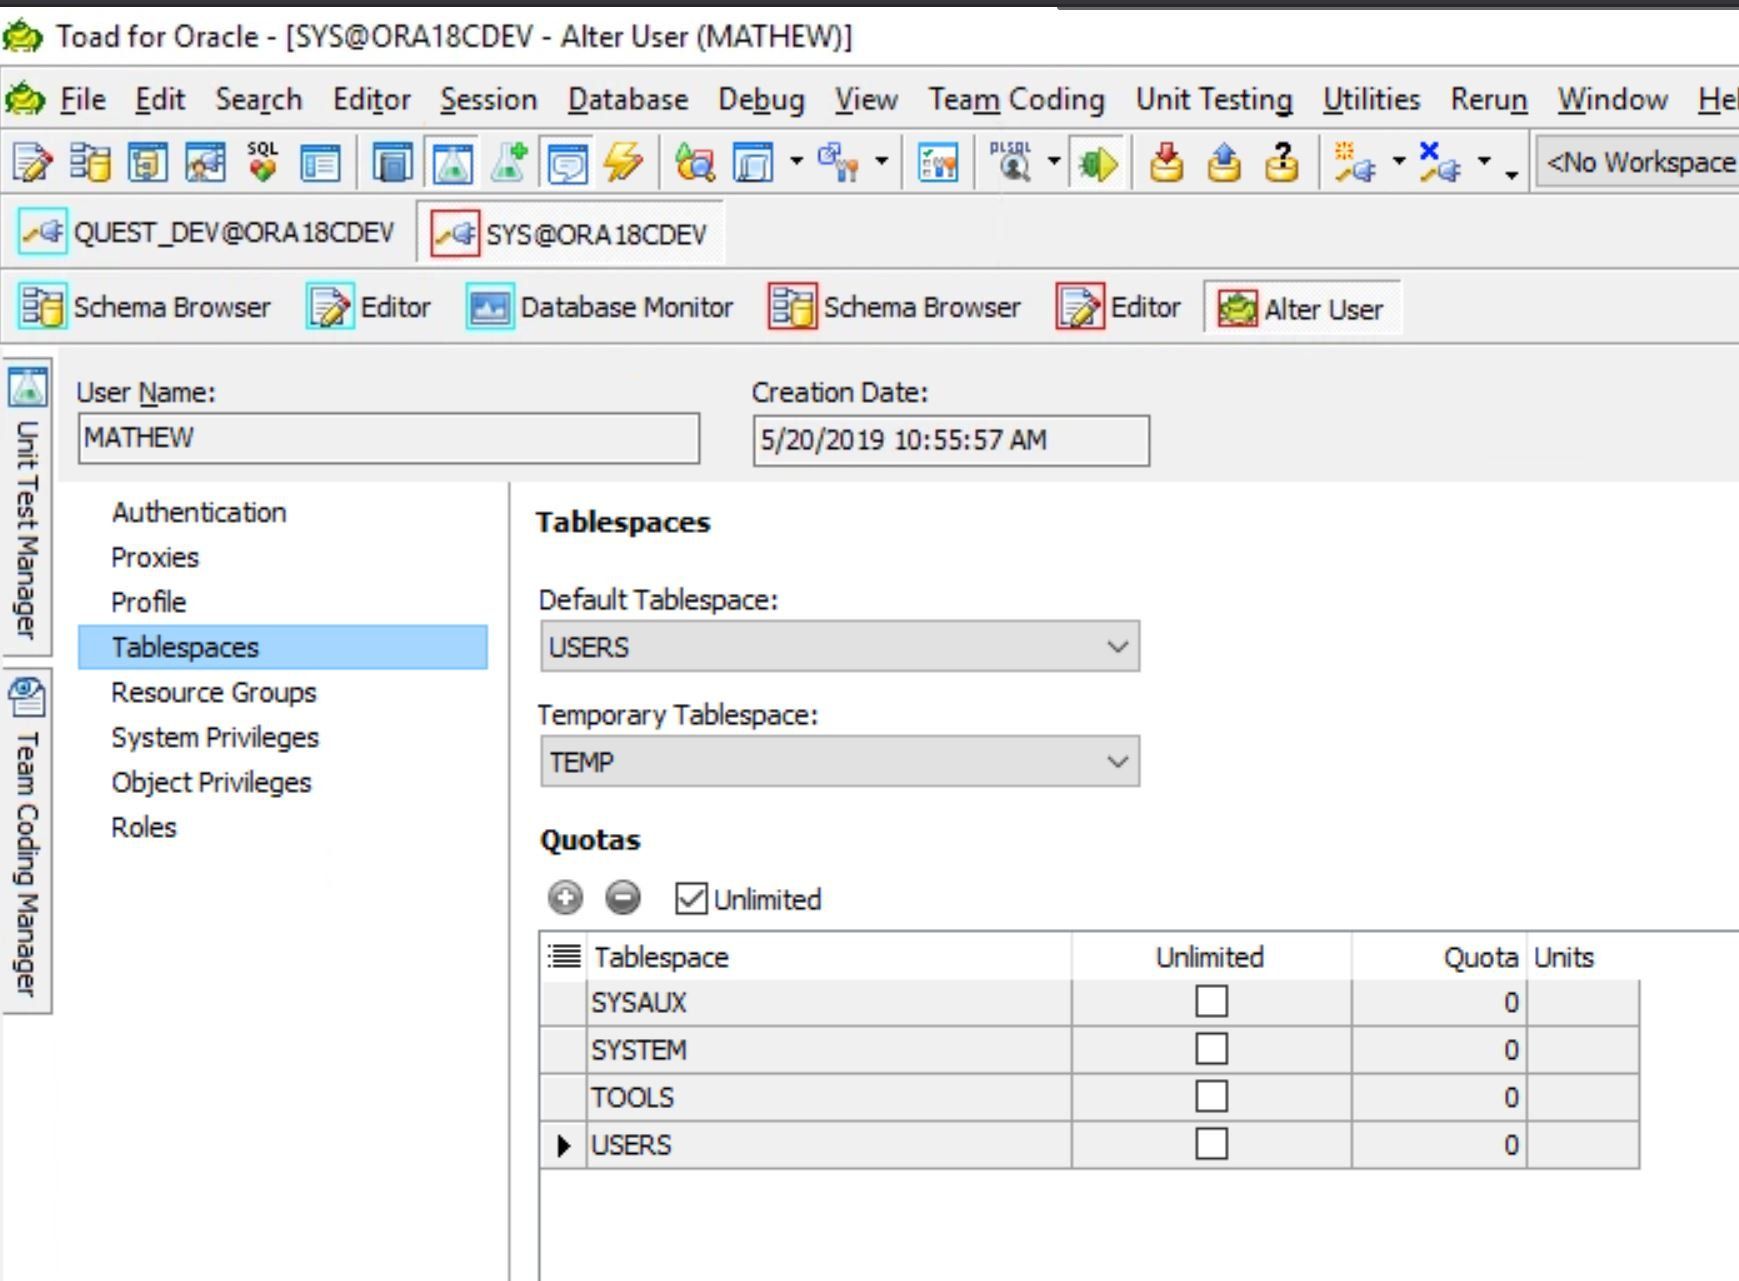
Below is an example of viewing the tablespace for a user, and if you need to make a change you can choose the tablespace you want to use from the drop down menu.
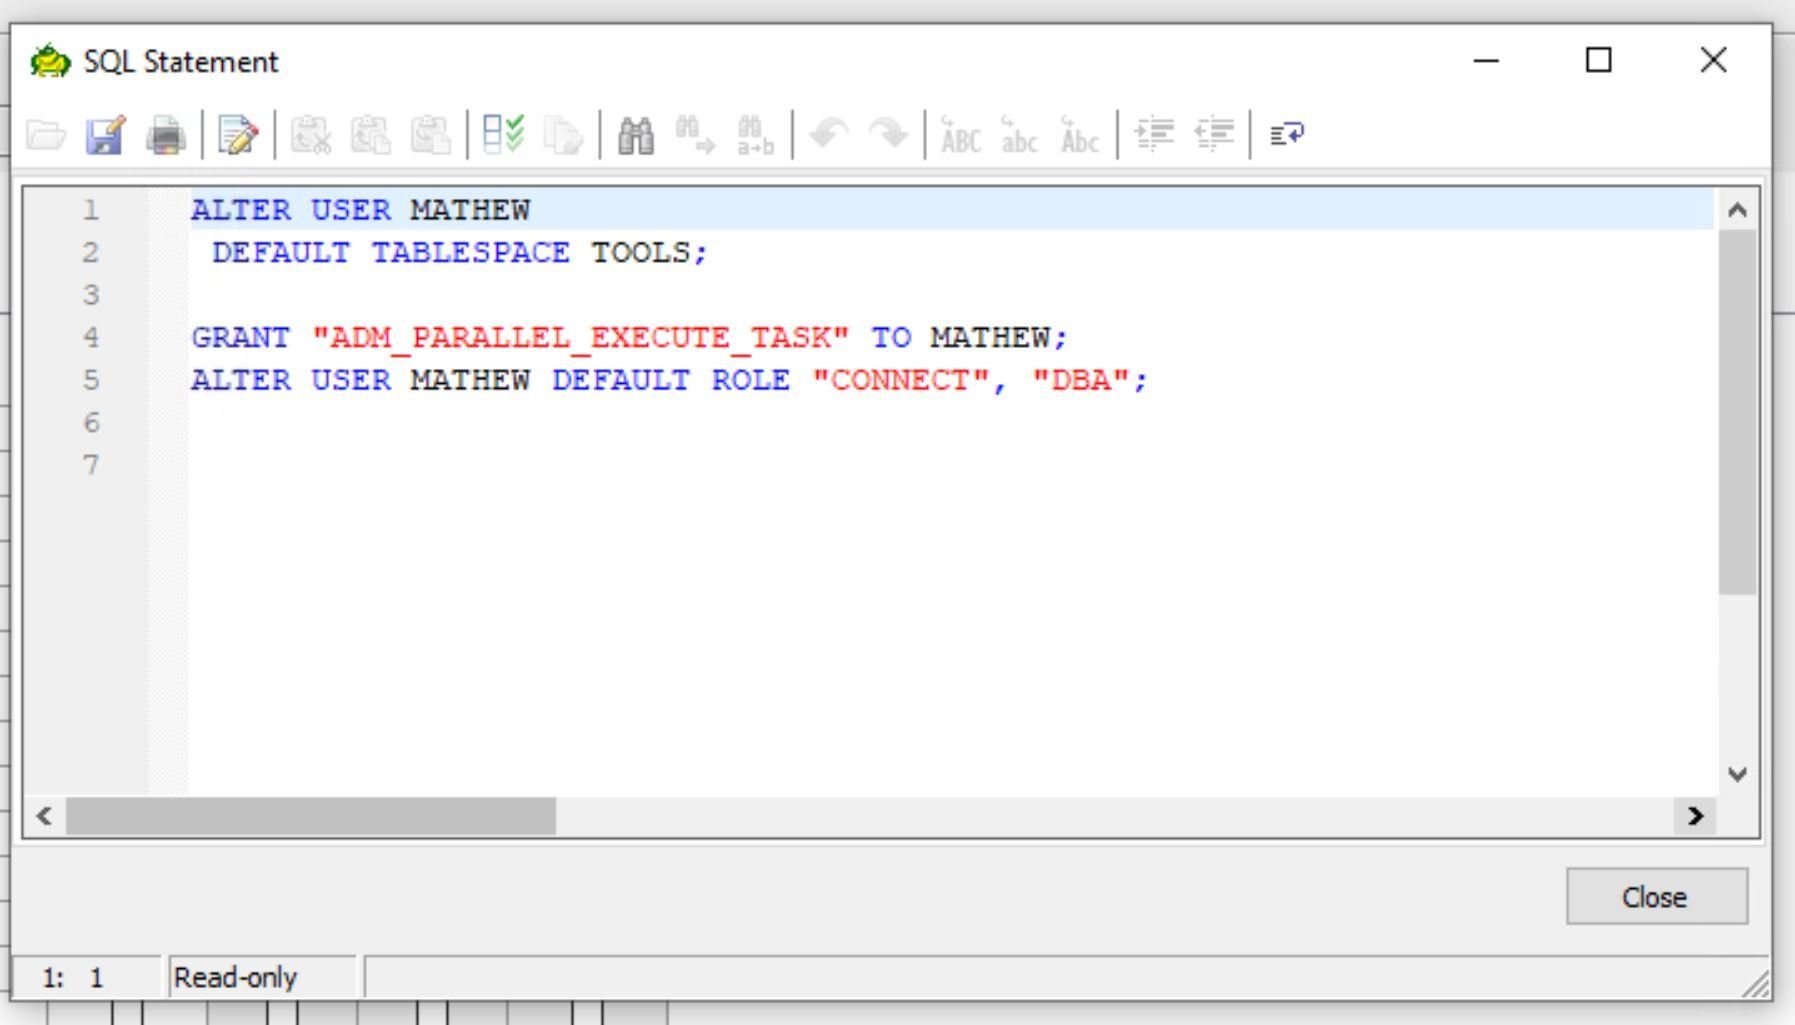
Once you have chosen the changes you wnat to make you can view the sql statement that is generated. Below you can see that I am changing the default tablespace and granting some additional roles to the user MATHEW. You can close this window.
Once you have made all of your alterations you can click on the OK button in the lower right and the changes will be applied.
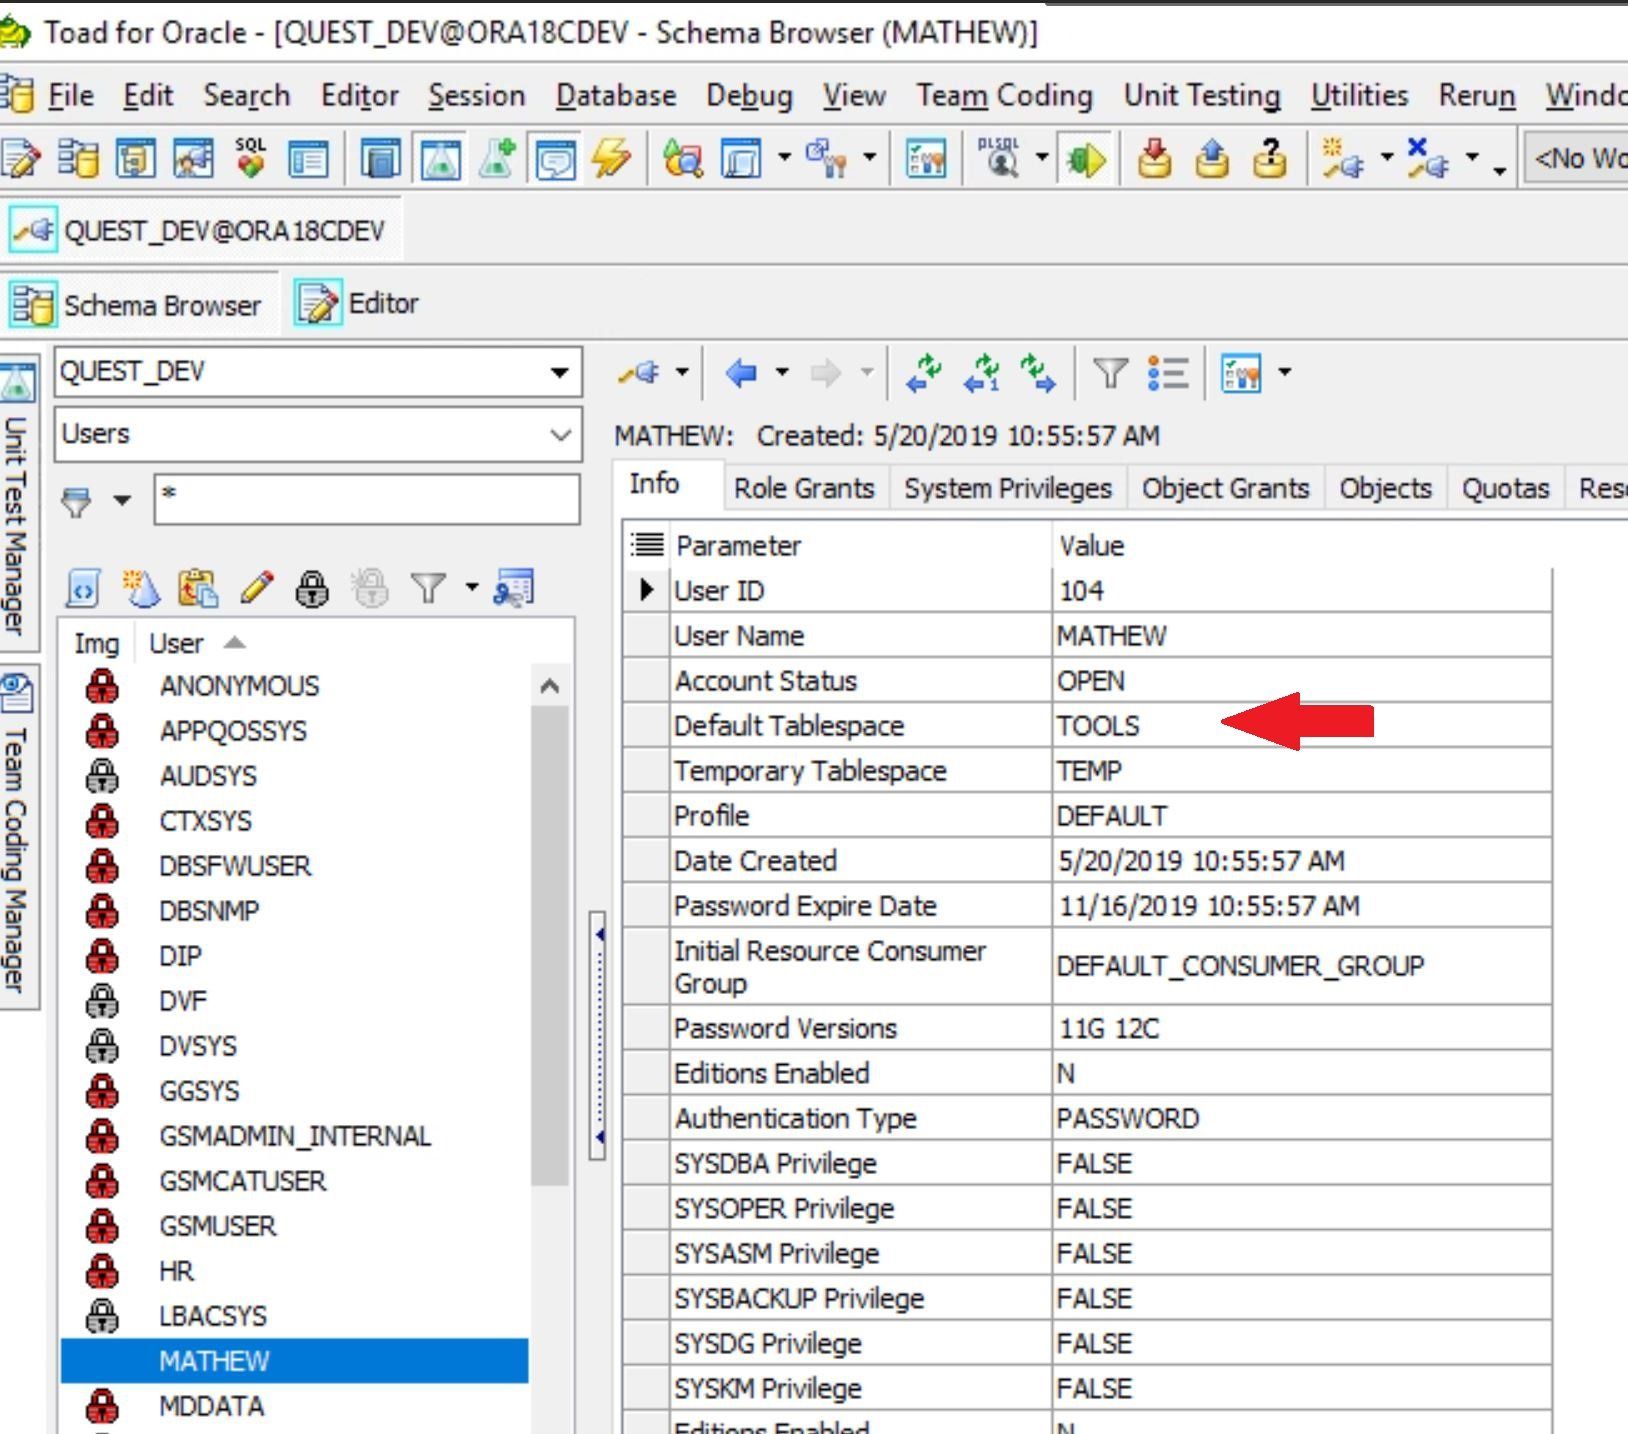
Now you can see that the default tablespace for the user MATHEW has been changed to ‘TOOLS’.
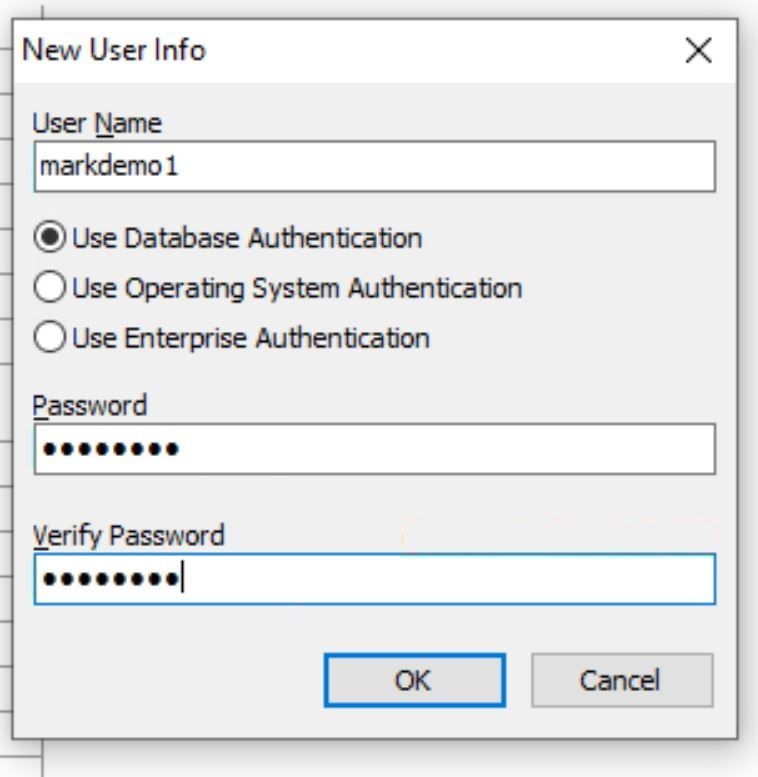
How to clone a user
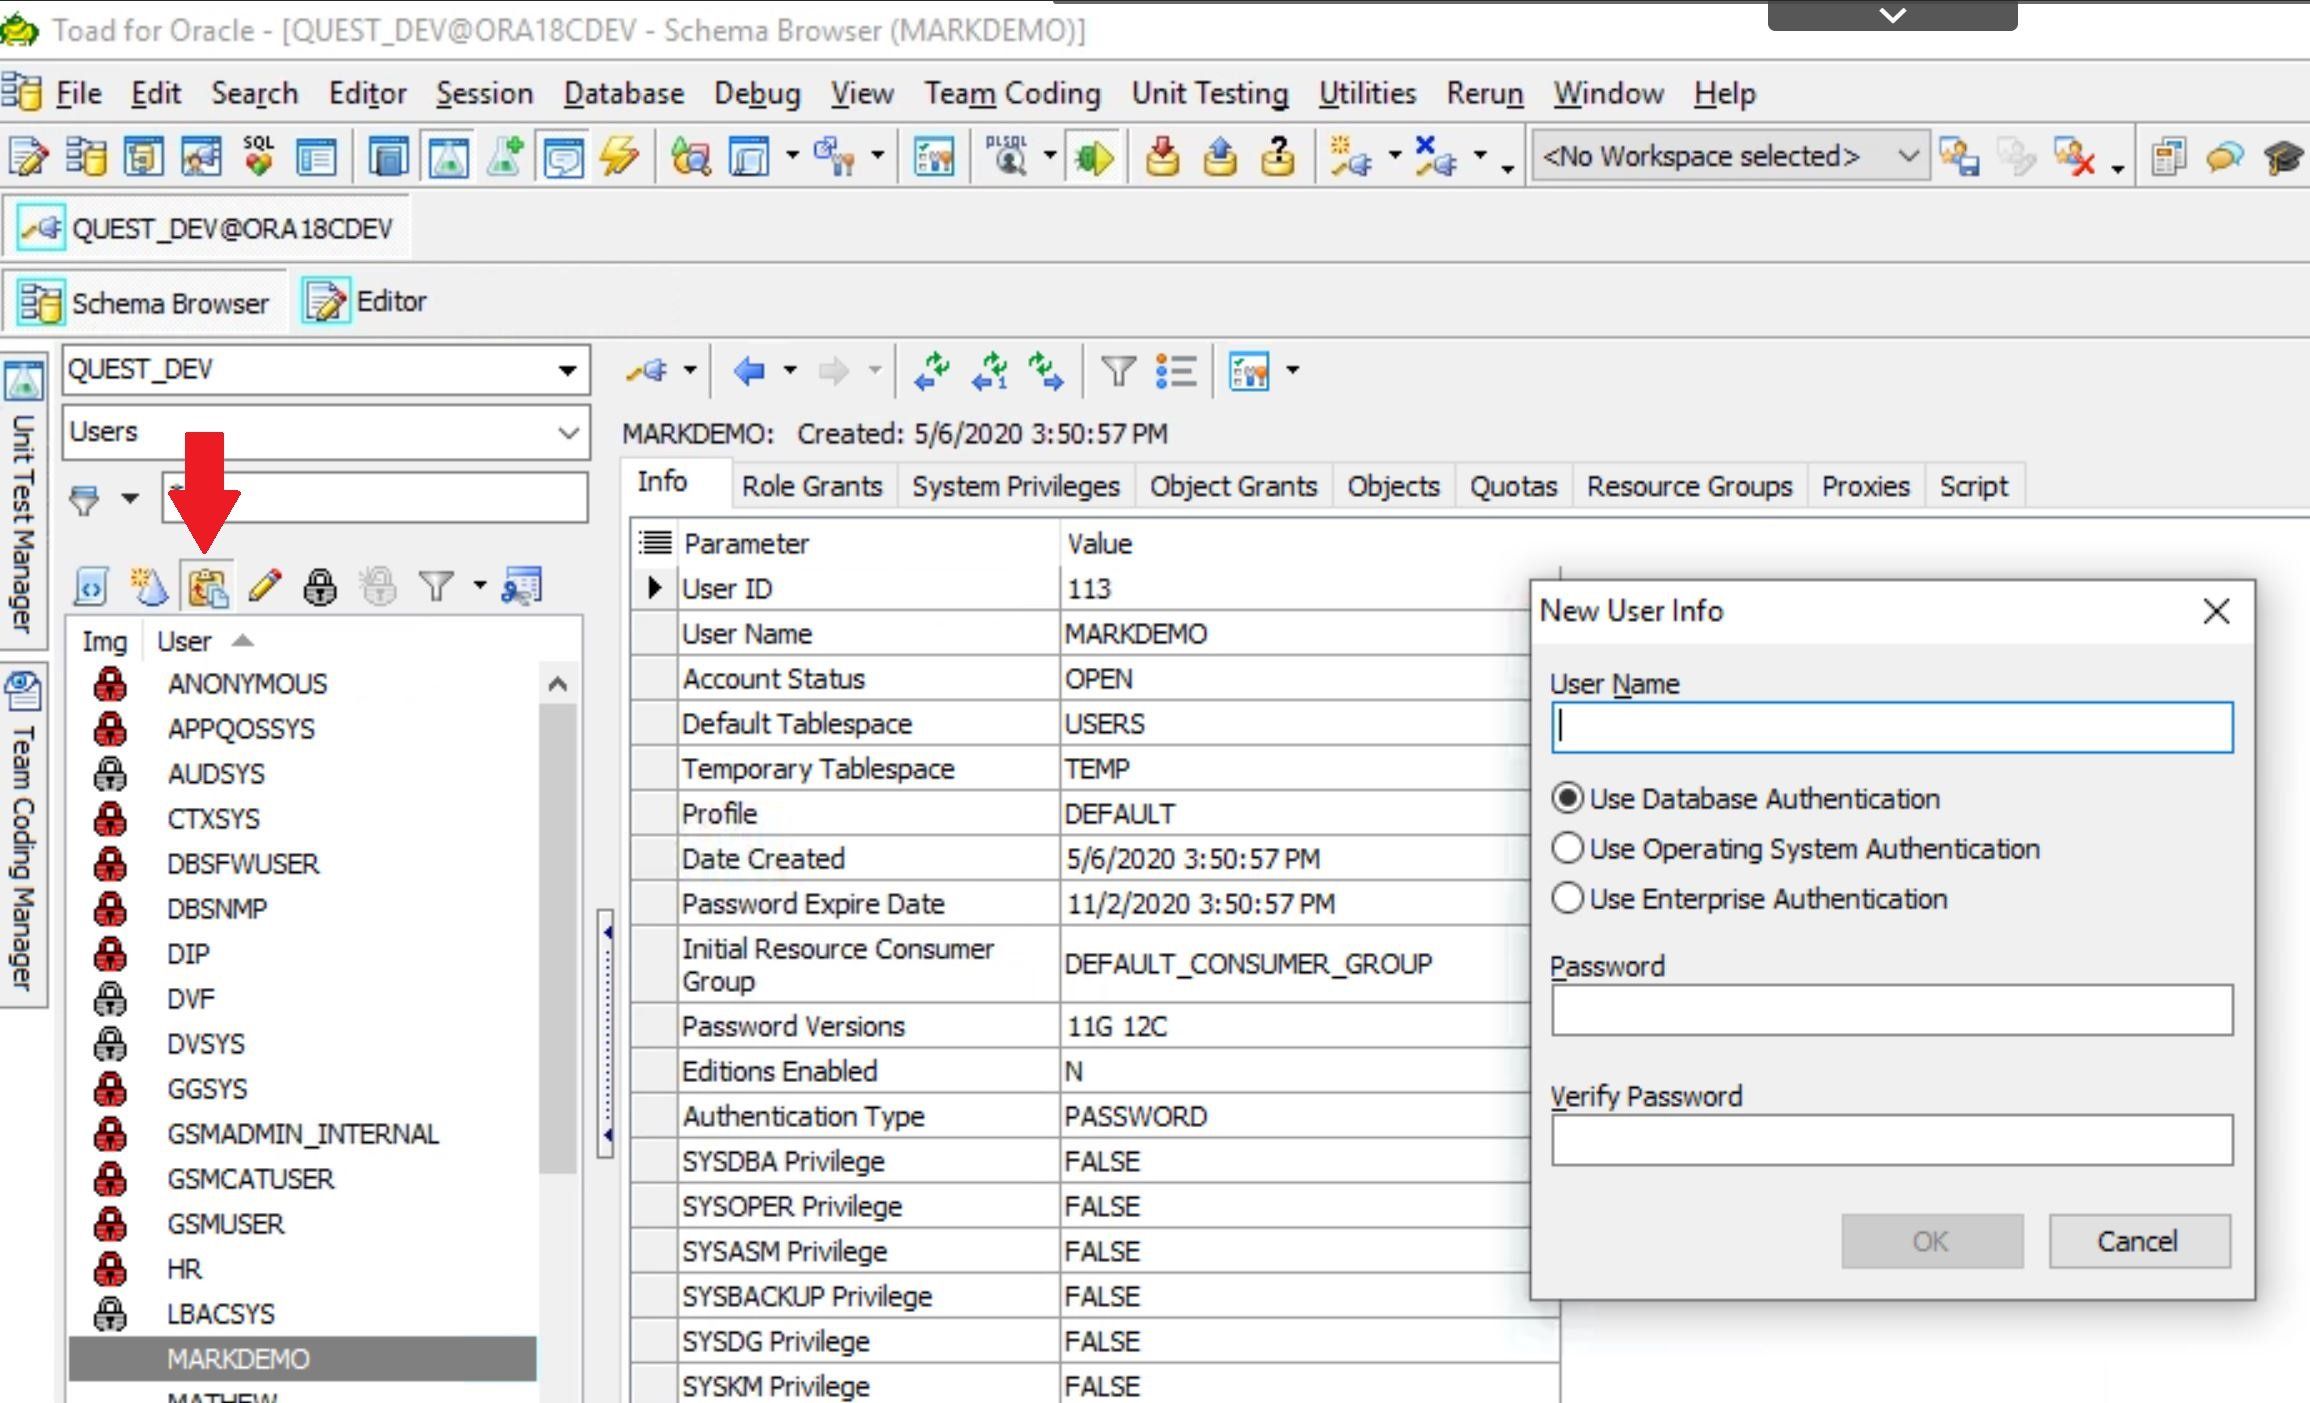
The third feature I would like to show you is how to clone a user. This is handy when you have a new app or release coming out and you need to create several users. You simply create the first user and then click on the Clone icon (we will clone the markdemo user as markdemo1), enter the new username and password and click the ‘OK’ button and the new cloned user will be created.
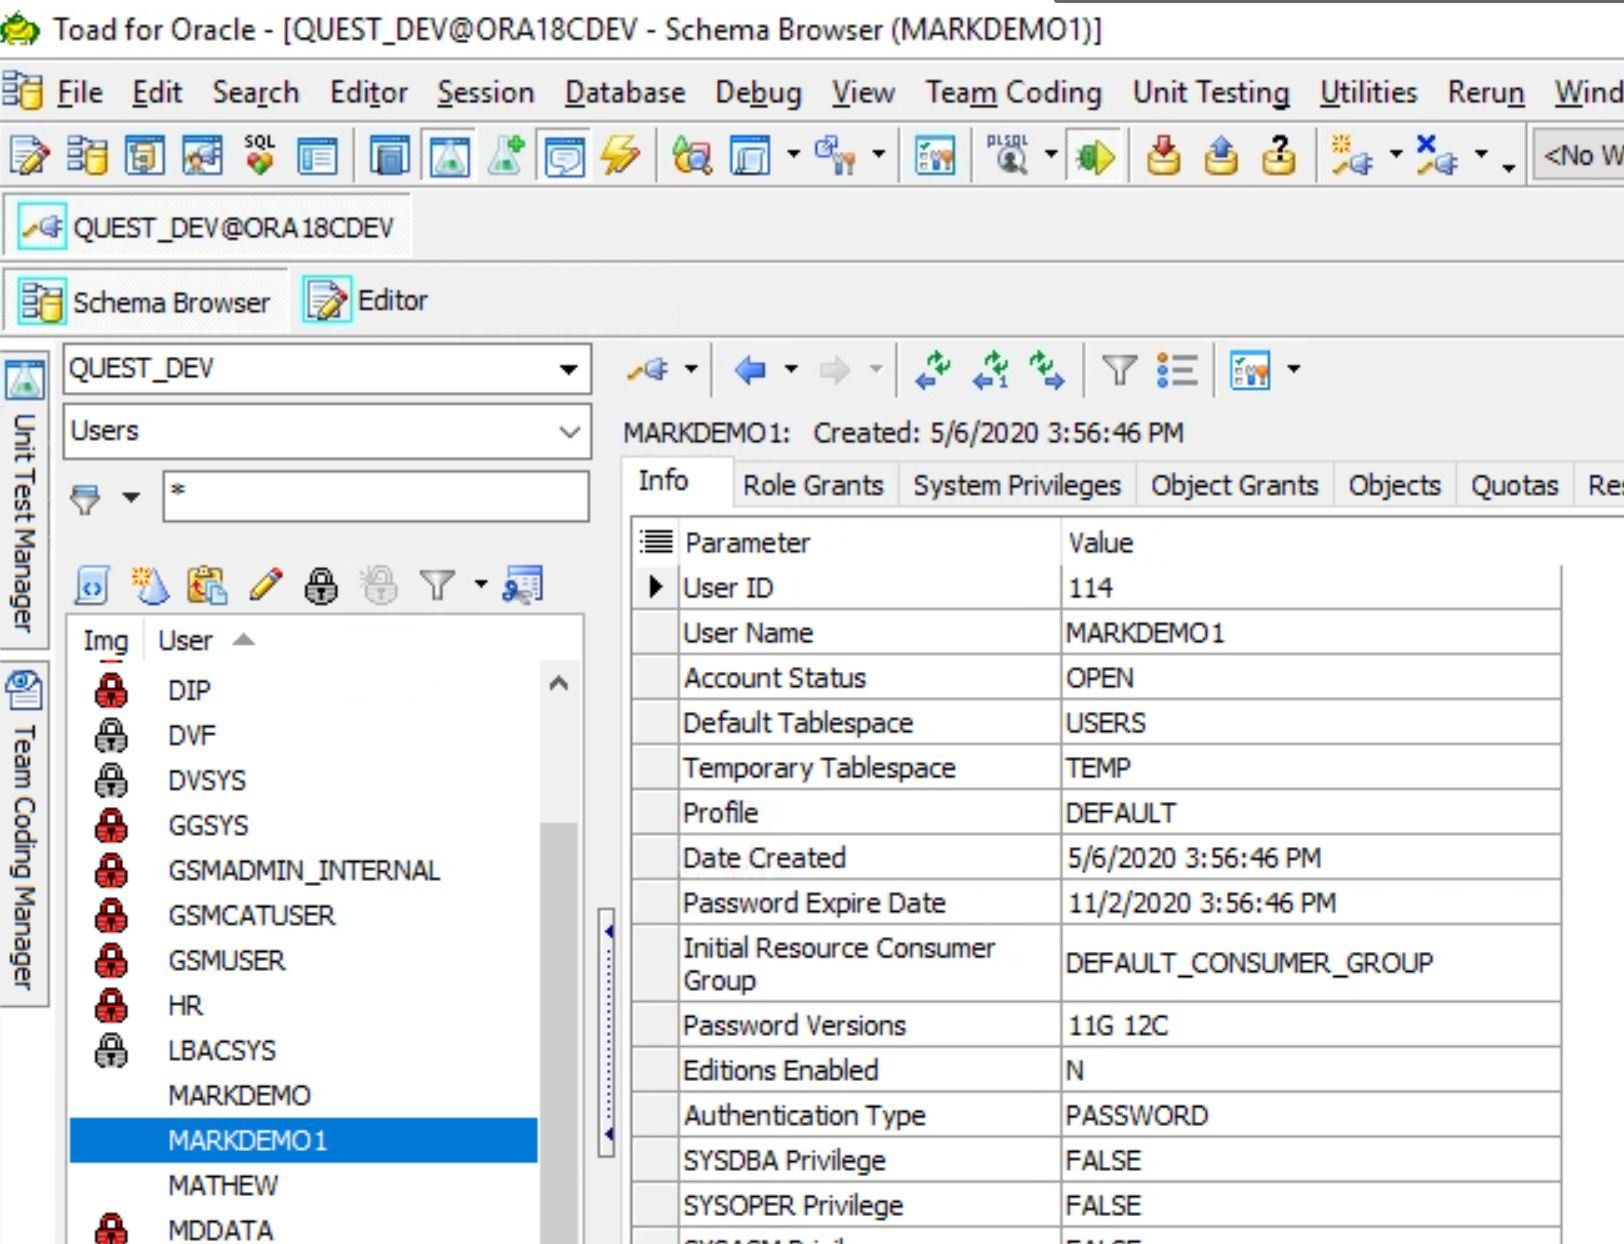
Now simply refresh the Schema Browser window and you will see the newly cloned account.
How to drop an existing user
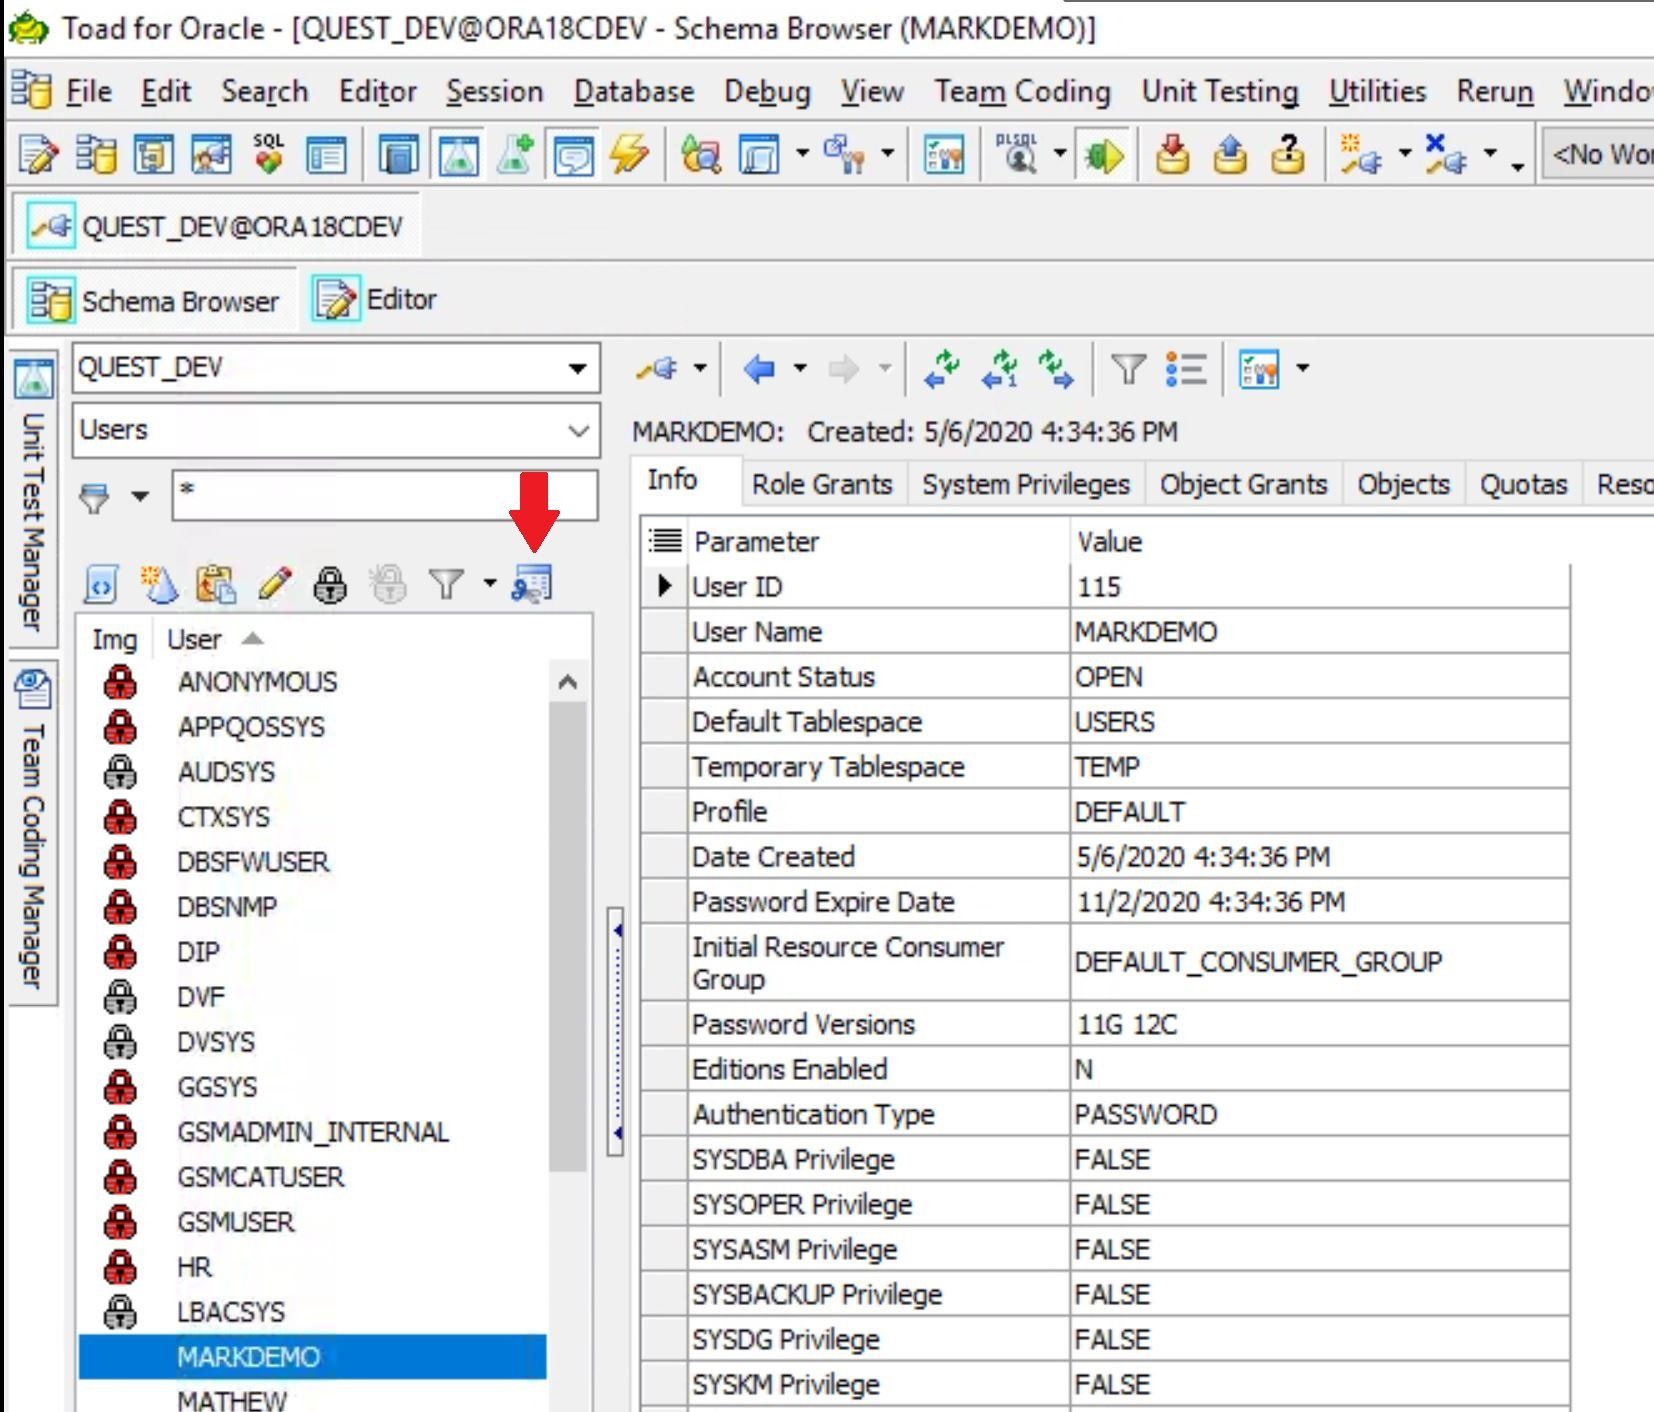
The last feature I want to show you ishow to drop an existing user. You may have to do this when a user leaves the company or project.
We are going to go back to the Schema Bowser window, highlight the account you want to drop and click on the Drop User icon.
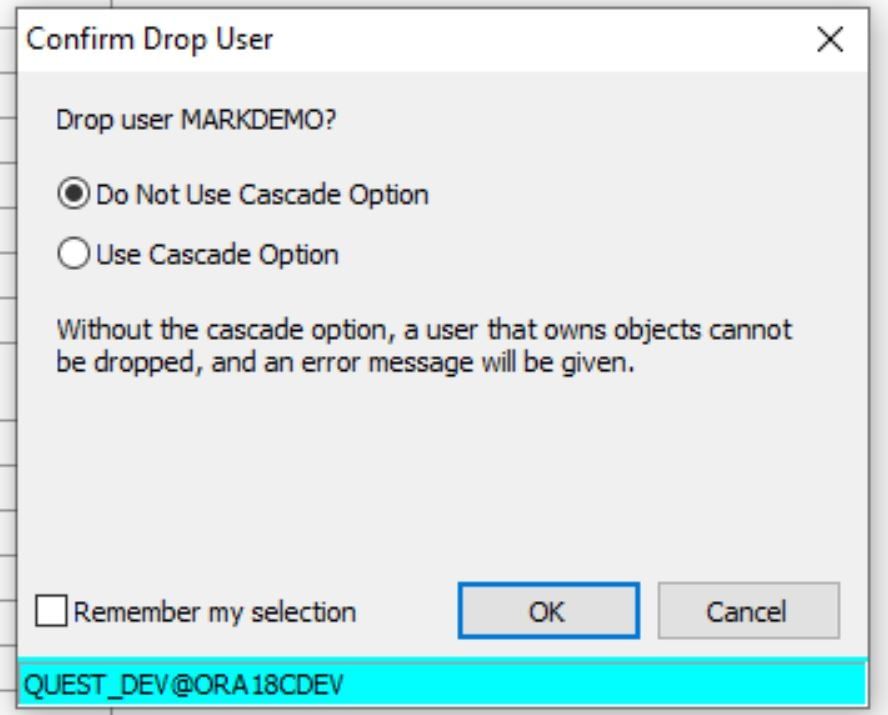
A confirmation window will open.
Choose either the “Do Not Cascade Option” or the “Use Cascade Option” and click the OK button and the user account will be dropped.
Refresh the Schema Browser and you will see that the user account has been dropped from the database.
And now you know how you can quickly and easily manage your database users while not disrupting your other duties as these user management requests pop up.
I hope you find this blog useful and can now manage database user accounts. If you have any questions just leave a comment on the blog page.
-Mark Kurtz
Try Toad for Oracle nowTry Toad for Oracle free for 30 days. Already in a trial? Talk to sales or buy now online. Already a loyal fan of Toad for Oracle? Renew now. |
Useful resources
Toad for Oracle general information
Technical brief: Top Five Reasons to Choose Toad Over SQL Developer
Case study: Opening doors and creating opportunities with data insights
Have questions, comments?
Head over to the Toad for Oracle forum on Toad World®! Chat with the me, the other Toad developers, and lots of experienced users.
Help your colleagues
If you think your colleagues would benefit from this blog, share it now on social media with the buttons located at the top of this blog post. Thanks!
Start the discussion at forums.toadworld.com