Introduction
Toad DevOps Toolkit is a Windows-based command-line tool for DevOps. DevOps was introduced in an earlier article. Toad for Oracle is an integrated development environment designed for Oracle DBAs to simplify Oracle database development and management tasks. Toad for Oracle supports automated code testing, automated code analysis, and automated performance optimization. Toad for Oracle is a graphical user interface (GUI) toolset. Toad DevOps Toolkit provides most of the same functionality and more, as programmable objects based on the Component Object Model (COM). COM is an object-oriented, platform-independent, distributed framework for creating and using binary software components that are essentially made up of a data set and the functions that operate on the data. Toad DevOps Toolkit provides an API to create COM objects that may be used with most build automation servers such as Jenkins. Toad DevOps Toolkit supports PowerShell, VBA and PL/SQL to develop automation scripts. Toad DevOps Toolkit includes modules for the following features:
- Static code analysis
- PL/SQL unit testing
- Database compare and sync
- Schema compare and sync
- Data compare and sync
- Script execution
In this article we shall introduce Toad DevOps Toolkit, and discuss installing Toad DevOps Toolkit, license configuration, and using PowerShell. This article has the following sections.
- Setting the Environment
- Installing Toad DevOps Toolkit
- Configuring License
- Installing PowerShell 3.0
- Starting Toad DevOps Toolkit
Setting the Environment
Toad DevOps Toolkit supports several different Windows versions; the system requirements are available in the release notes. Select from one of the supported Windows OS. An Oracle Database server is required to be installed and the supported versions are listed in the Database requirements section of the release notes. The lightweight version of Oracle Database 11g, Oracle Database Express Edition 11g Release 2, may also be used. If a standalone Oracle Database is not used, alternatively Oracle Database service on AWS or Oracle Cloud Platform may be used. An Oracle Database client is also required; the supported versions are listed in the release notes. Toad DevOps Toolkit (32-Bit) and Toad DevOps Toolkit (64-Bit) are available from http://www.toadworld.com/products/toad-devops-toolkit/. Click on Download FREE Trial link or the DOWNLOAD A FREE 30-DAY TRIAL link to download toaddevopstoolkit_2017_x64_installer.exe or toaddevopstoolkit_2017_x86_installer.exe installer application. The 64-Bit installer is used in this article.
Installing Toad DevOps Toolkit
To install Toad DevOps Toolkit double-click on the toaddevopstoolkit_2017_x64_installer.exe application to start the installer. Click on Next in the Welcome page as shown in Figure 1.
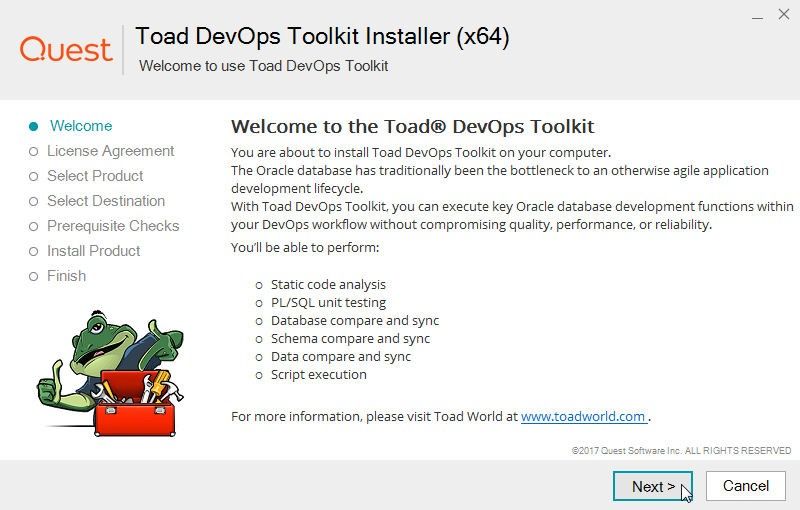
Figure 1. Toad DevOps Toolkit Installer>Welcome page
Accept the terms of the license agreement and click on Next as shown in Figure 2.
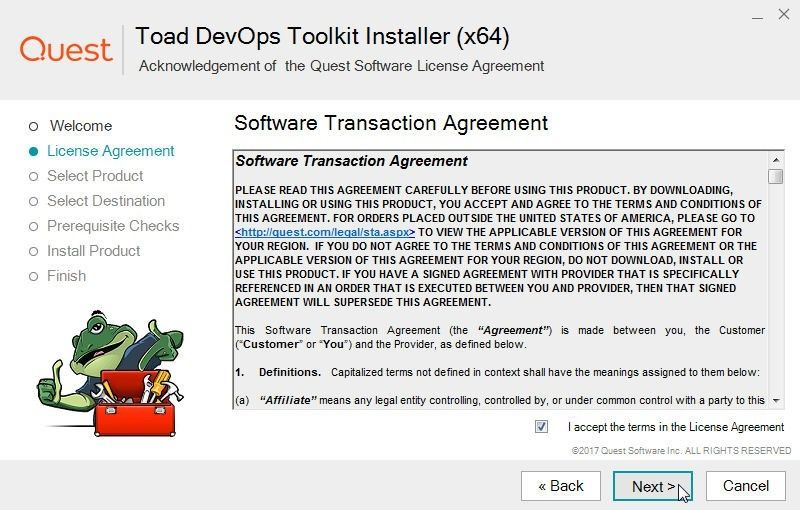
Figure 2. License Agreement
In Product Installation select the Toad DevOps Toolkit, if not pre-selected, as shown in Figure 3. Click on Next.
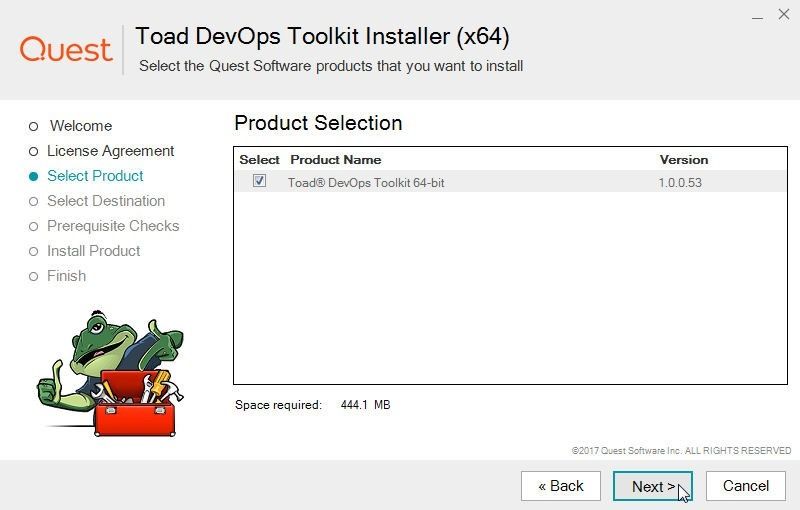
Figure 3. Product Selection
Next, the Destination Selection window is displayed; in which, select the default directory as shown in Figure 4 and click on Next.
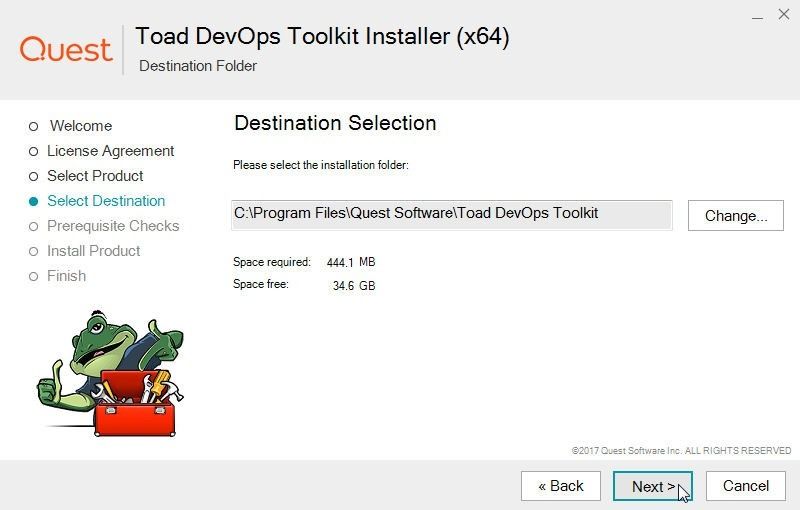
Figure 4. Destination Selection
Next, the prerequisite tests or checks are run. All the prerequisite tests must be listed as passed as shown in Figure 5 before the toolkit may be installed. Click on Install.
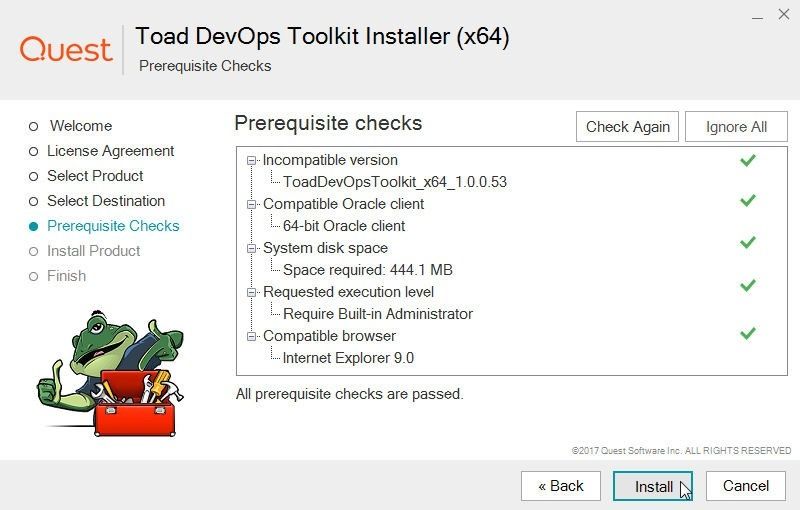
Figure 5. Running Prerequisite Checks and installing
The Toad DevOps Toolkit starts to get installed, as shown in Figure 6.
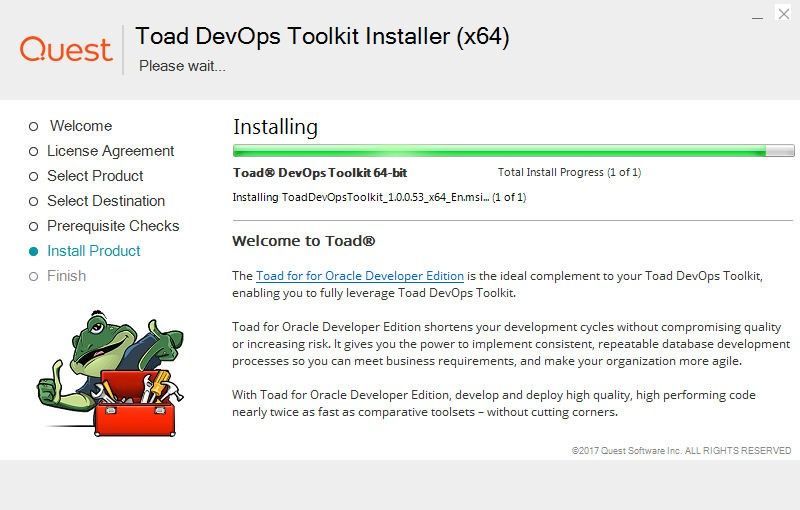
Figure 6. Toad DevOps Toolkit Installation progress
When the installation completes click on Finish as shown in Figure 7.
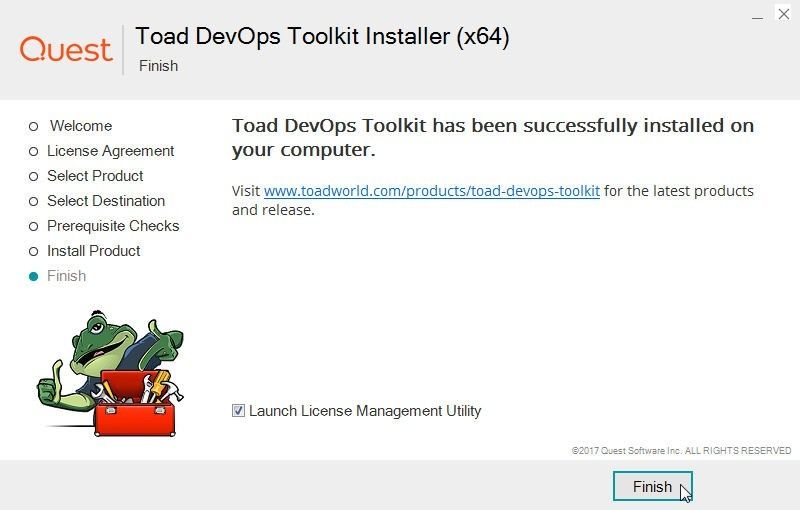
Figure 7. Installation Completed
Because Toad DevOps Toolkit is not a GUI toolset, no icon is added to launch Toad DevOps Toolkit. Instead, an application icon is added to launch the License Manager to configure the license, as shown in Figure 8.
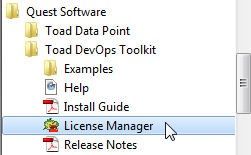
Figure 8. License Manager
Configuring License
The License Manager gets launched, as shown in Figure 9
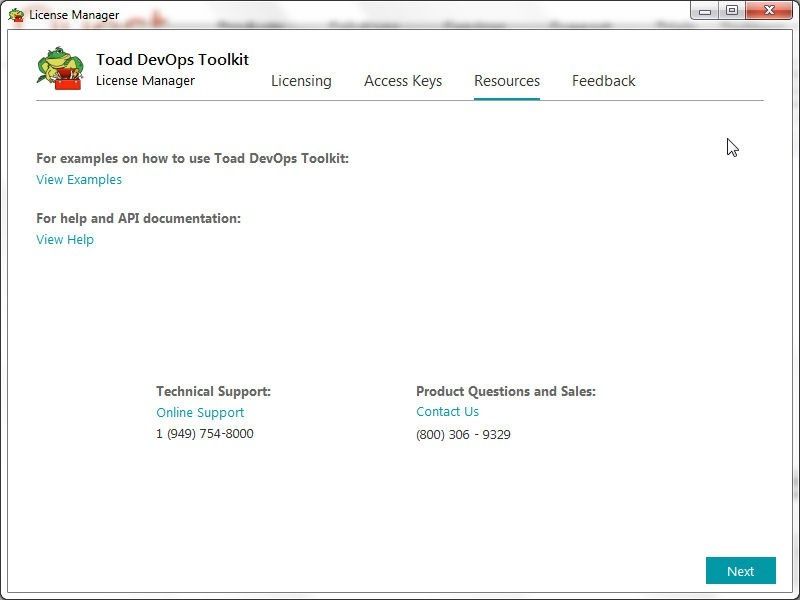
Figure 9. License Manager
The License Manager has two requirements:
- Add a license
- Add an access key
A license is required to use the Toad DevOps Toolkit. Select the Licensing tab. If the free trial is used an Add License dialog is opened, as shown in Figure 10, in which the Commercial and 30-day Trial options are listed. Select the 30-day Trial option. The License Number and Site Message fields get grayed out if the 30-day Trail is selected. If the Commercial option is selected the License Number and Site Message fields must be provided.
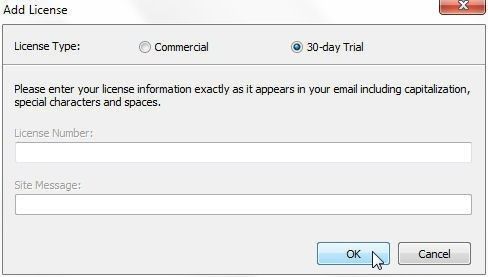
Figure 10. Add License>30-day Trial
A trial license gets added, as shown in Figure 11. Click on Next if no additional licenses are to be added. Multiple licenses may be added; a trial license and a commercial license.
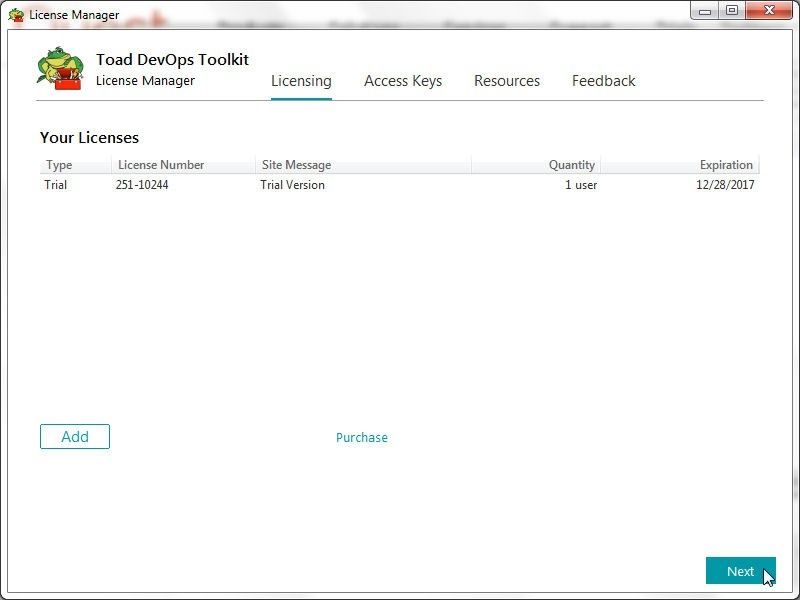
Figure 11. Trial License Added
To add a commercial license click on the Add button shown in Figure 11. An Add License dialog gets displayed, as shown in Figure 12. The fields are not grayed out. Specify the License Number and Site Message if available and click on OK. We have not used a Commercial version for this article.
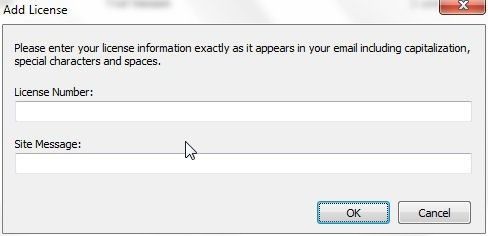
Figure 12. Add License to add a commercial license
Click on Next after adding the licenses. The Access Keys tab gets selected with the provision to add access key/s, as shown in Figure 13. An access key is used to access the Toad DevOps Toolkit API and must be created if a default access key is not listed.
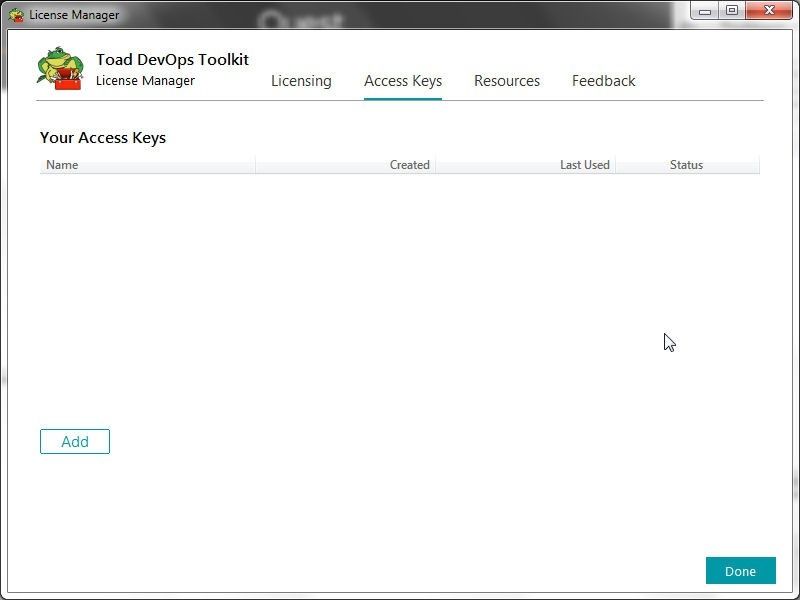
Figure 13. Access Keys
Click on Add to add a license key. A Key Name dialog gets displayed, as shown in Figure 14. Specify a key name (devops) and click on OK.

Figure 14. Key Name
An access key gets added, as shown in Figure 15. When the two requirements of adding a license and adding an access key have been applied, a Done button gets displayed. Click on the Done button to complete the license configuration.
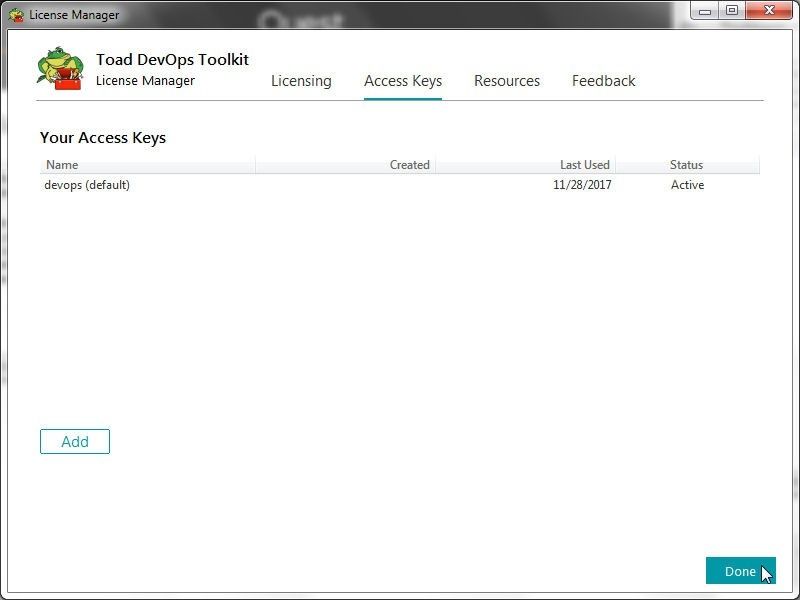
Figure 15. Access Key added
In the Access Keys window if the Next button is clicked, as shown in Figure 16, without an Access Key a dialog gets displayed: “A default API Key hasn't been created for this machine. Create one now?”
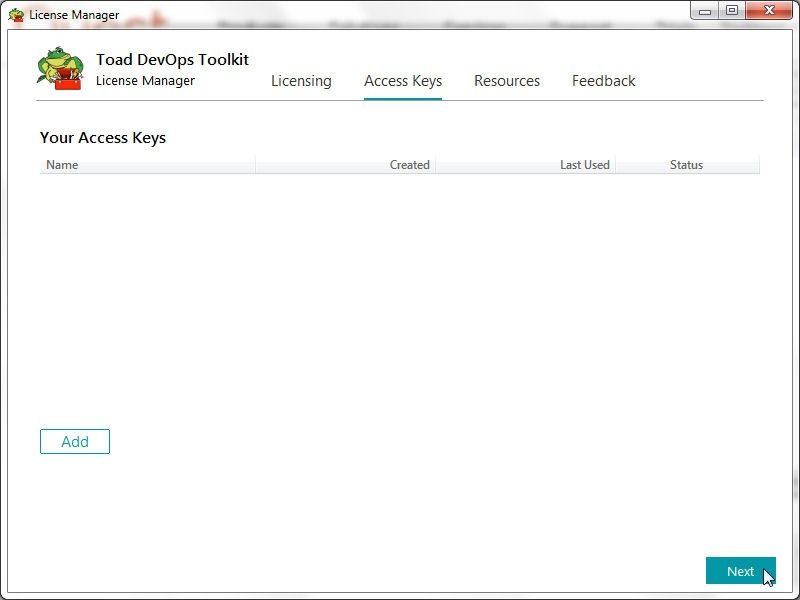
Figure 16. Selecting Access Keys>Next without an access key added
In the Resources tab some resource links are listed, as shown in Figure 17.

Figure 17. Resources
The Feedback tab displays an option to participate in providing feedback on Toad DevOps Toolkit, as shown in Figure 18. The Done button may be selected from any of the tabs after the two requirements of adding a license and an access key have been applied.
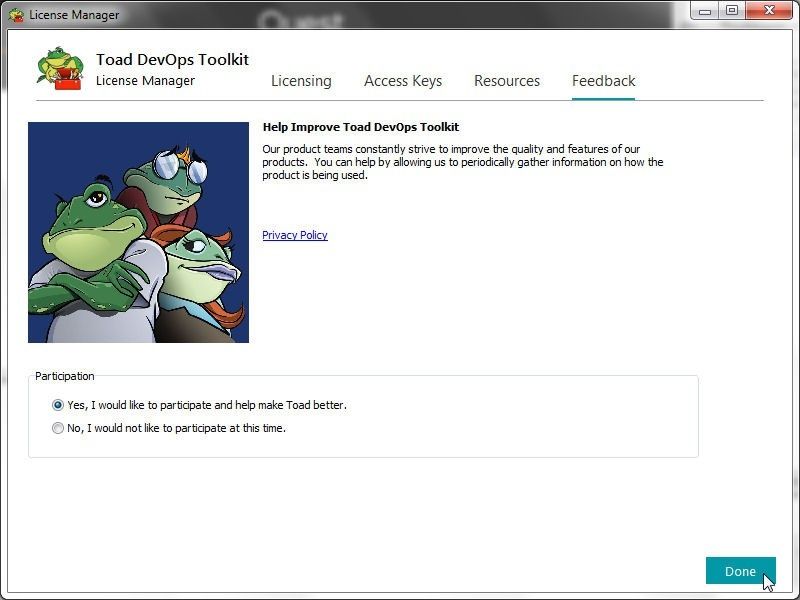
Figure 18. Feedback
An access key once added may be revoked if need be, and another key added. Select the access key to revoke and click on Revoke as shown in Figure 19.
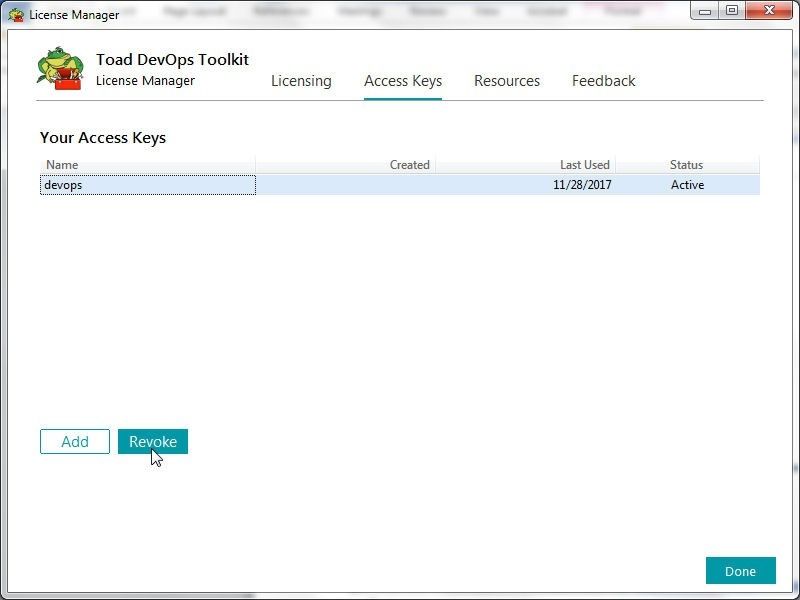
Figure 19. Revoking an Access Key
The access key Status gets set to Revoked, as shown in Figure 20. Click on Add if another access key is to be added, as shown in Figure 19.
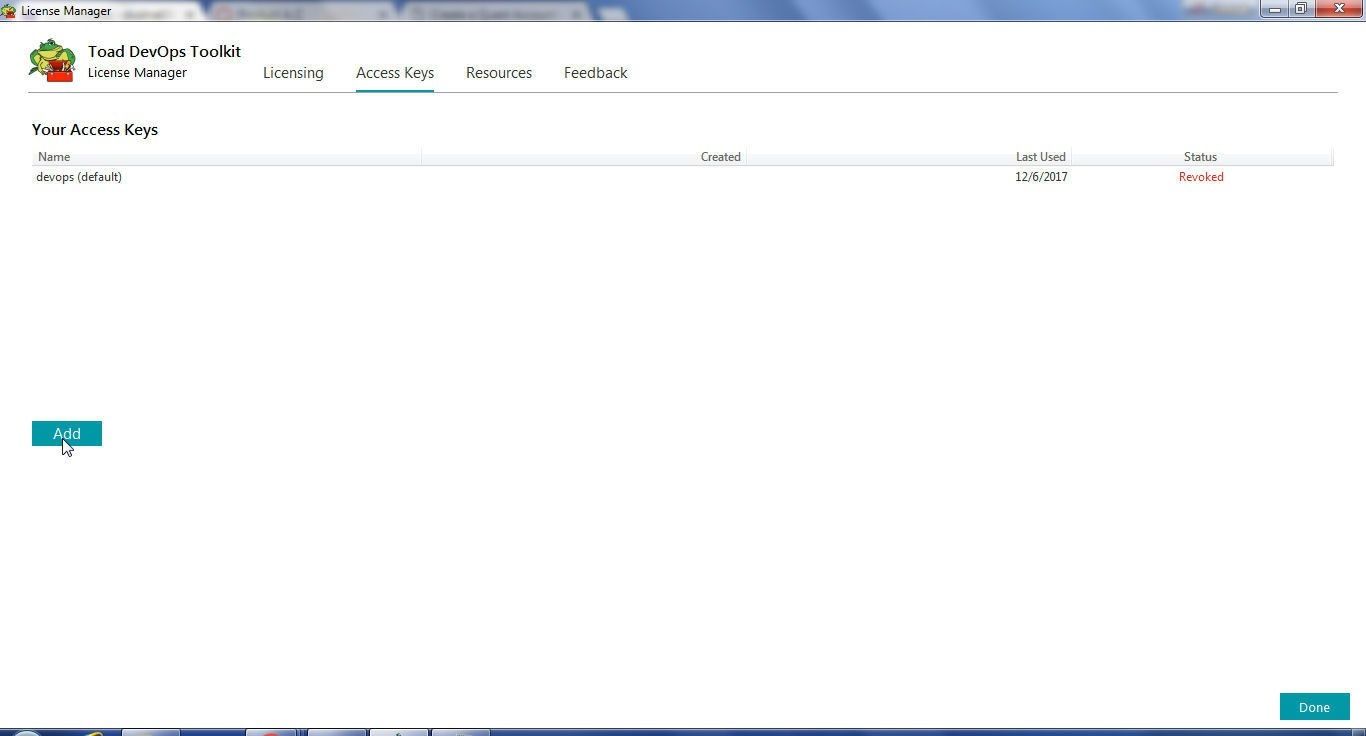
Figure 20. Access Key revoked
Specify a Key name (devops-toolkit) in the Key Name dialog and click on OK as shown in Figure 21.

Figure 21. Adding another Access Key
The access key gets added. Both the Active and Revoked access keys are listed in Figure 22.
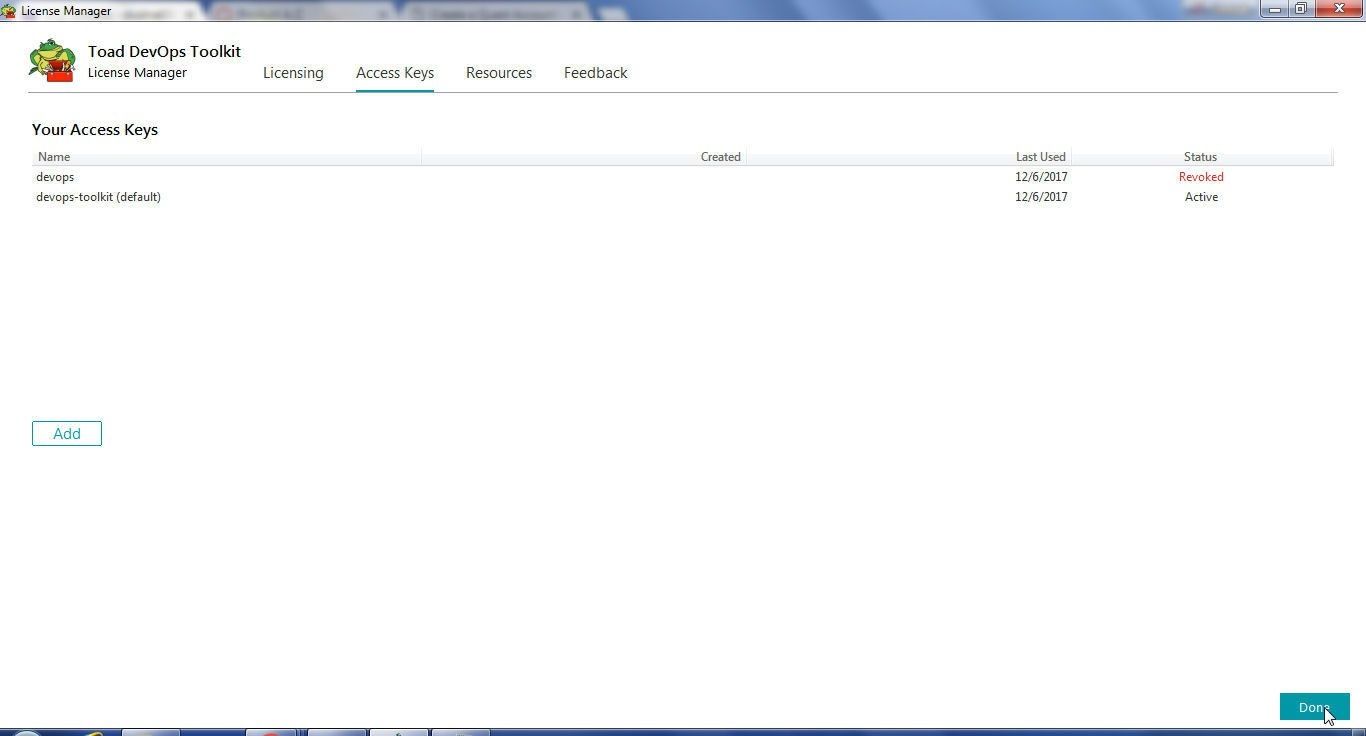
Figure 22. Access keys –Active and Revoked
Installing Windows PowerShell 3.0
Windows PowerShell is a command-line tool (shell) with an associated scripting language for task automation and configuration management. PowerShell 3.0 is required for Toad DevOps Toolkit. Windows 8, Windows 8.1, Windows Server 2012, and Windows Server 2012 R2 already have PowerShell preinstalled. Windows 7, Windows Server 2008 R2 also might be running PowerShell 3.0, but could also be version 2.0. How to verify if PowerShell version is 2.0 or 3.0? Start PowerShell and run the following command in the PowerShell shell.
Get-Host | Select-Object Version
The PowerShell version gets output, as shown in Figure 23.

Figure 23. PowerShell Version
If the PowerShell version is 2.0, as shown in Figure 23, the version must be updated to 3.0. To upgrade to version 3.0, download Windows Management Framework 3.0 from https://www.microsoft.com/en-ca/download/details.aspx?id=34595. Windows Management Framework 3.0 includes Windows PowerShell 3.0 and Windows Remote Management 3.0. Download the Windows6.1-KB2506143-x64.msu or Windows6.1-KB2506143-x86.msu file based on whether Windows is 64-bit or 32-bit, as shown in Figure 24.
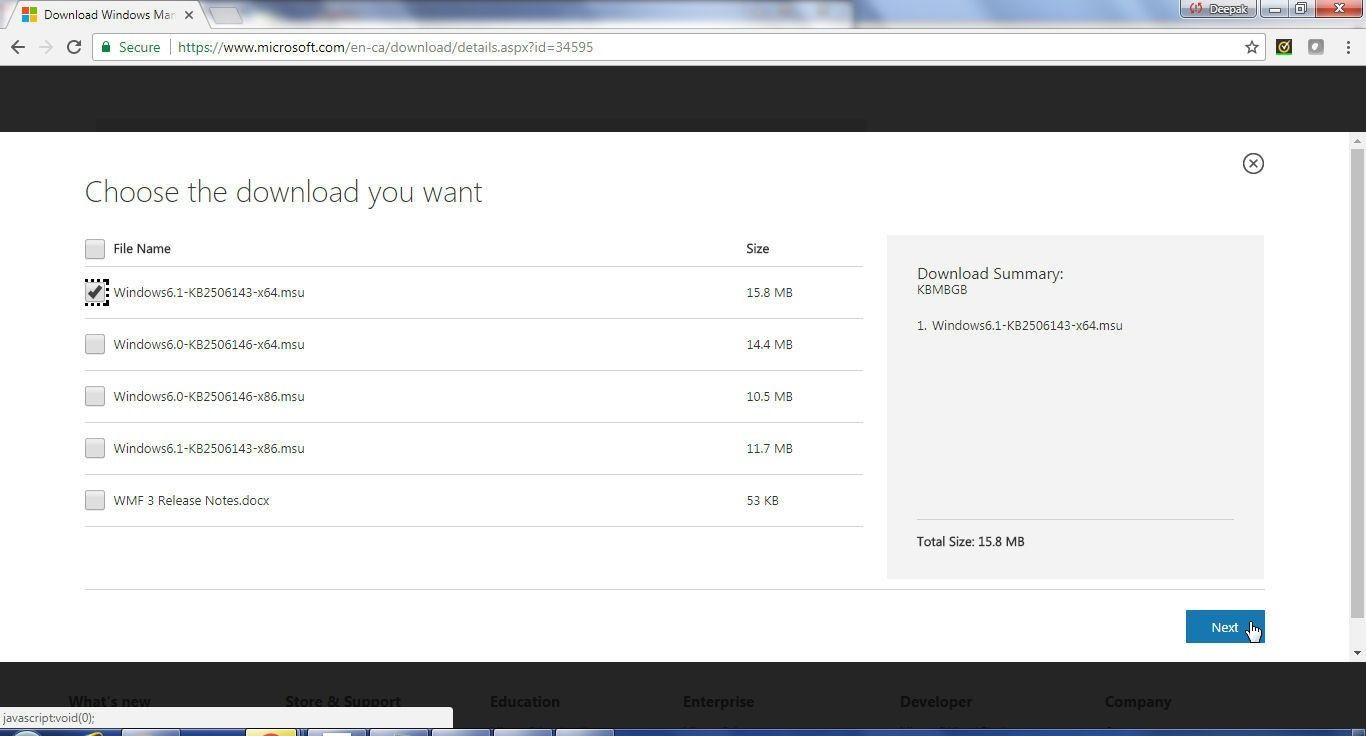
Figure 24. Downloading Windows6.1-KB2506143-x64.msu
Double-click on Windows6.1-KB2506143-x64.msu to launch the Windows Management Framework 3.0 wizard. To accept the license terms click on I Accept as shown in Figure 25.
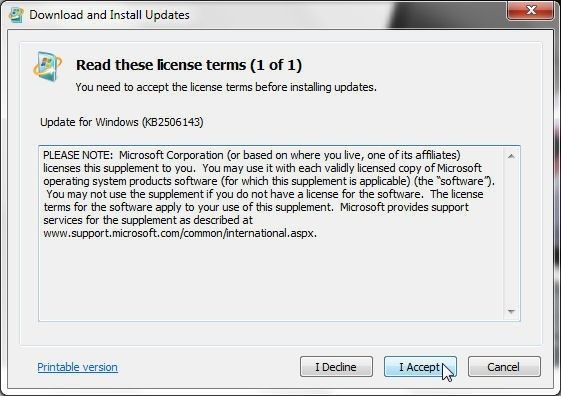
Figure 25. Accepting license terms
The Windows Management Framework 3.0 updates start to get installed, as shown in Figure 26.
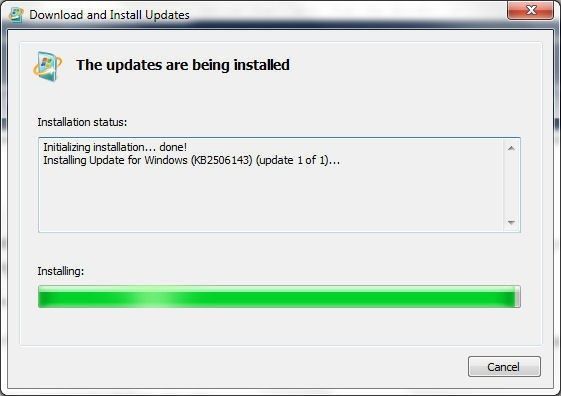
Figure 26. Installing Windows Management Framework 3.0
After the installation is complete the system needs to be restarted. Click on Restart Now as shown in Figure 27 to restart, or click on Close to restart later.
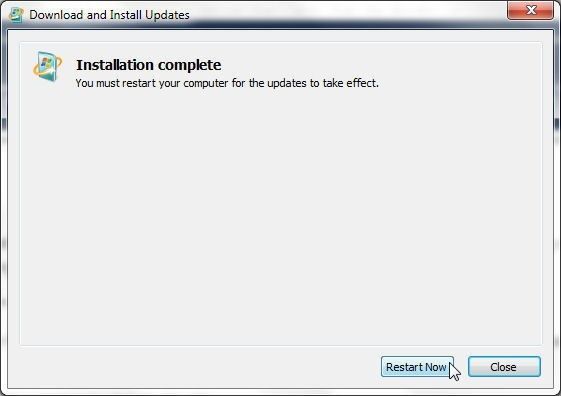
Figure 27. Windows Management Framework 3.0 installation complete
After restarting, start the PowerShell, as shown in Figure 28.

Figure 28. PowerShell
Run the command Get-Host | Select-Object Version again and the output should be version 3.0, as shown in Figure 29.

Figure 29. PowerShell version 3.0
Next, if the running of remote scripts is not already enabled, run the following command to allow the running of remote scripts.
Set-ExecutionPolicy RemoteSigned
To find out whether the running of remote scripts is already enabled, use the following command.
Get-ExecutionPolicy
As the output in Figure 30 indicates, the running of remote scripts is already enabled.

Figure 30. Running of remote scripts already set
If the running of remote scripts is already set and the Set-ExecutionPolicy RemoteSigned command is run regardless select N as shown in Figure 31.

Figure 31. Selecting N for Set-ExecutionPolicy RemoteSigned
Next, start, if it is not already started, the WinRM service, which is used to process requests over the network. To find out if WinRM service is already started, run the following command.
Get-Service winrm
If the output lists status as Stopped, as shown in Figure 32, the service needs to be started. Run the following command to start the WinRM service.
Start-Service winrm
Subsequently run theGet-Service winrm command again and the Status should be listed as Running, as shown in Figure 32.
Verify that WinRM is using Basic authentication.
winrm set winrm/config/client/auth '@{Basic="True"}'
The output should list Basic as true, as shown in Figure 32.
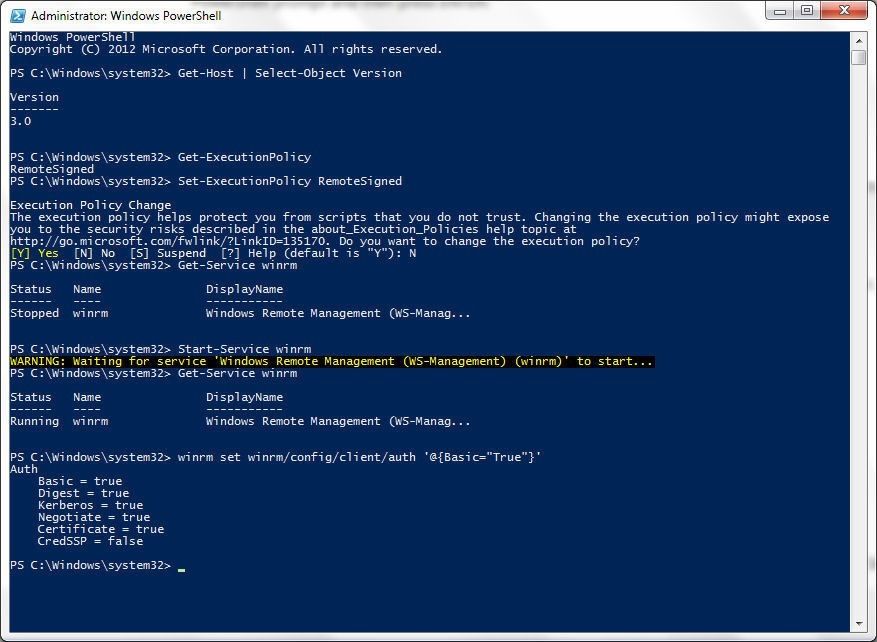
Figure 32. WinRM Service
Starting a Toad DevOps Toolkit Instance
COM objects are used by creating an instance of a COM object with New-Object cmdlet. Toad DevOps Toolkit being a COM object create an instance with the following command.
$TDT = New-Object -ComObject Toad.ToadAutoObject
No output to the PowerShell shell is made with the preceding command, as shown in Figure 33. A $TDT object gets created.

Figure 33. Creating a Toad DevOps Toolkit Instance
List the components of the Toad DevOps Toolkit instance created with $TDT as shown in Figure 34.
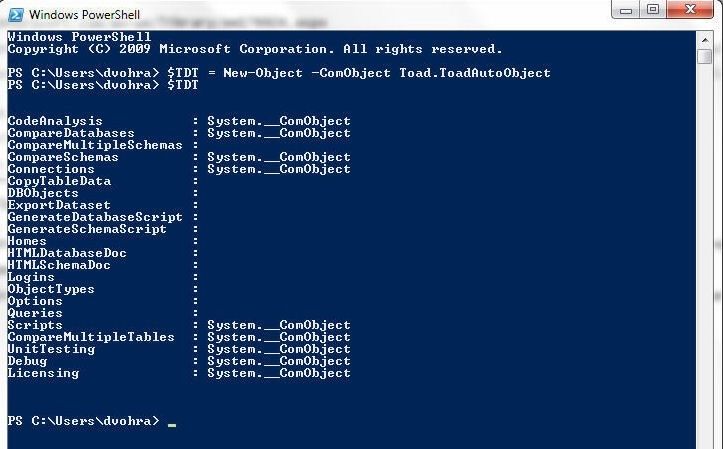
Figure 34 Listing Components of $TDT
Conclusion
In this article we introduced Toad DevOps toolkit with PowerShell 3.0 including installing, configuring, and starting the toolkit. Toad DevOps Toolkit cannot be used with just one database instance; two database instances are required, one as the source database and the other as the target database. In subsequent articles we shall discuss different platforms and setups for running two database instances. We shall start with running two Oracle Database instances on a local machine followed by running two database instances on Oracle Cloud Platform.
Start the discussion at forums.toadworld.com