The general databases trend is in favor of the open source database with two of the top 5 relational RDBMS being open source databases according todb-engines.com. The top two open source databases are MySQL and PostgreSQL. As use of the open source database increases, DBAs and database developers may consider migrating. Migrating to open source databases incurs several requirements, the main ones being the following:
- Developer tools that connect with open source databases and run SQL scripts are different
- The data types supported by open source databases are different
- The SQL syntax used by open source databases is different
In a series of three articles, we shall discuss migrating from a commercial database (SQL Server) to open source databases MySQL and PostgreSQL. We shall make use of several Quest® Toad® developer tools:
- Toad for SQL Server for creating SQL Server tables to migrate,
- Toad Data Modeler for converting SQL Server model to open source models, and
- Toad Edge to run open source database specific DDL scripts

How do you migrate to an open source database?
The complete migration procedure involves the following sequence:
- Set the environment
- Create SQL Server Express Edition Tables in Toad for SQL Server
- Create Model for SQL Server Express Edition
- Reverse Engineer SQL Server Express Edition Tables
- Create Connection to MySQL in Toad Edge
- Convert Model to MySQL
- Verify the MySQL Model
- Modify Default Settings for Generating DDL for MySQL
- Generate DDL for MySQL
- Run DDL to create MySQL Tables
- Describe MySQL Tables
- Create Connection to PostgreSQL in Toad Edge
- Convert Model to PostgreSQL 10
- Modify Default Settings for Generating DDL
- Generate DDL for PostgreSQL 10
- Run DDL to create PostgreSQL 10 Tables
- Describe PostgreSQL 10 Tables
This tutorial consists of three articles; we shall start with the first article, that will cover the first four steps in the process and are highlighted above in grey.
Setting the environment
Download and install the following software:
We need to create database tables in SQL Server; tables that are to be migrated to open source databases MySQL and PostgreSQL. We have used a SQL Server Express Edition instance (Figure 1) on AWS RDS. Another SQL Server instance running on a different platform may be used as well.

Figure 1. SQL Server Express Edition RDS Instance
Creating SQL Server tables in Toad for SQL Server
To create tables in SQL Server Express Edition obtain connection parameters from the RDS Dashboard. Click on the sqlserver instance link shown in Figure 1. Copy the Endpoint from the Connect section as shown in Figure 2. The Endpoint is the SQL Server hostname. Also copy the Port (1433 by default). As the Toad for SQL Server and Toad Data Modeler are installed on the local machine we need to modify the Inbound access rules to allow access from the local machine, or all source IPs if the IP of the local machine is not known. Click on the rds-launch-wizard-3 link shown in Figure 2 to modify the Inbound rules settings.
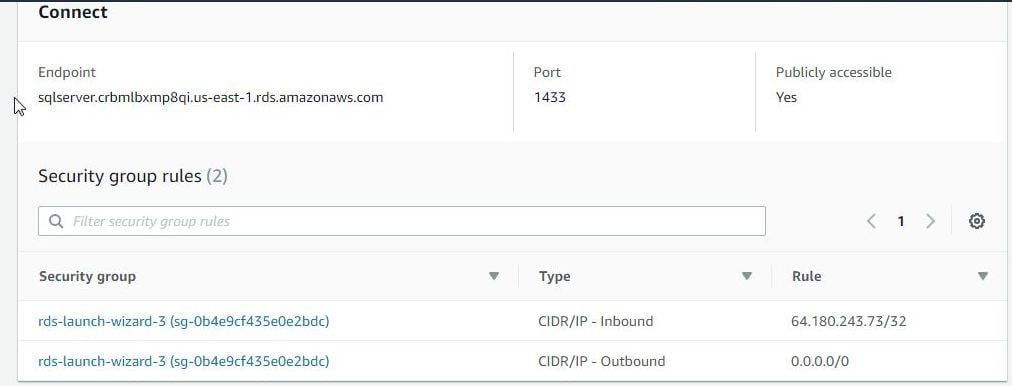
Figure 2. Connect Endpoint
Next, create a connection in Toad for SQL Server. Select Connect>New Connection as shown in Figure 3.
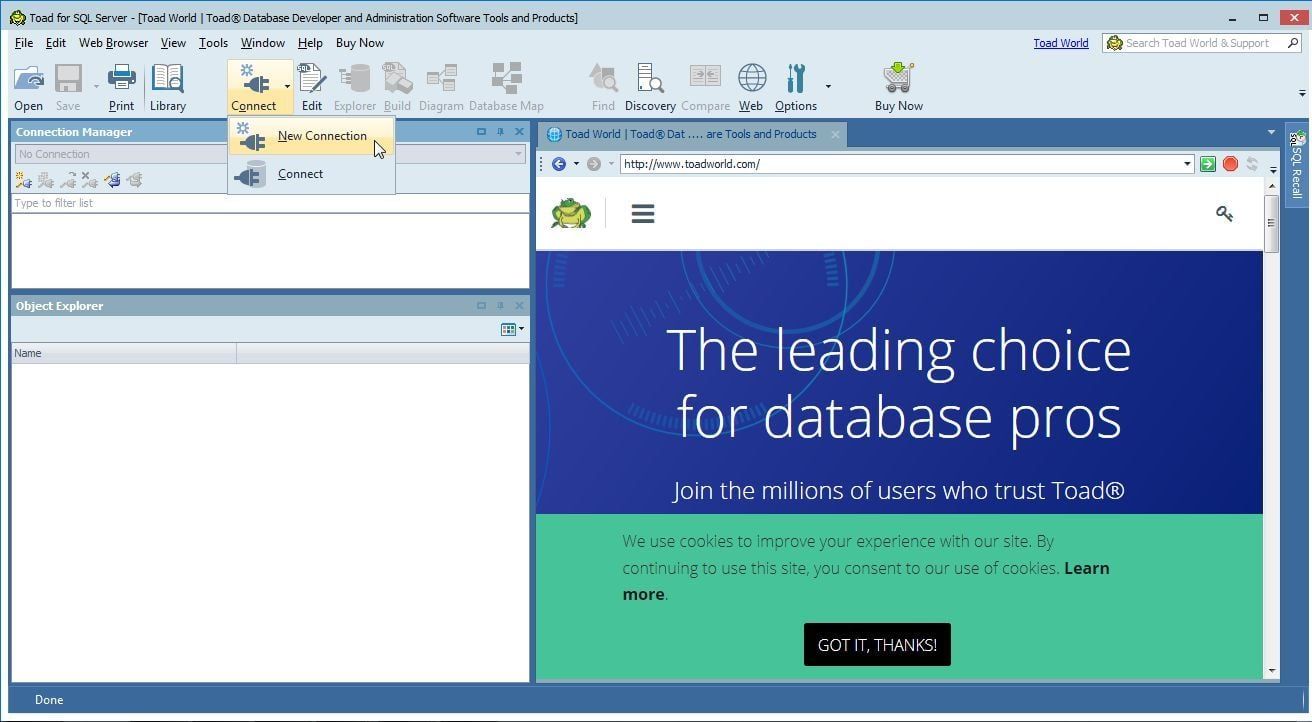
Figure 3. Connect>New Connection
In Create New Connection specify Server name as the Endpoint URL as shown in Figure 8. Select Authentication as SQL Server Authentication. Specify Login and Password as the Master username and Master password respectively. Click on the selector button (…) for Database as shown in Figure 4 to select a database to connect to.
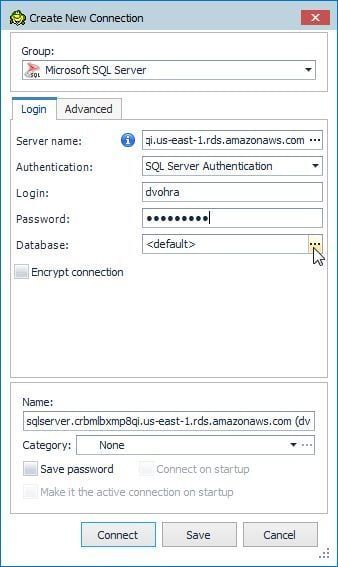
Figure 4. Create New Connection
A connection gets established with SQL Server to obtain available databases. In Browse Databases select tempdb database as shown in Figure 5 and click on OK.
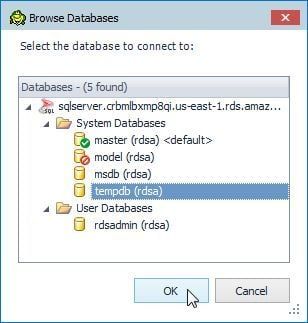
Figure 5. Browse Database>tempdb
With all the connection parameters selected click on Connect as shown in Figure 6.
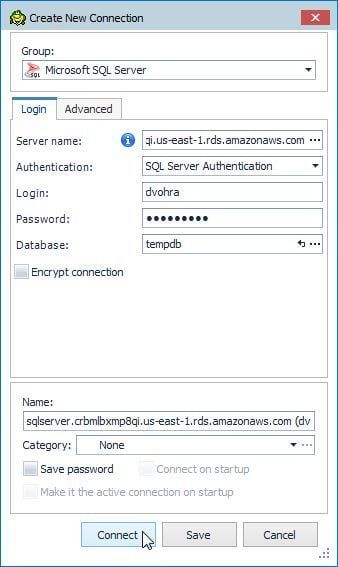
Figure 6. Connect
A new connection gets created and added to Connection Navigator as shown in Figure 7.
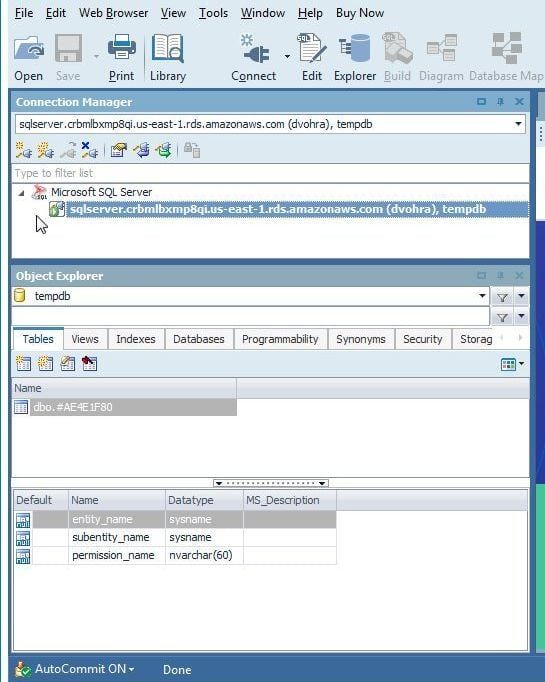
Figure 7. New Connection to SQL Server
Next, we shall run a DDL script in Toad for SQL Server to create database tables in SQL Server. Select Edit SQL from the toolbar as shown in Figure 8.
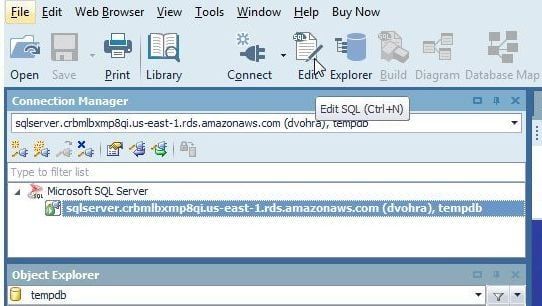
Figure 8. Edit SQL
Copy the following SQL script to the SQL Worksheet.
/*
Model: Microsoft SQL Server Express Edition
Database: MS SQL Server Express Edition
*/
— Create tables section ————————————————-
— Table Log
CREATE TABLE [Log]
(
[MSG_CODE] Varchar(20) NOT NULL,
[DESCRIPTION] Varchar(255) NULL
)
go
— Add keys for table Log
ALTER TABLE [Log] ADD CONSTRAINT [PK_Log] PRIMARY KEY ([MSG_CODE])
go
— Table LogEntry
CREATE TABLE [LogEntry]
(
[MSG_CODE] Varchar(20) NOT NULL,
[CODE] Varchar(20) NOT NULL,
[TIMESTAMP] Varchar(55) NULL,
[MSG] Varchar(255) NULL
)
go
— Add keys for table LogEntry
ALTER TABLE [LogEntry] ADD CONSTRAINT [PK_LogEntry] PRIMARY KEY ([MSG_CODE],[CODE])
go
— Create foreign keys (relationships) section ————————————————-
ALTER TABLE [LogEntry] ADD CONSTRAINT [Log-LogEntry] FOREIGN KEY ([MSG_CODE]) REFERENCES [Log] ([MSG_CODE]) ON UPDATE NO ACTION ON DELETE NO ACTION
go
ALTER TABLE [LogEntry] ADD CONSTRAINT [Log-LogEntry-2] FOREIGN KEY ([CODE]) REFERENCES [Log] ([MSG_CODE]) ON UPDATE NO ACTION ON DELETE NO ACTION
go
The SQL script creates two tables Log and LogEntry for WebLogic server log with two foreign keys in LogEntry referencing the primary key in Log. The SQL script includes go commands for the connect utility Toad for SQL Server. After copying the script to a SQL Worksheet select Editor>Execute SQL as shown in Figure 9.
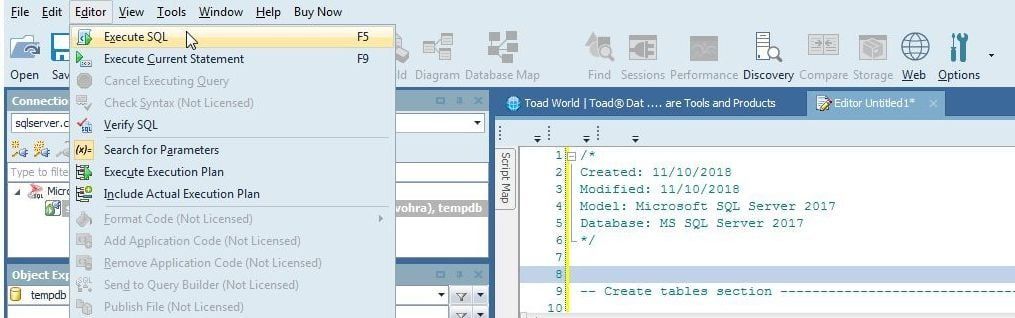
Figure 9. Editor>Execute SQL
As the messages in Figure 10 indicate the SQL statements in the script get run successfully. Two tablesdbo.Log and dbo.LogEntry get created and get listed in Object Explorer. The dbo.Log table has two columns MSG_CODE and DESCRIPTION.
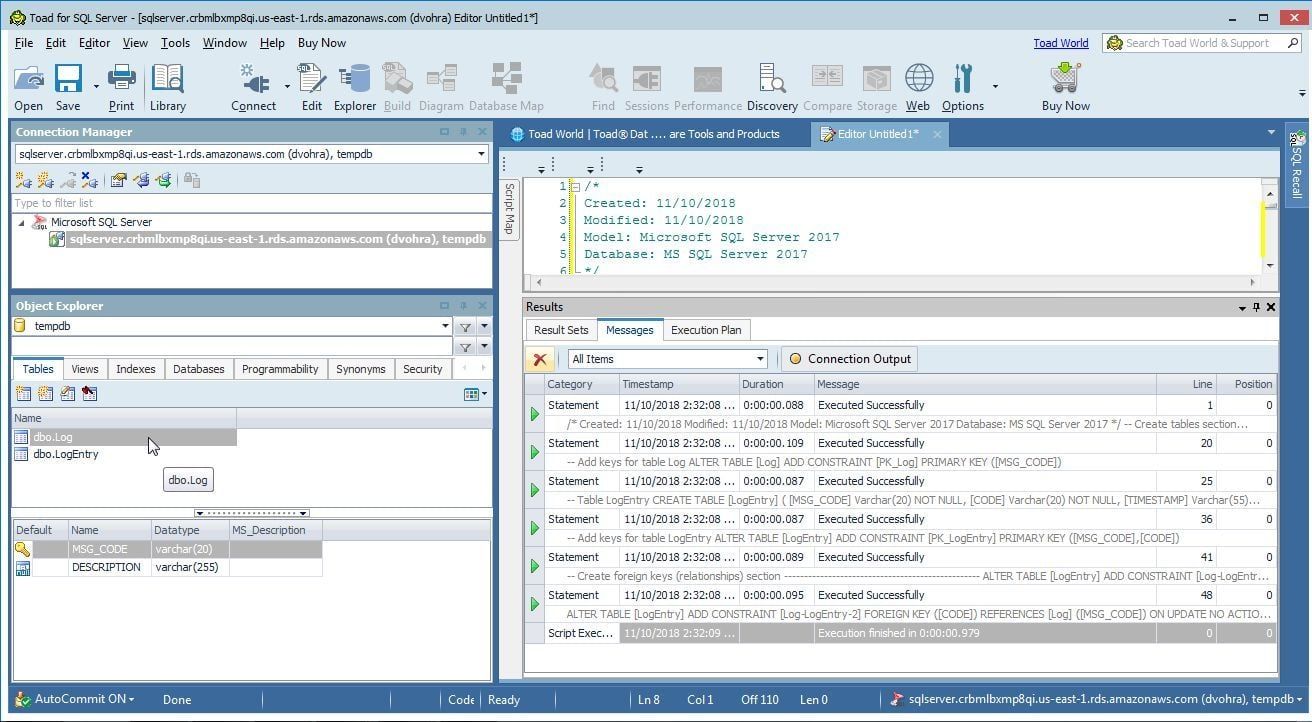
Figure 10. SQL Statements run successfully
The dbo.LogEntrytable has 4 columns MSG_CODE, CODE, TIMESTAMPand MSGas shown in Figure 11.
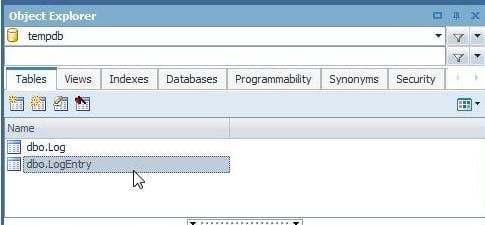
Figure 11. The dbo.LogEntry Table
Creating a model for SQL Server
Next, create a model in Toad Data Modeler for SQL Server. Select File>New>Model as shown in Figure 12.
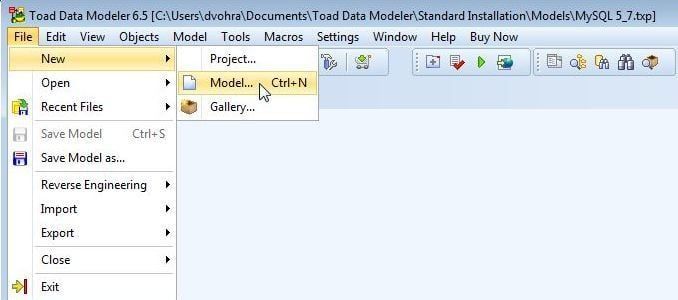
Figure 12. File>New>Model
In New Model select Physical Data Model as Microsoft SQL Server 2017 as shown in Figure 13. Click on OK.
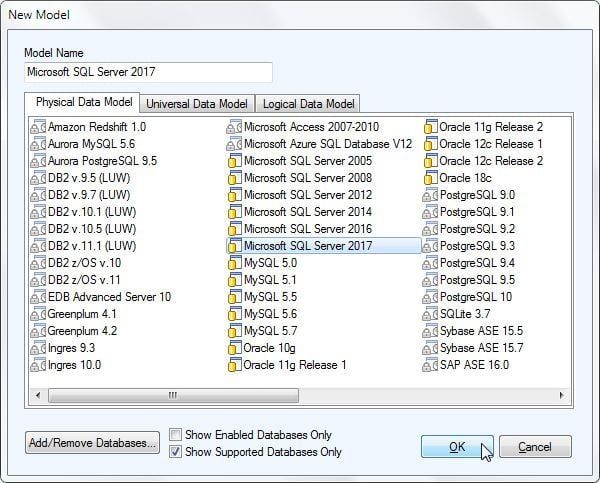
Figure 13. Selecting SQL Server 2017 as Physical Data Model
A new model gets created and added to Physical Model Explorer as shown in Figure 14. A new model is empty and does not contain any data structures or objects.
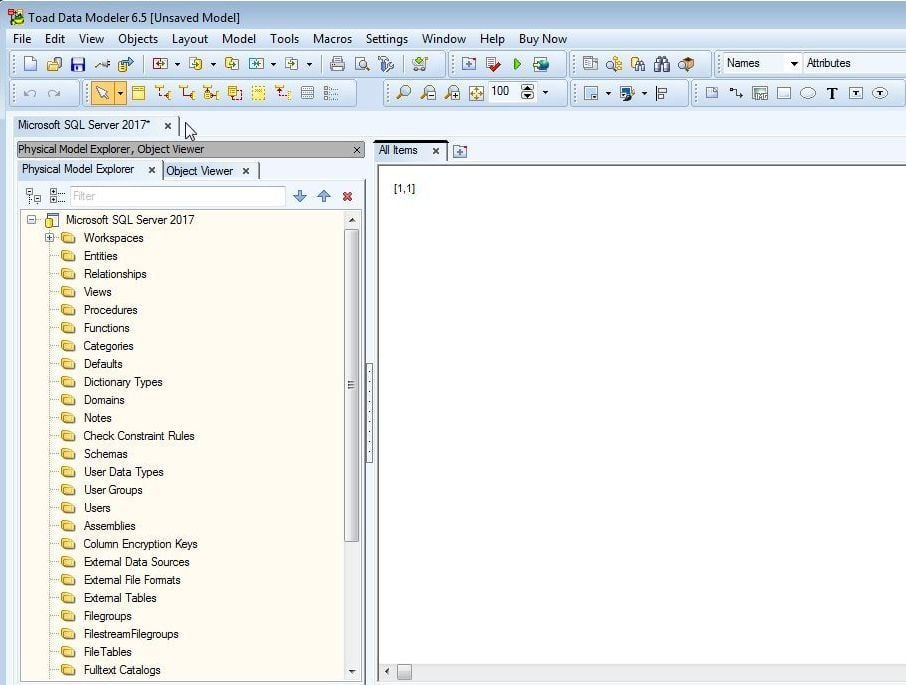
Figure 14. New Model created
Reverse engineering SQL Server tables
Having created both tables and a model for SQL Server next we shall reverse engineer the tables to the model. Click on Update Model from Database as shown in Figure 15.
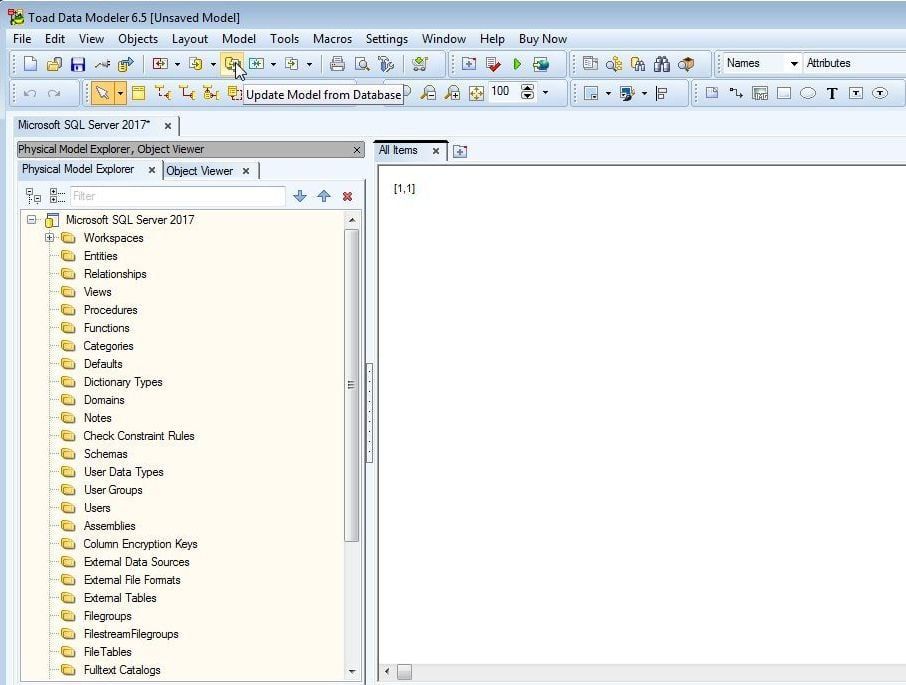
Figure 15. Update Model from Database
The Model Update Wizard gets launched as shown in Figure 16. Click on Next.
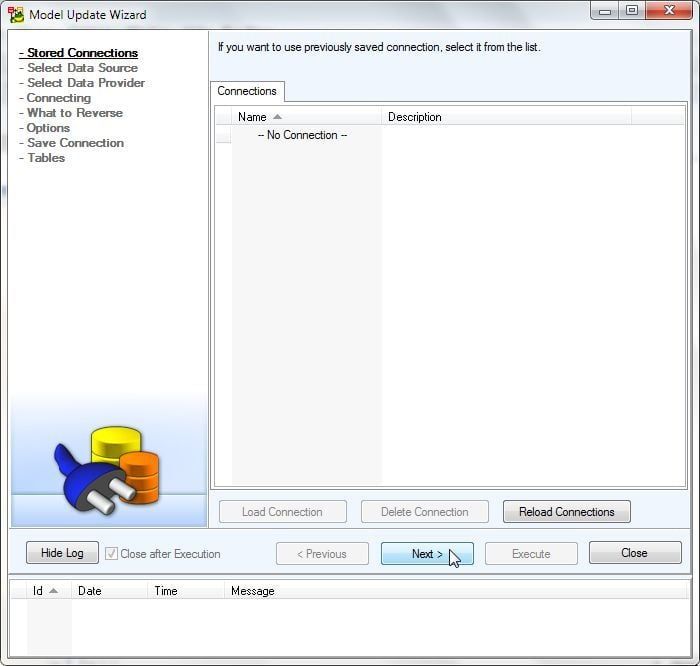
Figure 16. Model Update Wizard
Select data source as Database RE>Microsoft SQL Server 2017 as shown in Figure 17. Click on Next.
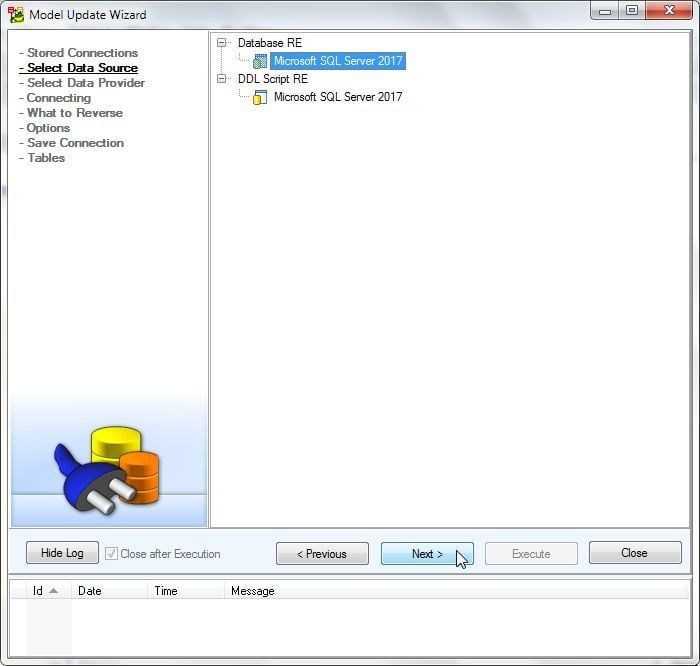
Figure 17. Selecting Data Source
Next, select Data Provider as Native Connection as shown in Figure 18.
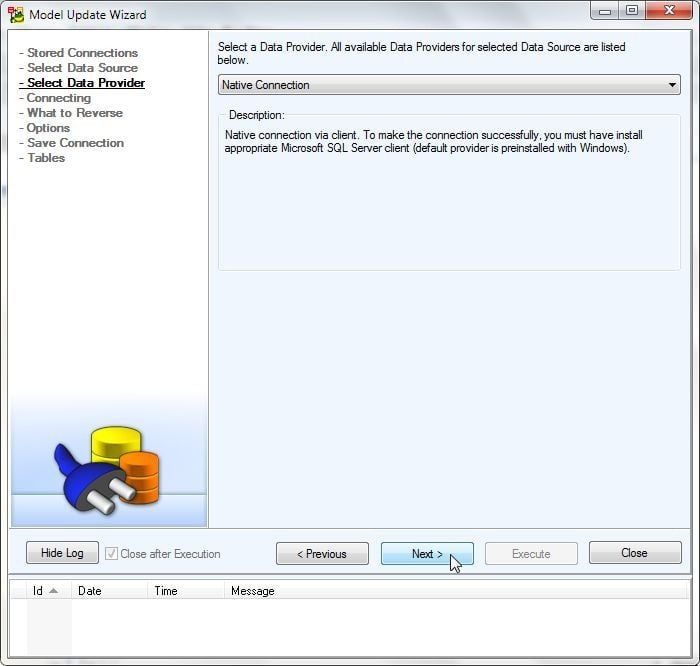
Figure 18. Selecting Data Provider
Next, configure a connection to SQL Server as shown in Figure 19. Specify Host Name as the Endpoint URL for the SQL Server RDS instance (or other SQL Server instance). Specify Port as 1433. Select OLE DB Provider as Auto. Select User Authentication as Server. Specify User Name and Password as the Master Username and Maser Password respectively. A connection gets established dynamically and the databases to select from get listed in the Database drop-down. Select the tempdb database.
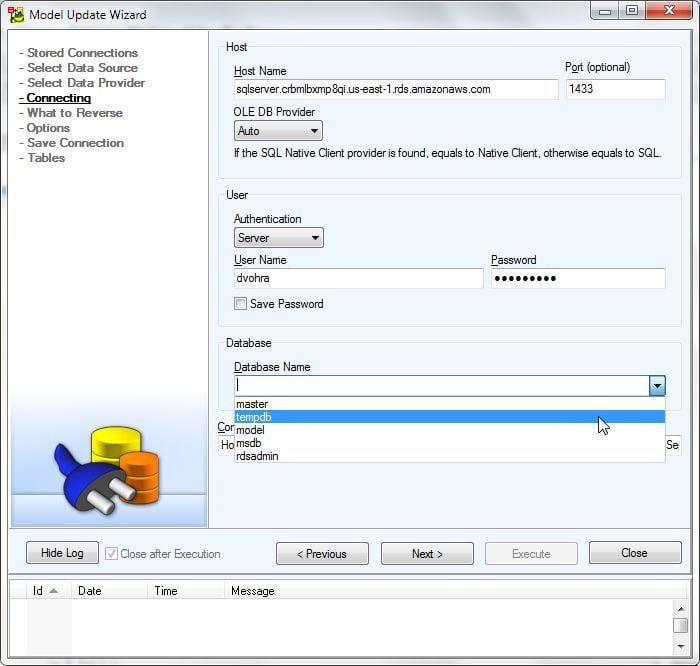
Figure 19. Connecting
Click on Next as shown in Figure 20.
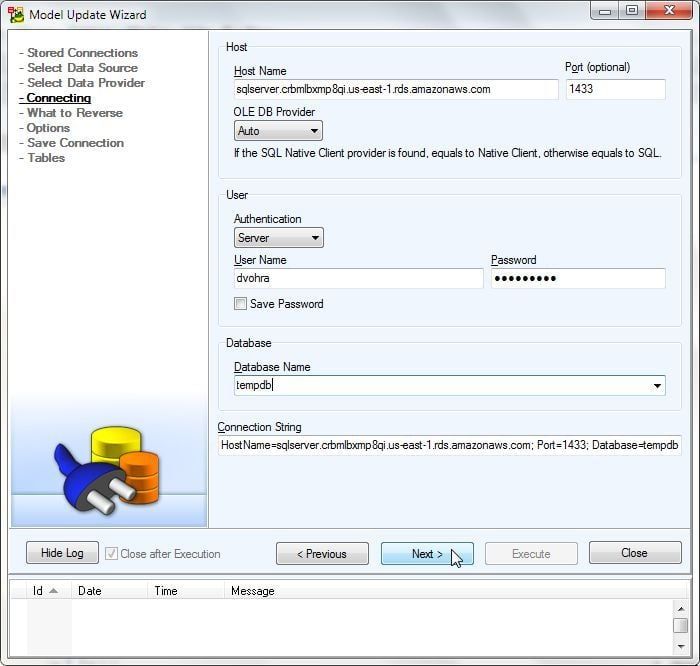
Figure 20. Connecting>Next
Next, select What to Reverse as shown in Figure 21. Select Entities, Relationships, Sequences and Synonyms and other properties as needed. Click on Next.
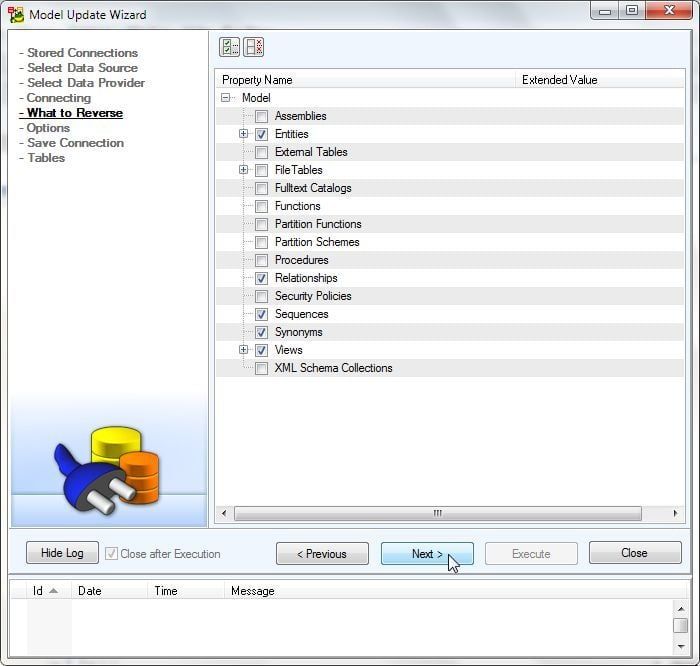
Figure 21. What to Reverse
Keep the default settings for Options for Reverse Engineering and Items to Load as shown in Figure 22. Click on Next.
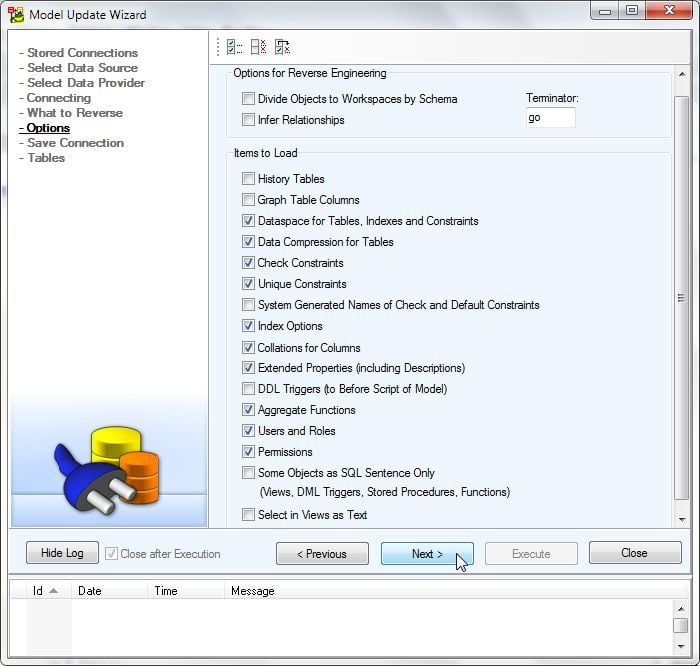
Figure 22. Options
Next, click on Save to save connection as shown in Figure 23.
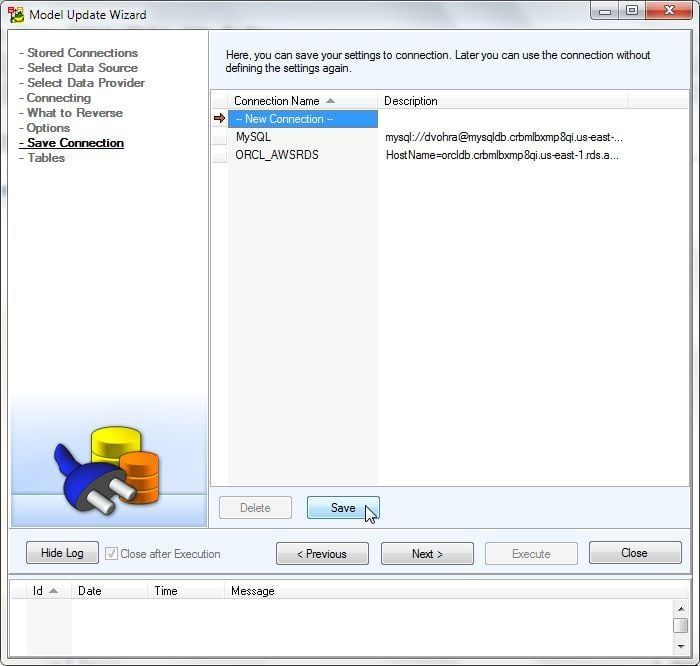
Figure 23. Save Connection>Save
In Save Connection dialog specify a Connection Name and click on OK as shown in Figure 24.

Figure 24. Save Connection
A new connection gets added as shown in Figure 25. Click on Next.
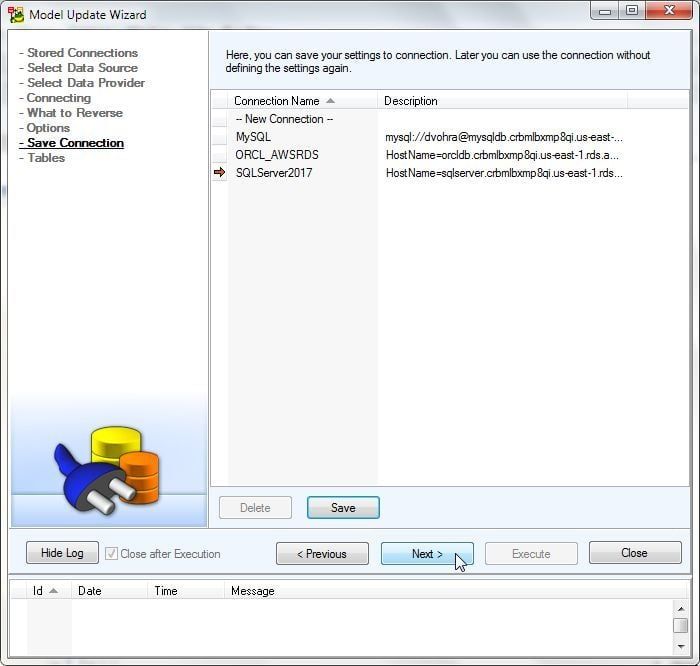
Figure 25. Save Connection>Next
Next, select tables from those listed. Click on Select All to select all tables as shown in Figure 26.
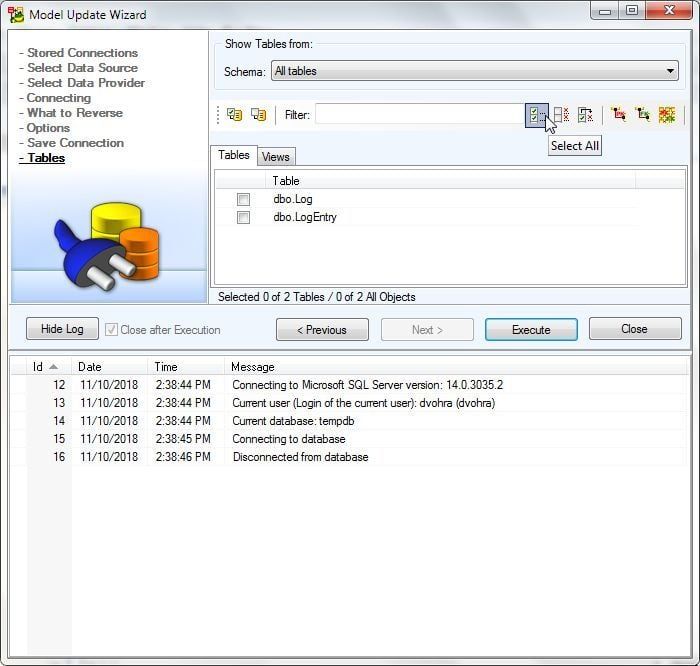
Figure 26. Select All Tables
With the tables selected click on Execute as shown in Figure 27.

Figure 27. Tables>Execute
Next, select Comparison Rules as shown in Figure 28 and click on Next.
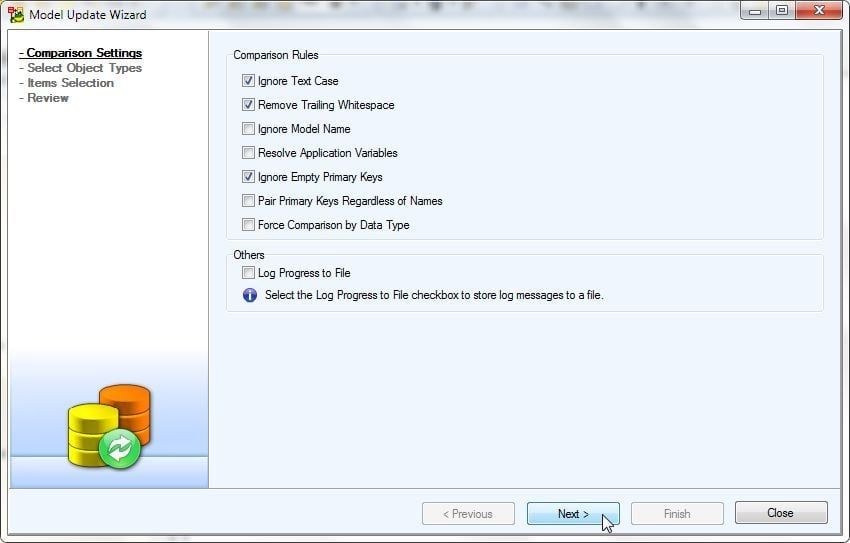
Figure 28. Comparison Rules
Select object types and properties. Select Compare All as shown in Figure 29 and click on Next.
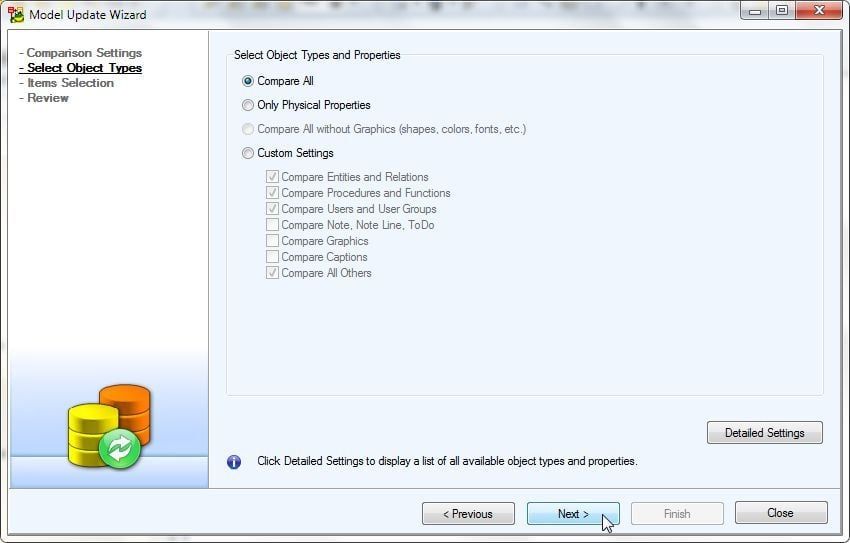
Figure 29. Select Object Types
Select items to reverse engineer as shown in Figure 30. Click on Next.
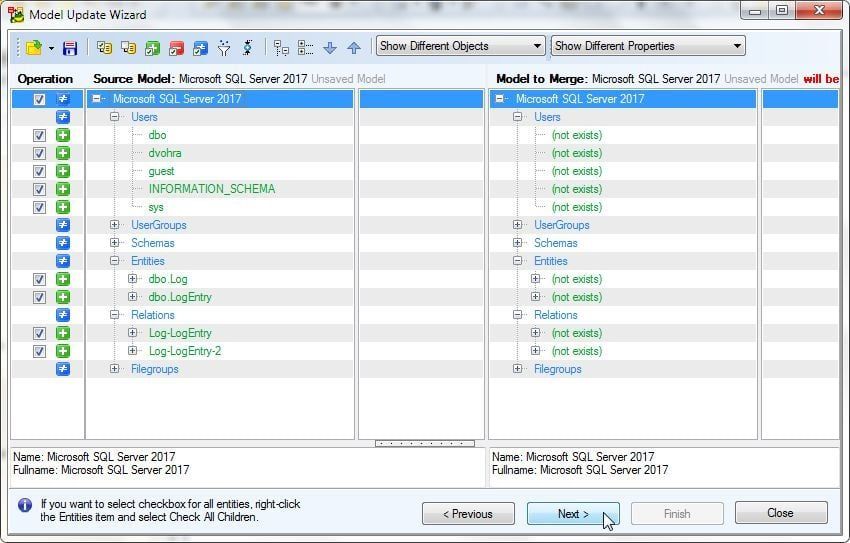
Figure 30. Items Selection
In Review, the number of Commits for each item type gets listed as shown in Figure 31. Select the checkbox Merge to New Model and specify a Model Name. Click on Finish.
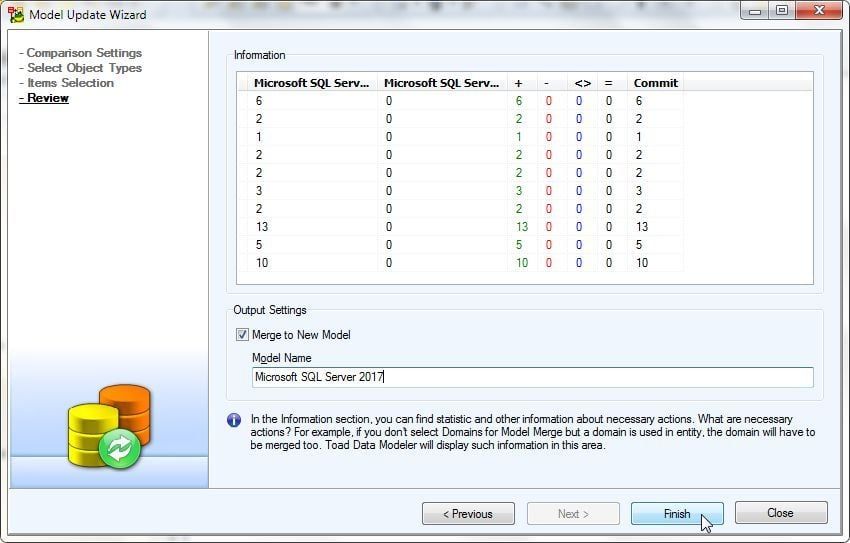
Figure 31. Review
The model gets loaded. The SQL Server tables get reverse engineered and an entity relation diagram gets generated as shown in Figure 32. Two entities Log and LogEntry and two relationships get created and added to the model. The model may not be well formatted initially. Right-click and select Optimal Style to All Lines.
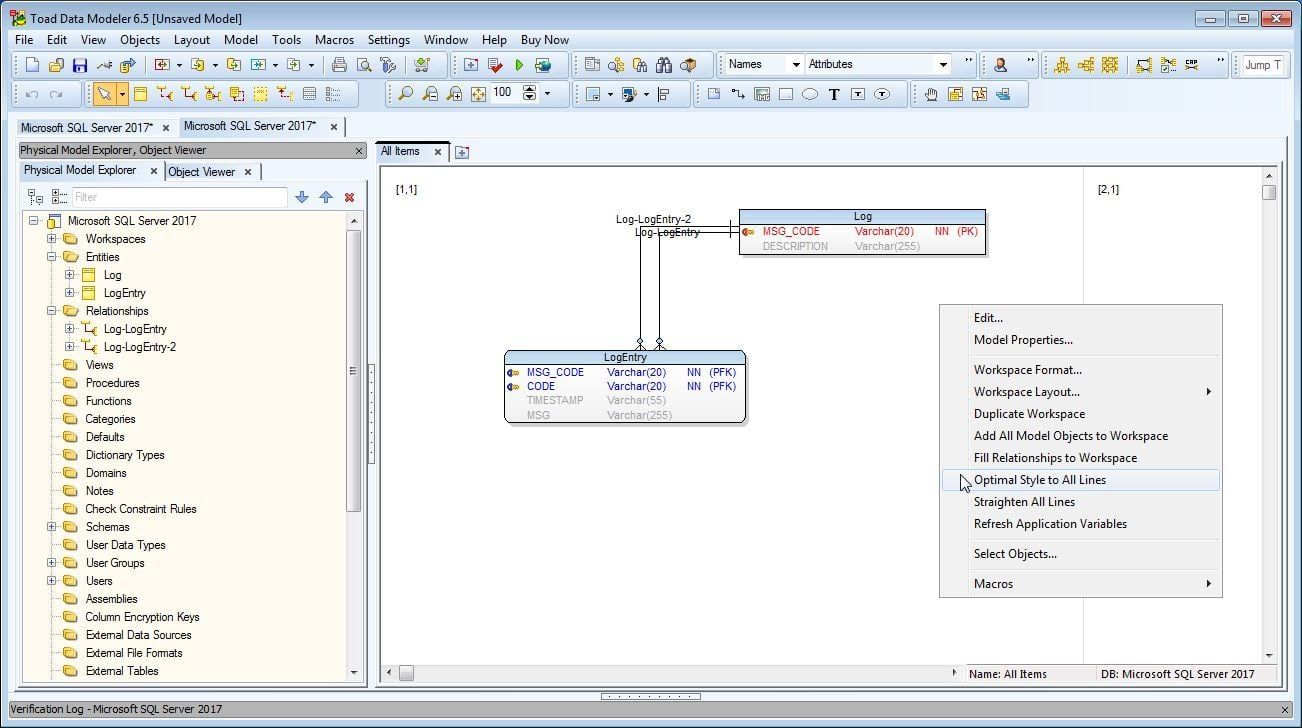
Figure 32. Entity Relation Diagram
The entity relation diagram gets formatted as shown in Figure 33.
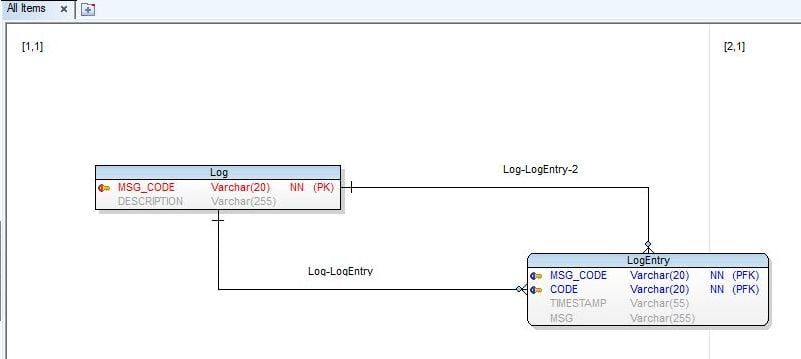
Figure 33. Formatted Entity Relation Diagram
Summary
In this article we introduced migrating to open source databases MySQL and PostgreSQL using Toad developer tools. We created an AWS RDS instance for SQL Server Express Edition. We created tables in the SQL Server by running DDL script in Toad for SQL Server. We created a model for SQL Server in Toad Data Modeler and reverse engineered SQL Server to the model. In subsequent articles we shall convert the model to MySQL and PostgreSQL database models and subsequently migrate the database tables to the open source databases.
Need help managing data? Try Toad for free!Quest Software® is here to help you simplify complexity, reduce cost and risk, and drive performance. Maybe that’s why we’re consistently voted #1 by DBTA readers and have 95%+ customer satisfaction rate. Free trial of Toad for SQL Server Free trial of Toad Data Modeler Toad® database management toolsare cross-platform solutions from Quest® that can help new and veteran DBAs, and even “accidental” DBAs manage data in Oracle, SQL Server, DB2, SAP, MySQL, and Postgres environments. |
More blogs on Toad World
Blogs about Toad for SQL Server
Help your colleagues
If you think your colleagues would benefit from this blog, share it now on social media with the buttons located at the top of this blog post. Thanks!
Start the discussion at forums.toadworld.com