
Introduction to Oracle 18c Express edition (XE)
Oracle 18c Express edition (XE) is a lightweight database that can be used to host small applications and is often used by students or developers to test their applications. For those looking to use it with Quest®Toad® for Oracle, this database version is supported. Because this is a smaller-footprint edition of Oracle databases, note that the Oracle 18c Express edition has the following limitations:
- Oracle XE can use two cores for data processing. When you run a query on an eight-core CPU, the Oracle XE database will limit the query execution within two cores. When a client tries to execute a large workload, they might face a CPU bottleneck.
- The Oracle XE database can use a maximum of 2GB of RAM for query processing.
- Oracle XE can use 12GB of storage to save the user data. If the user data grows beyond 12GB, you will encounter an ORA-12592
- The Oracle XE database can be installed in one logical environment only. A logical environment can be a container, a virtual machine or a physical host. If you try to install more than one XE database, you will encounter an ORA-00442 instance violation error.
- We can create only three pluggable databases.
In this article, I am going to cover the following topics:
- Downloading and installing Oracle 18c Express edition.
- Viewing the TNS listener details.
- Creating the pluggable database and objects.
- Connecting to container and pluggable database using SQLPlus.
- Dropping the pluggable database.

Downloading and installing Oracle 18c Express edition
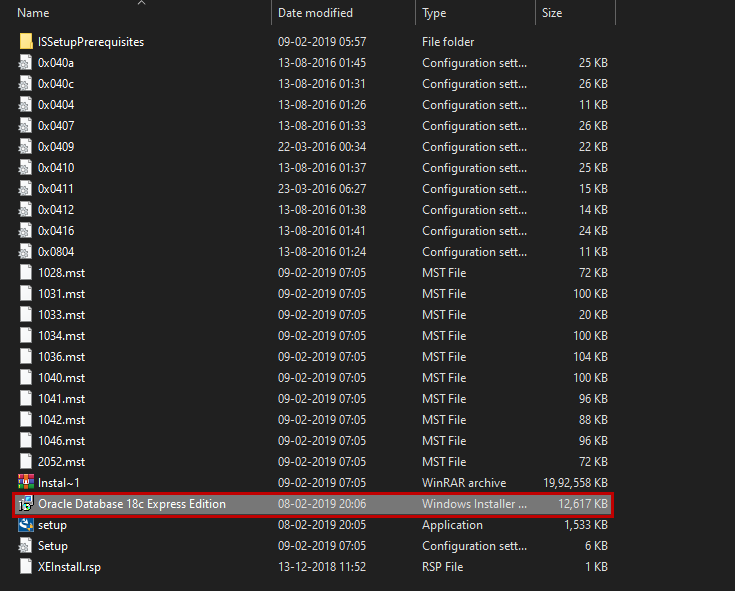
You can download Oracle 18c Express from Oracle’s official website. You must have an Oracle account to download it. Run the Oracle Database 18c Express Edition.exe file to begin the installation process.
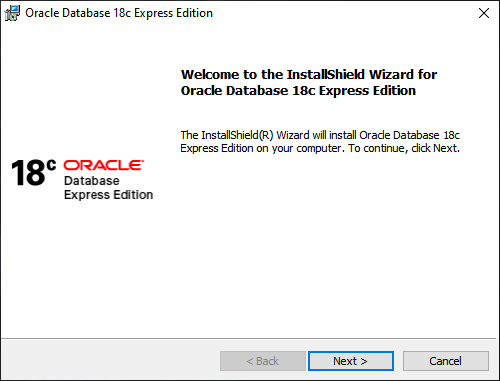
Once the installation process begins, the Oracle 18c Express Edition uses InstallShield Wizard to install and configure the database. The first screen of the InstallShield wizard shows additional details to continue installation. Click on Next.
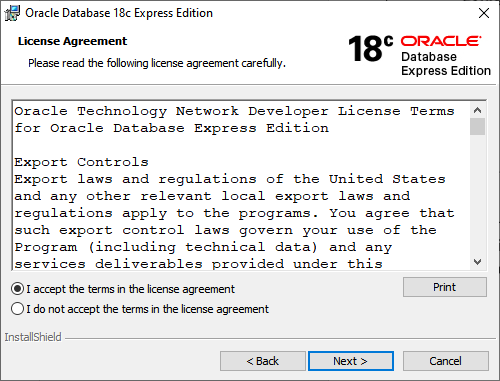
The next screen is the License Agreement screen. You can view the Oracle Technology Network Developer License Terms for Oracle Database Express Edition. Click on the I accept terms in the license agreement option and click on Next.
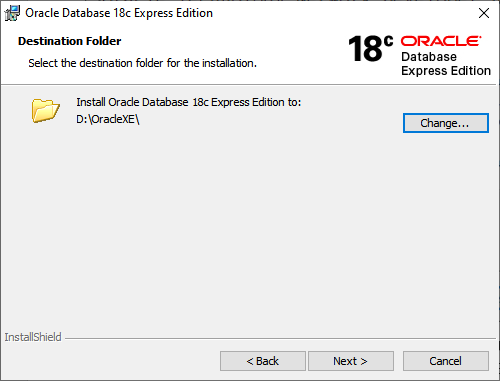
On the Destination Folder screen, you can view the installation directory of the Oracle 18c Express edition. In this demonstration, I am installing the database in the D:\OracleXE directory.
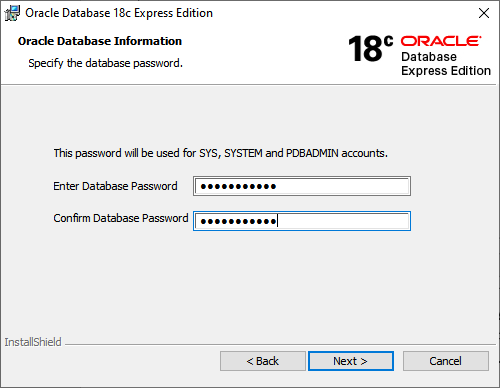
On the Oracle database information screen, specify the password for SYS, SYSTEM, and PDBADMIN account. Unlike Oracle enterprise editions, we cannot specify the different passwords for the SYS, SYSTEM, and PDBADMIN account. I have entered an appropriate password and clicked Next.
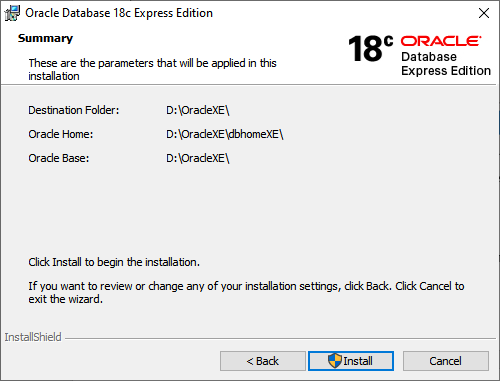
On the summary screen, you can view the list of the parameters that have been set during the installation. Following are the values of the configuration parameter.
- Destination Folder: D:\OracleXE\
- Oracle Home directory: D:\OracleXE\dbhomeXE\
- Oracle Base directory: D:\OracleXE\
Click on Install to begin the installation of the Oracle XE database.
The installation process of the Oracle XE Database begins.
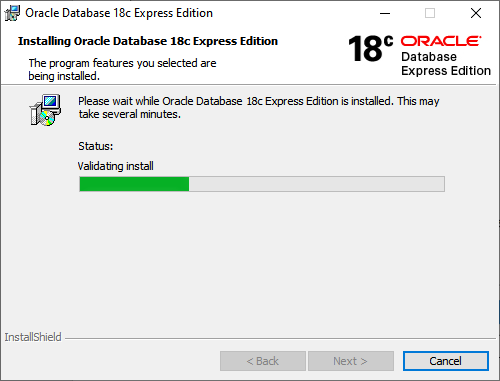
The installation process takes a while to complete. The installer will install the software, a listener and an Oracle XE sample database.
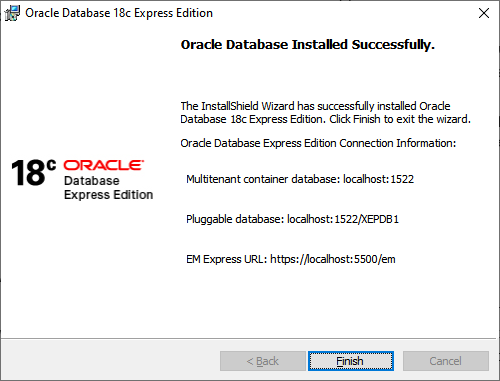
The Oracle XE database has been installed successfully. You can find connection information for the following components.
- Multitenant container database: localhost:1522
- Pluggable database: localhost:1522/XEPDB1
- EM Express URL:https://localhost:5500/em
View database listener details
A listener allows us to connect to the local or remote instance of the Oracle database. When we install the Oracle database, a listener will automatically be created. We can run the following command to view the listener configuration.
Output:
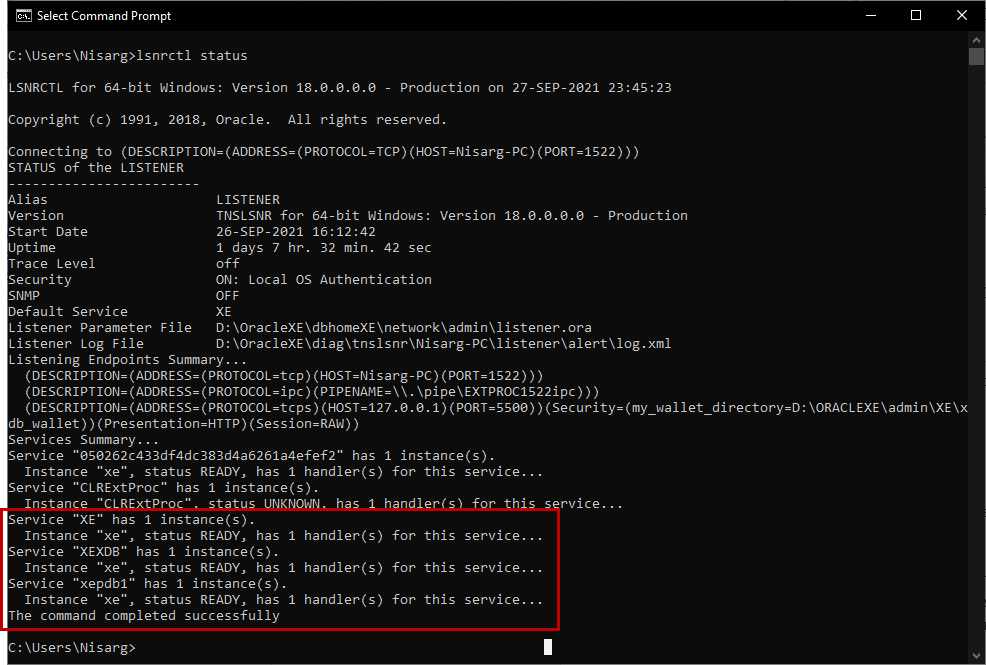
As you can see, a listener named LISTENER (Default listener) has been created and is ready to accept new connections. The command output provides the following information
- Endpoints on which the listener is accepting new connections
- Location of listener configuration parameter and log file
- The list of services that are registered with the listener
The Oracle 18c Express edition has a multitenant architecture. This means that it has one root container, and we can create several pluggable databases on the root container. You can see in the output of a command that the service named XE and XEPDB1 are created. The XE service is a root container and XEPDB1 is a default pluggable database.
Connecting to the Oracle 18c Express edition database
The user installing the Oracle database on the workstation will be added to the ORA_DBA group. Hence, a SYSDBA privilege is automatically assigned to the user. We can run the following command to connect to the Oracle XE database. We are using the SQL*Plus command-line tool.
C:\Users\Nisarg>sqlplus sys as sysdba
Output
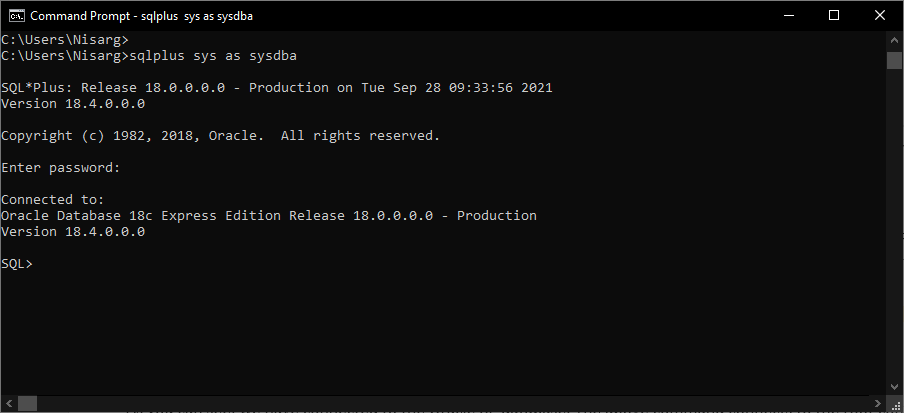
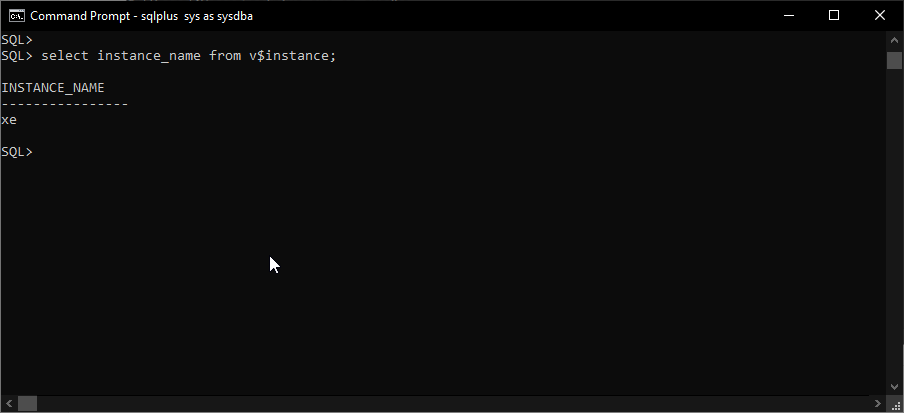
As you can see, we have connected to the Oracle XE database. The above command connects to the root container of the database. We can view the instance name by running the following command:
SQL>select instance_name from v$instance;
Output:
Note: If you have configured the listener on the non-default port, then the SQL*Plus command is written as follows:
SQL>select instance_name from v$instance;
Connect to Oracle Enterprise Manager Express edition
Oracle Enterprise Manager is a web-based tool that is used to manage the Oracle instance. When we install the Oracle XE database, Oracle Enterprise Manager installs automatically.
[Please note that Oracle 18c Express edition comes with an older version of Oracle Enterprise Manager that uses the Adobe flash player which has been discontinued by Adobe. Therefore, when you open the Oracle Enterprise Manager, you will receive an error. To resolve this problem, install the latest version of Enterprise Manager, which can be downloaded here. Once you download and install it on the workstation, enter https://localhost:5500/em/login URL in your desired web browser.]
Get Toad for Oracle Base Subscription todaySubscription / eStore: buy up to 10 licenses at a time, get auto update, support, announcements/invites to education. Talk to our professionals: demos, custom solutions, volume discounts. Not ready to buy? Get Toad for Oracle a 3rd way … try it free for 30 days. |

Creating a pluggable database
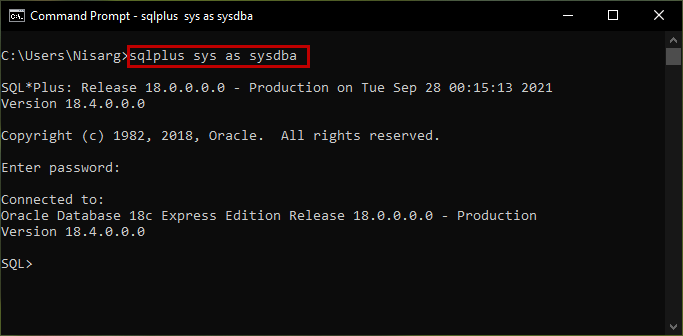
We can create three pluggable databases in the Oracle XE database. To create a pluggable database, use the CREATE PLUGGABLE DATABASE statement. To do that, open SQLPlus and connect using sysadmin user.
C:\Users\Nisarg>sqlplus sys as sysdba
Command Output
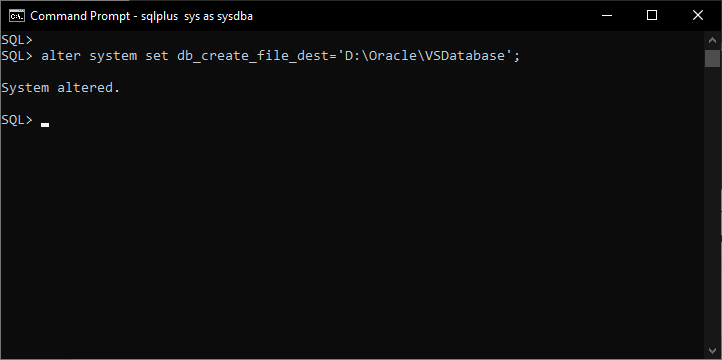
We want to store the database file in the D:\Oracle\VSDatabase directory. We also want the data files to be created as OMF (Oracle managed files), so we must change the value of the db_create_file_dest parameter. The command is the following:
SQL>alter system set db_create_file_dest=’D:\Oracle\VSDatabase’;
Command output
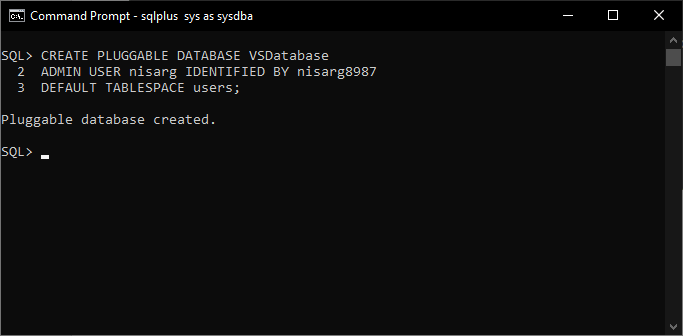
Now, run the below command to create a pluggable database.
SQL> CREATE PLUGGABLE DATABASE VSDatabase
ADMIN USER nisarg IDENTIFIED BY nisarg8987
DEFAULT TABLESPACE users;
Command output
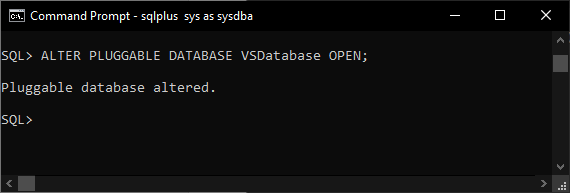
Run the following command to open the VSDatabase:
SQL>ALTER PLUGGABLE DATABASE VSDatabase OPEN;
Command Output
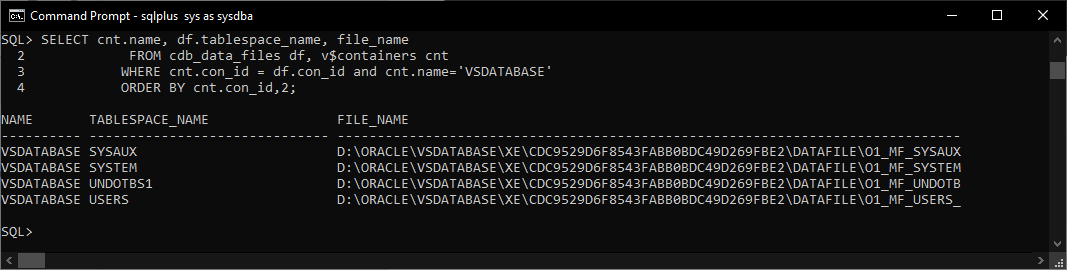
To view the list of files of the pluggable database, run the following SQL query.
SQL>SELECT cnt.name, df.tablespace_name, file_name
FROM cdb_data_files df, v$containers cnt
WHERE cnt.con_id = df.con_id and cnt.name=’VSDATABASE’
ORDER BY cnt.con_id,2;
Command Output
Now, let us view the status of the TNS Listener. Run lsnrctl command:
C:\Users\Nisarg>lsnrctl status
Command Output
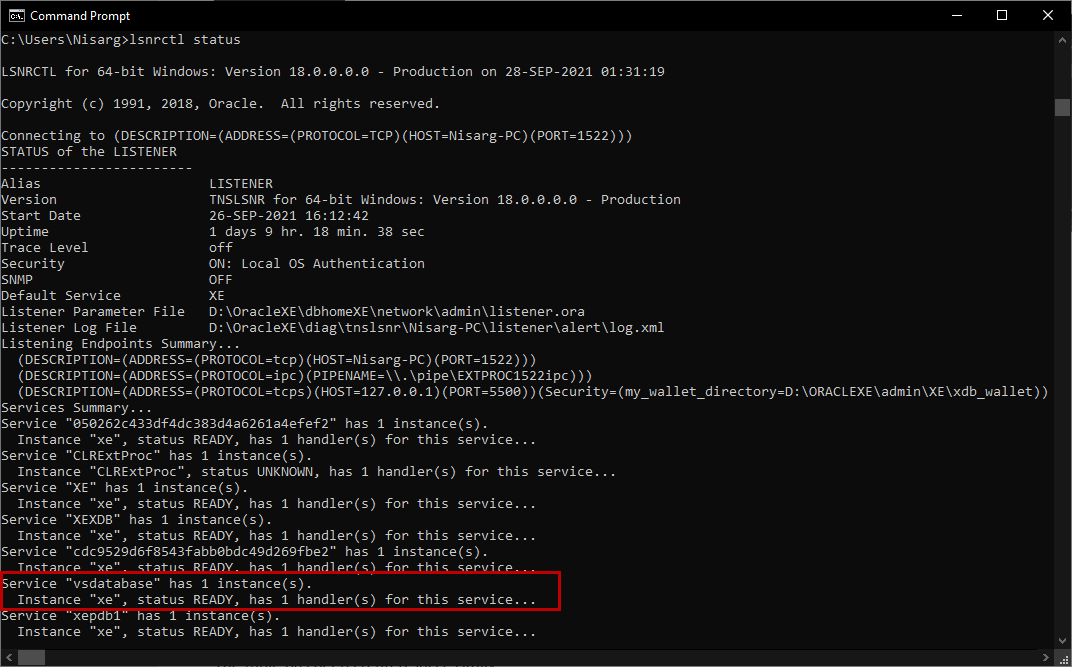
As you can see, the new service named VSDatabase for the pluggable database has been created.
Dropping a pluggable database
To drop a pluggable database, we can run the DROP PLUGGABLE DATABASE command. If you want to create the manifest of the existing pluggable database, run the commands in the following sequence in order to:
- Close the pluggable database
- Export the database manifest to D:\Oracle\VSDatabase\Menifest directory
- Drop the pluggable database
SQL>ALTER PLUGGABLE DATABASE VSDATABASE CLOSE IMMEDIATE;
SQL>ALTER PLUGGABLE DATABASE VSDATABASE UNPLUG INTO ‘D:\Oracle\VSDatabase\Menifest\VSDB.xml’
SQL>DROP PLUGGABLE DATABASE VSDATABASE;
Command output
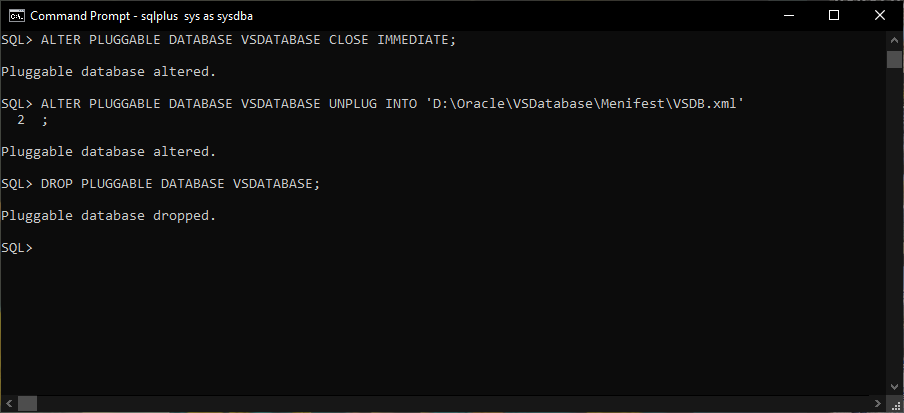
The above command dropped the VSDatabase and extracted the manifest to the D:\Oracle\VSDatabase\Menifest directory.
Viewing Oracle services from Windows Services MMC
We can view the services from the Windows Services MMC. To do that, open Control Panel/Administrative tools/Open Services. Locate the Oracle XE Services.
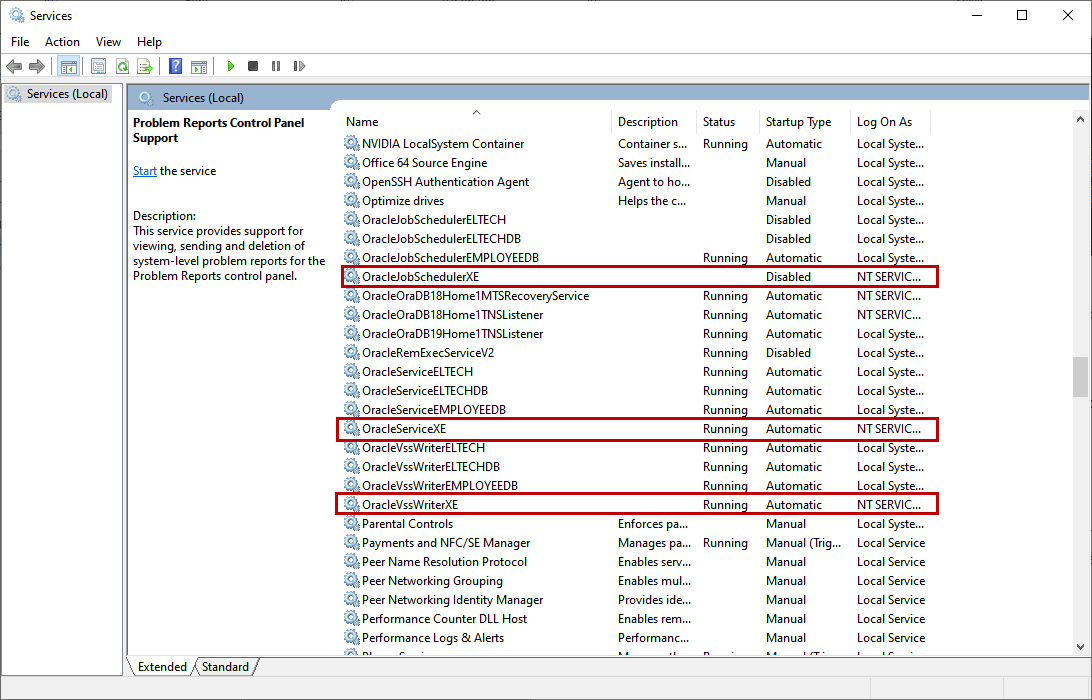
As you can see from the above image, three services for the Oracle Express edition have been created.
Summary
Installing Oracle 18c Express edition, along with creating, connecting and dropping the pluggable database and viewing the status of the listener are foundational steps to fully using the database. For developers and students looking for a lightweight database edition for small applications, testing or just to get started, the Oracle 18c Express edition is an ideal choice.
Start the discussion at forums.toadworld.com