One of the really cool things that you can do with X Query in Toad Data Point is take data from disparate data sources and join them together in one view utilising the X Query builder.
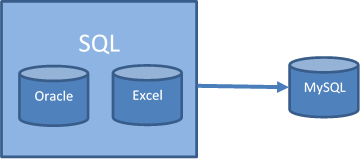
You can however do so much more with the X Query builder and Toad Data Point – in the use case below I show you how to join data from two disparate data sources (Oracle and Excel) and publish this data to a table in a third platform (MySQL) without leaving the Toad Data Point IDE. Those of you used to working in multiple IDE's to achieve similar results understand the problem and the pain that it causes.
Consider that our client has Sales Data in an Oracle DB and look up codes in an Excel sheet on his desktop – he has a customer who wants to see this data but is utilizing a MySQL Db to host all of his reporting.
How do we satisfy the customers needs whilst ensuring the best productivity for the Client.
Steps to complete:
Open the Query Builder and drop your first table onto the canvas
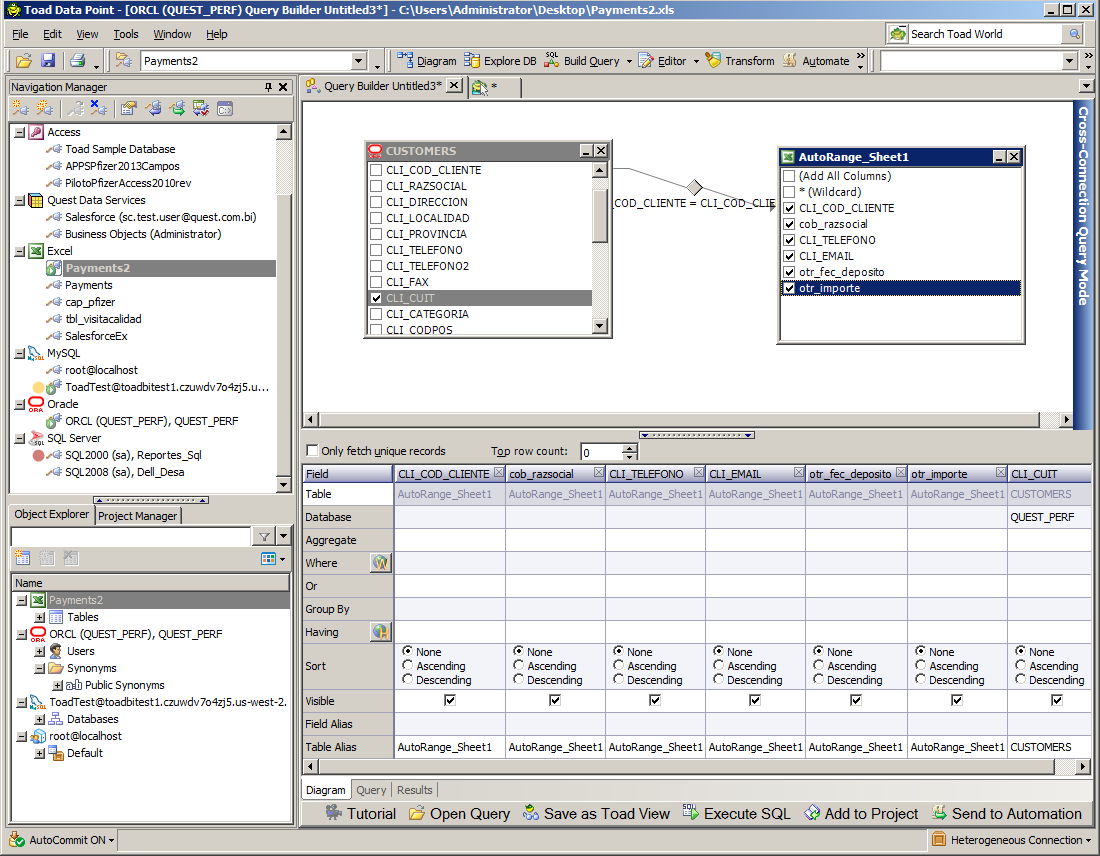
Add your second table from your second data source – you can identify that the join is X Query join by the blue flash to the right of the query builder pane.
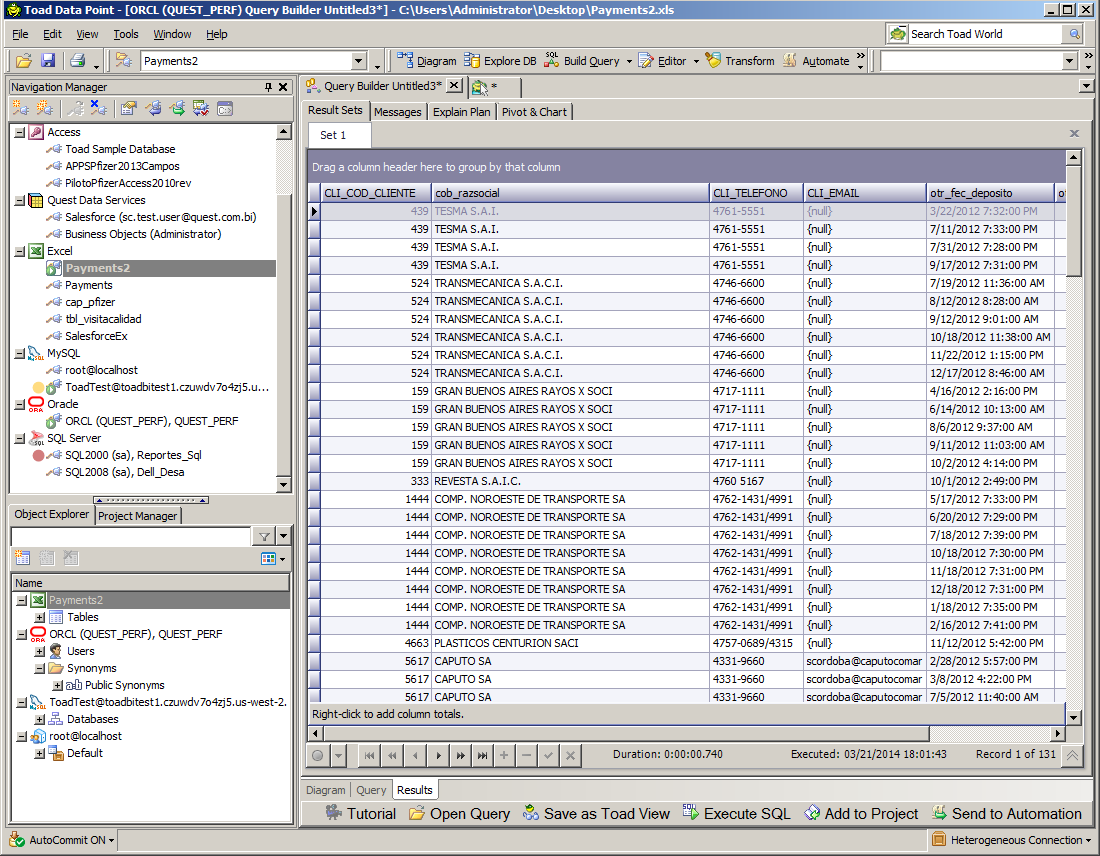
Run the query to ensure that it works and the data that returns is correct
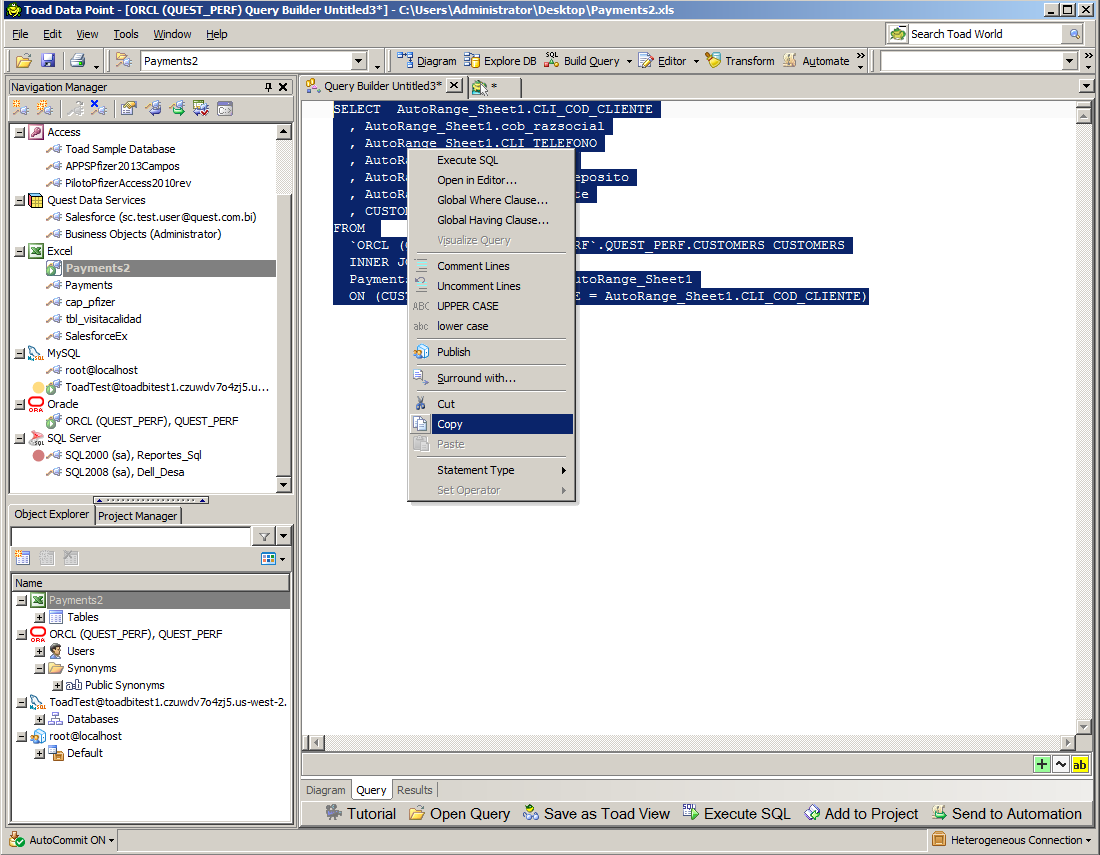
Move to the Query tab at the bottom of the query builder pane and copy your query by highlighting the text and right clicking to copy
Connect to the Database that you intend to send the data to – this ensures that it is the current connection for the next step
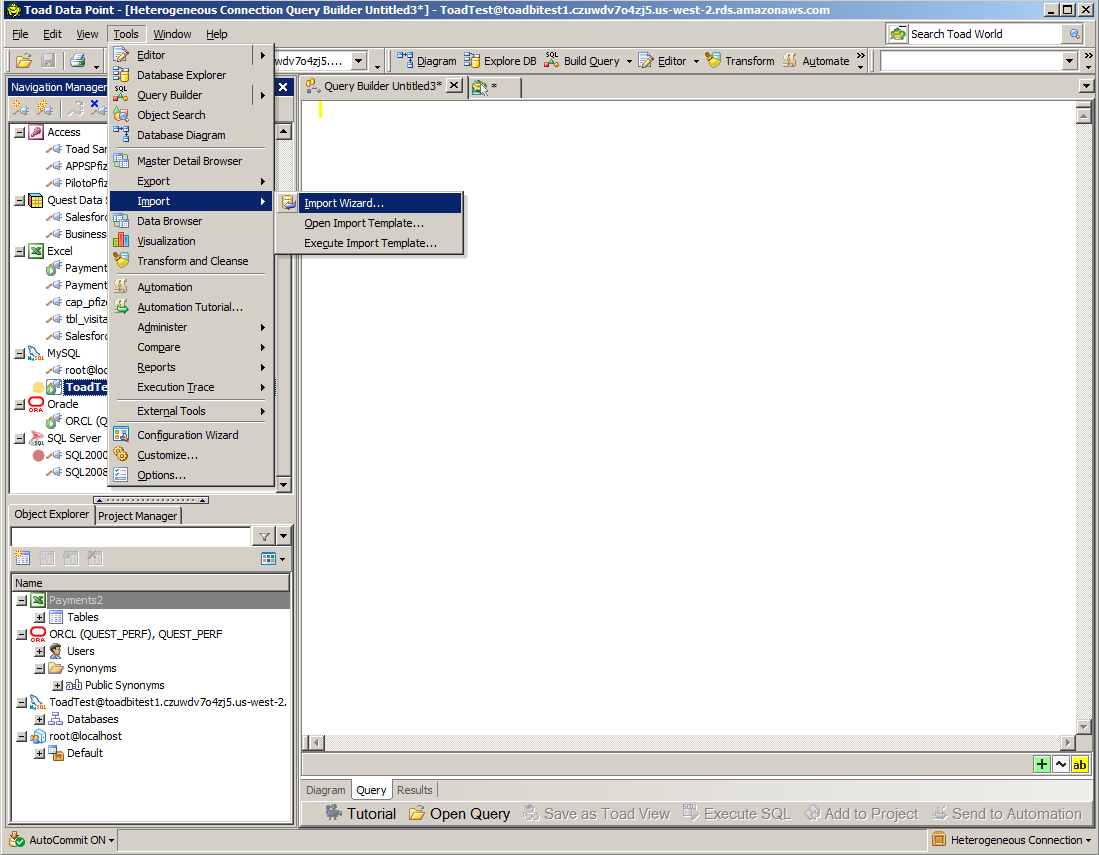
Move to the menu bar and select Tools / Import / Import Wizard
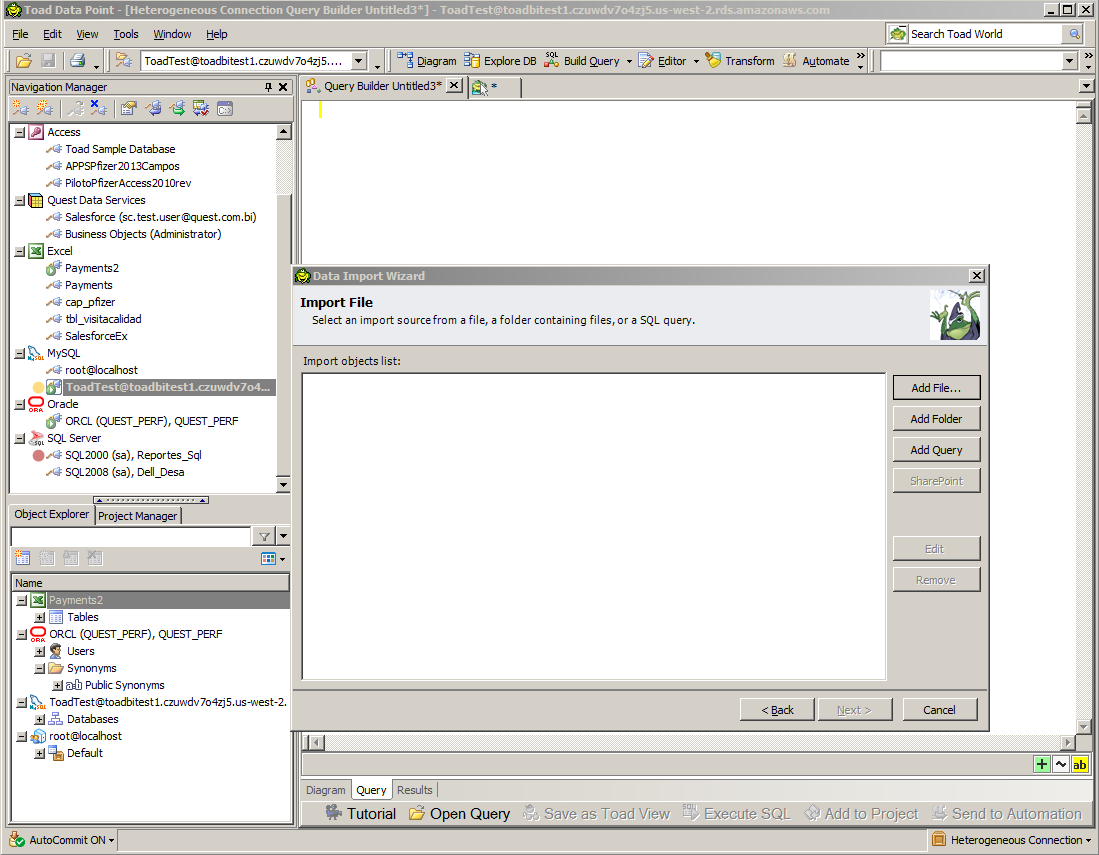
Once the wizard is open move to the right side of the wizard and select 'Add a Query'
In the drop down box at the top of the dialog that appears choose the connection that your query is being executed under and then paste your query into the box underneath
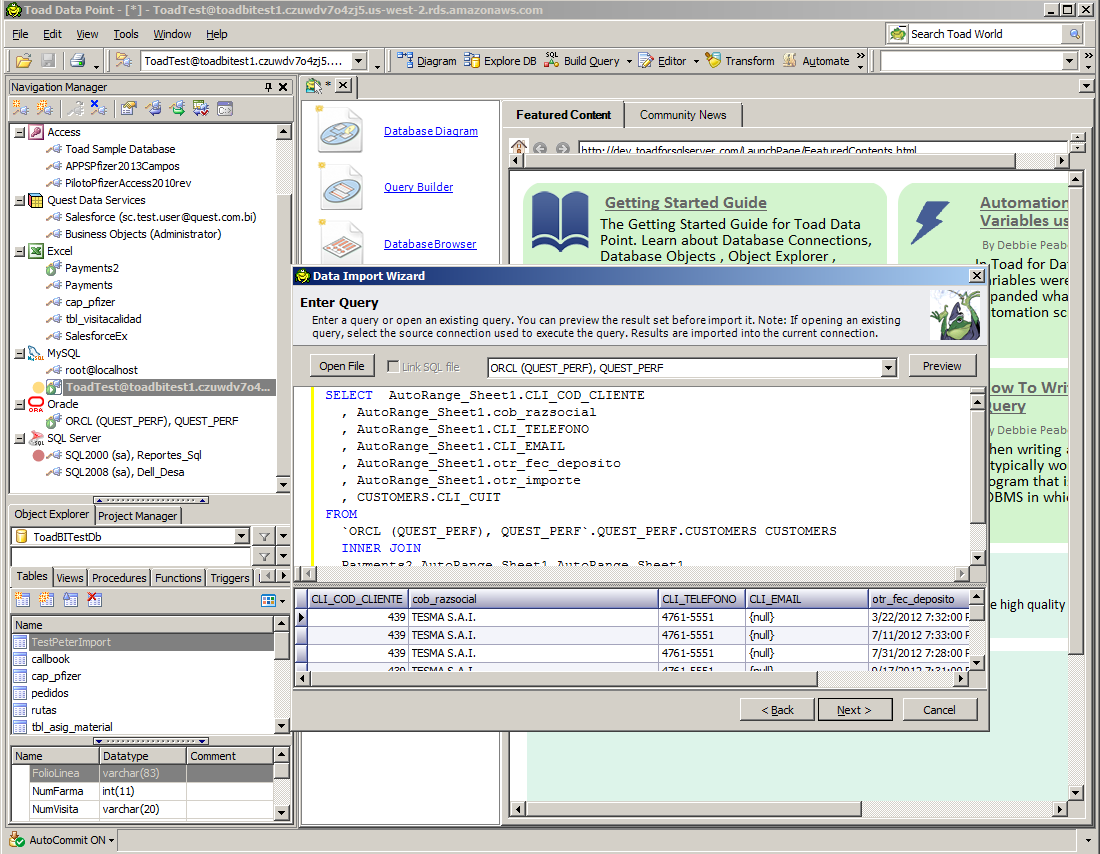
At this point you can preview the query to ensure it is still working if you wish – then Click Next
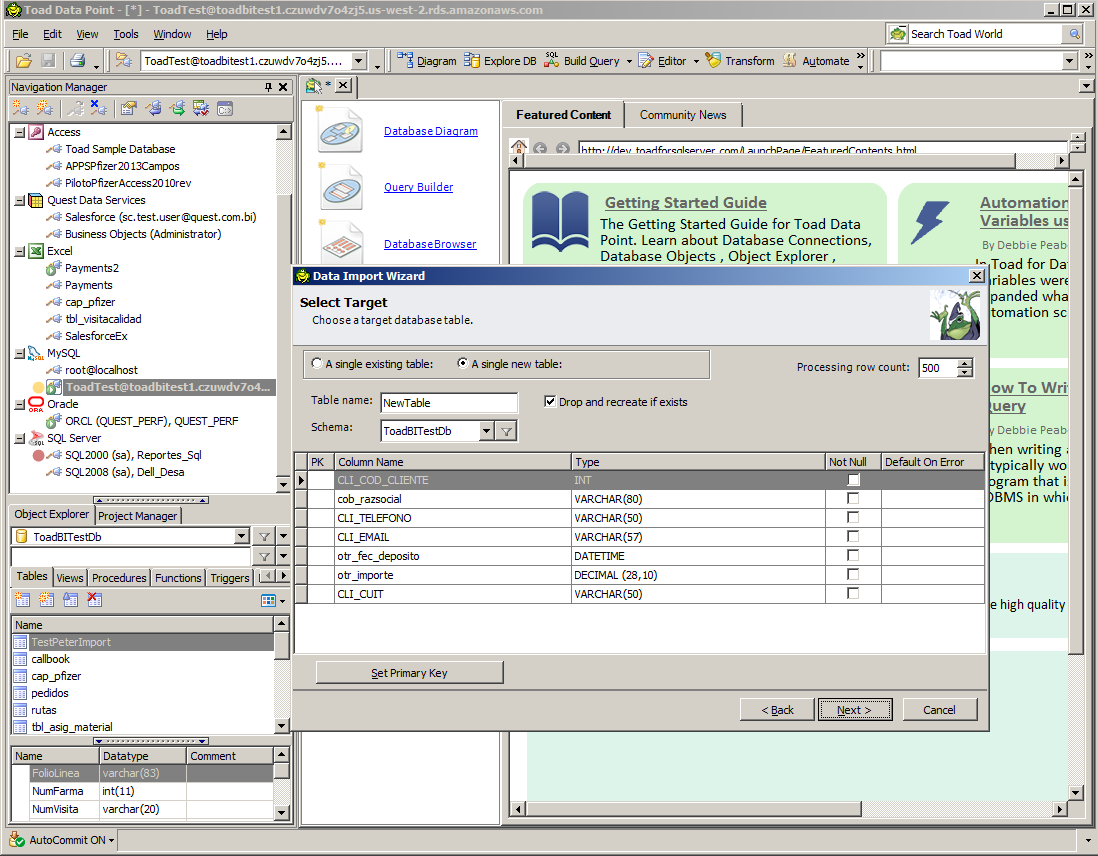
At this point you can chose to remove rows from the import, give the fields a Null requirement and even set a primary key
To create a new table select the 'A single new table' radio button and give the table a name and select the Schema that you want the table creating in.
Select Next
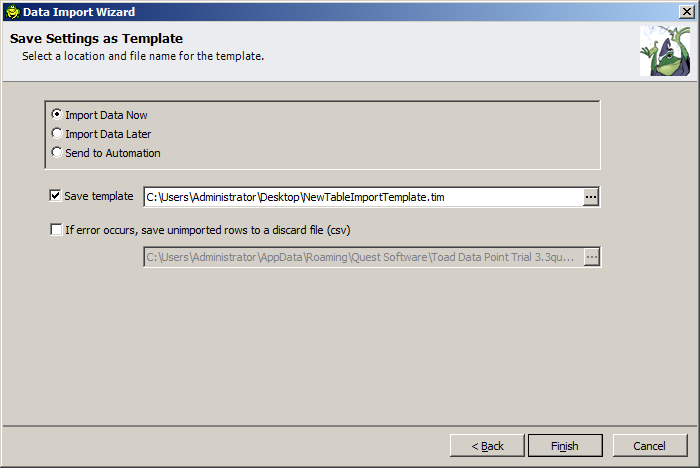
Chose from one of the radio buttons – to import the data immediately chose 'Import Data Now' and click Finish
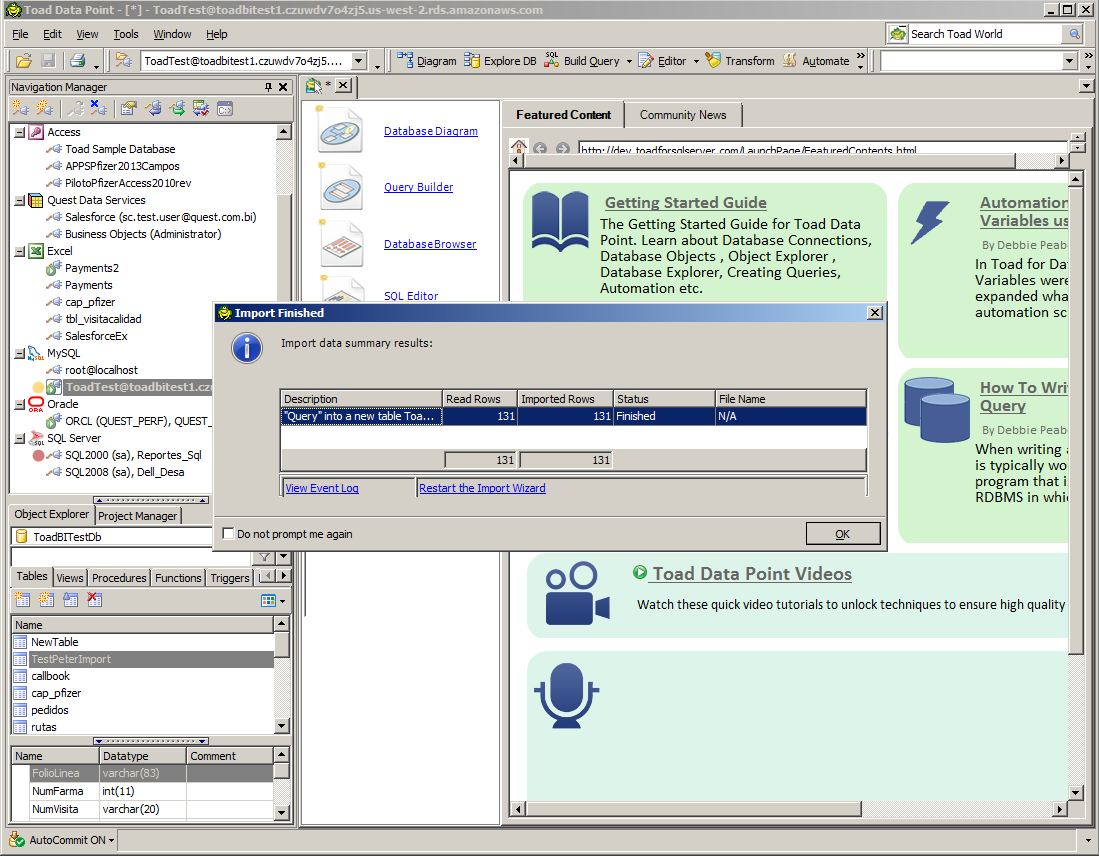
Once the import job has run you will receive a confirmation message of how many rows have being imported.
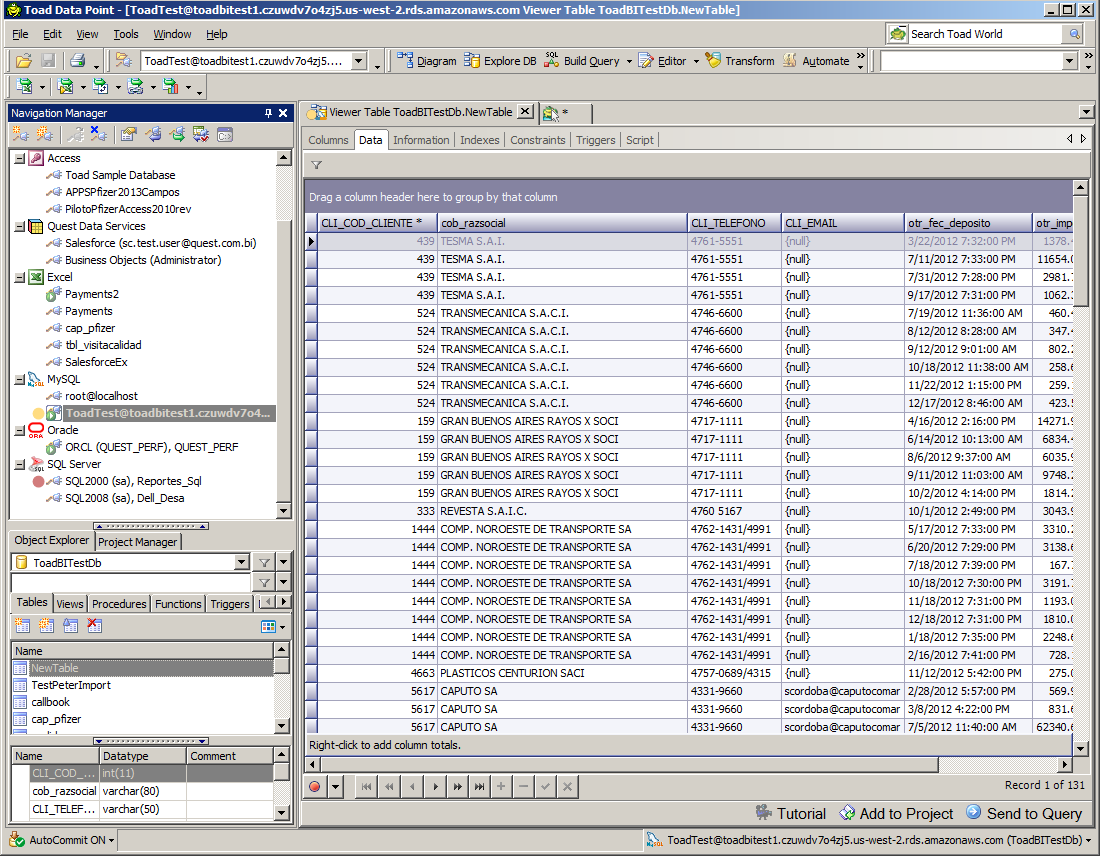
You can now open up the destination database and navigate to the table created to check delivery.
As part of the Import Wizard you can also chose to select to send the import schedule directly to Automation – this will open the Automation wizard and build an automation script for you – this means that you can schedule this work for a regular date and time each week if required. This ensures that your customers always have the most up to date data.
Thank you to my colleague Gustavo Boismoreau who supplied the original use case and images.
Start the discussion at forums.toadworld.com