EnterpriseDB (EDB) Postgres Advanced Server is an Oracle-compatible, enterprise-scale version of the open source PostgreSQL database. EDB provides additional features and toolkits for data management, including backup and recovery, replication, integration, and migration. EDB supports structured and unstructured multi-model data and provides APIs for JDBC, ODBC, .Net, and OCI. Toad Edge Preview 2.0.0 includes support for EDB and we shall discuss using Toad Edge with EDB 10 in this article. This article has the following sections.
- Setting the Environment
- Installing EnterpriseDB (EDB) Postgres 10
- Installing EDB Connectors
- Configuring JDBC Driver in EDB Postgres 10
- Creating a Connection in Toad Edge 2.0.0
- Taking a Schema Snapshot
- Setting the Default Schema
- Comparing Schemas
- Exporting Schema Compare Report to HTML
- Creating a Database Table
- Importing Table Data
- Exporting Table Data to HTML
Setting the Environment
Create an account registration with EnterpriseDB.com. EDB Advanced Server is available as an interactive installer and also as a subscription-based service. Download the following software on a Windows machine.
– EDB Postgres Advanced Server v10.0 for Windows x86-64 Interactive Installer (edb-as10-server-10.1.5-2-windows-x64.zip file)
– EDB Connectors 10.0.1 (JDBC, ODBC, OCI, .NET) for Windows x86-64 (edb-connectors-10.0.1-1-windows-x64.exe application)
Install Toad Edge 2.0.0 as discussed in an earlier article. Launch Toad Edge Preview 2.0.0 as shown in Figure 1.
Figure 1. Launching Toad Edge Preview 2.0.0
Installing EnterpriseDB (EDB) Postgres 10
Extract the edb-as10-server-10.1.5-2-windows-x64.zip file to a directory. Right-click on the edb-as10-server-10.1.5-2-windows-x64.exe application and select Run as administrator as shown in Figure 2.

Figure 2. Selecting EDB Installer to run as administrator
The EDB Postgres Advanced Server installer gets launched, as shown in Figure 3.
Figure 3. Launching EDB Advanced Server Installer
The Setup wizard gets started, as shown in Figure 4. Click on Next.
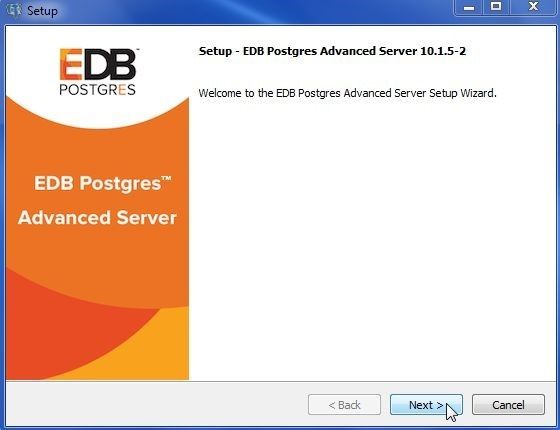
Figure 4. EDB Postgres Advanced Server Setup Wizard
Accept the license agreement and click on Next. Provide the user credentials as registered in an account with EnterpriseDB; an account registration with Enterprisedb.com is required. A link for user login registration is shown in Figure 5. Click on Next.
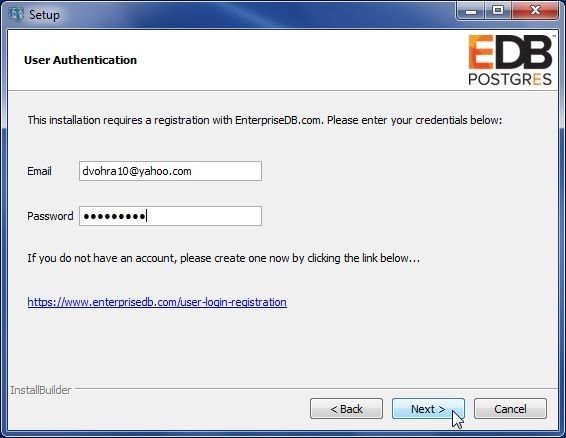
Figure 5. User Authentication
Select the default Installation Directory as shown in Figure 6 and click on Next.
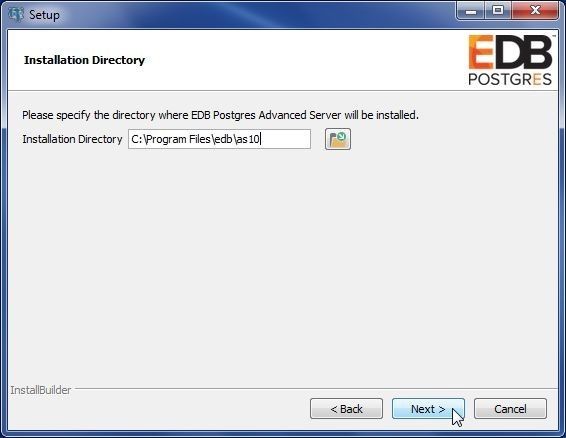
Figure 6. Specifying an Installation Directory
Select the default components to install as shown in Figure 7 and click on Next.
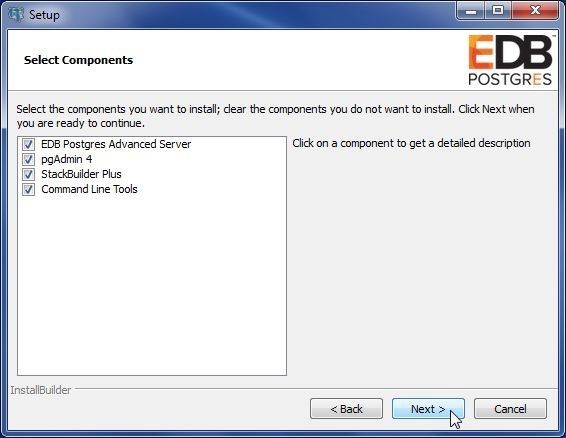
Figure 7. Selecting Components to Install
Select the default Additional Directories, which include the Data directory and the WAL directory, as shown in Figure 8, and click on Next.
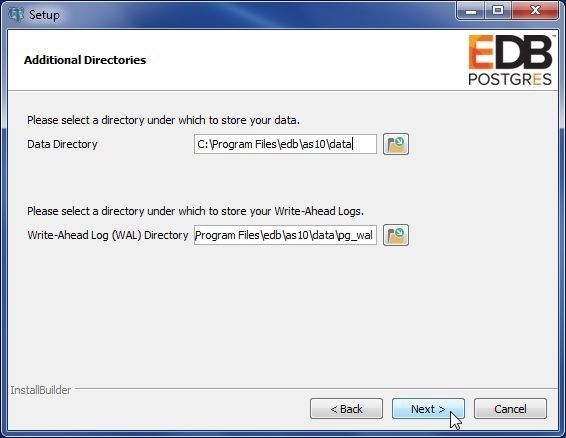
Figure 8. Specifying Additional Directories
Select the Advanced Server Dialect from two choices of Compatible with Oracle and Compatible with PostgreSQL as shown in Figure 9.

Figure 9. Selecting Advanced Server Dialect
Select Compatible with Oracle as shown in Figure 10 and click on Next. With this selection, Advanced Server configures data type conversions, time and date formats, Oracle-styled operators, and dictionary views, such that it is easier to migrate or develop new applications that are compatible with Oracle.
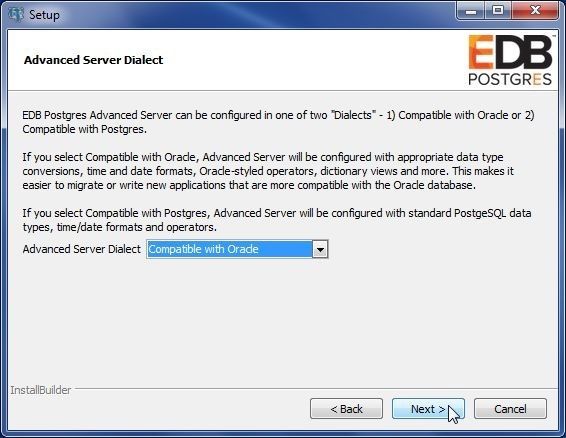
Figure 10. Selecting Dialect as Compatible with Oracle
Specify password for the superuser enterprisedb as shown in Figure 11 and click on Next.
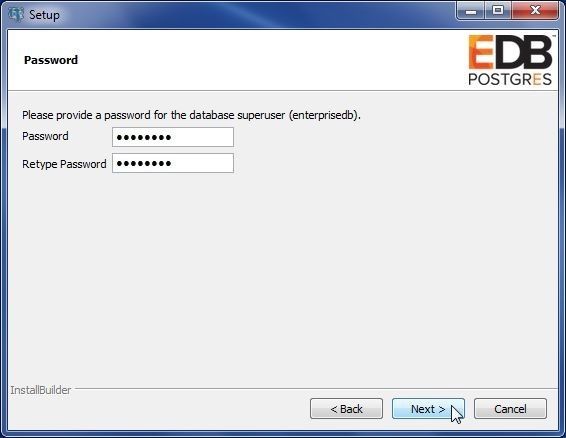
Figure 11. Specifying Password
Select the default port setting of 5444 and default locale as shown in Figure 12.
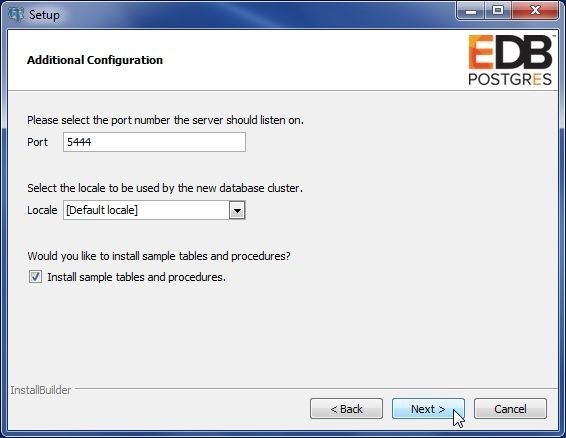
Figure 12. Selecting port and Locale
Select server type as Development as shown in Figure 13 and click on Next. The other choices are General Purpose and Dedicated.
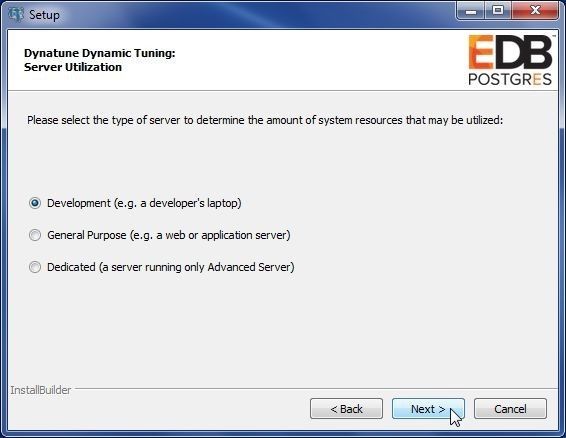
Figure 13. Selecting Server Type
Select workload type as Transaction processing as shown in Figure 14 and click on Next. The other choices are General Purpose and Reporting.
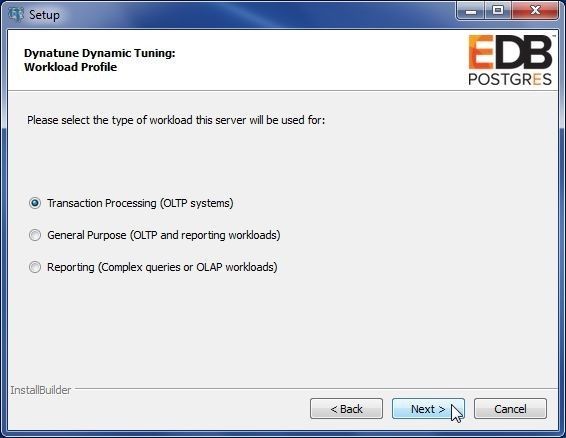
Figure 14. Selecting Workload type
In Update Notification Service select the default option to install updates when available as shown in Figure 15 and click on Next.
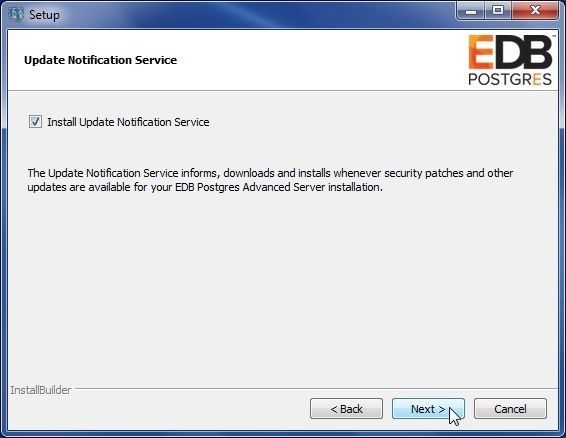
Figure 15. Update Notification Service
The Pre-Installation Summary lists the settings for the installation, as shown in Figure 16. Click on Next.
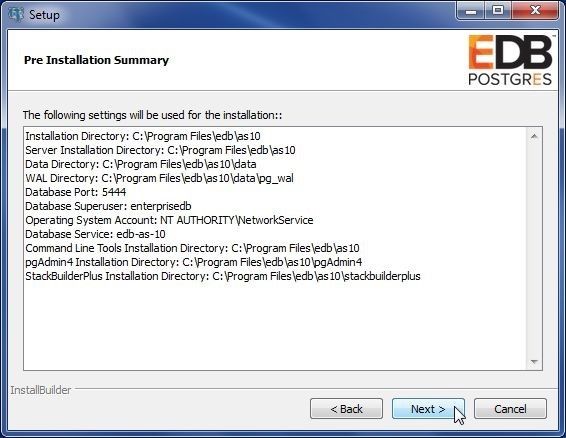
Figure 16. Pre-Installation Summary
In Ready to Install click on Next as shown in Figure 17 to start the installation.

Figure 17. Ready to Install
The installation process gets started. The database server startup gets configured, as shown in Figure 18.
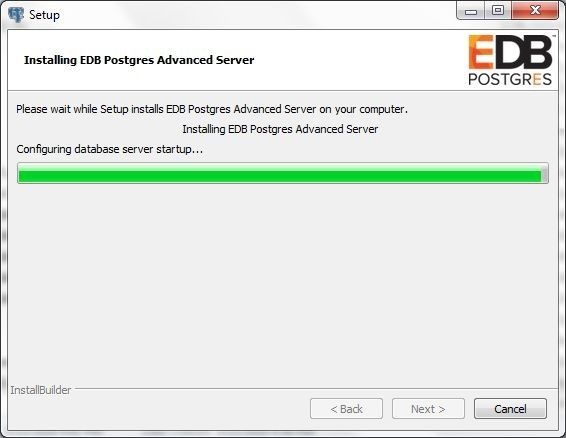
Figure 18. Configuring Database Server Startup
Database server gets started, as shown in Figure 19.
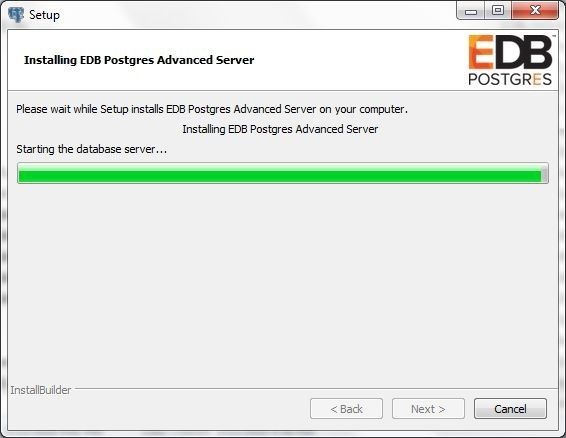
Figure 19. Starting Database Server
When the installation has completed click on Finish as shown in Figure 20.
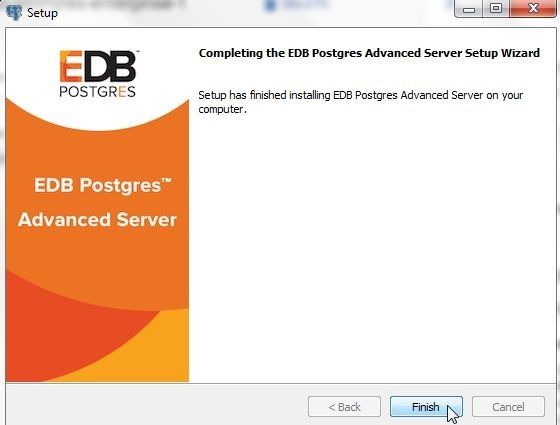
Figure 20. Database installation completed
Installing EDB Connectors
We need the JDBC driver to be able to connect in Toad Edge with EDB. The drivers are not installed by default. Double-click on the edb-connectors-10.0.1-1-windows-x64.exe application that was downloaded in the section Setting Environment. First, select language as shown in Figure 21.
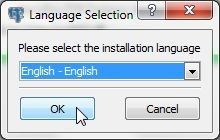
Figure 21. Selecting Language
The Setup Connectors wizard gets started, as shown in Figure 22. Click on Next.
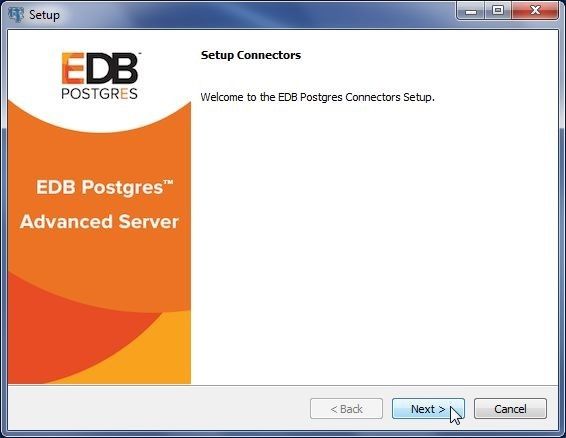
Figure 22. Setup Connectors
Select the default installation directory as shown in Figure 23 and click on Next.
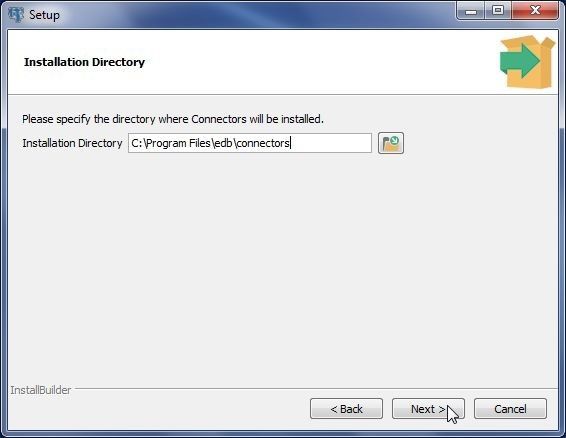
Figure 23. Selecting default installation directory
In Ready to Install click on Next to start the installation, as shown in Figure 24.
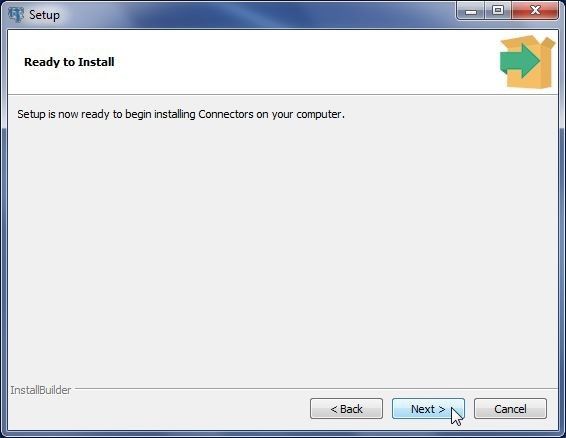
Figure 24. Ready To Install
The installation gets started, as shown in Figure 25.
Figure 25. Installation of EDB Connectors started
When the installation has completed click on Finish, as shown in Figure 26.
Figure 26. Completing Installation
Configuring JDBC Driver in EDB Postgres 10
Next, configure the JDBC Driver in Toad Edge; for which, select View>Preferences as shown in Figure 27.
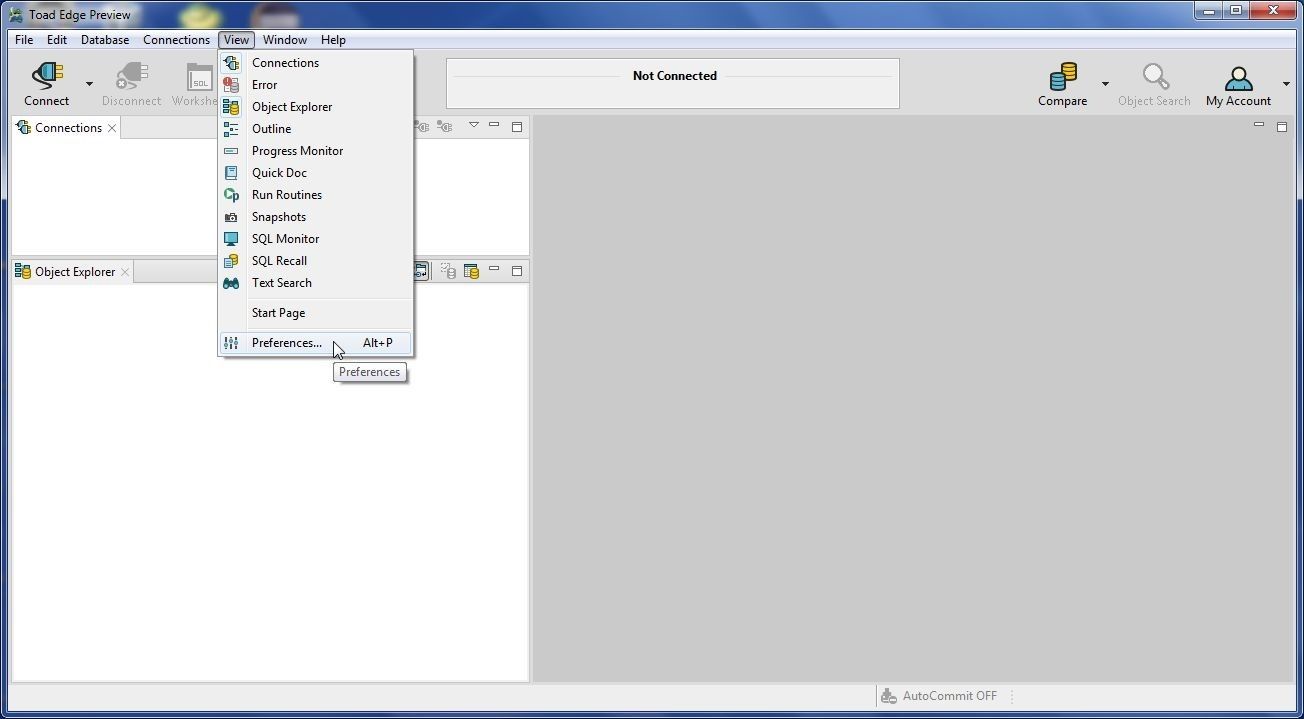
Figure 27. View>Preferences
In Preferences select Database and subsequently select the EnterpriseDB tab, as shown in Figure 28. Click on Add to add a driver.
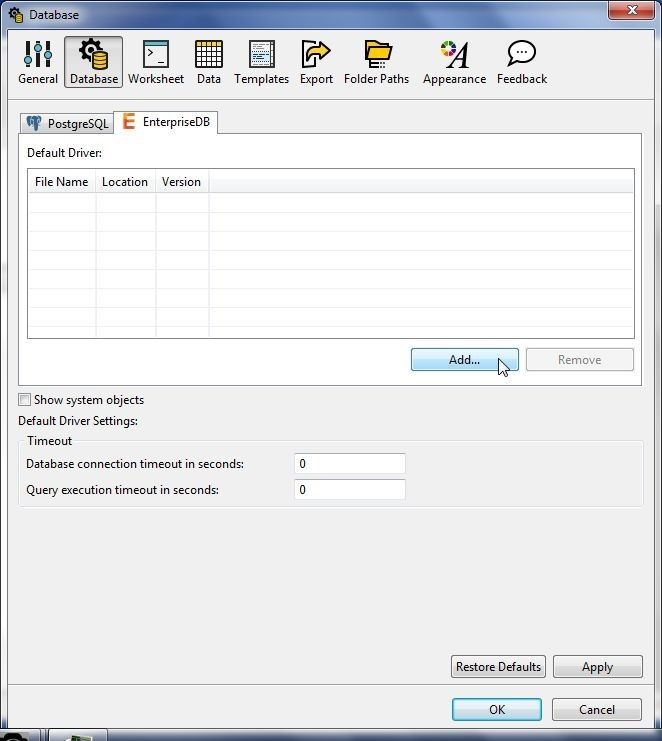
Figure 28. Preferences>EnterpriseDB>Add
Select the edb-jdbc18.jar as shown in Figure 29 and click on Open. The edb-jdbc18.jar is for JDBC 4.2. The edb-jdbc17.jar is for JDBC 4.1 and edb-jdbc-16.jar is for JDBC 4.0.
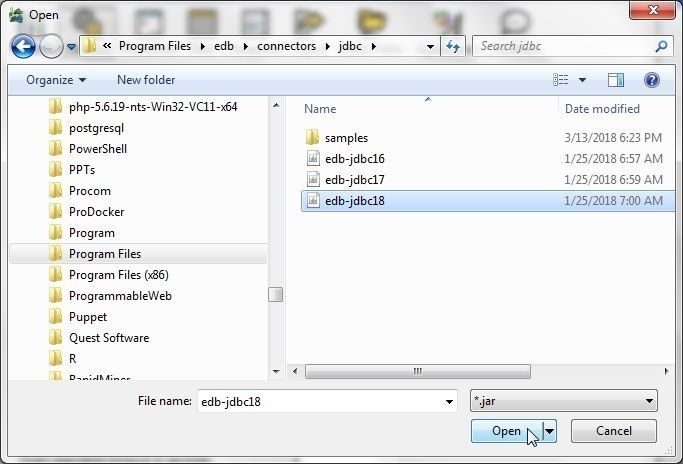
Figure 29. Selecting JDBC Jar
The Jar file gets added, as shown in Figure 30. Click on Apply and subsequently click on OK.
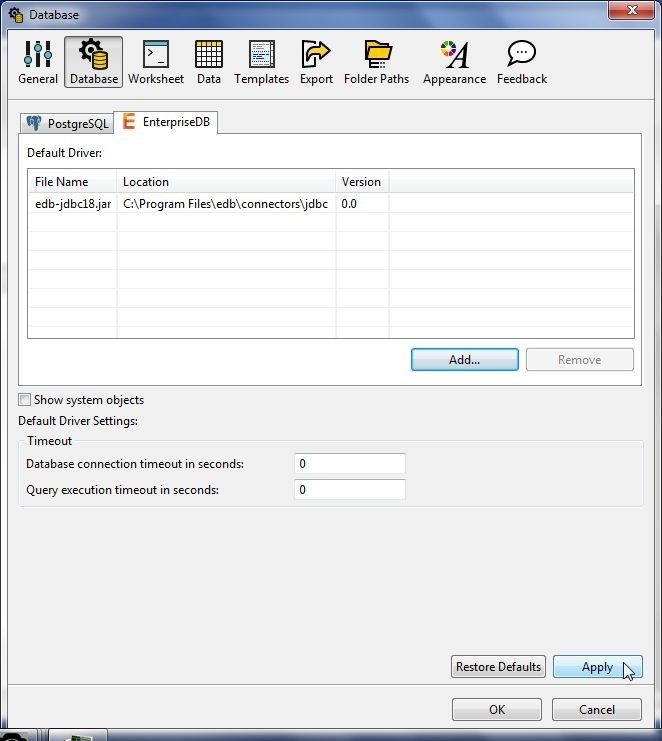
Figure 30. Configuring JDBC Jar
Creating a Connection in Toad Edge 2.0.0
To create a connection select Connect>New Connection as shown in Figure 31.
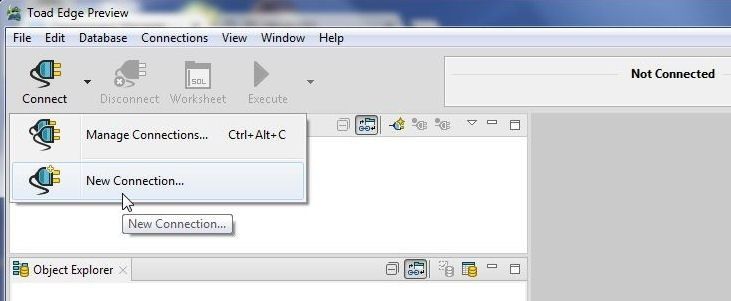
Figure 31. Connect>New Connection
Select Database Platform as EnterpriseDB as shown in Figure 32 and click on Next. EDB versions 9.6 and 10 are supported; we are using v10.
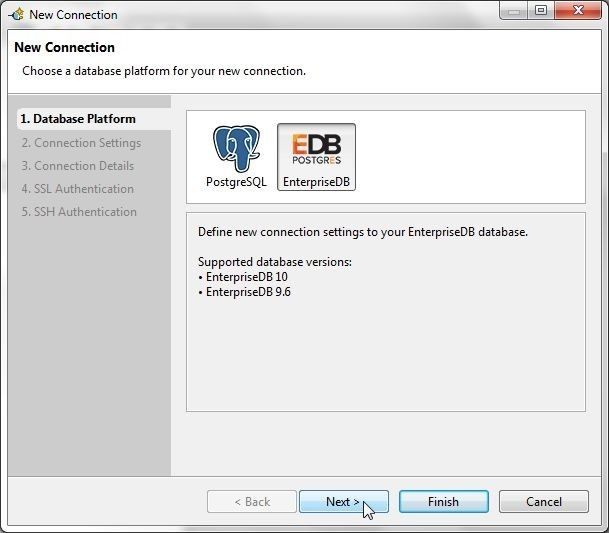
Figure 32. Selecting Database Platform as EDB
The New Connection wizard gets started as shown in Figure 33. Specify Hostname as localhost, Port as 5444, Database as edb, Username as enterprisedb, and Password as the password configured when installing EDB. Click on Test Connection to test the connection.
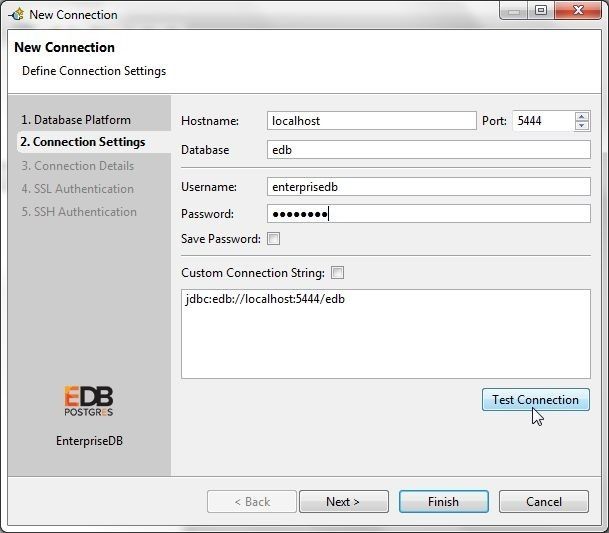
Figure 33. New Connection
The Connection is OK message shown in Figure 34 indicates that the connection to EDB gets established. Click on Next.
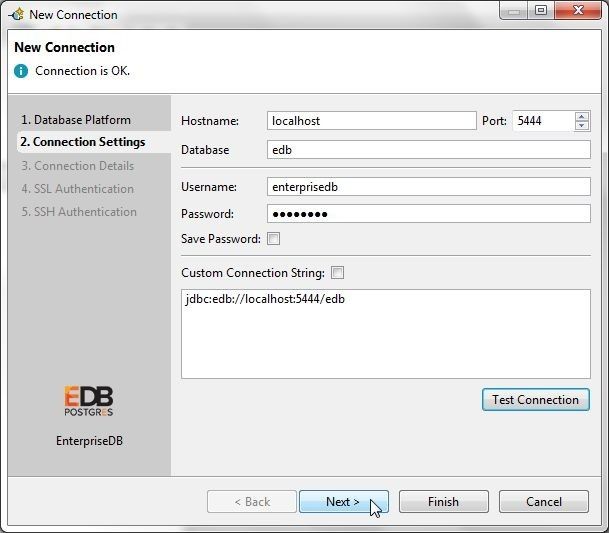
Figure 34. Connection is OK
In Connection Details select the option Enable Autocommit as shown in Figure 35. Click on Finish to complete the connection.
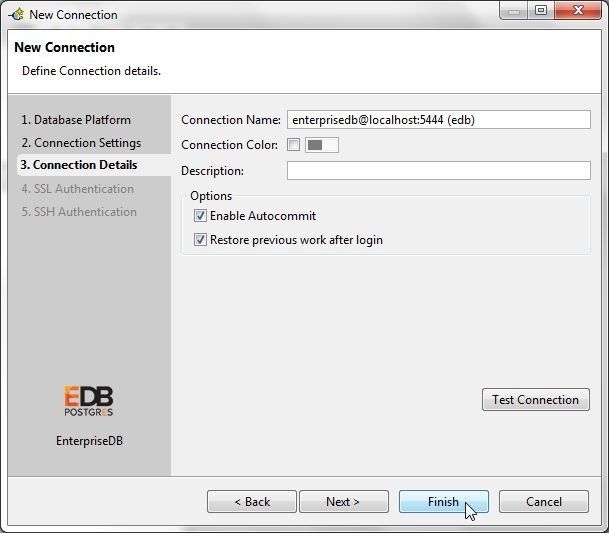
Figure 35. Connection Details
A new connection gets added to Connections view, as shown in Figure 36. A SQL Worksheet gets associated with the connection.
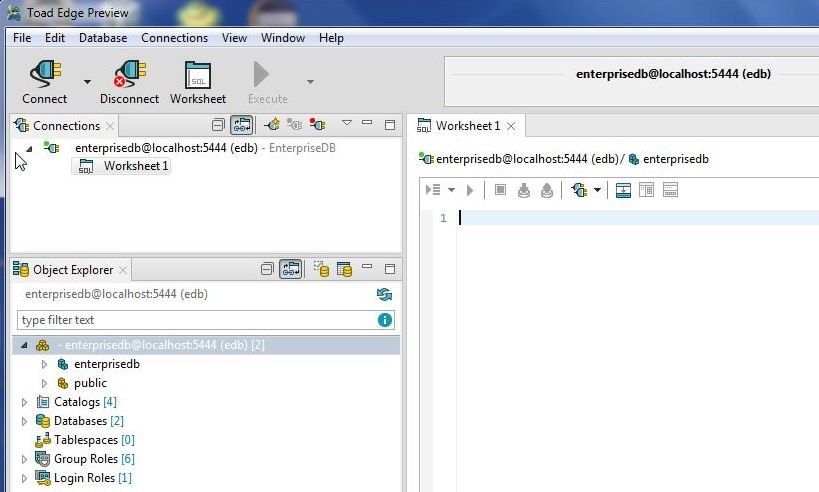
Figure 36. New Connection added
The Object Explorer lists two schema, enterprisedb and public, as shown in Figure 37. Two databases are listed postgres and edb.
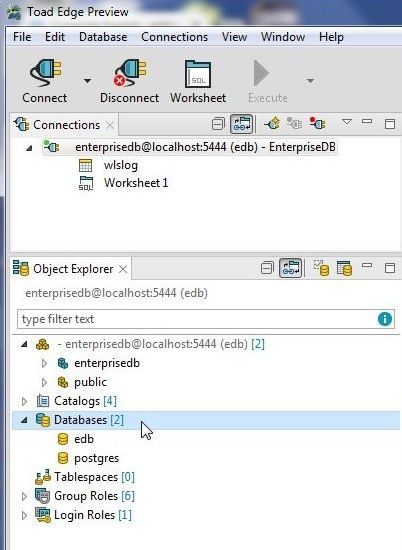
Figure 37. Object Explorer
Taking a Schema Snapshot
A schema snapshot is a backup of the database files and is used to restore a database if database files get corrupted. To take a snapshot of the enterprisedb schema right-click on the schema in Object Explorer and select Take Snapshot… as shown in Figure 38.
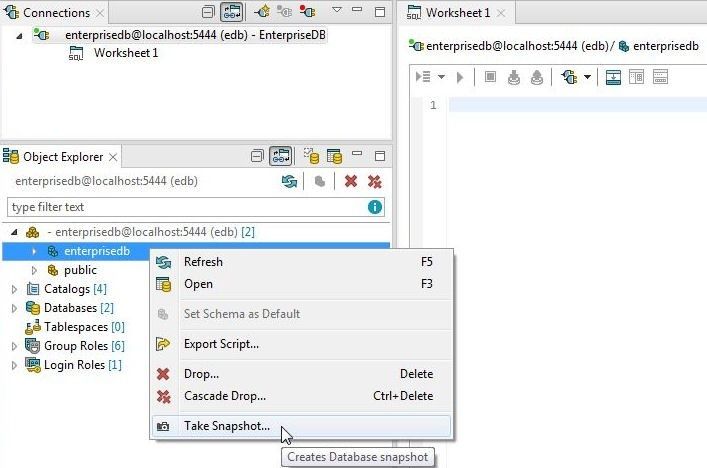
Figure 38. enterprisedb>Take Snapshot…
In Take Snapshot select the default Snapshot Label as shown in Figure 39 and click on OK.
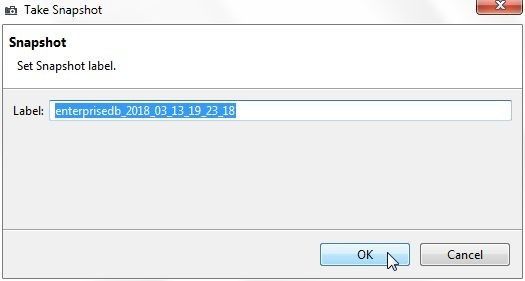
Figure 39. Setting Snapshot Label
A schema snapshot gets created and listed in the Snapshots view, as shown in Figure 40.
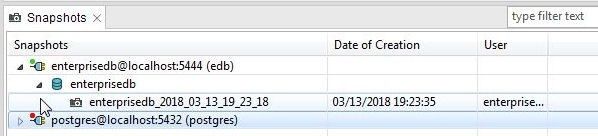
Figure 40. Snapshot Schema
Several options are available for a schema. Right-click on the snapshot and select from Export Snapshot, Compare with Default Database, and Export Script as shown in Figure 41. A snapshot may also be renamed or deleted.
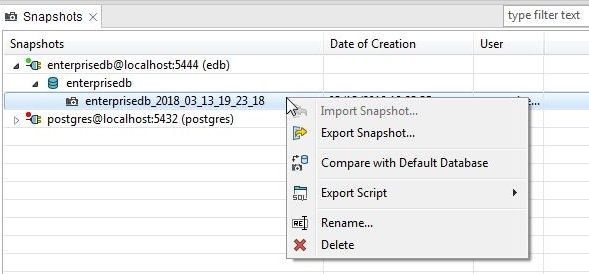
Figure 41. Snapshot Options
Setting the Default Schema
The default schema is the schema that is active and associated with a connection worksheet. The enterprisedb schema is the default, as indicated by the blue-green icon in Object Explorer. To make the public schema the default, right-click on public in Object Explorer and select Set Schema as Default as shown in Figure 42.

Figure 42. public>Set Schema as Default
The public schema gets set as the default, as shown by the blue-green icon in Figure 43. The Worksheet1 gets associated with the public schema.
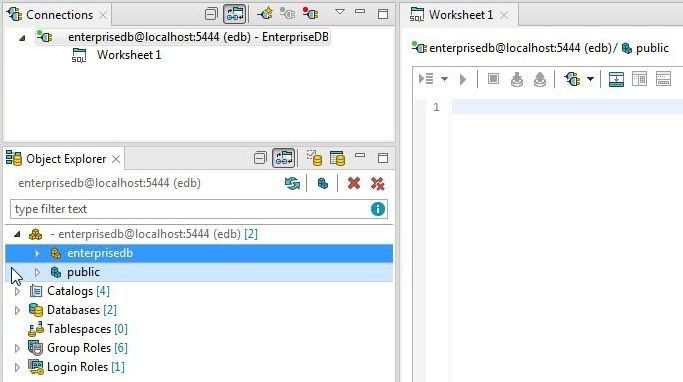
Figure 43. The default schema set to public
We shall be using the enterprisedb as the default schema; for which, set the schema as the default as shown in Figure 44.
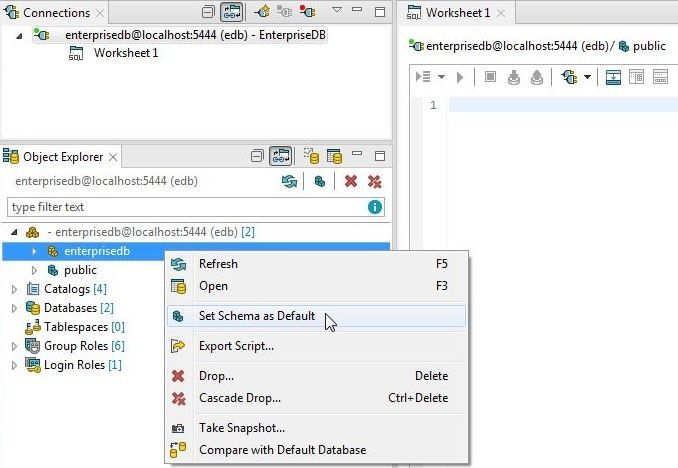
Figure 44. Setting back enterprisedb as default schema
The enterprisedb gets set as the default, as shown in Figure 45.
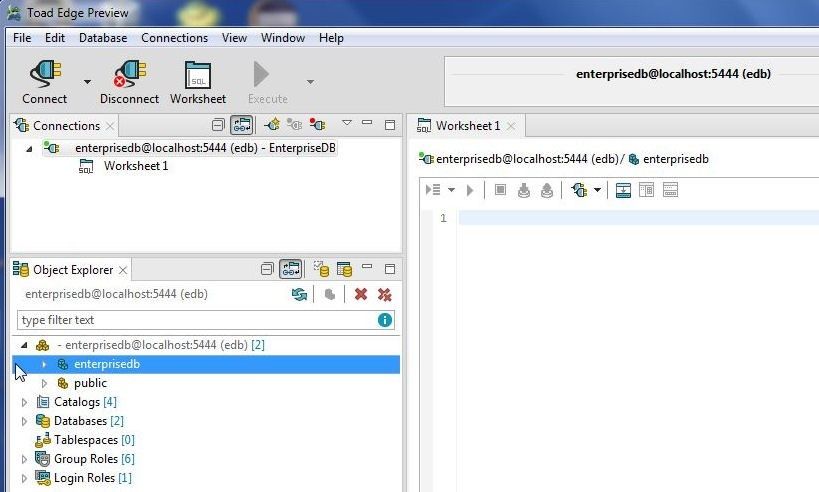
Figure 45. Default schema set to enterprisedb
Comparing Schemas
Schema comparison may be launched from two different toolbar selections: the Database and the Compare drop-downs. A schema snapshot may also be compared, as mentioned earlier, by selecting Compare with Default Database, as shown in Figure 41. Compare with Default Database implies comparison with the default schema and not one of the database instances edb or postgres. To compare the public schema, which is not the default schema, with the default schema or database, right-click on public in the Object Explorer and select Compare with Default Database as shown in Figure 46.
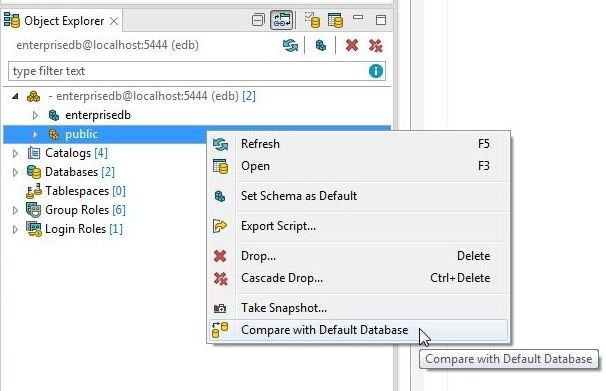
Figure 46. Object Explorer>public>Compare with Default Database
The Compare gets started, as shown in Figure 47. The different object types in the two schemas public and enterprisedb start to get compared.
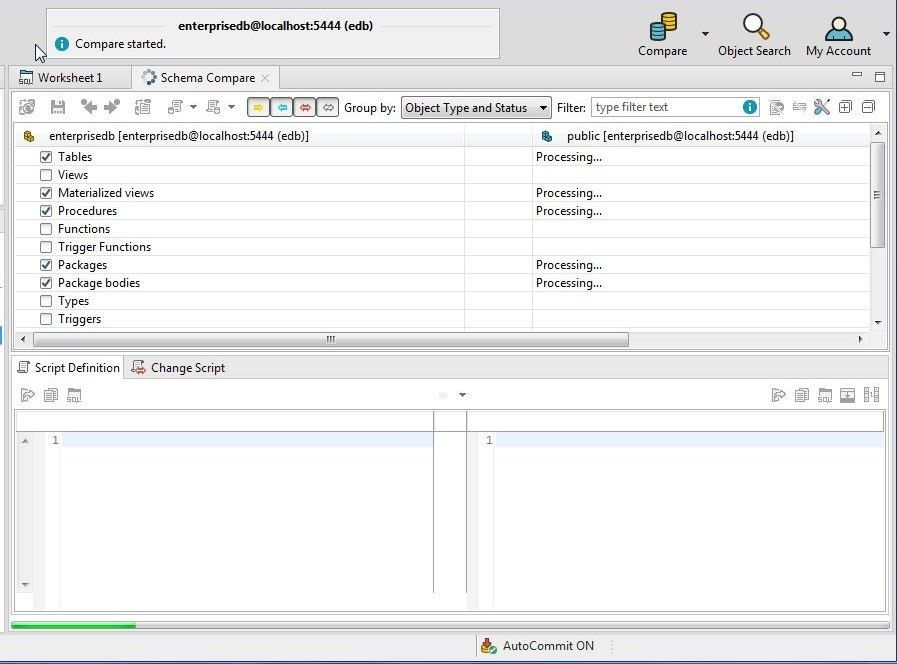
Figure 47 Compare started
When the Compare gets completed the results are displayed, as shown in Figure 48. Some tables are listed only in the target schema enerprisedb. The script definition for one of the tables, emp, is shown with the Script Definition tab selected.
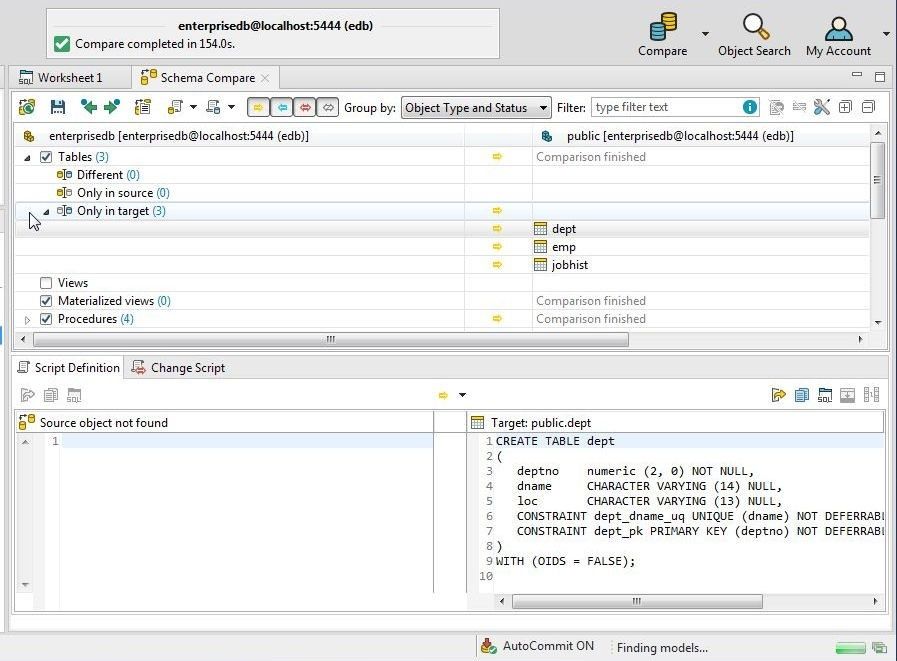
Figure 48. Compare Completed
The Change Script tab lists the script that may be run to apply the differences in schemas in order to make the target schema the same as the source schema. Applying the differences would mean that the dept, emp and jobhist tables would be dropped from the target schema. The Change Script is run with the button indicated in Figure 49. We won’t be running the Change Script. An individual Change Script is provided for each of the pairs of tables that differ from each other. When a table is selected in the Schema Compare result, the Change Script corresponding to the table gets listed. To apply the differences and make the target schema the same as the source schema, you would run the Change Script.
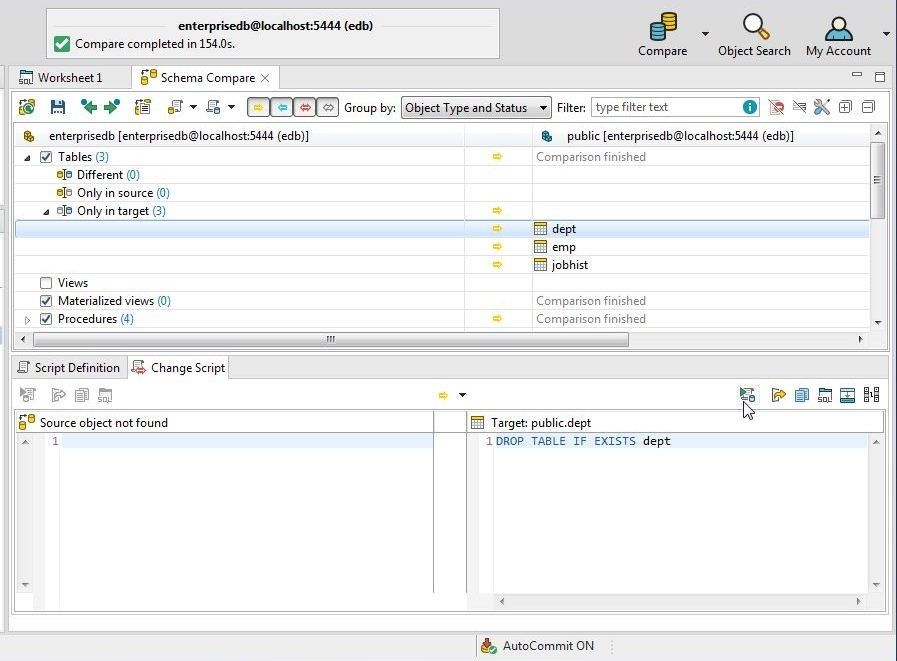
Figure 49. Change Script
To save the Schema Compare result, click on Save As as shown in Figure 50.
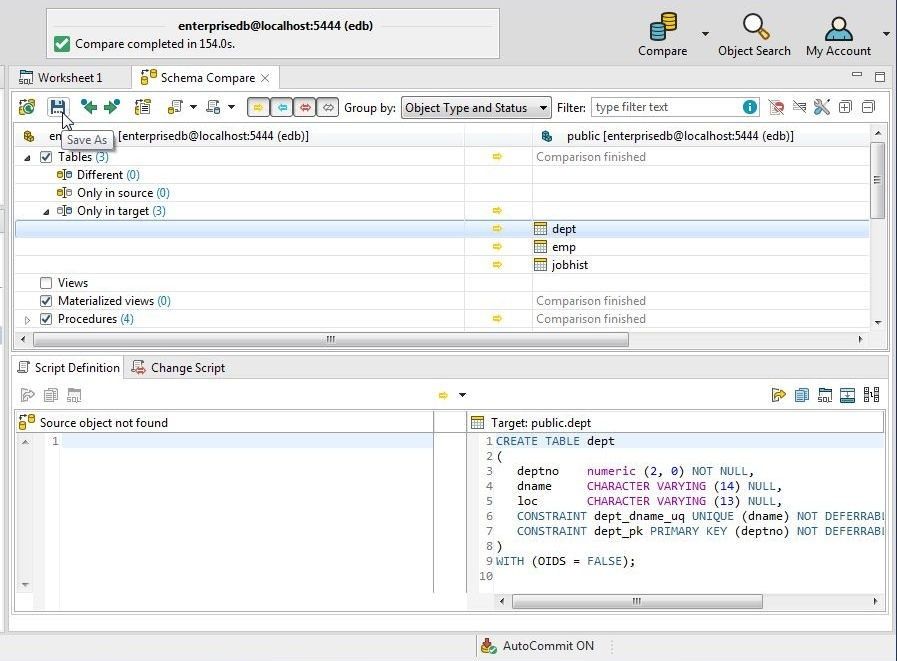
Figure 50. Save As
Specify a Compare File in Save As, as shown in Figure 51 and click on Save.
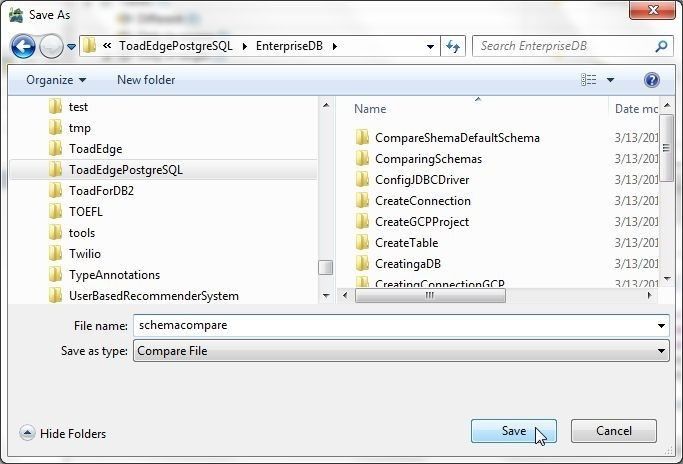
Figure 51. Compare File>Save
The Export Finished dialog in Figure 52 indicates that the Compare File has been saved.
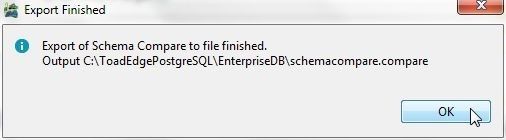
Figure 52. Compare File Saved
Exporting Schema Compare Report to HTML
The Schema Compare result may be exported to an HTML report. Select Export HTML Report as shown in Figure 53.
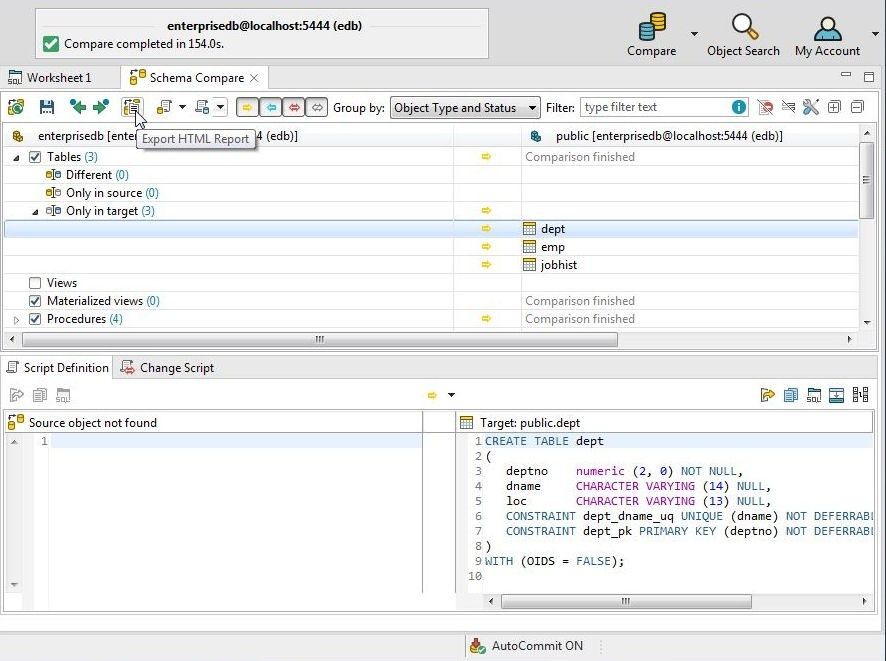
Figure 53. Export HTML Report
In Save As specify a File name (HTML report) and click on Save as shown in Figure 54.
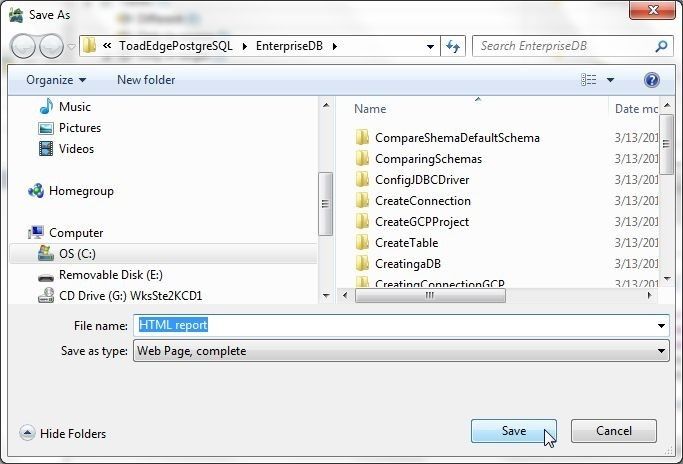
Figure 54. Save As
When the HTML report is exported an Export Finished dialog gets displayed, as shown in Figure 55. Click on Open Report to open the HTML report.
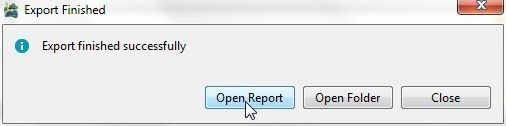
Figure 55. Export Finished
The Schema Comparison Report is shown in Figure 56. A highlighted selector is provided for TABLE, PROCEDURE, PACKAGE and PACKAGE_BODY. TABLE is selected by default and lists the tables that are only in the target database. The Script Definition for the dept table is shown in Figure 56.
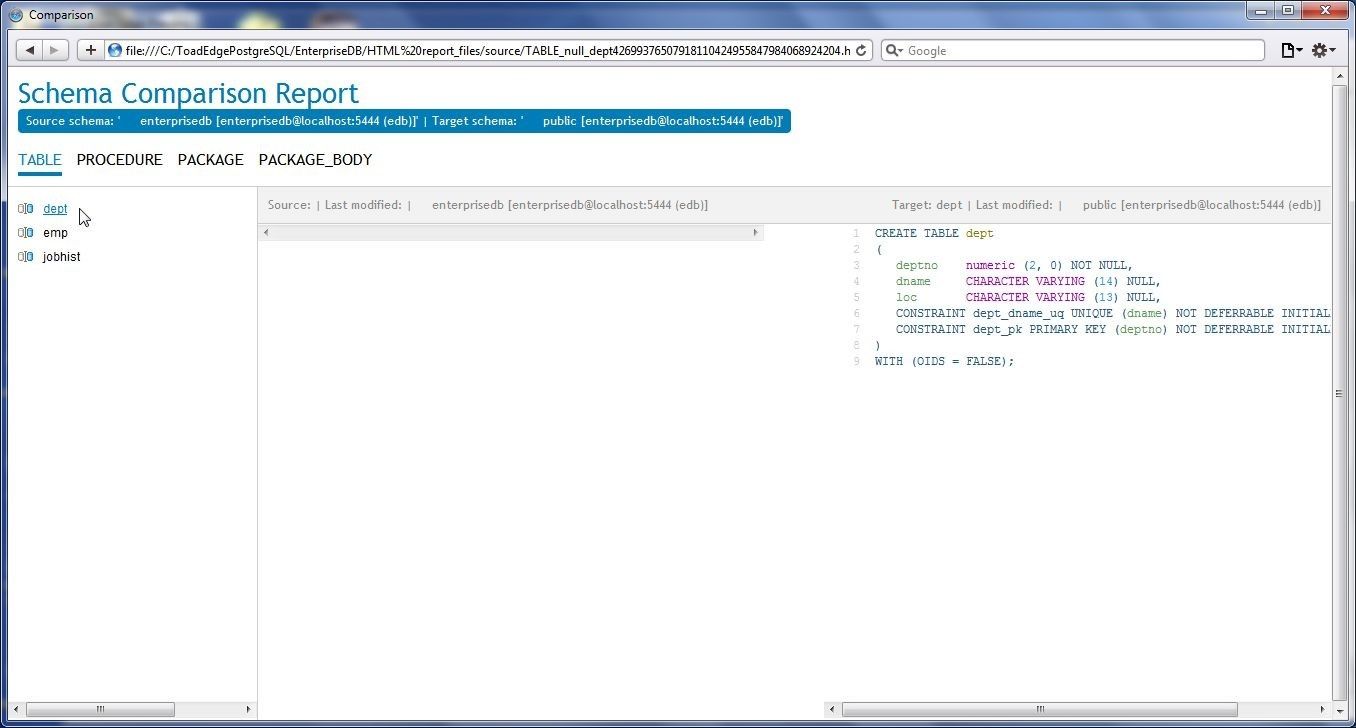
Figure 56. Schema Comparison Report
Select PROCEDURE to display the comparison result for the procedures in the two schemas as shown in Figure 57.
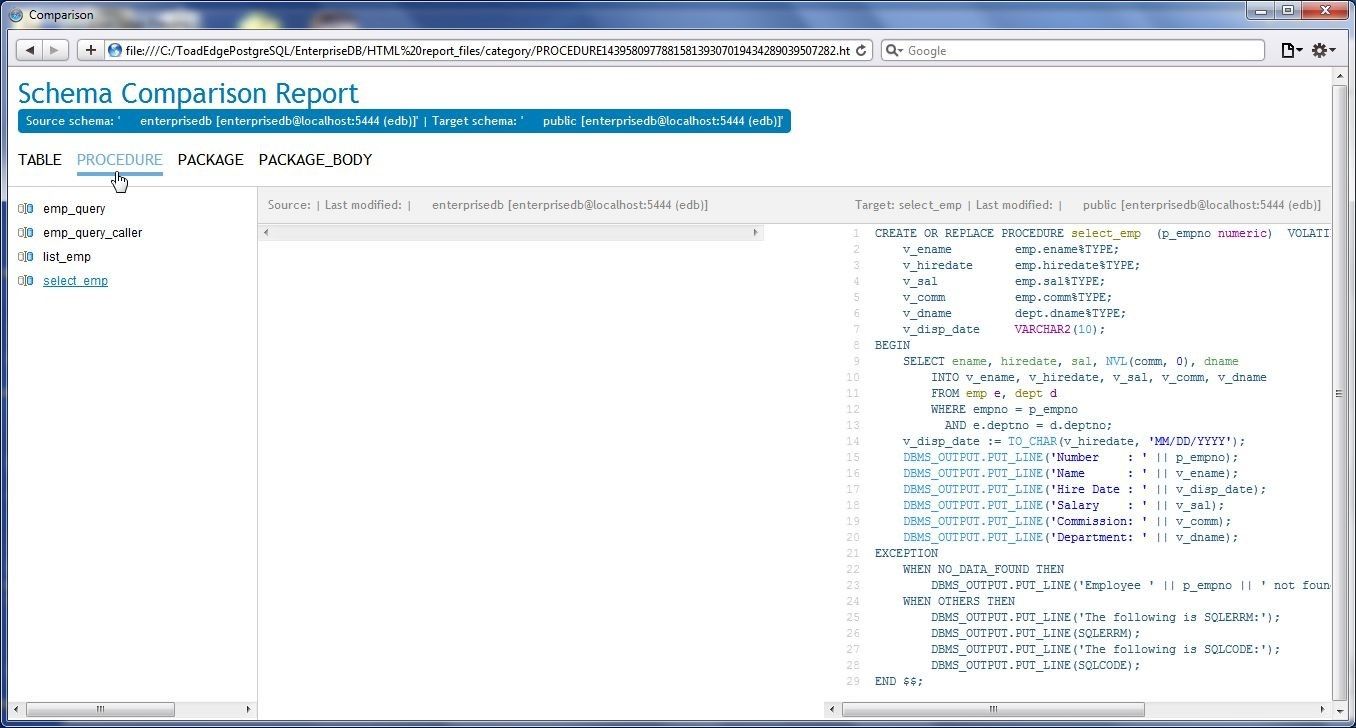
Figure 57. Displaying Procedure Differences
Select PACKAGE to display the HTML report for the package/s that are different in the two schemas as shown in Figure 58.

Figure 58. Package Report
Select PACKAGE_BODY to list the HTML report for PACKAGE_BODY differences as shown in Figure 59.
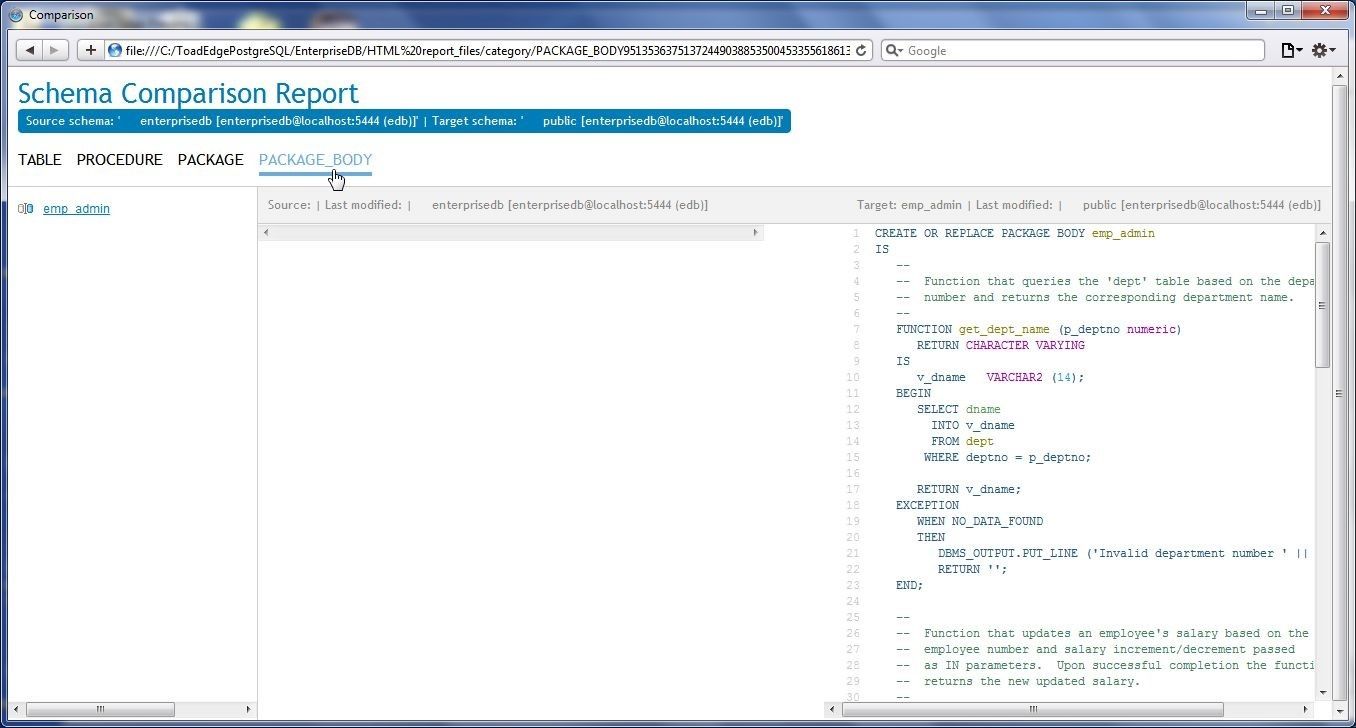
Figure 59. PACKAGE_BODY Differences
Creating a Database Table
To create a table right-click on Tables in Object Explorer and select New Table as shown in Figure 60.

Figure 60. Tables>New Table
The New Table wizard gets started, as shown in Figure 61. Specify a table name (wlslog) and click on Next. We shall create a table wlslog with columns timestamp, category, type, servername, code and msg all of type VARCHAR with the primary key as timestamp.
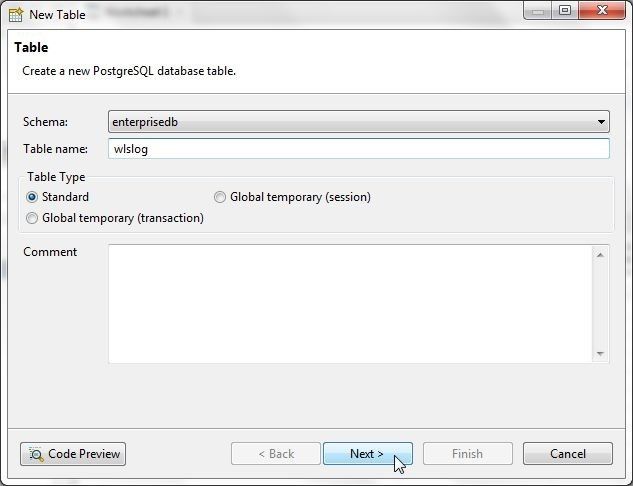
Figure 61. New Table wizard
Next, add the table columns. Click on Add to add a column as shown in Figure 62.
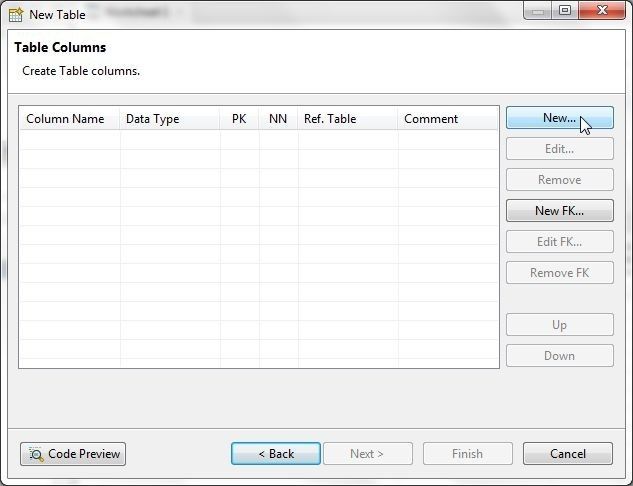
Figure 62. Table Columns>Add
In the New Column dialog add the timestamp column, select its data type as VARCHAR, set Size as 255 and click in the Primary Key checkbox as shown in Figure 63. Click on OK+Add to add the column and start the New Column dialog again.
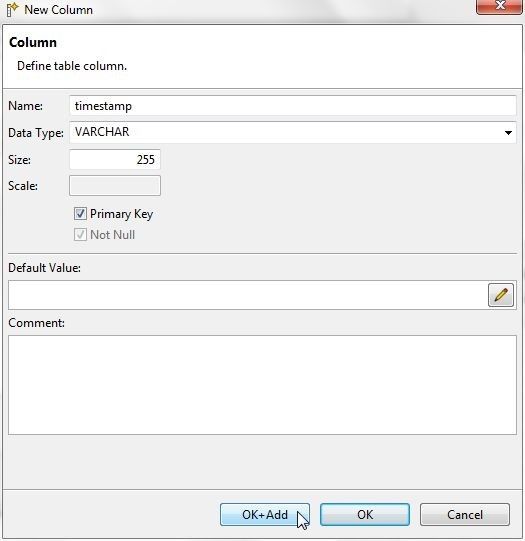
Figure 63. New Column wizard
Similarly add the other columns. After adding the last column, msg, click on OK instead of OK+Add as shown in Figure 64.
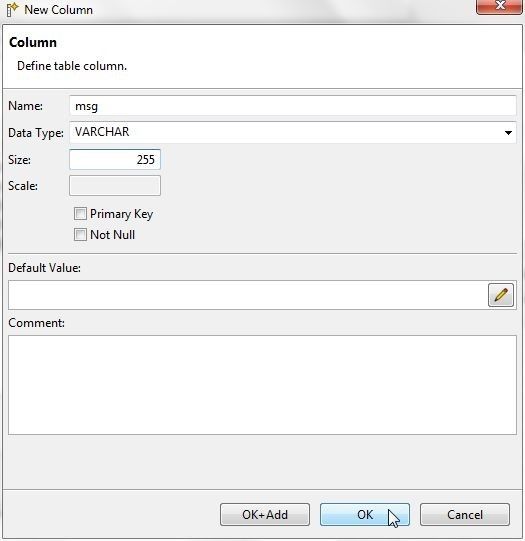
Figure 64. Adding last column msg
Click on Finish to complete the table as shown in Figure 65.
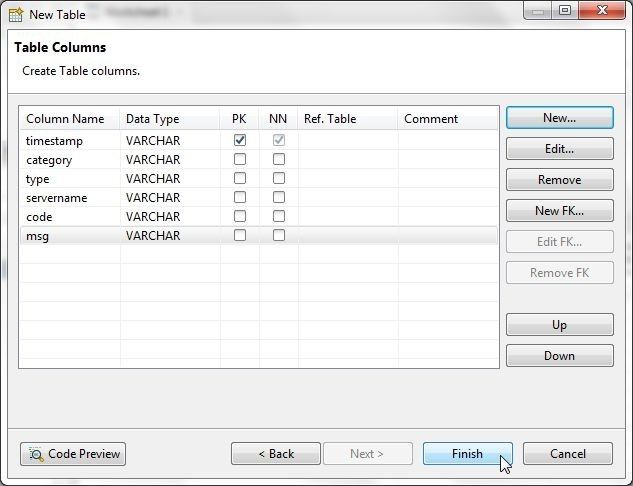
Figure 65. New Table>Finish
The new table wlslog gets added and gets listed in Object Explorer, as shown in Figure 66. The Data Editor for the table lists its various attributes, with the Columns being the default.
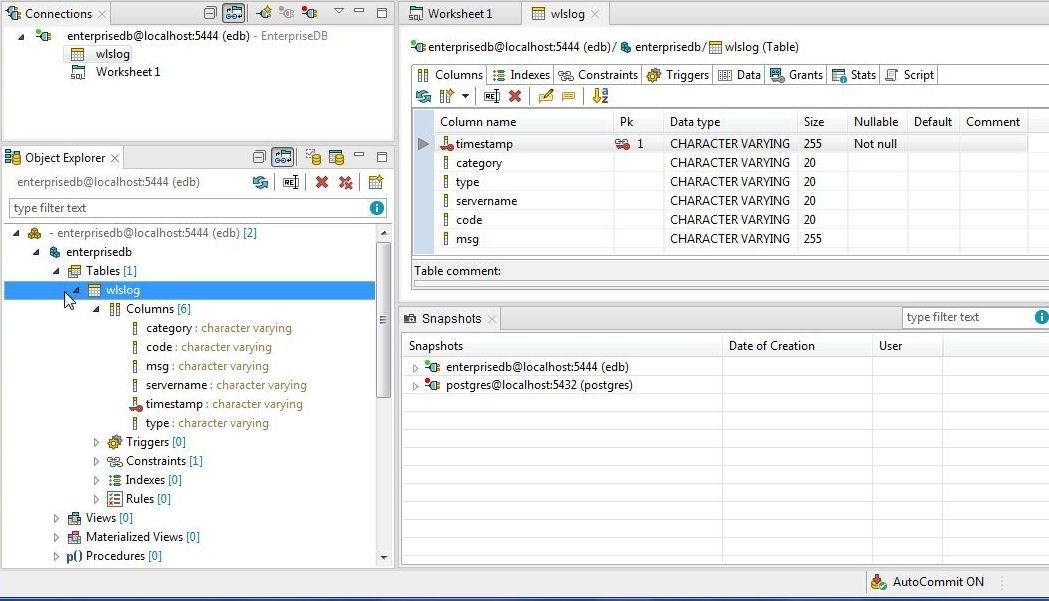
Figure 66. Table wlslog added
Importing Table Data
In this section we shall import table data from a CSV file. Create a file wlslog.csv and copy the following listing to the file.
timestamp,category,type,servername,code,msg

Apr-8-2014-7:06:16-PM-PDT,Notice,WebLogicServer,AdminServer,BEA-000365,Server state changed to STANDBY
Apr-8-2014-7:06:17-PM-PDT,Notice,WebLogicServer,AdminServer,BEA-000365,Server state changed to STARTING
Apr-8-2014-7:06:18-PM-PDT,Notice,WebLogicServer,AdminServer,BEA-000365,Server state changed to ADMIN
Apr-8-2014-7:06:19-PM-PDT,Notice,WebLogicServer,AdminServer,BEA-000365,Server state changed to RESUMING
Apr-8-2014-7:06:20-PM-PDT,Notice,WebLogicServer,AdminServer,BEA-000331,Started WebLogic AdminServer
Apr-8-2014-7:06:21-PM-PDT,Notice,WebLogicServer,AdminServer,BEA-000365,Server state changed to RUNNING
Apr-8-2014-7:06:22-PM-PDT,Notice,WebLogicServer,AdminServer,BEA-000360,Server started in RUNNING mode
The first row in wlslog.csv is for column headers and subsequent rows are data rows. To import, right-click on Tables in Object Explorer and select Import Data as shown in Figure 67.
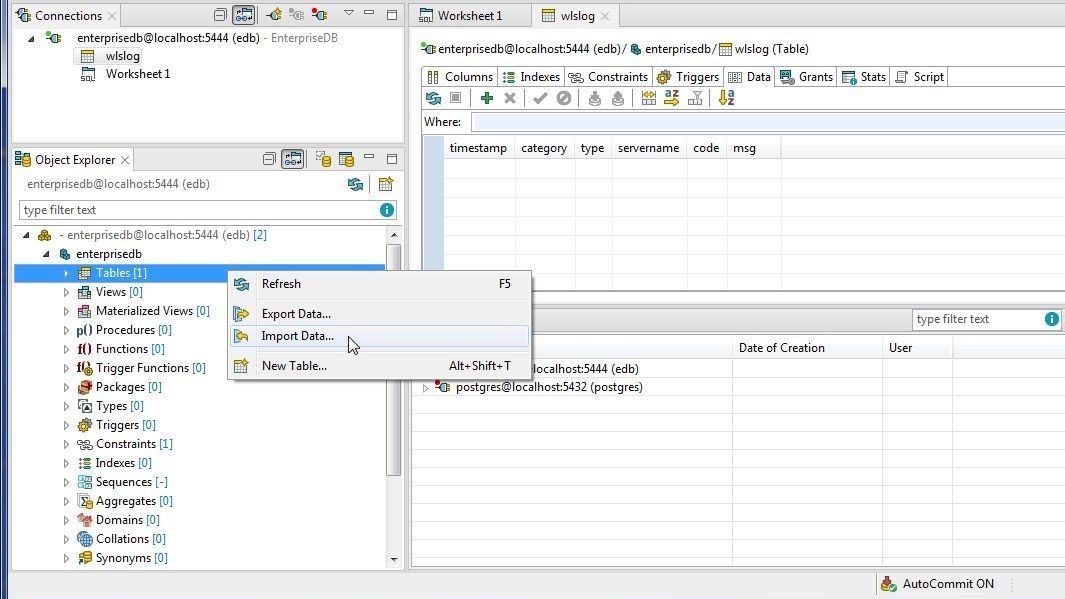
Figure 67. Tables>Import Data
The Import Data wizard gets started, as shown in Figure 68. Select Import Format as CSV file….. and select the Source file wlslog.csv. The Error Log file gets set by default in the same directory as the CSV file. Click on Next.
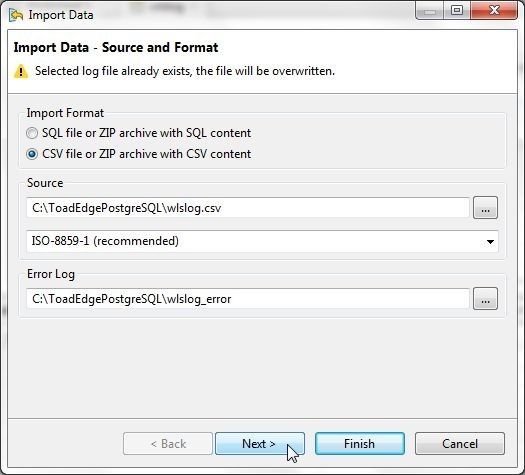
Figure 68. Import Data
Select the default CSV Settings and click on Finish as shown in Figure 69.
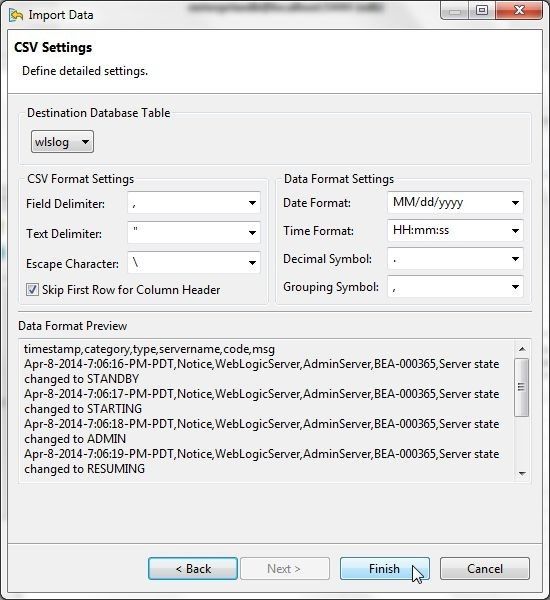
Figure 69. CSV Settings
As the Data Import Result in Figure 70 indicates the data import gets completed. Click on Close.
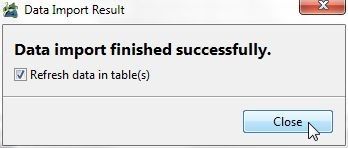
Figure 70. Data Import Result
The data gets imported into the wlslog table, as shown in the Data Editor in Figure 71.
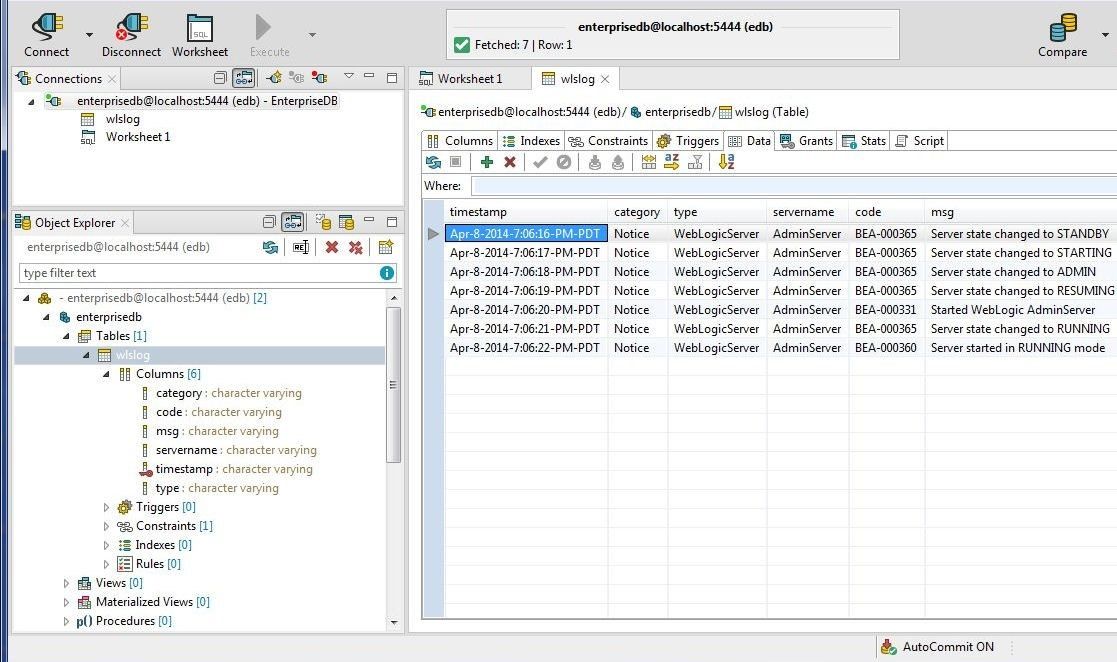
Figure 71. Data imported into wlslog Table
Exporting Table Data to HTML
Table data may be exported from query result or from a grid selection. Multiple grid rows are selected with Shift+Row. To export a query result, right-click on Data Editor and select Export Query Result>CSV/SQL… as shown in Figure 72.
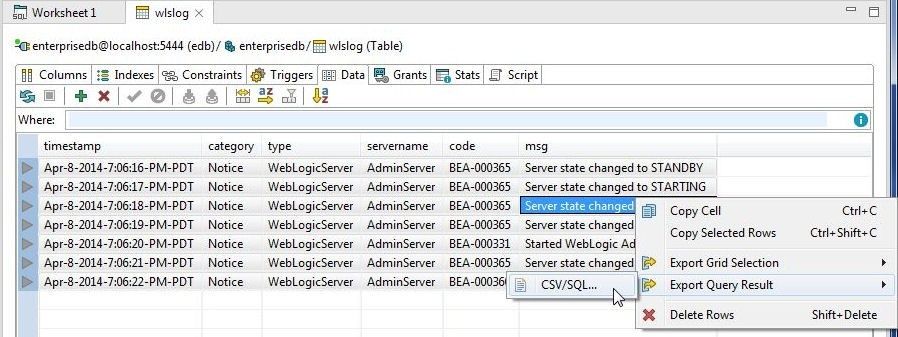
Figure 72. Export Query Result>CSV/SQL..
We shall export a grid selection to HTML; for which, select Export Grid Selection>HTML… as shown in Figure 73.
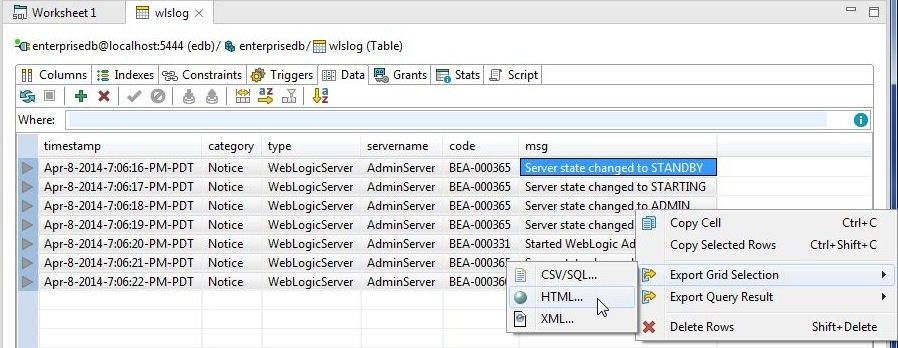
Figure 73. Export Grid Selection>HTML….
In Save As specify a file name and click on Save, as shown in Figure 74.
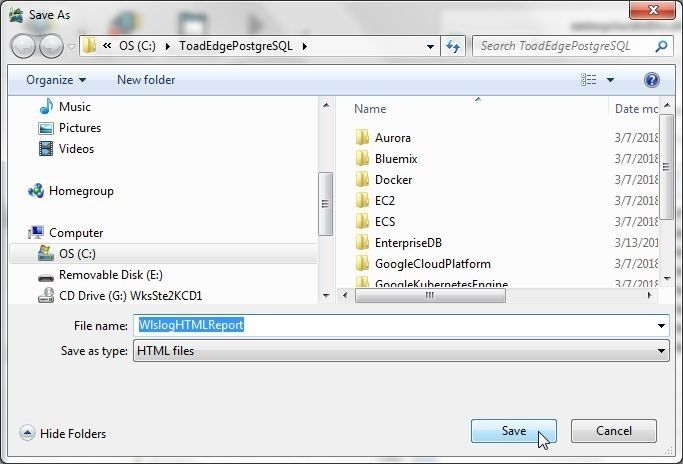
Figure 74. Save As
The HTML report gets generated, as shown in a browser in Figure 75.
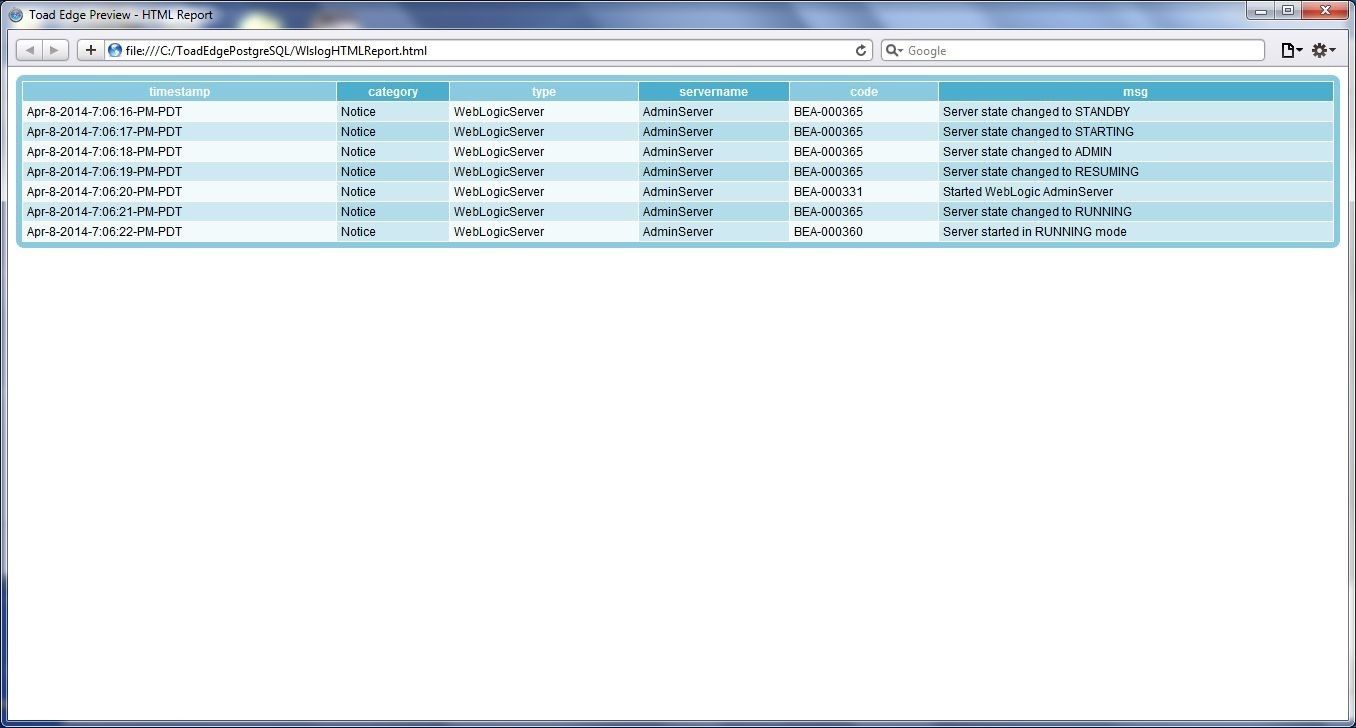
Figure 75. HTML Report
Conclusion
In this article we discussed using Toad Edge Preview 2.0.0 with EnterpriseDB Postgres Advanced Server 10. Using Toad Edge with EDB provides an integrated development environment complete with wizards and tools to create and browse database objects, import data, create schema snapshots, perform schema comparisons, export schema compare reports as HTML, and export table data to several output formats, which include CSV, SQL, XML, and HTML.
Want to learn more?User guide: Access the Toad Edge User Guide. Product page: Click the following link to watch a video on our product page and learn how Toad Edge can help you simplify development and management tasks for open source databases. Blog: 7 hacks to use Toad Edge like a boss Blog: 5 blogs that teach you to effectively work in Toad Edge®
Try Toad Edge free for 30 daysFree 30-day trial of Toad Edge Already in a trial? If Toad Edge has helped you ramp up on open source RDBMSs fast, buy it now or contact a sales representative. |
Start the discussion at forums.toadworld.com