Introduction
Google CloudSQL is a lightweight managed service for databases with support for MySQL and PostgreSQL. CloudSQL supports most of the features supported by a local installation of MySQL and PostgreSQL databases. Second Generation instances on CloudSQL support MySQL 5.6 or 5.7 and provide up to 208GB of RAM and 10TB of storage on the InnoDB storage engine. An option is provided to increase the storage automatically if required. Cloud SQL Proxy and Secure Sockets Layer (SSL) may be used for secure connections. Being a managed service on the Google Cloud platform, CloudSQL is able to integrate with some of the other Google Cloud platform services, such as data replication across multiple zones with automatic failover. Some of the features of a full installation of MySQL database, such as user-defined functions, performance schema, the FEDERATED storage engine, the SUPER privilege, and the InnoDB memcached plugin, are not supported in CloudSQL. Some SQL statements are also not supported. For CloudSQL features (supported and unsupported), refer to CloudSQL Features.
Toad Edge is Quest’s latest database management and development tool for open source databases. Toad Edge presently supports only the MySQL database platform, but support for other open source databases including PostgreSQL is currently under development. A free 30-day trial of Toad Edge is available here.
Toad Edge is lightweight but still full-featured. Toad Edge features include a Connection wizard, SQL Worksheet with SQL code-assist, management of database objects and user privileges, Import/Export wizard to import/export data with support for CSV, SQL and Zip files, schema comparison and sync, and database snapshots.
In this tutorial we shall discuss using MySQL database on CloudSQL with Toad Edge. This tutorial has the following sections.
- Setting the Environment
- Creating a Google Cloud Platform Project
- Creating a CloudSQL Instance
- Adding a Network to the CloudSQL Instance
- Using Toad Edge with CloudSQL
- Connecting to CloudSQL
- Setting Active Database
- Creating a Database
- Creating a Database Table
- Querying the Database Table
- Disconnecting from CloudSQL
- Deleting a CloudSQL Instance
Setting the Environment
A Google Cloud Platform billing account is required, which may be created at https://console.cloud.google.com/billing. A Google Cloud Platform Billing account is shown in Figure 1. Google Cloud Platform Free Tier account provides a free trial for the first year.
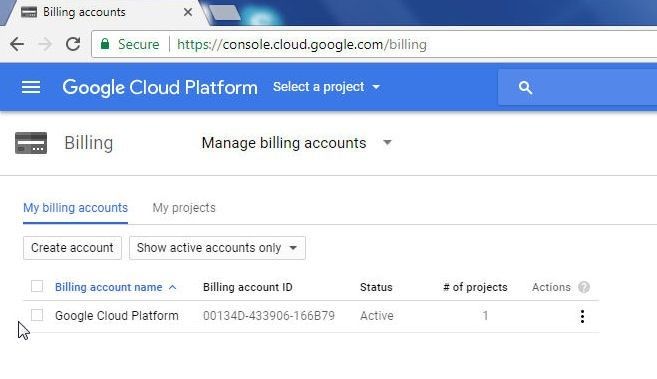
Figure 1. Google Cloud Platform Billing Account
Creating a Google Cloud Platform Project
A Google Cloud Platform project is required to be created to use CloudSQL. To create a project click on the Create an empty project link on the Getting started page as shown in Figure 2.
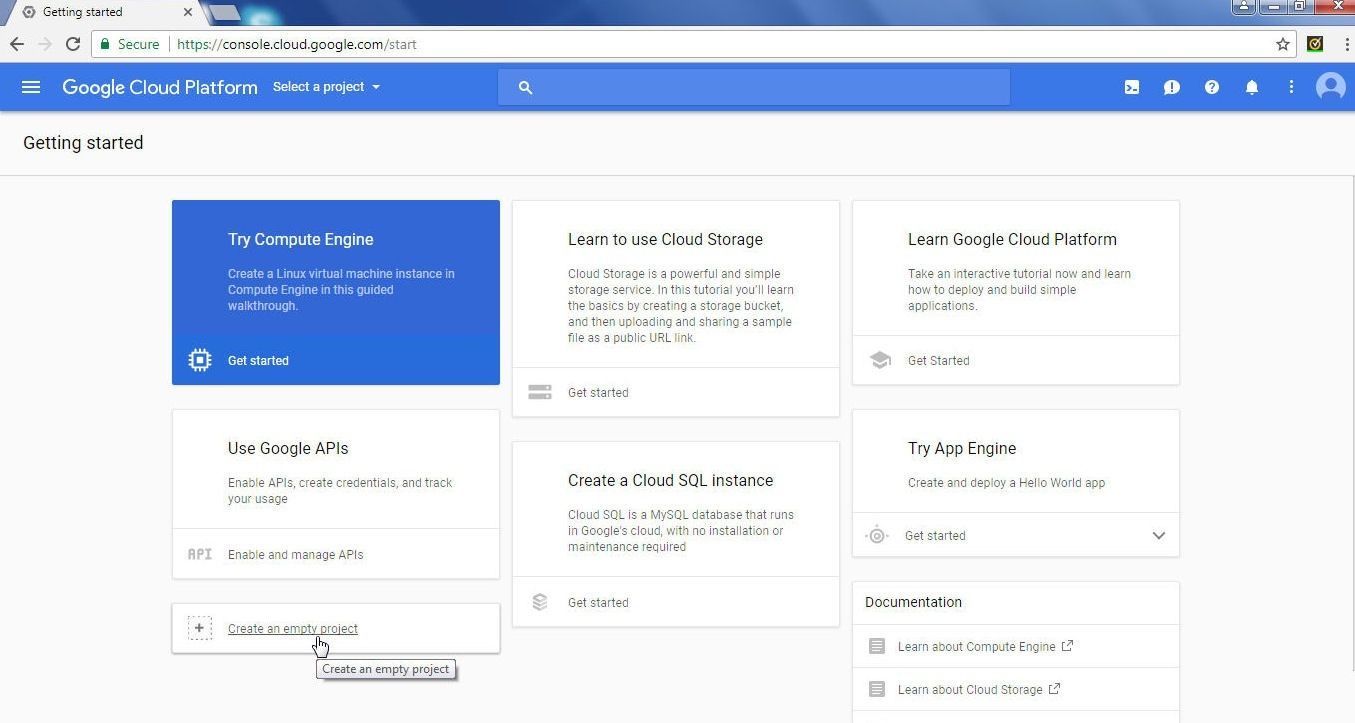
Figure 2. Create an empty project
In the New Project wizard specify a Project name (MySQLDB) and click on Create as shown in Figure 3.
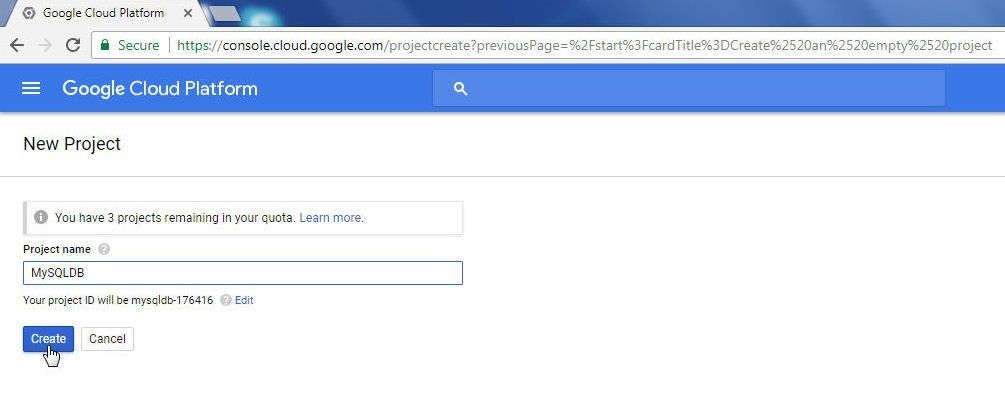
Figure 3. New Project
A new project gets created as shown in the Dashboard in Figure 4.
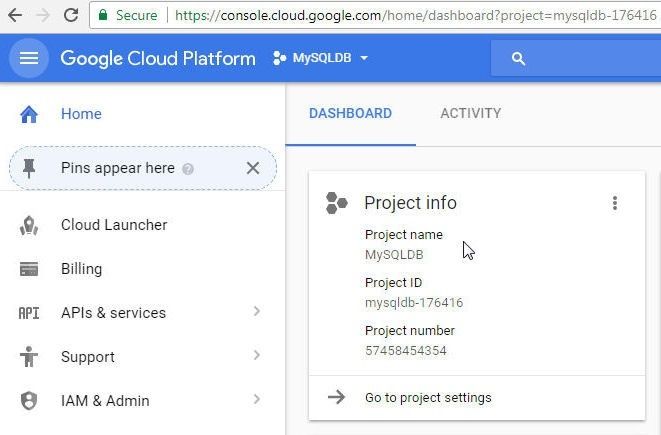
Figure 4. Project Info
A project that has been created may be selected from the Select a project dropdown as shown in Figure 5.
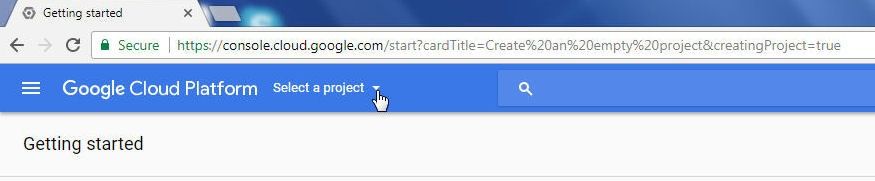
Figure 5. Select a project
A project that is being created also gets listed with Select a project dropdown, as shown in Figure 6.
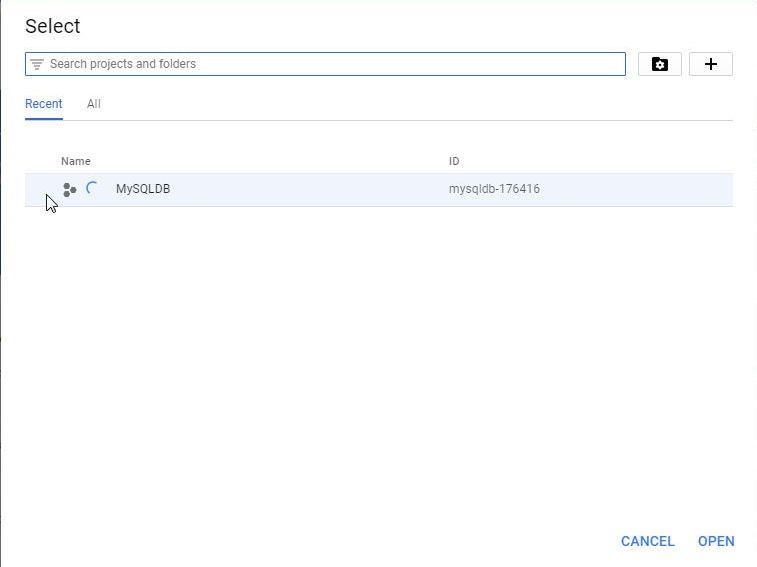
Figure 6. MySQLDB Project being Created
When the MySQLDB project has been created the icon gets changed to indicate this, as shown in Figure 7.
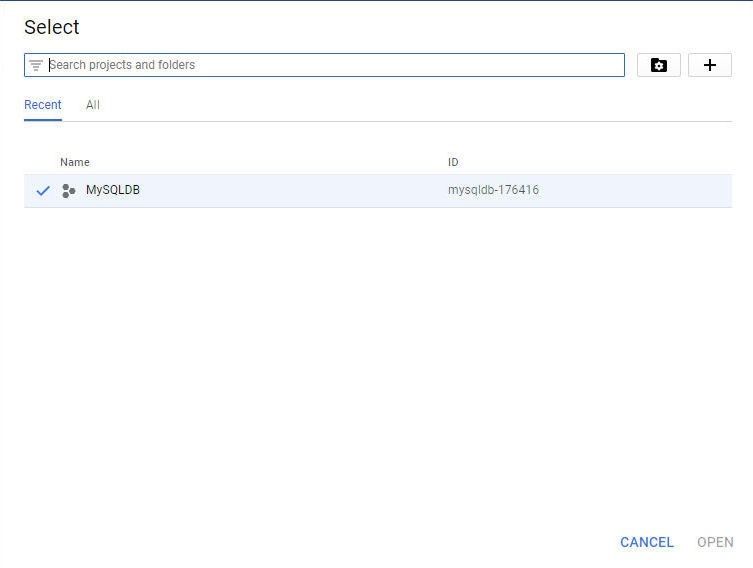
Figure 7. MySQLDB Project Created
Creating a CloudSQL Instance
Having created a project, next we shall create a CloudSQL instance for MySQL database. Select the MySQLDB project and click on Create instance as shown in Figure 8.
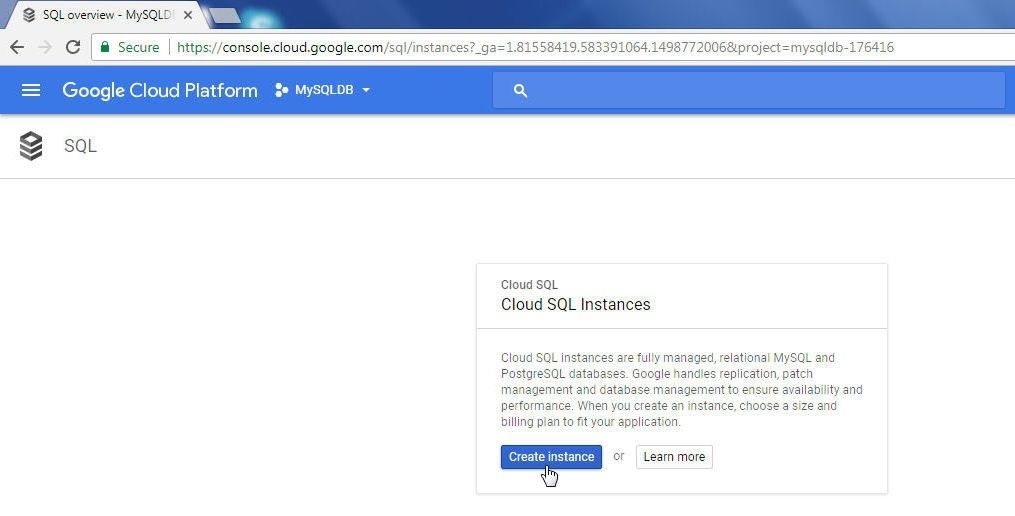
Figure 8. Create instance
In the Create an instance wizard select MySQL and click on Next as shown in Figure 9.
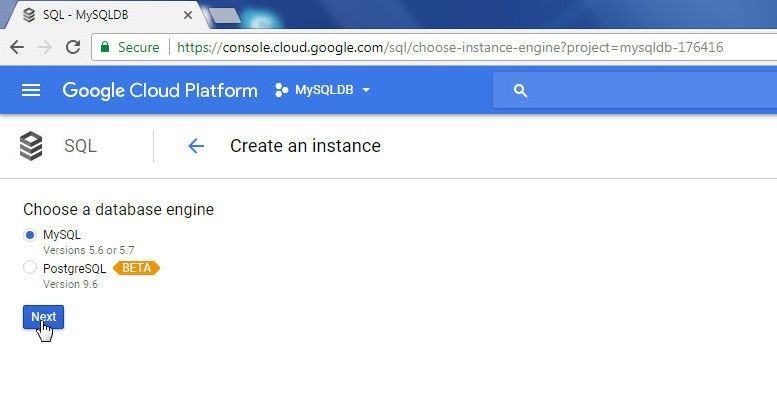
Figure 9. Create an instance Wizard
In Choose a MySQL instance type click on Choose Second Generation to select the MySQL Second Generation instance type, as shown in Figure 10. Some of the benefits of the Second Generation instance type are also listed in Figure 10.
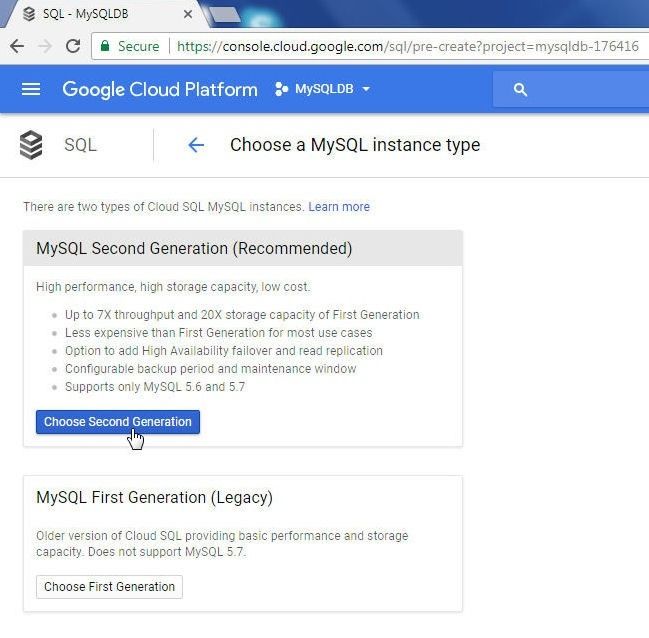
Figure 10. Choosing Second Generation MySQL Instance Type
In Create a MySQL Second Generation instance (Figure 11) specify an Instance ID and a Root password, and select a Region and Zone.
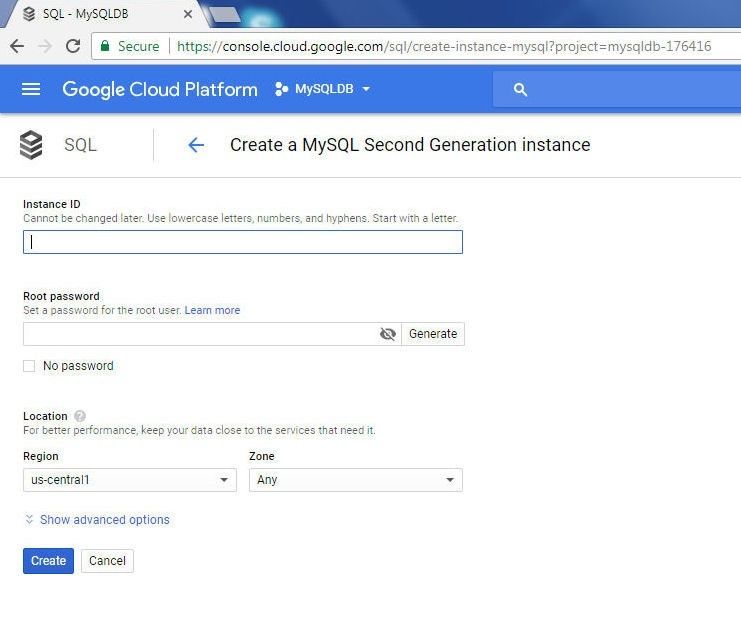
Figure 11. Create a MySQL Second Generation instance
Click on Show advanced options to list the advanced options, as shown in Figure 12.
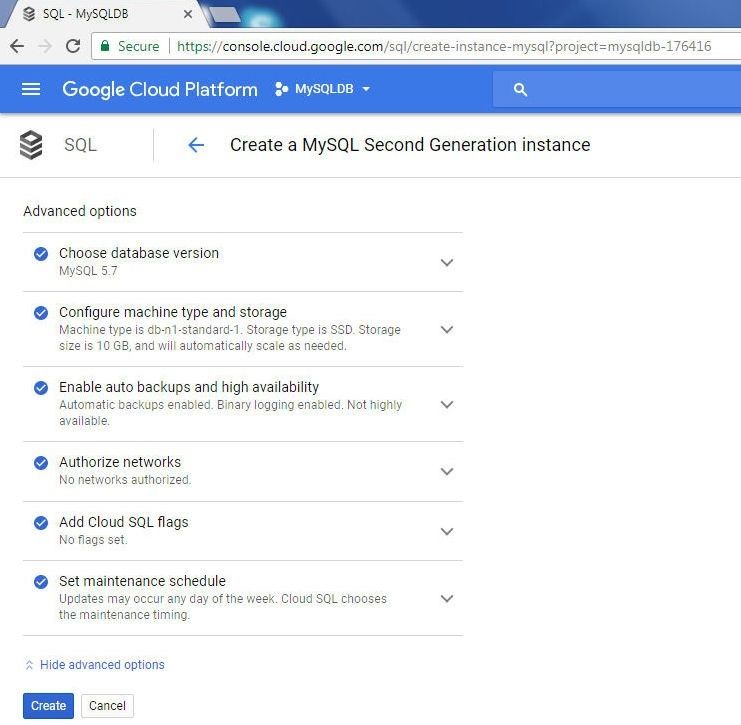
Figure 12. Advanced Options
Click on Create to create a MySQL instance as shown in Figure 13.
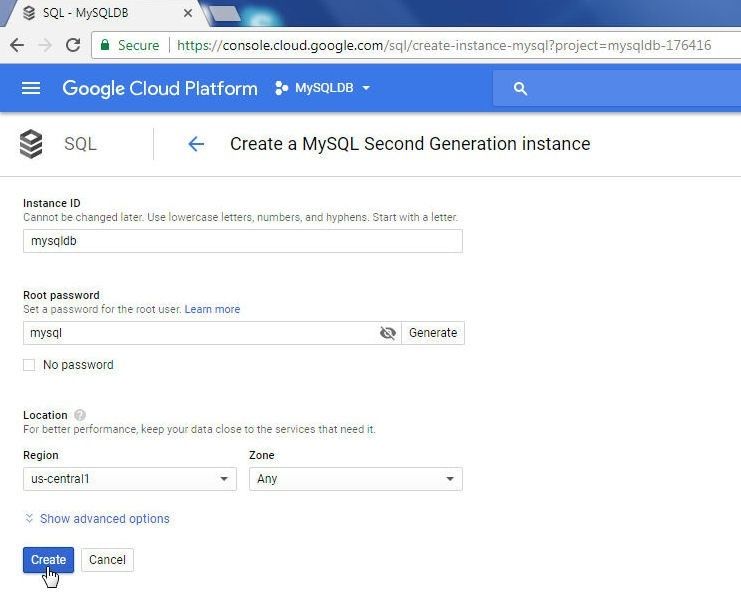
Figure 13. Create
A MySQL instance starts to get created, as shown in the Instances table in Figure 14.
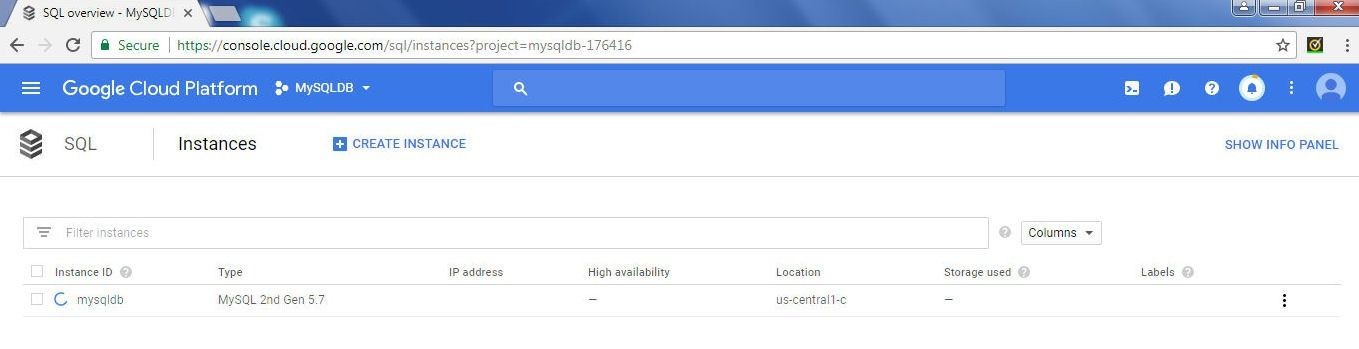
Figure 14. MySQL instance being created
When the MySQL instance gets created the icon adjacent to the instance name indicates this, as shown in Figure 15.
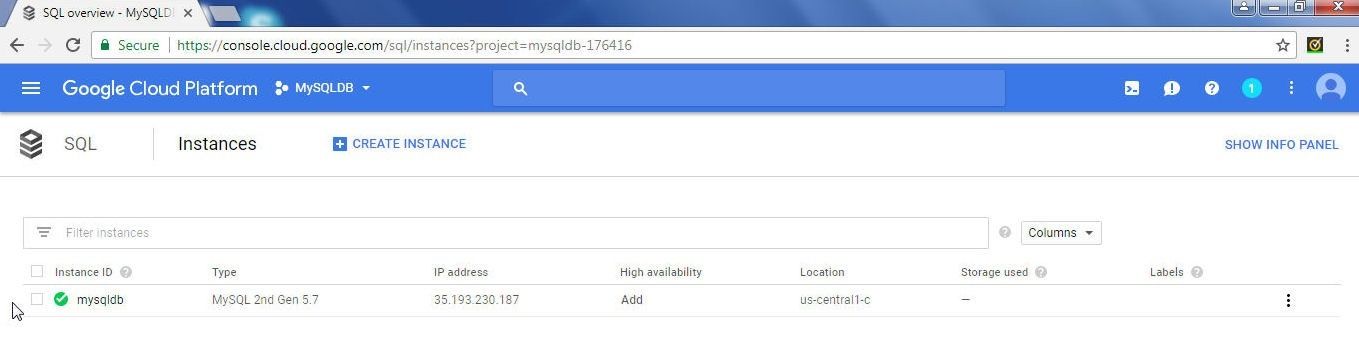
Figure 15. MySQL Instance Created
After creating a MySQL instance several options are available for the new instance; for which, click on the instance management icon for the database instance, as shown in Figure 16. Options include: Edit, Create read replica, Create clone and Delete. Click on Edit to edit an instance.
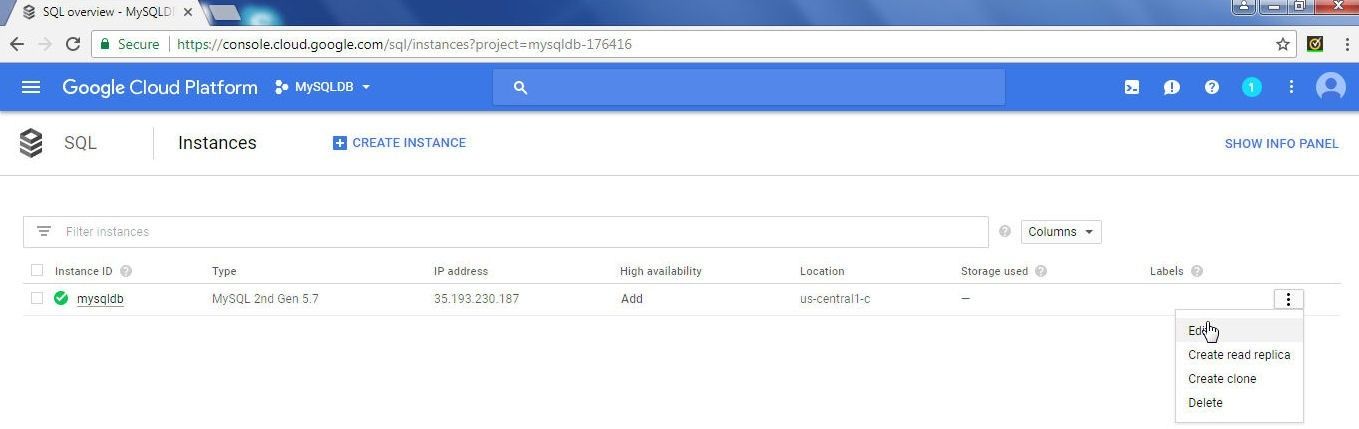
Figure 16. MySQL instance Options
The Edit instance page gets displayed, as shown in Figure 17. Not all MySQL instance settings may be edited. The settings that are not editable are grayed out, such as the Instance ID and Region, as shown in Figure 17. The Machine Type, which sets the vCPUs and Memory may, however, be edited.
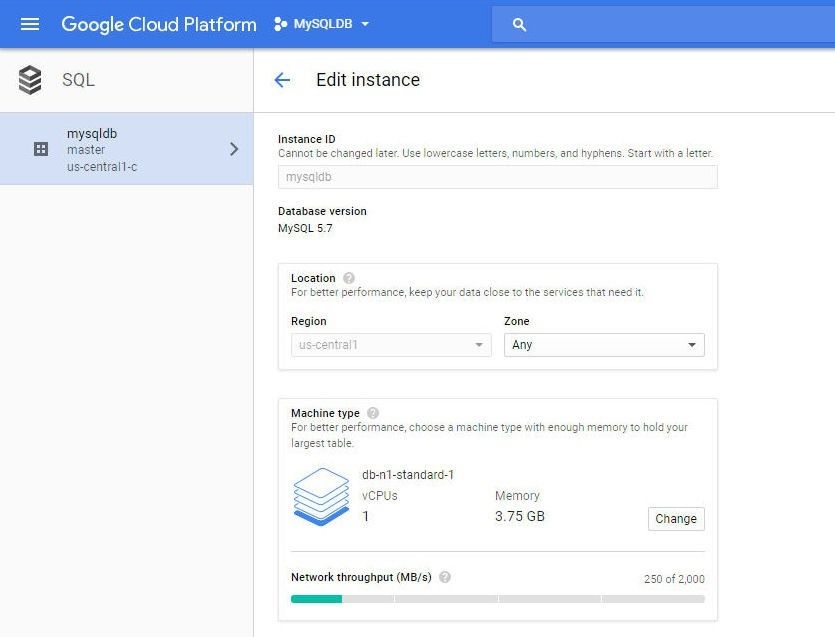
Figure 17. Edit instance
The Storage type choice (SSD) is permanent, but Storage capacity is editable, as shown in Figure 18. The Enable automatic storage increases option is editable and so is the Automate backups option.
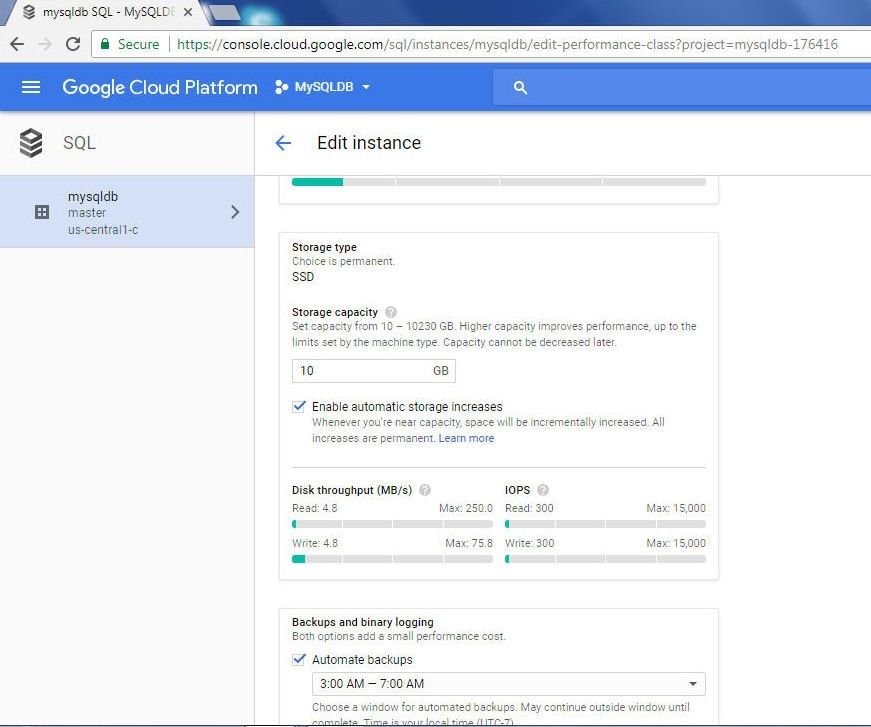
Figure 18. Editable and non-editable Options
Click on the mysqldb link in the Instances table to display the Instance Details, as shown in Figure 19. Toolbar options are provided for Edit, Import, Export, Restart, Stop, Delete, and Clone.
Figure 19. Instance Details
In the Connect to this instance header a Connect using Cloud Shell button is provided. The MySQL instance properties are listed in the Properties header, as shown in Figure 20.
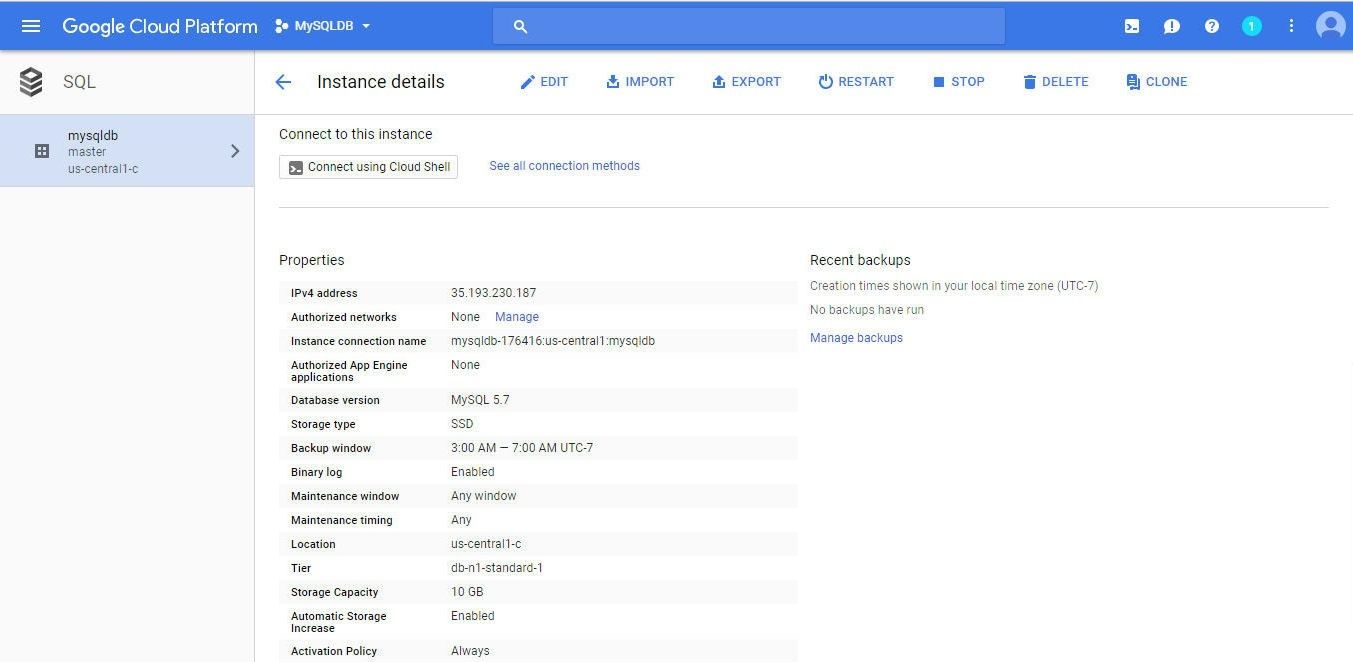
Figure 20. Instance Properties
Some of the MySQL instance properties, such as Storage used, get listed in the Instances table only after storage has been used, as shown in Figure 21. The Storage Used column was empty when the storage was not being used, as shown above in Figure 16.
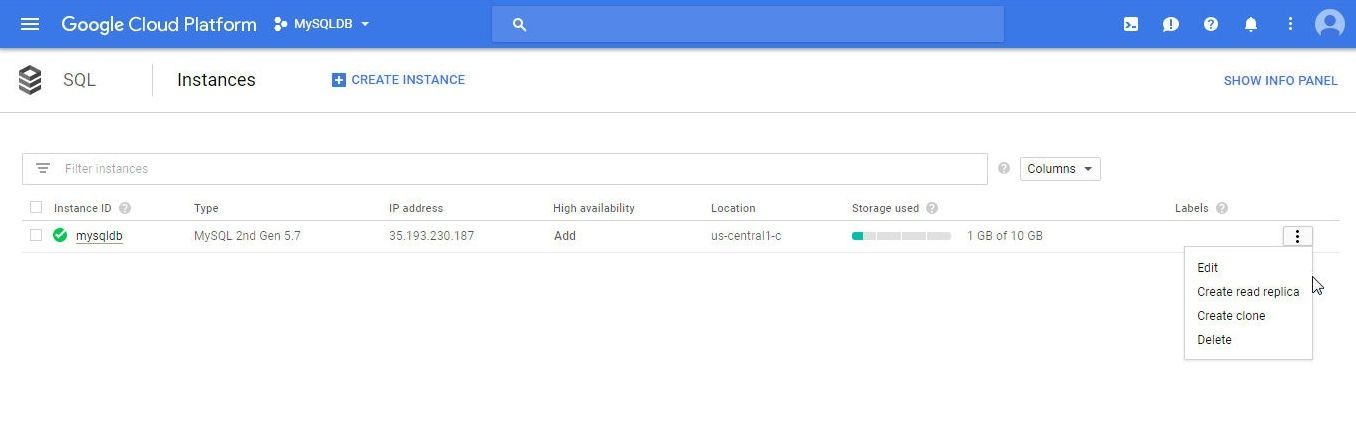
Figure 21. Storage Used 1GB of 10.0GB
Adding a Network to the CloudSQL Instance
To be able to connect from Toad Edge to a CloudSQL instance we need to configure access for the IP address on which Toad Edge is running. First, determine the IP address of the machine on which Toad Edge is running. The IP address may be obtained from http://ipv4.whatismyv6.com/ . Having obtained the IP address, next we shall add a network consisting of the IP address to the MySQL instance on CloudSQL. Click on the management icon for the MySQL instance and select Edit, as shown in Figure 22.
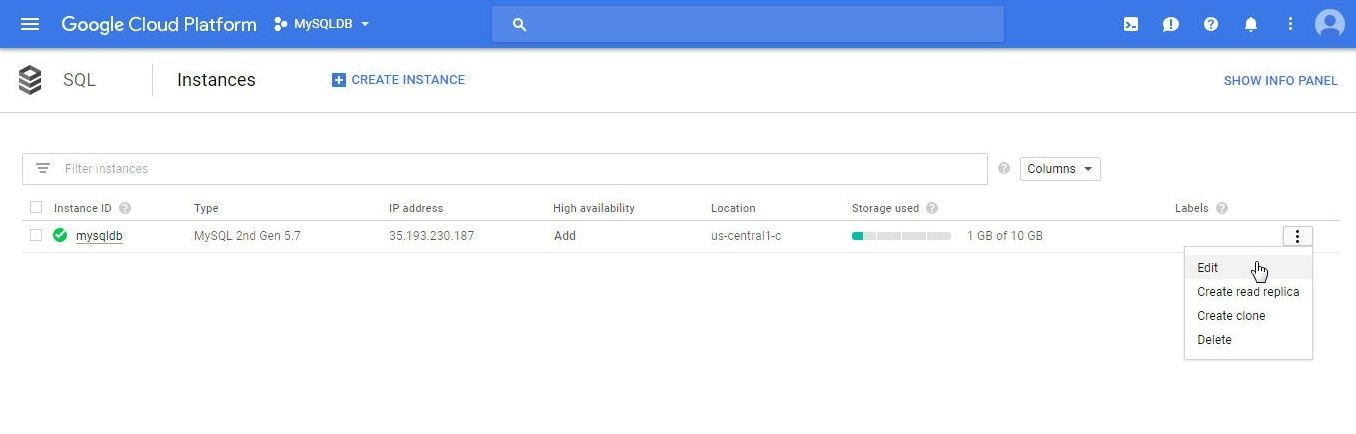
Figure 22. Edit
Click on Access Control as shown in Figure 23. Subsequently, click on Add network, which is also shown in Figure 23.
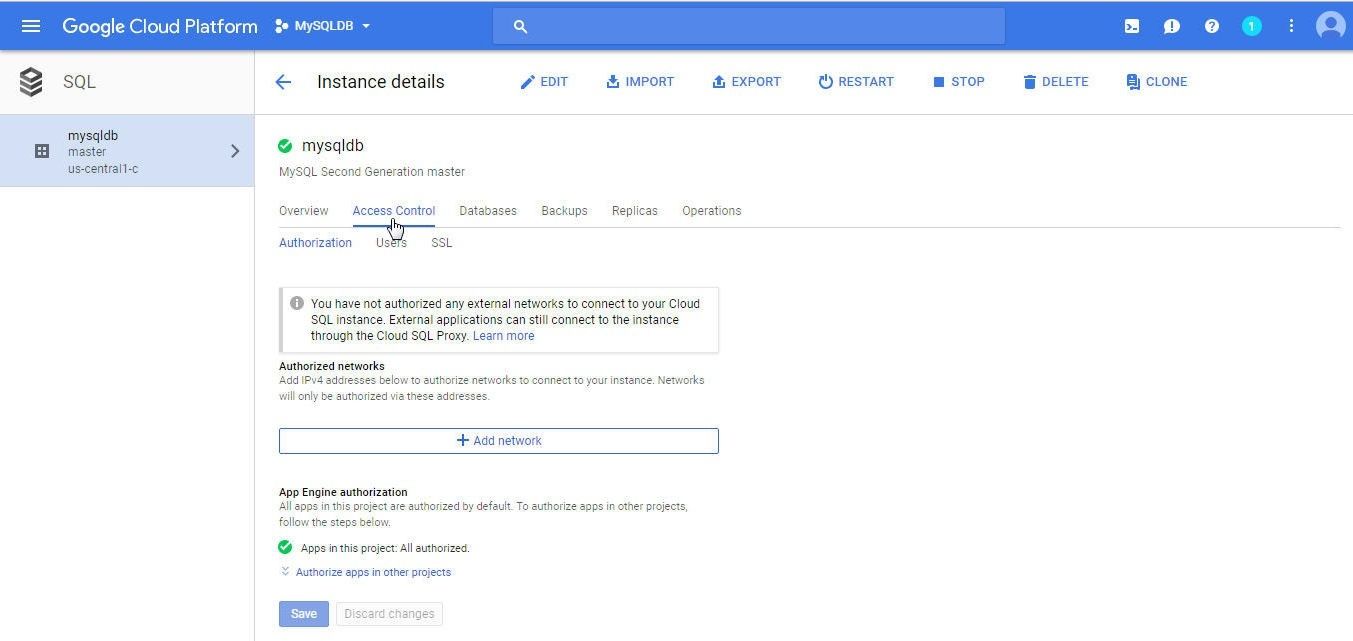
Figure 23. Access Control
Alternatively, click on Add network in Authorized networks as shown in Figure 24.
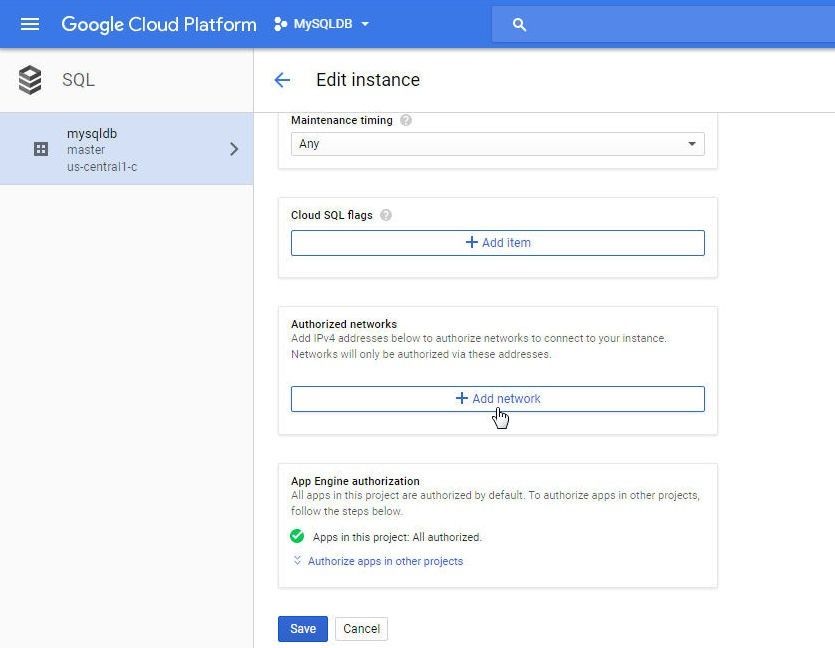
Figure 24. Authorized networks>Add network
In New network specify a network Name and a Network IP address, as shown in Figure 25, and click on Done.
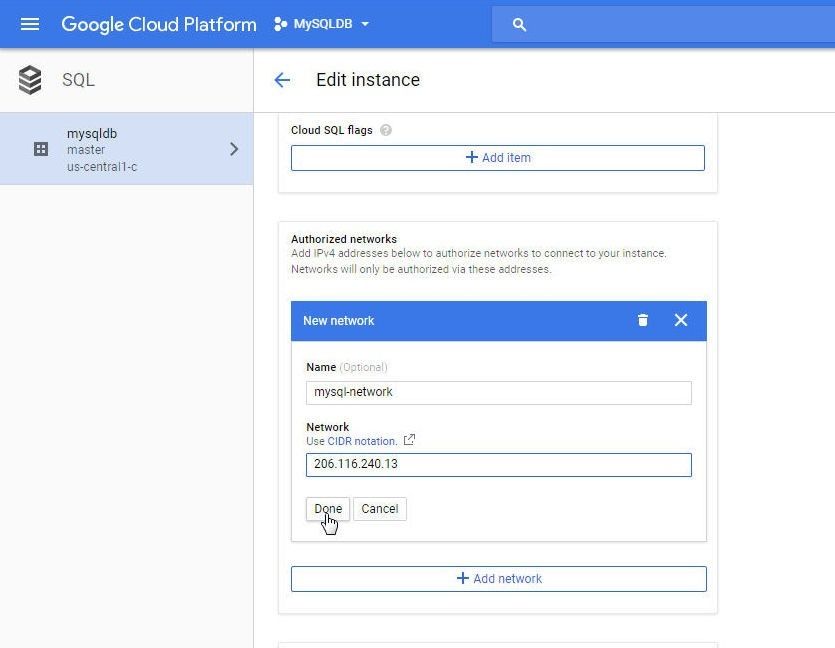
Figure 25. New network
A new network gets added, as shown in Figure 26. Click on Save to save the network.
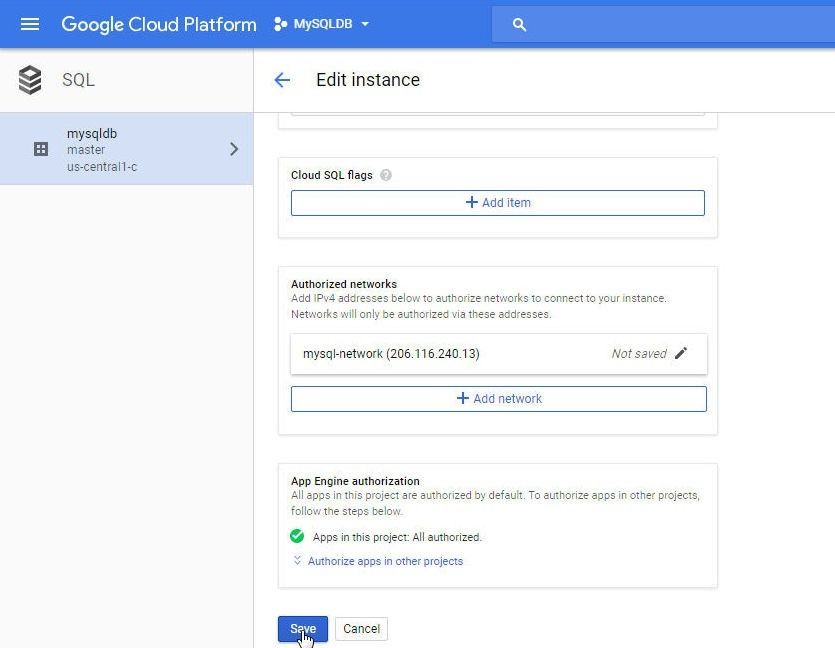
Figure 26. Saving new network
An “Instance is being updated” message gets displayed, as shown in Figure 27.

Figure 27. Instance is being updated
When the instance has been updated the instance icon indicates this, as shown in Figure 28.
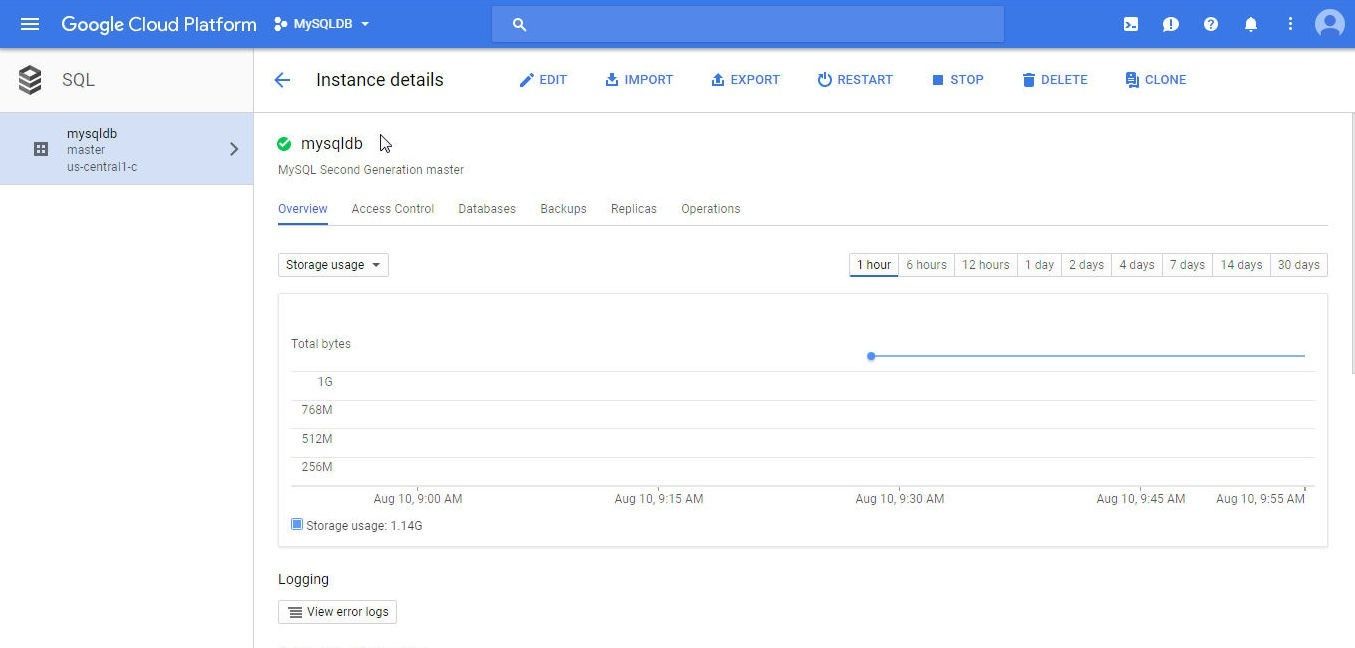
Figure 28. Instance Updated
The new network gets listed in Authorized networks on the Instance Details page, as shown in Figure 29.
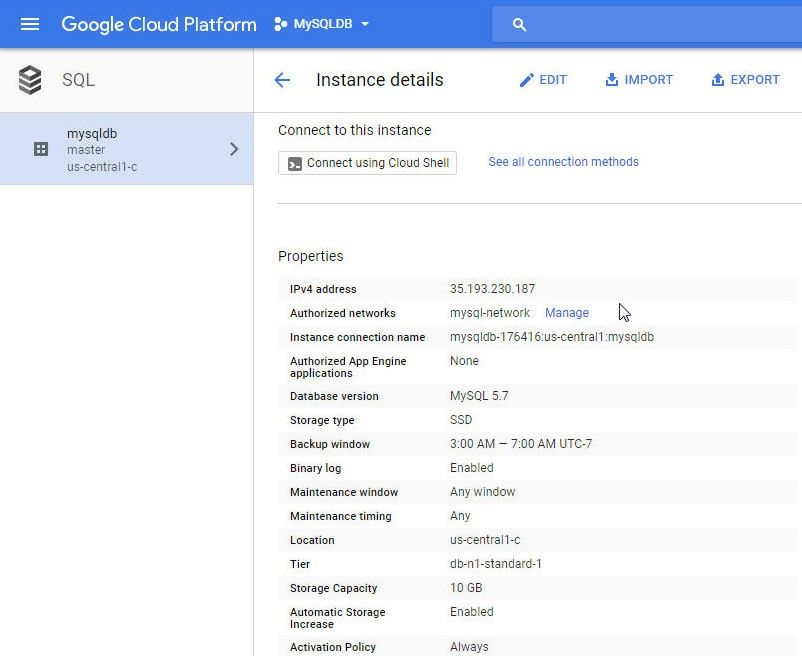
Figure 29. New Network mysql-network
Using Toad Edge with Cloud SQL
In this section and its subsections we shall use Toad Edge with the MySQL instance on CloudSQL.
Connecting to CloudSQL
To connect to CloudSQL select Connect>New Connection in Toad Edge as shown in Figure 30.
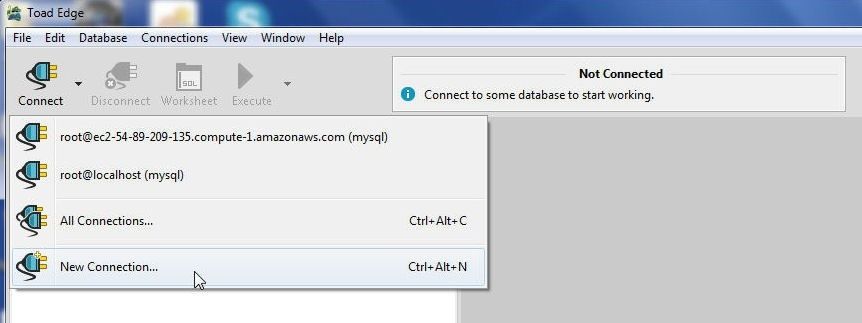
Figure 30. Connect>New Connection
In the New MySQL Connection wizard shown in Figure 31, specify Host, Port, Database, User and Password. Copy the IP Address for the mysqldb CloudSQL instance from the Instances table as shown above in Figures 15 and 16. Add the IP Address to the Host field. Specify Port as 3306, Database as mysql, User as root and the Password as configured for the CloudSQL instance. Keep other settings as the default. Click on Test Connection.
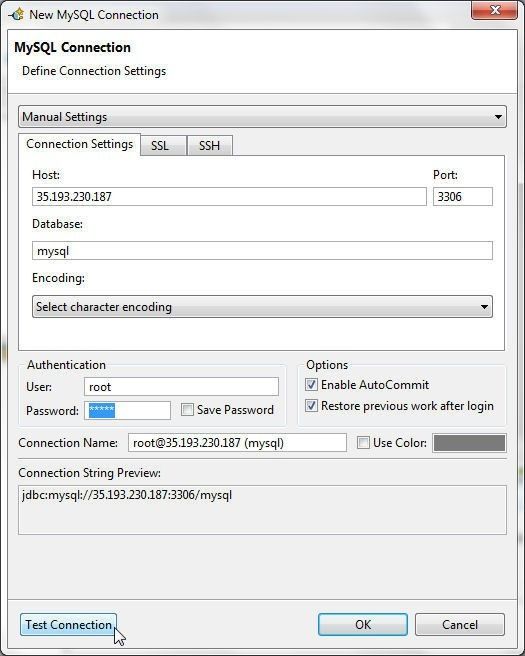
Figure 31. New MySQL Connection
If the connection gets established the message “Connection is OK” gets displayed, as shown in Figure 32. If a connection does not get established an error message gets displayed which could be used to fix the issue causing the error. Click on OK.
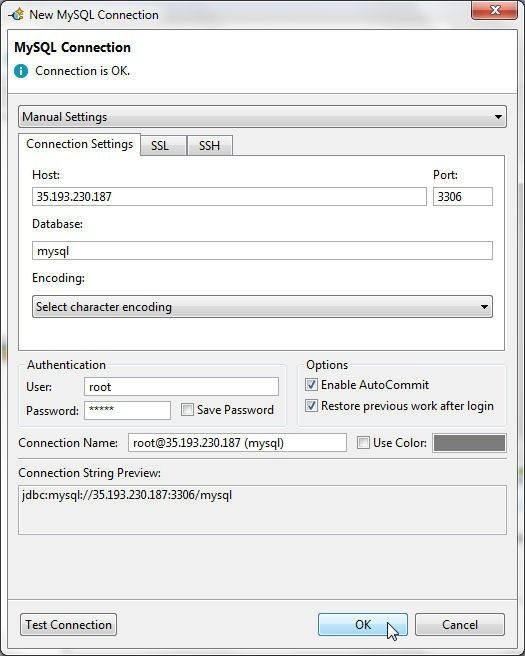
Figure 32. Connection is OK
A new connection gets created and added to the Connections view, as shown in Figure 33.
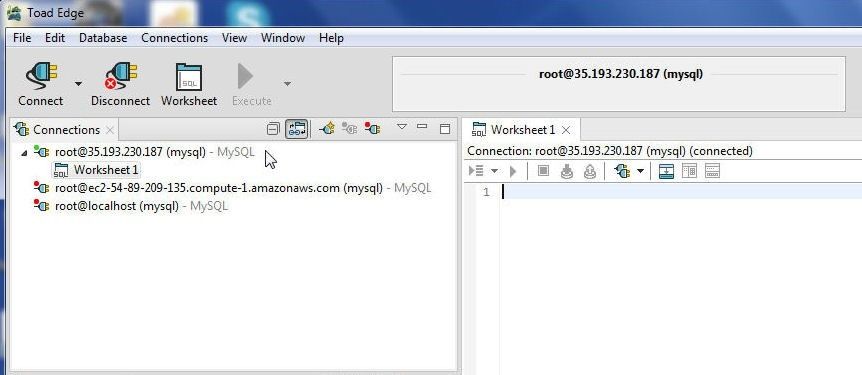
Figure 33. Connection added in Toad Edge
Setting Active Database
The Object Explorer lists Databases. The database currently being used is indicated by the blue icon, as shown in Figure 34.

Figure 34. Active Database
To make another database as the active database, for example, the mysql database, right-click on the database and select Set Active Database, as shown in Figure 35.

Figure 35. Setting Active Database
The mysql database becomes the active database, as shown in Figure 36.
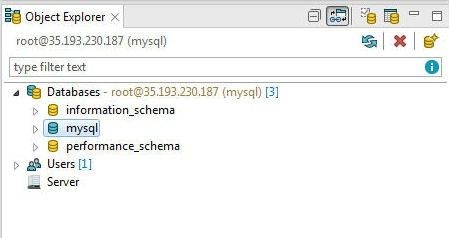
Figure 36. Active Database mysql
Creating a Database
To create a new database click on Create a New Database in Object Explorer as shown in Figure 37.
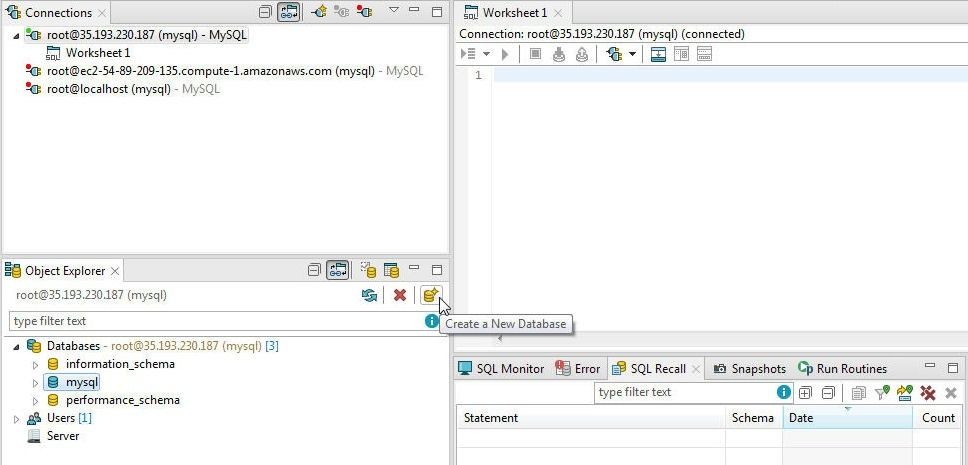
Figure 37. Create a New Database
In the New Database wizard specify a database Name (test) and, with the default settings for Character Set and Collation, click on Finish as shown in Figure 38.
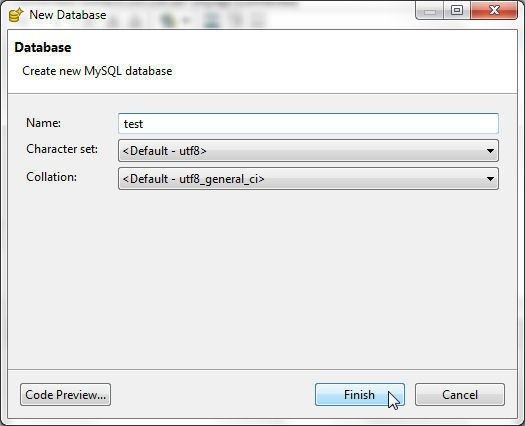
Figure 38. New Database wizard
A new database test gets added, as shown in Figure 39.
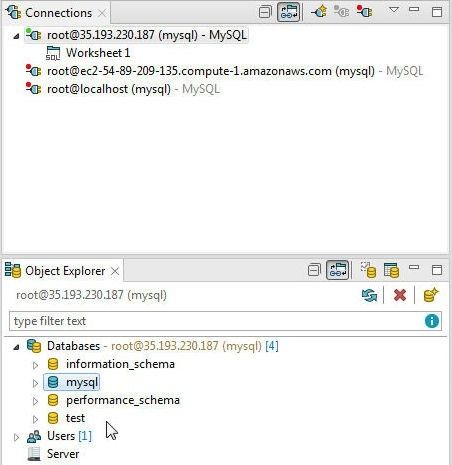
Figure 39. New Database test Created
Set the test database as the active database as explained before in section Setting Active Database by right-clicking on the test database node in Object Explorer>Databases and selecting Set Active Database as shown in Figure 40.
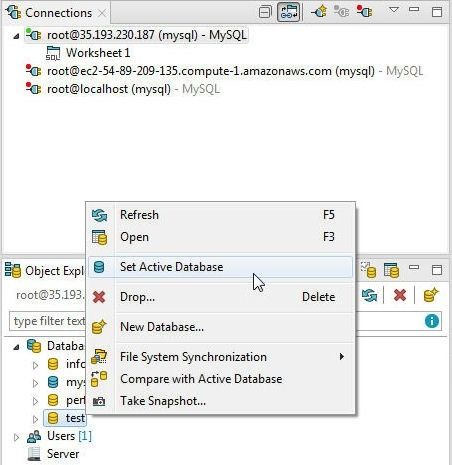
Figure 40. Setting test Database as Active Database
The test database becomes the active database, as shown in Figure 41.

Figure 41. Active Database set as test
Creating a Database Table
In this section we shall create a database table in the test database using Toad Edge. We shall use the following SQL script to create a table wlslog.
CREATE TABLE wlslog(time_stamp VARCHAR(255) PRIMARY KEY,category VARCHAR(255),type VARCHAR(255),
servername VARCHAR(255), code VARCHAR(255),msg VARCHAR(255));

INSERT INTO wlslog(time_stamp,category,type,servername,code,msg) VALUES('Apr-8-2014-7:06:16-PM-PDT',
'Notice','WebLogicServer','AdminServer','BEA-000365','Server state changed to STANDBY');

INSERT INTO wlslog(time_stamp,category,type,servername,code,msg) VALUES('Apr-8-2014-7:06:17-PM-PDT',
'Notice','WebLogicServer','AdminServer','BEA-000365','Server state changed to STARTING');

INSERT INTO wlslog(time_stamp,category,type,servername,code,msg) VALUES('Apr-8-2014-7:06:18-PM-PDT',
'Notice','WebLogicServer','AdminServer','BEA-000365','Server state changed to ADMIN');

INSERT INTO wlslog(time_stamp,category,type,servername,code,msg) VALUES('Apr-8-2014-7:06:19-PM-PDT',
'Notice','WebLogicServer','AdminServer','BEA-000365','Server state changed to RESUMING');

INSERT INTO wlslog(time_stamp,category,type,servername,code,msg) VALUES('Apr-8-2014-7:06:20-PM-PDT',
'Notice','WebLogicServer','AdminServer','BEA-000361','Started WebLogic AdminServer');

INSERT INTO wlslog(time_stamp,category,type,servername,code,msg) VALUES('Apr-8-2014-7:06:21-PM-PDT',
'Notice','WebLogicServer','AdminServer','BEA-000365','Server state changed to RUNNING');

INSERT INTO wlslog(time_stamp,category,type,servername,code,msg) VALUES('Apr-8-2014-7:06:22-PM-PDT',
'Notice','WebLogicServer','AdminServer','BEA-000360','Server started in RUNNING mode');
Copy the SQL script to the Worksheet1 as shown in Figure 42. One SQL Worksheet gets created when a new connection is created.

Figure 42. Worksheet1
Click on Execute All Statements as shown in Figure 43.
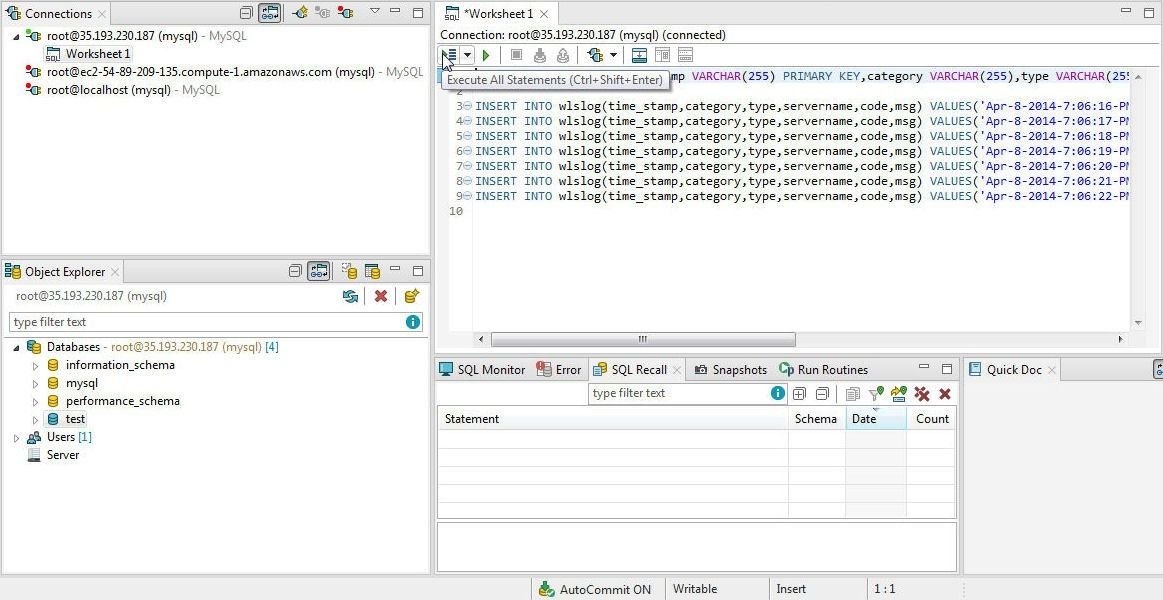
Figure 43. Execute All Statements
As a message indicates “8 statements processed” and the SQL Recall lists the SQL statements processed, as shown in Figure 44.
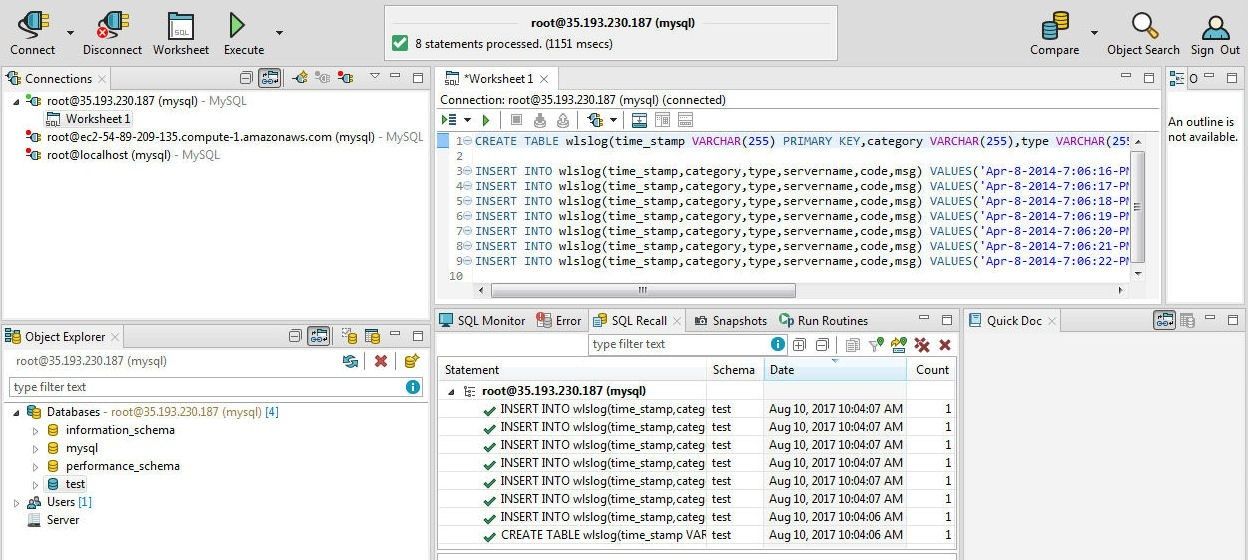
Figure 44. SQL Statements Processed
The new table wlslog gets listed in the test database in Object Explorer>Tables, as shown in Figure 45.
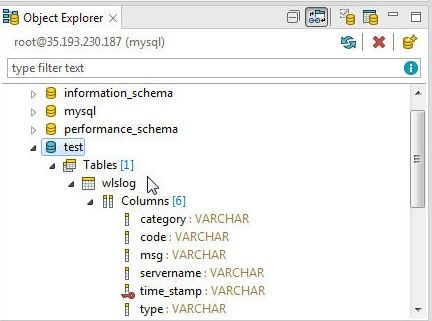
Figure 45. Table test>wlslog Created
Querying the Database Table
To query the database table created, click on Open SQL Worksheet to add a new SQL Worksheet for the connection, as shown in Figure 46.
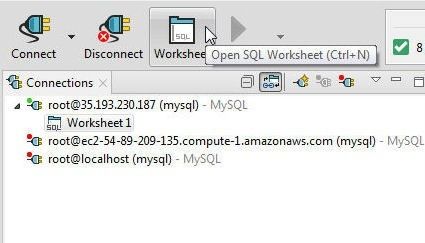
Figure 46.Open SQL Worksheet
A new SQL Worksheet Worksheet2 gets added, as shown in Figure 47.
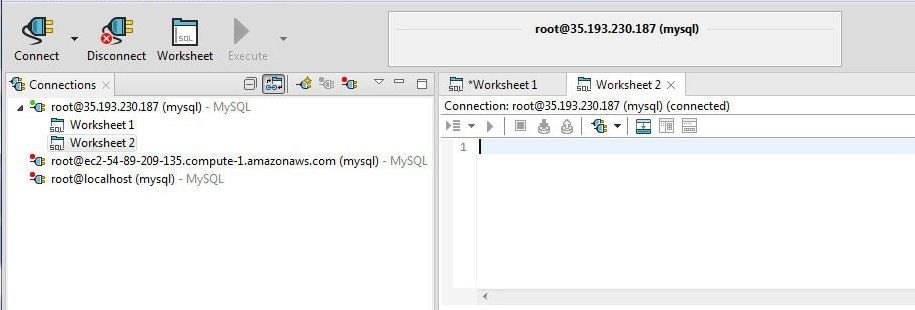
Figure 47. SQL Worksheet Worksheet2 added
Add a SQL statement in the Worksheet2 SELECT * FROM. A SQL code-assist dialog gets opened. Select the wlslog table in the test database as shown in Figure 48.
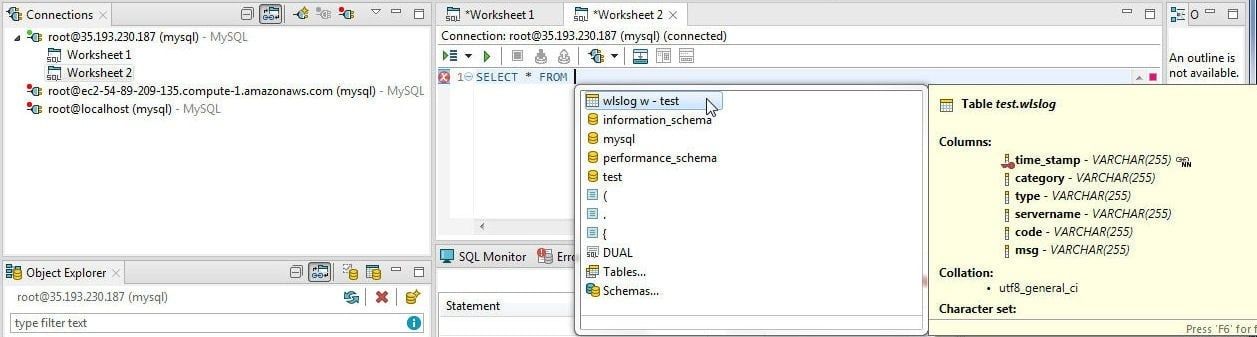
Figure 48. Selecting a Table from SQL Code-Assist
Click on Execute SQL Statement as shown in Figure 49.
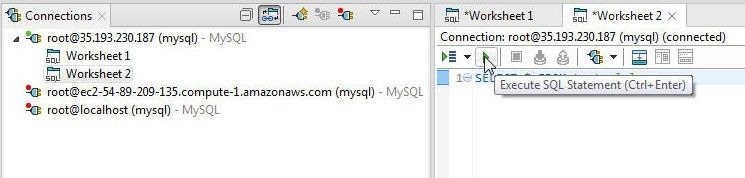
Figure 49. Execute SQL Statement
As the message “Fetched 7” indicates, 7 rows get fetched, as shown in Figure 50.

Figure 50. Result Set
Disconnecting from CloudSQL
To disconnect from the CloudSQL MySQL instance right-click on the connection and select Disconnect as shown in Figure 51.
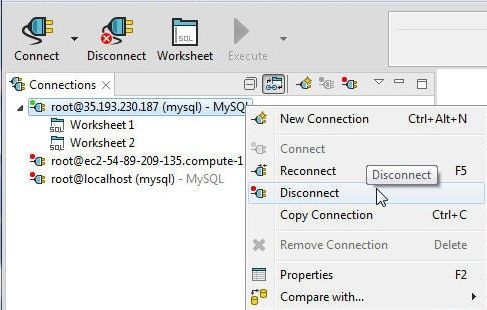
Figure 51. Disconnect
The connection gets disconnected, as shown in Figure 52.
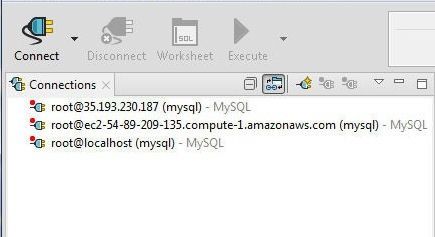
Figure 52. Connection Disconnected
Deleting a CloudSQL Instance
To delete the CloudSQL instance mysqldb select Delete in the Instances table as shown in Figure 53.
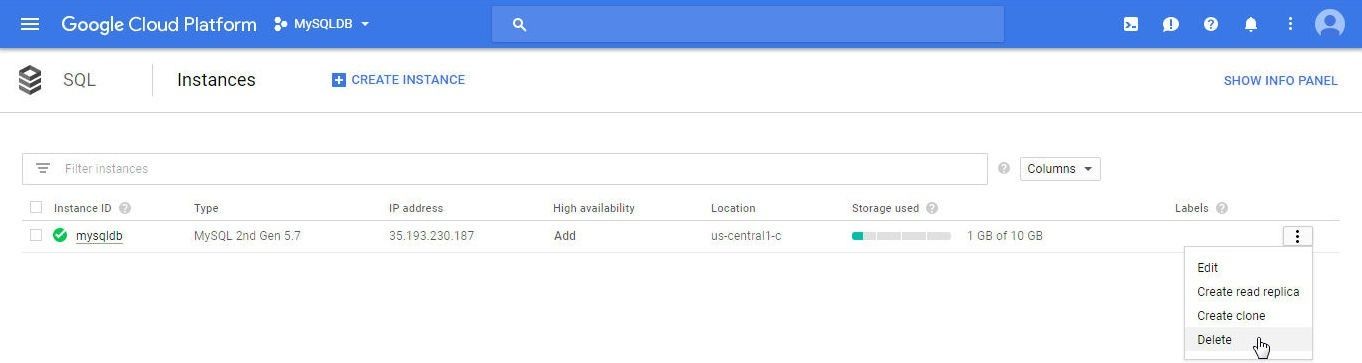
Figure 53. Selecting Delete in CloudSQL Instances Table for MySQL Instance mysqldb
In the Delete Instance? confirmation dialog add the instance ID mysqldb in the field and click on Delete as shown in Figure 54.
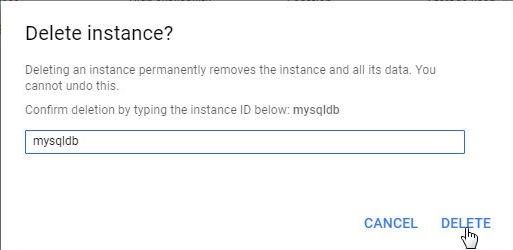
Figure 54. Delete instance? Confirmation Dialog
The mysqldb instance gets deleted and does not get listed in the Google Cloud Platform>CloudSQL Dashboard, as shown in Figure 55.

Figure 55. The CloudSQL Dashboard does not list the mysqldb Instance
Conclusion
In this tutorial we discussed using Toad Edge with a MySQL database instance on CloudSQL, a managed service for MySQL and PostgreSQL databases on Google Cloud Platform. Benefits of CloudSQL include Second Generation instances with support for MySQL 5.6 or 5.7, high availability by replicating data across multiple zones and by automatic failover, flexible and automatically scaling storage up to 10TB based on the InnoDB Storage Engine, secure connections with CloudSQL Proxy and Secure Sockets Layer (SSL).
Benefits of Toad Edge include an integrated database development and management environment with built-in support for connecting to MySQL database, running SQL scripts, querying a database, comparing schemas, SQL worksheet code-assist, management of user privileges, Import/Export wizard, and database snapshots.
Start the discussion at forums.toadworld.com