Introduction
In this article we will show you how to deploy Cassandra to Oracle Container Cloud Service with Docker on Oracle Cloud. To do this, you need to create a container as the single instance only on Oracle Container instances. Development with Docker instances is popular among software development teams because it simplifies the process of building and shipping apps. It is mostly used in Dev or RC for testing to save the time.
Create the Container Service
- Log in to your Oracle Cloud services account. Then go to the Oracle Container Cloud Service page and create a new service:
- For Service Name enter Cassandra
- For SSH Public Key, enter rsa-key-20170111.pub
- For Admin Username enter admin
- From the Metering Frequency list, select whatever frequency is appropriate for your environment
- Set an administrative password of your choice and confirm the password
- From the Compute Shape list, select OC3 -1 OCPU, 7.5GB RAM (this is the bare minimum required)
- For Number of Worker Nodes enter 11
- For Worker Node Data Volume Size (GB) enter 30
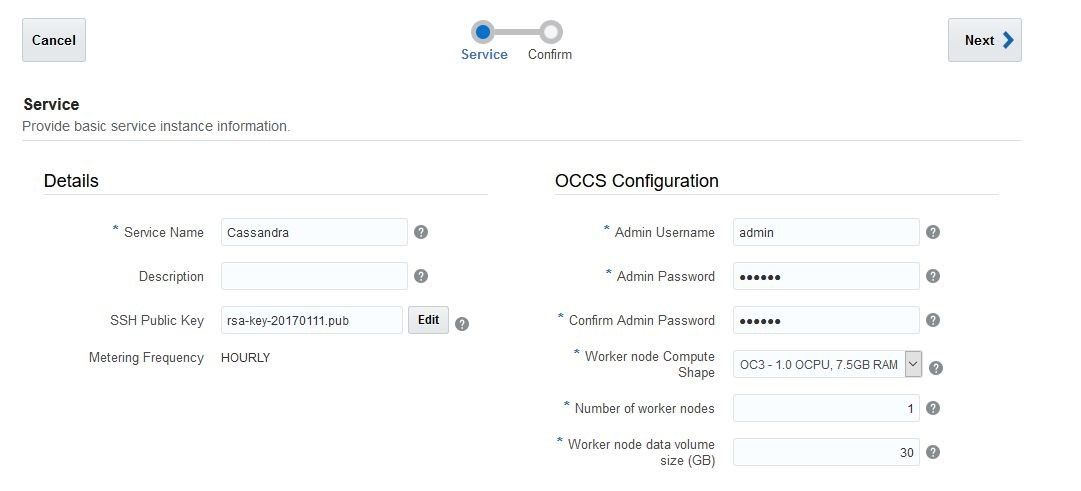
Figure 1. Creating a new container service
2. Finally, review the configuration and click Create to create your container service.

Figure 2. Creating the container cloud instance
After you click the Create button your Container Service provisioning starts.
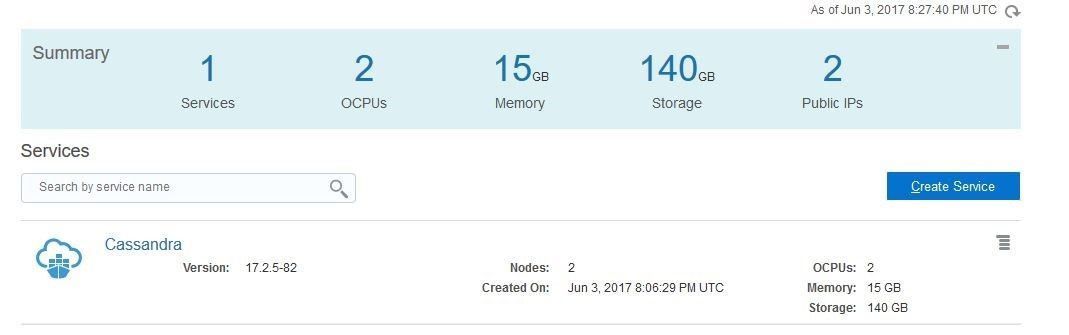
Figure 3. The container service has been created
3. Click the service name (Cassandra) to open the main page of the container (shown below).
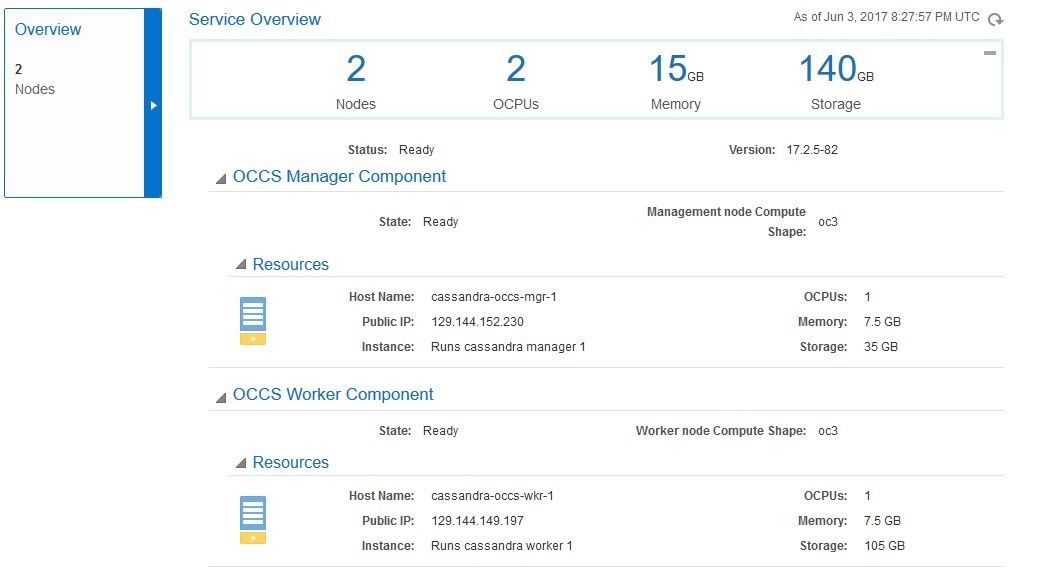
Figure 4. Main page of the container service
4. Select the Manage this Service dropdown icon to select the Container Console.
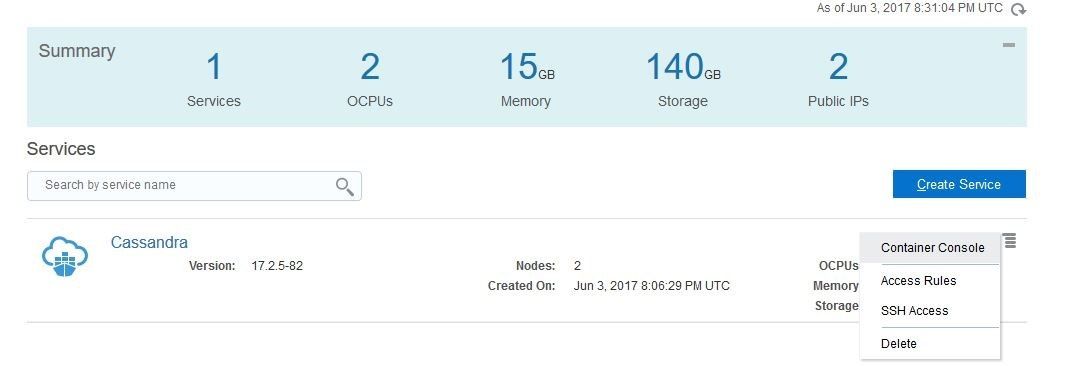
Figure 5: Select the Container Console
5. Using the login information, you entered while creating the Container Service, log into the Container Console:
Figure 6: Log into the Container Console
6. Click on the Quick Start Wizard from Dashboard.
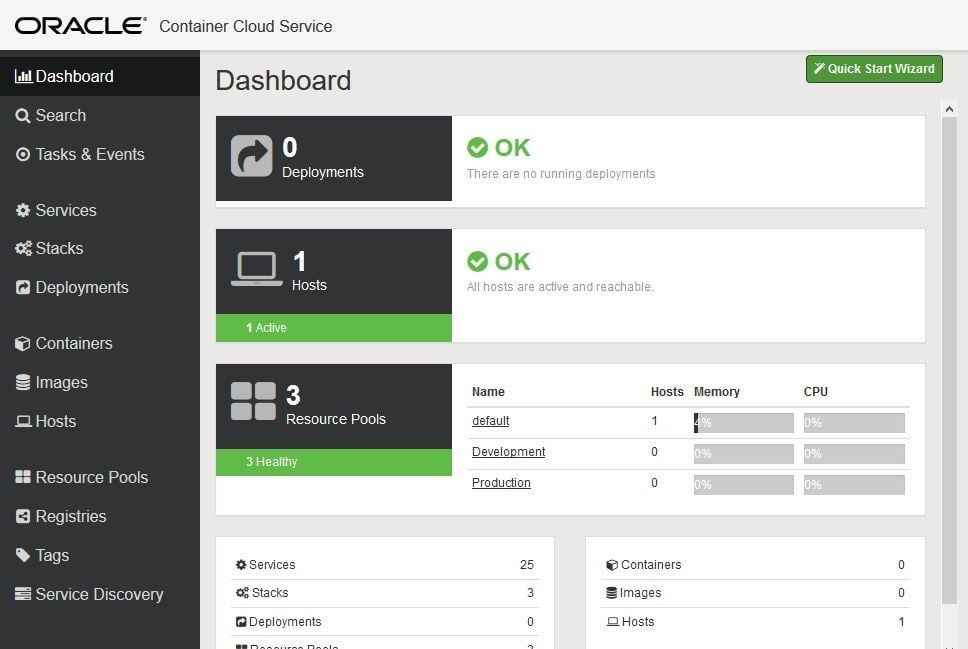
Figure 7: Dashboard
Deploy Cassandra on Container Service
Step 1: Select the default Resource Pool and Then click Next to continue.
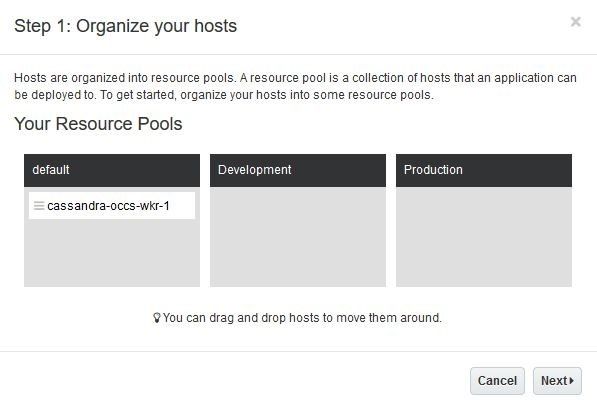
Figure 8: Resource Pool
Step 2: Select the Cassandra from containers launch menu and then click Next to continue.
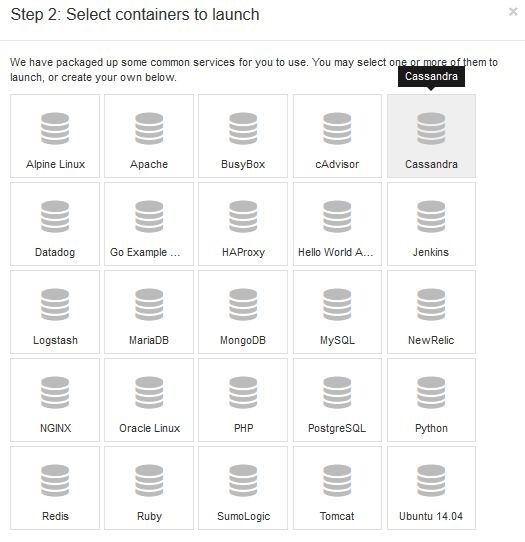
Figure 9: Containers Launch Menu
Step 3: Enter the Name of stack and click Launch to deploy Cassandra on your container service.

Figure 10: Deployment information
After a few minutes, your deployment will complete.
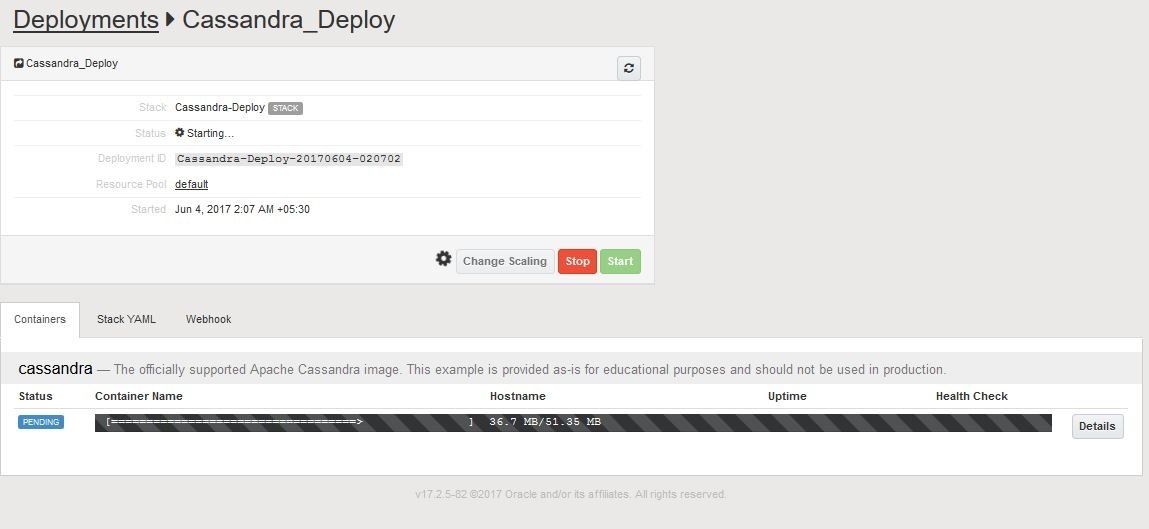
Figure 11: Deployment started
After sucessful installation , your display will look as shown below.
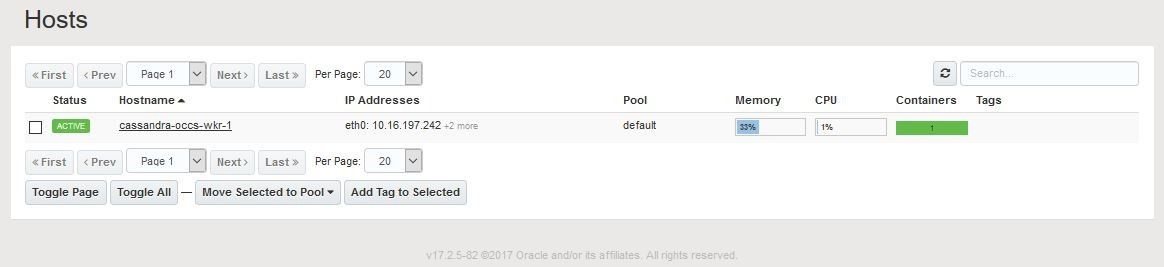
Figure 12: Deployment active
Login to Cassandra on Container Service
Step 1: With a successful deployment, we need to get the Public IP to login to the server. To get the Public IP, Click on Hosts in Cloud Container.
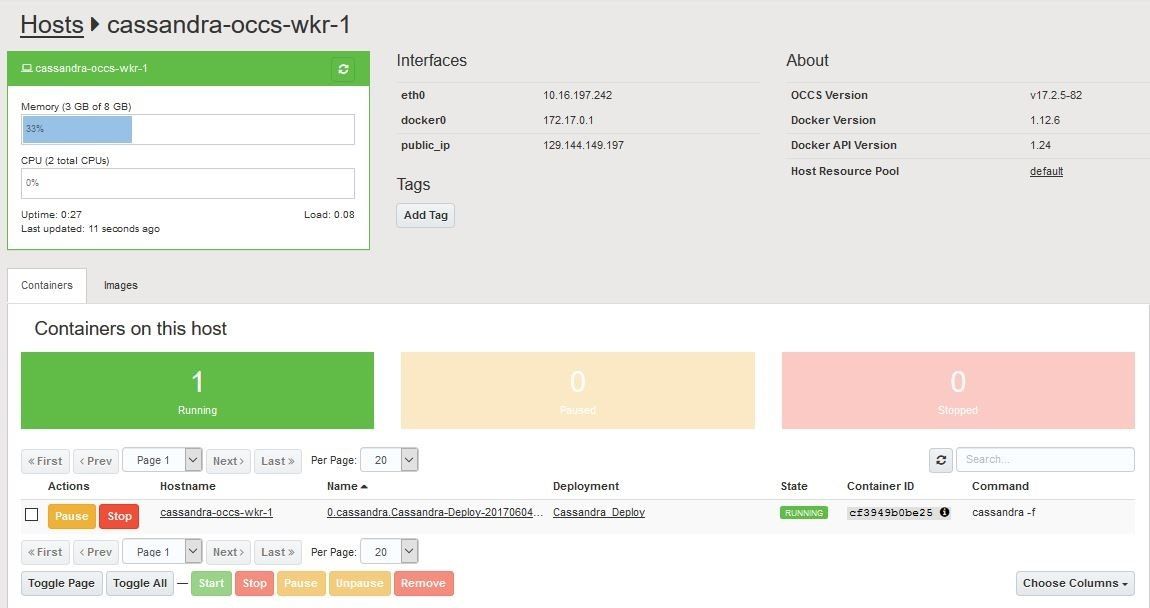
Figure 13: Hosts service
Connect the Container Service
Step 1: Open instance of the PuTTY executable and connect to the machine using SSH public key and Public IP.
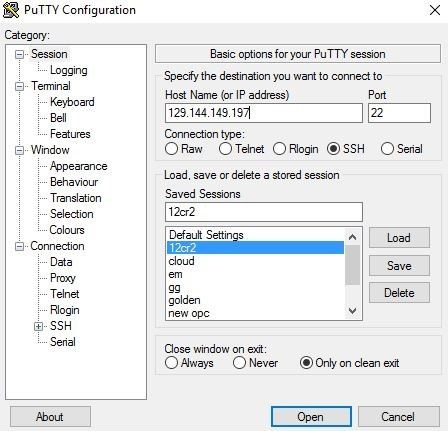
Figure 14. Connecting to both machines using PuTTY
Step 2: Check the docker status and connect to Cassandra with cqlsh.
[root@cassandra-occs-wkr-1 ~]# docker ps |
Conclusion
So now you know that it is very easy to deploy Cassandra on Container Cloud Services with Docker.
We hope this article has proved useful and we invite you to continue reading our next publications focused on Oracle Cloud.
Skant Gupta is an Oracle Certified Cloud Professional in Oracle Database 12c, an Oracle Certified Expert in Oracle Real Application Clusters (Oracle RAC) in Oracle Database 11g, and an Oracle Certified Professional in Oracle Database 10g, 11g, and 12c. He works at Vodafone Technology in the UK and formerly worked as a senior DBA at Etisalat in Dubai. He has six years of experience with various Oracle technologies, focusing mainly on cloud, database, and high availability solutions, Oracle WebLogic Suite, and Oracle GoldenGate. He has presented at several Oracle user groups worldwide, most recently in the US, the United Arab Emirates, and India.
Start the discussion at forums.toadworld.com