Oracle Cloud Platform with its Oracle Platform-as-a-Service (PaaS) provides services in a cloud platform. The main component of the PaaS is Oracle's Database-as-a-Service (DBaaS). In Q3 2016 Oracle upgraded the DBaaS to Oracle Database 12c R2. Oracle also made available several other new cloud services including the Oracle MySQL Cloud service, which was discussed in an earlier article. Oracle’s Data Integration Cloud Service offers data ETL (extract, transform, and load) and data replication features for workloads that process data across the PaaS services, including Oracle Database as a Service and Oracle Big Data Cloud Service. Oracle Big Data Cloud Service supports big data frameworks such as Apache Hadoop and Apache Kafka. Oracle NoSQL Cloud Service is designed for NoSQL applications. Oracle Big Data SQL Cloud Service spans over the big data stored in Apache Hadoop, NoSQL databases and Oracle database to provide a SQL query service.
Some of the collaboration features for Oracle database 12c are inherent in the cloud platform. Additionally, Oracle Developer Cloud Service makes it easier for developers to collaborate by integrating with commonly used collaboration tools such as Slack, Hashicorps' Packer, and Terraform. In this article we shall discuss using Oracle Database 12c R2 on Oracle Cloud Platform including collaboration features such as support for multiple users. This article has the following sections:
- Setting the Environment
- Creating an Oracle Database 12c R2 Service
- Connecting with the Oracle Database 12c R2 Service
- Creating an Oracle Database Table
- Stopping the Oracle Database Service
- Multiple Users in the Oracle Cloud Platform
- Adding Users in Bulk from a CSV File
Setting the Environment
To use the Oracle Database as a Service (DBaaS) a subscription to the Database Service is required on the Oracle Cloud. The subscription, which includes a Free Trial, may be obtained at https://cloud.oracle.com/database as shown in Figure 1.
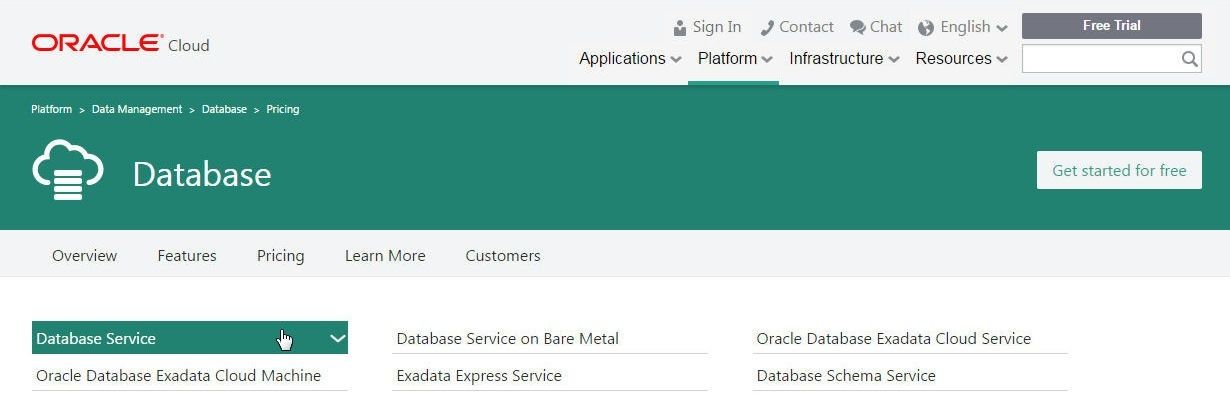
Figure 1. Subscribing to Oracle Cloud Database Service
Several editions of Oracle Database are available including Standard, Enterprise, High Performance, and Extreme Performance. For workgroup and department level applications select the Standard Edition as shown in Figure 2.
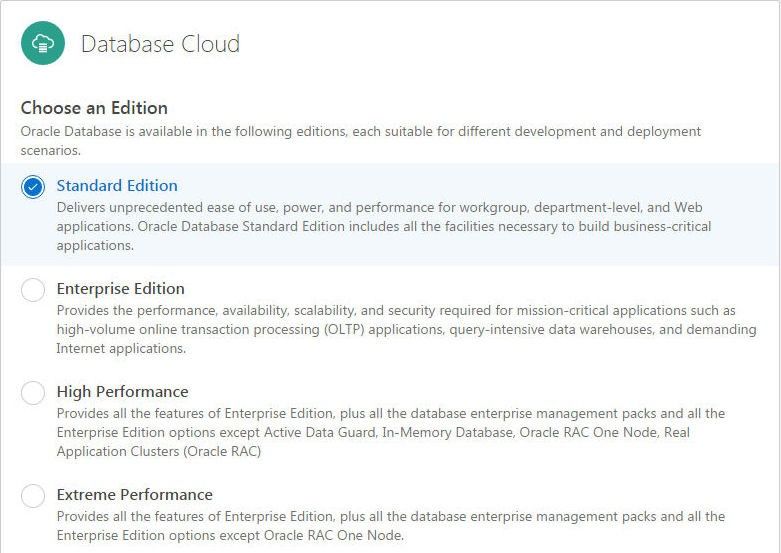
Figure 2. Standard Service
After you subscribe to the Database Service package on Oracle Cloud, you should receive an email notification from Oracle Cloud about the service being activated. To access the Oracle Cloud dashboard navigate to https://myaccount.cloud.oracle.com/mycloud/faces/dashboard.jspx. in a browser, as shown in Figure 3.
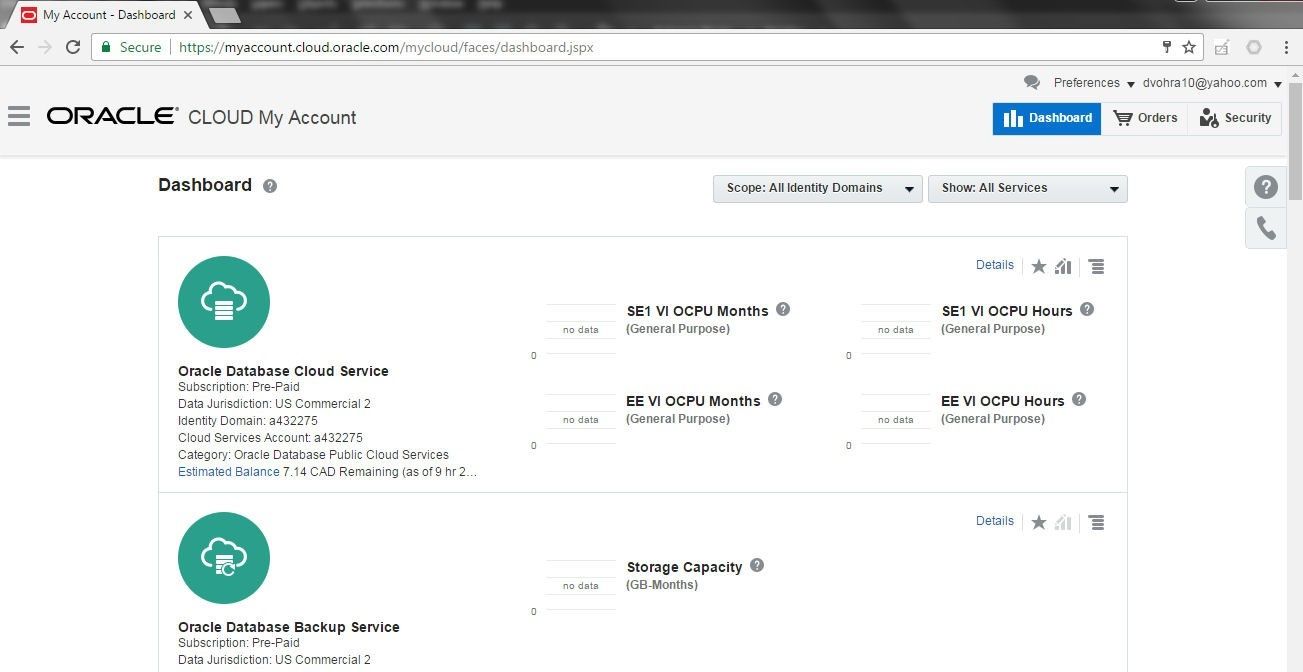
Figure 3. Oracle Cloud Dashboard
Included in the activation email message are the URLs for the different database services and the Username, Temporary Password, and Identity Domain required to access the services. Login to the services dashboard athttps://myservices.us.oraclecloud.com/mycloud/<identity domain>/faces/dashboard.jspx with the username, password, and identity domain, as shown in Figure 4.
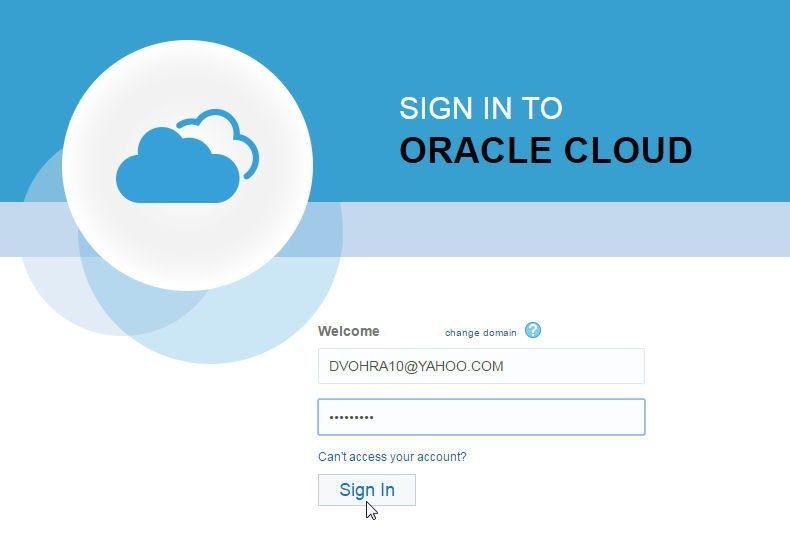
Figure 4. Logging in to Oracle Cloud Database Service
In the My Services Dashboard the Database service is for the Oracle Database 12c r2, as shown in Figure 5. The Compute service is for the VM.

Figure 5. My Services Dashboard
Click on the Database service to display the Oracle Database Cloud Service Details as shown in Figure 6.
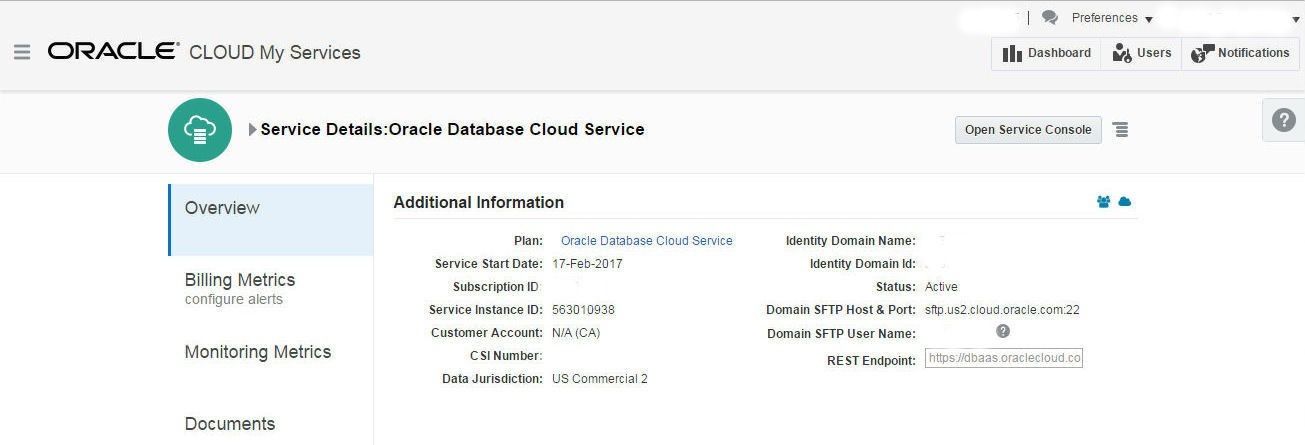
Figure 6. Service Details
Creating an Oracle Database 12c R2 Service
Click on the Open Service Console to display the Oracle Database Cloud Service console. Click on Create Service to create a service as shown in Figure 7.
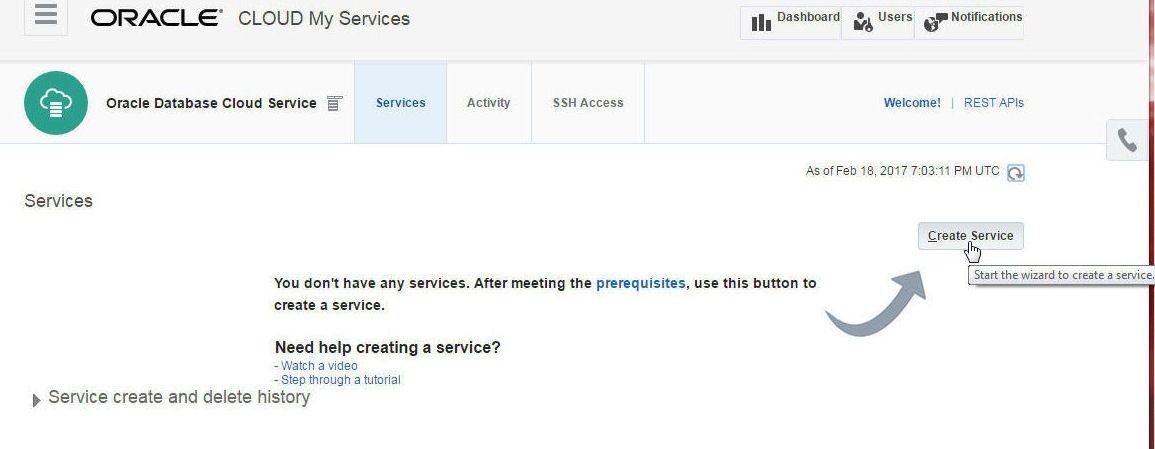
Figure 7. Create Service
Specify a Service Name (oradb, for example) and select Service Level as Oracle Database Cloud Service. Select Software Release as Oracle Database 12c Release 2 and Database Type as Single Instance, as shown in Figure 8.
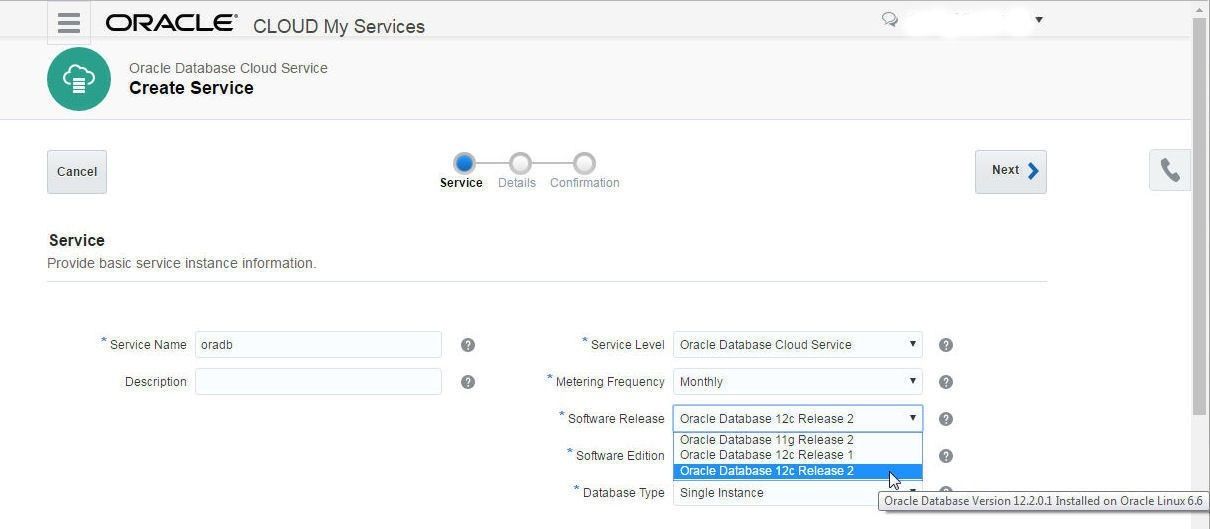
Figure 8. Selecting Software Edition
Click on Next as shown in Figure 9.
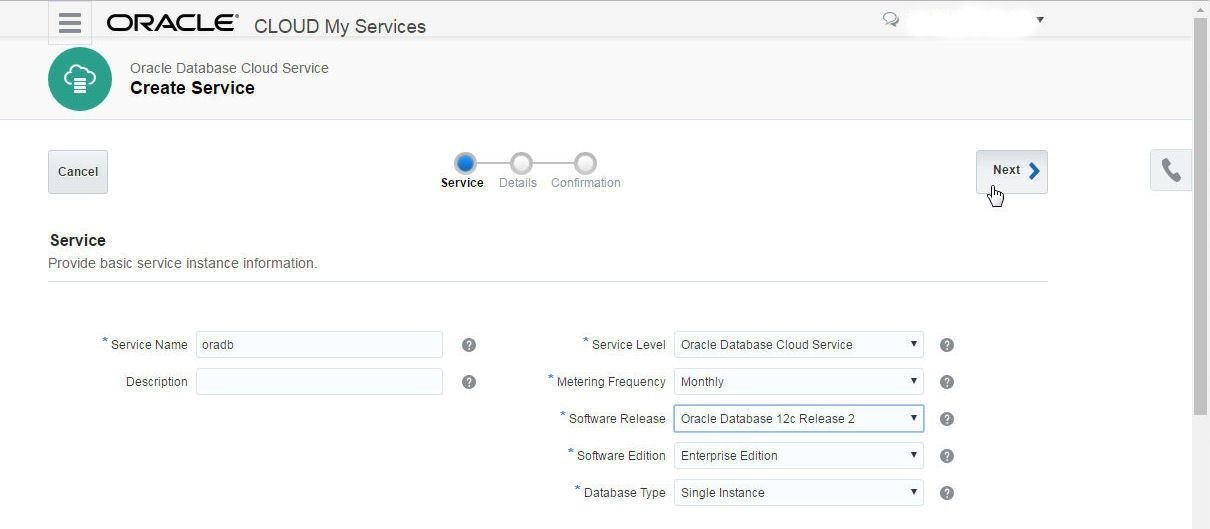
Figure 9. Service Instance Information
In Service Details specify the DB Name, which is also called the SID, the default setting being ORCL, as shown in Figure 10. Specify the Usable Database Storage (GB), Total Data File Storage (GB), and select a Compute Shape for CPU and RAM. To create a new SSH Public Key click on Edit.
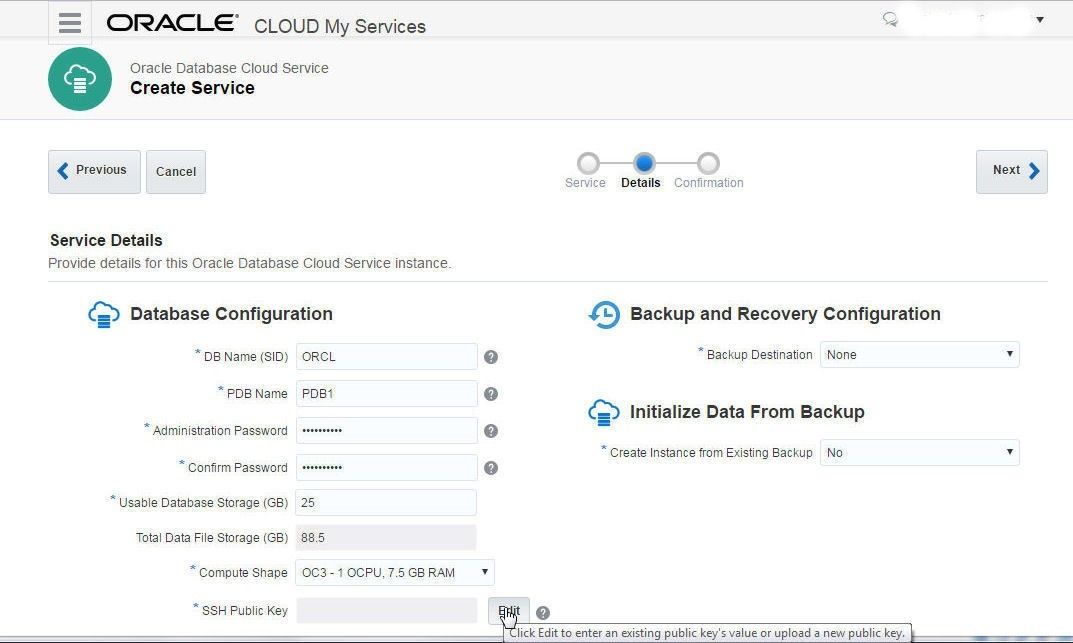
Figure 10. Service Details>Database Configuration

Select Create a New Key as shown in Figure 11 and click on Enter.
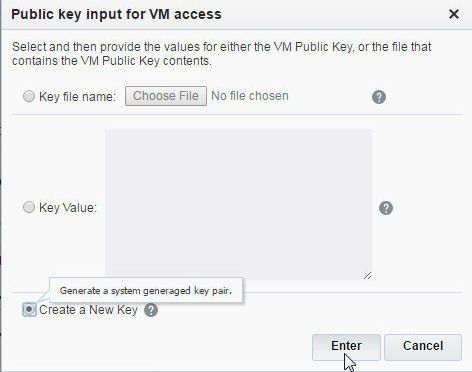
Figure 11. Public key input for VM access
A SSH Key pair gets created. Click on Download as shown in Figure 12 to download the SSH Key pair, which includes the privateKey and publicKey. The SSH Key Pair gets downloaded as a sshkeybundle.zip file. Extract the sshkeybundle.zip file to an sshkeybundle directory.
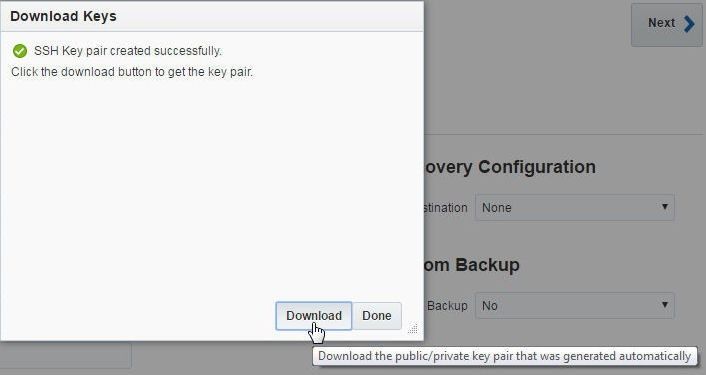
Figure 12. Downloading the public/private key pair
Keep default settings for Advanced Settings such as Listener Port, and Timezone, Character Sets as shown in Figure 13. Select Backup Destination as None or select from one of the backup options.
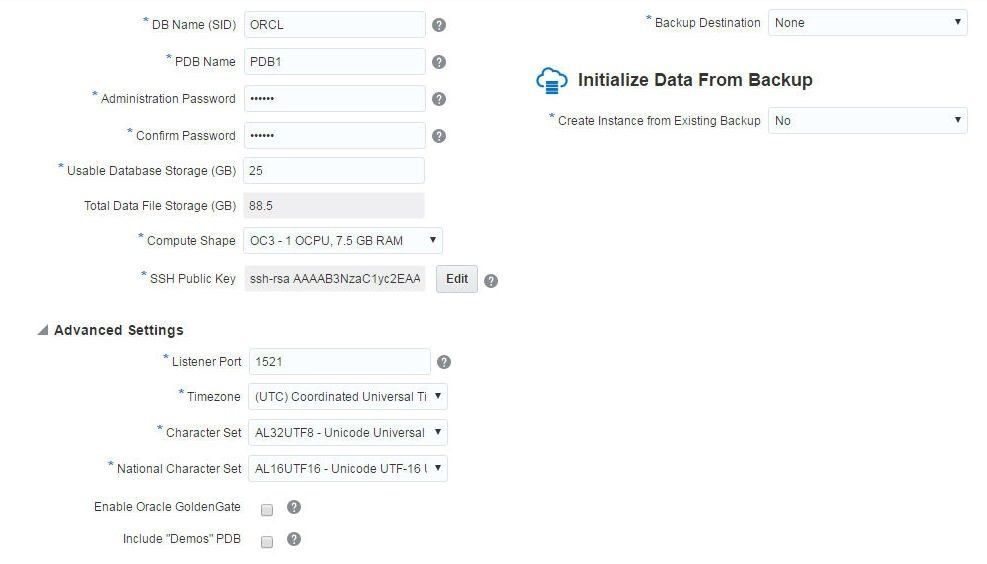
Figure 13. Configuring Advanced Settings
Click on Next as shown in Figure 14.
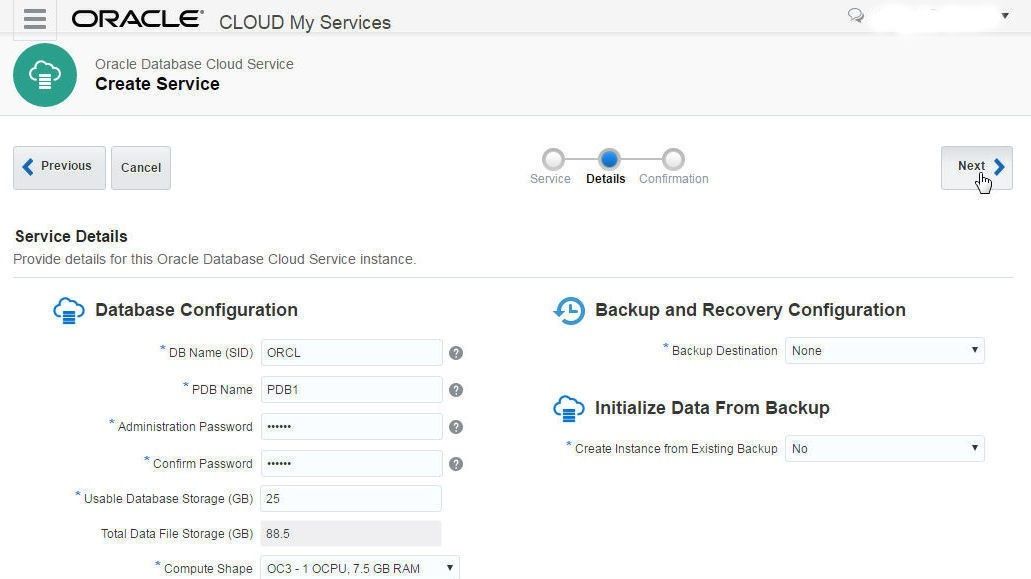
Figure 14. Service Details>Next
Click on Create in the Confirmation summary as shown in Figure 15.
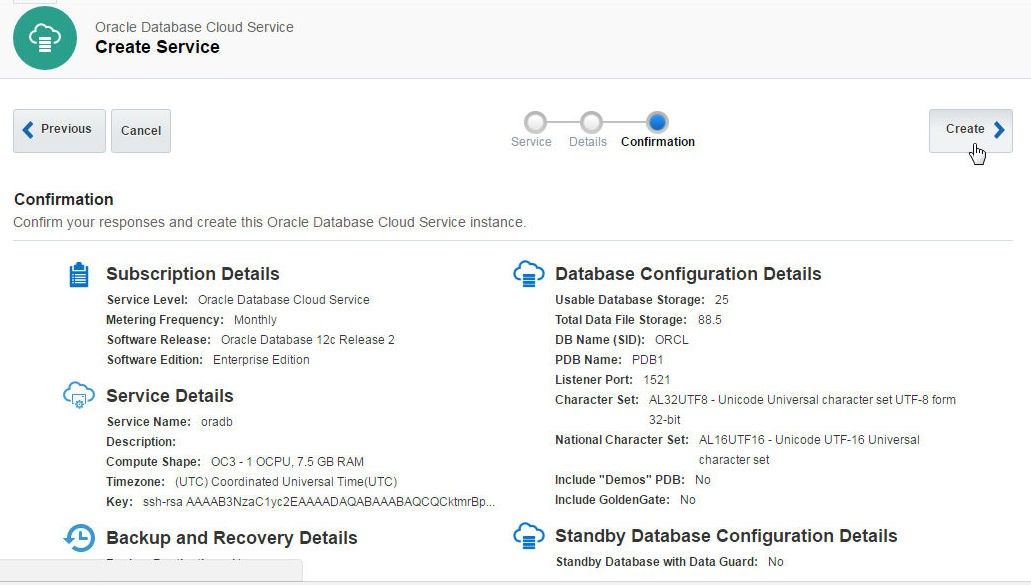
Figure 15. Confirmation>Create
A new Oracle Database service begins to get created. The “In Progress” Status message should get displayed initially, as shown in Figure 16.
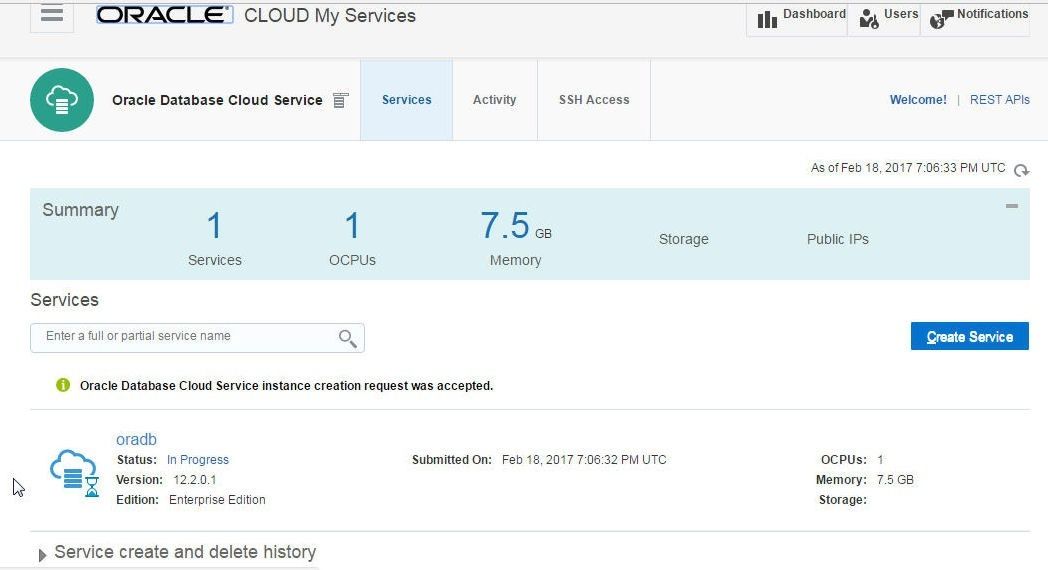
Figure 16. Oracle Database Cloud Service Instance creation In Progress – oradb
After the service has been created Storage gets allocated and the “In Progress” message is removed, as shown in Figure 17.

Figure 17. Oracle Database Cloud Service Instance creation Completed – oradb
A Database instance gets created as indicated in the My Services Dashboard in Figure 18. Running instances are shown in a green circle with the number for the number of instances.

Figure 18. My Services Dashboard with 1 Oracle Database Cloud Service Instance
Select the Activity tab to list the activity log, such as a service being created, scaled, or deleted, as shown in igure 19.
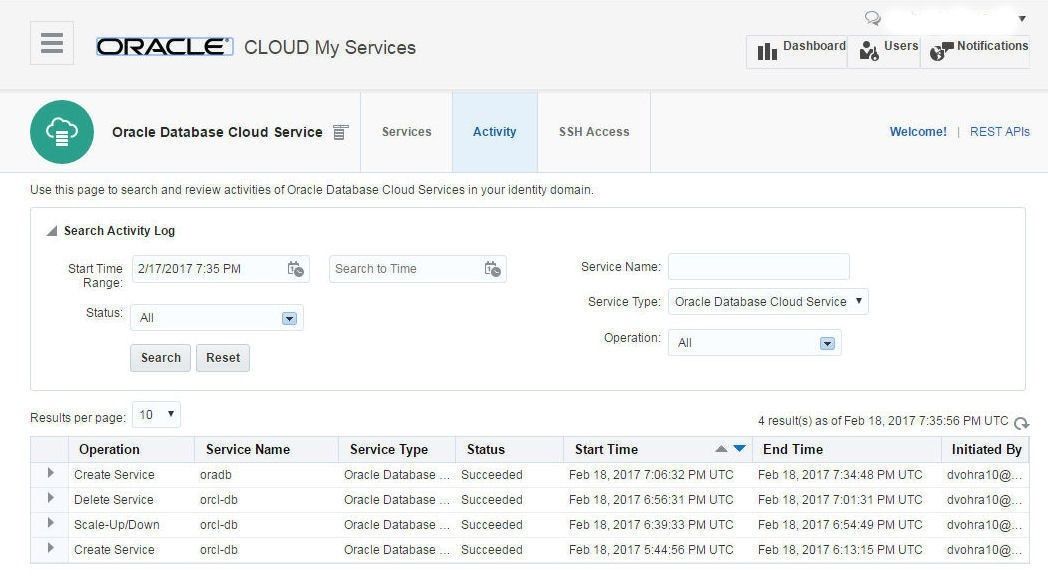
Figure 19. Activity Log
The "Service create and delete history" lists the time-stamped activities in the provisioning of a new database service, as shown in Figure 20.
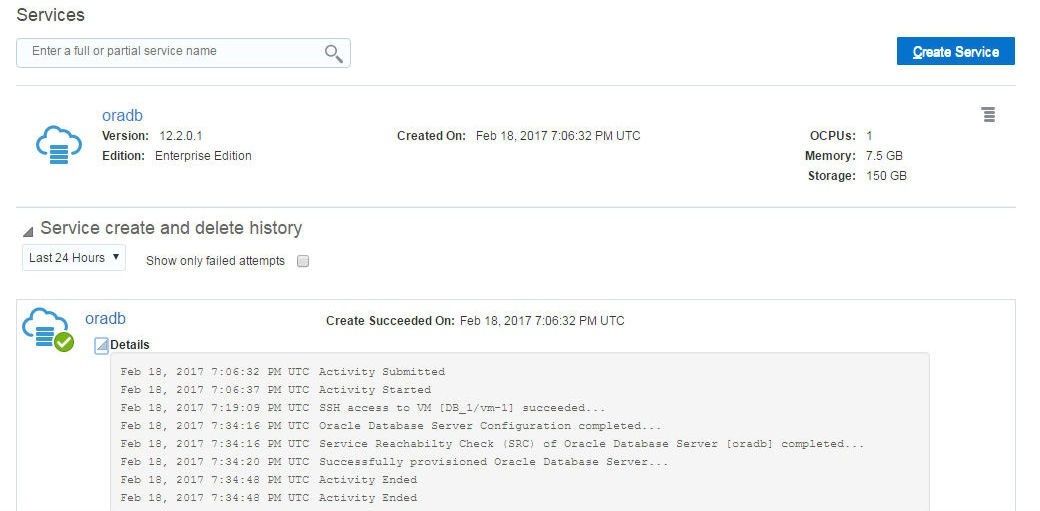
Figure 20. Service create and delete history
The Oracle Database Cloud Service consists of several services including Oracle Container Cloud Service and Oracle MySQL Cloud Service in addition to the Oracle Database Cloud Service, as shown in Figure 21.
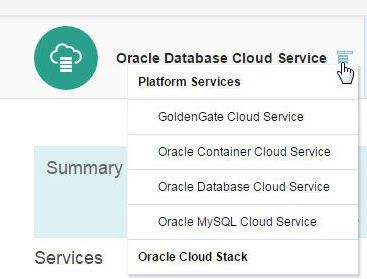
Figure 21. Oracle Database Cloud Service Platform Services
Click on the oradb service to view the service detail as shown in Figure 22.
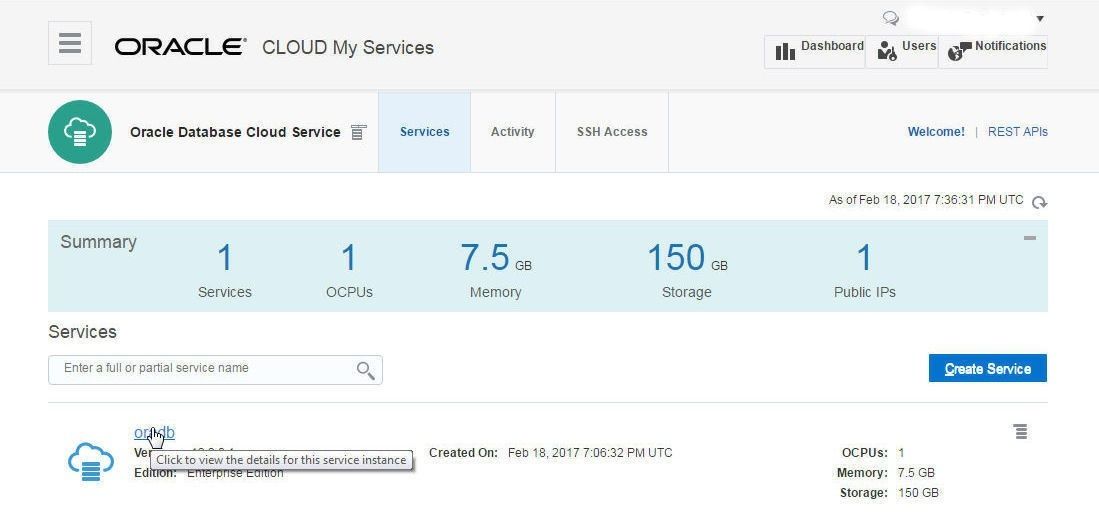
Figure 22. Click to view the details for the oradb service instance
The service detail includes a summary of the number of nodes (1), OCPUs (1), Memory (7.5GB), and Storage (150GB), as shown in Figure 23.
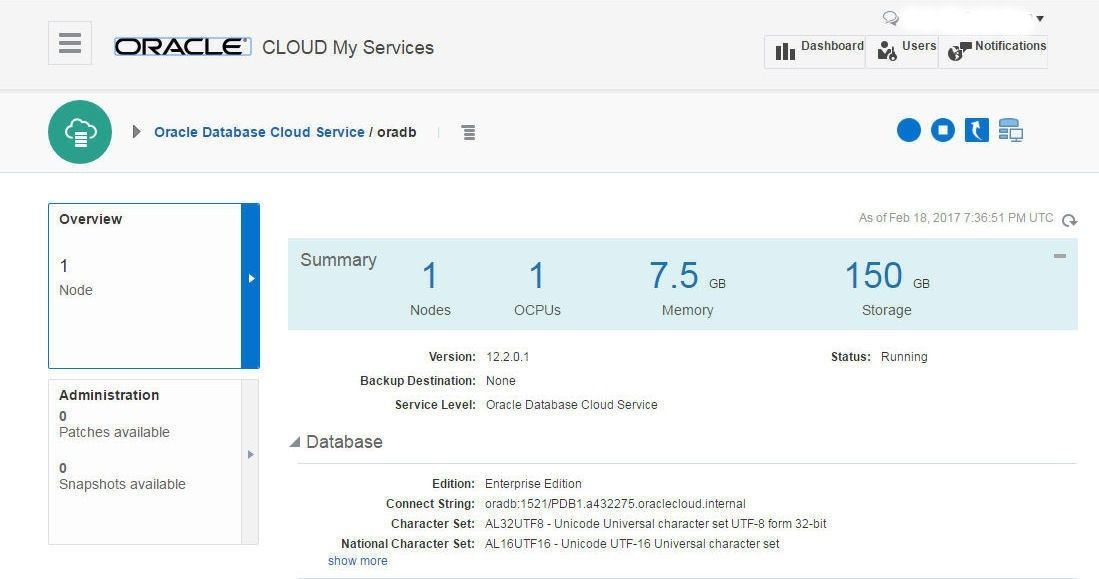
Figure 23. Service detail for oradb
The Resources section lists the Public IP, SQL *Net Port, and SID, as shown in Figure 24.
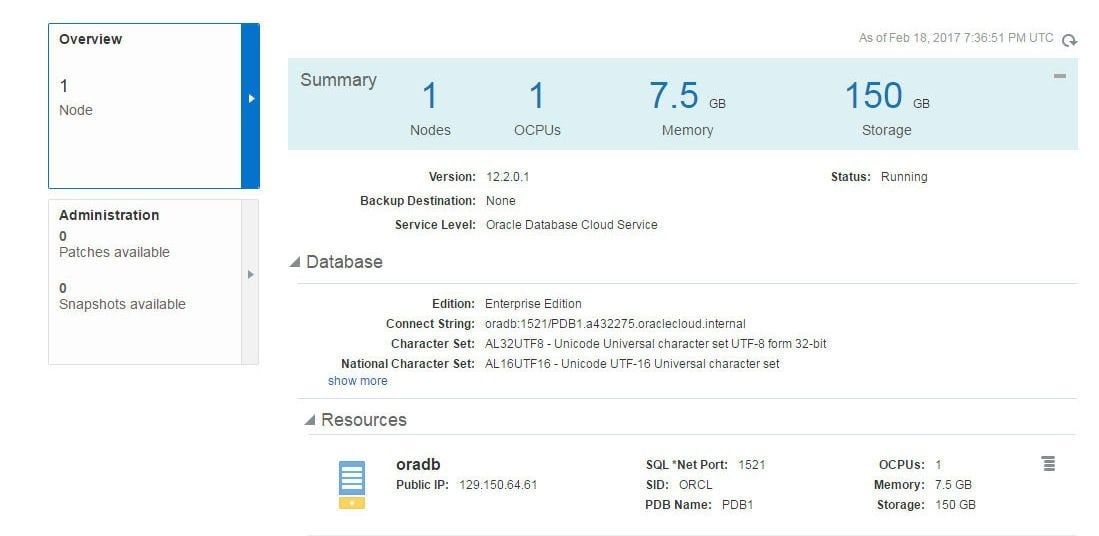
Figure 24. Service Resources for oradb
The options to manage the service include scaling up/down, obtaining SSH Access Key pair, and stopping, starting and restarting the database service, as shown in Figure 25.
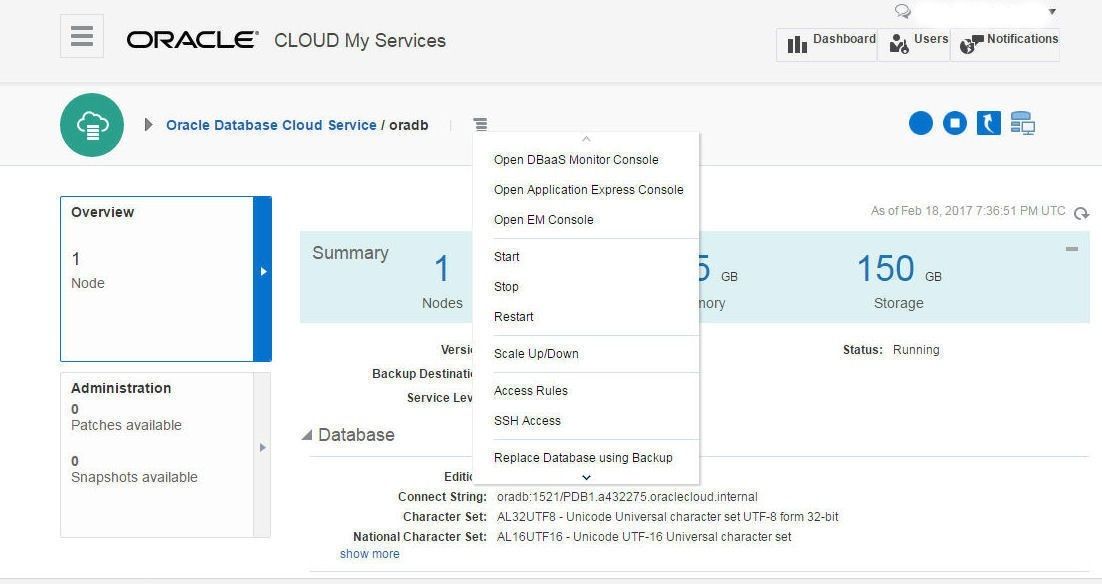
Figure 25. Service Management Options
The Scale Up/Down Service includes options for selecting a compute shape that describes the OCPUs and RAM, additional storage, and the volume to which storage is to be added, as shown in Figure 26.
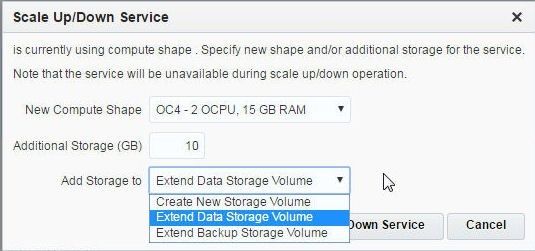
Figure 26. Scale Up/Down Service
Select the “Display monitoring information” icon to display monitoring metrics as shown in Figure 27.

Figure 27. Display monitoring information
The Monitoring Metrics get displayed in the dashboard, as shown in Figure 28.
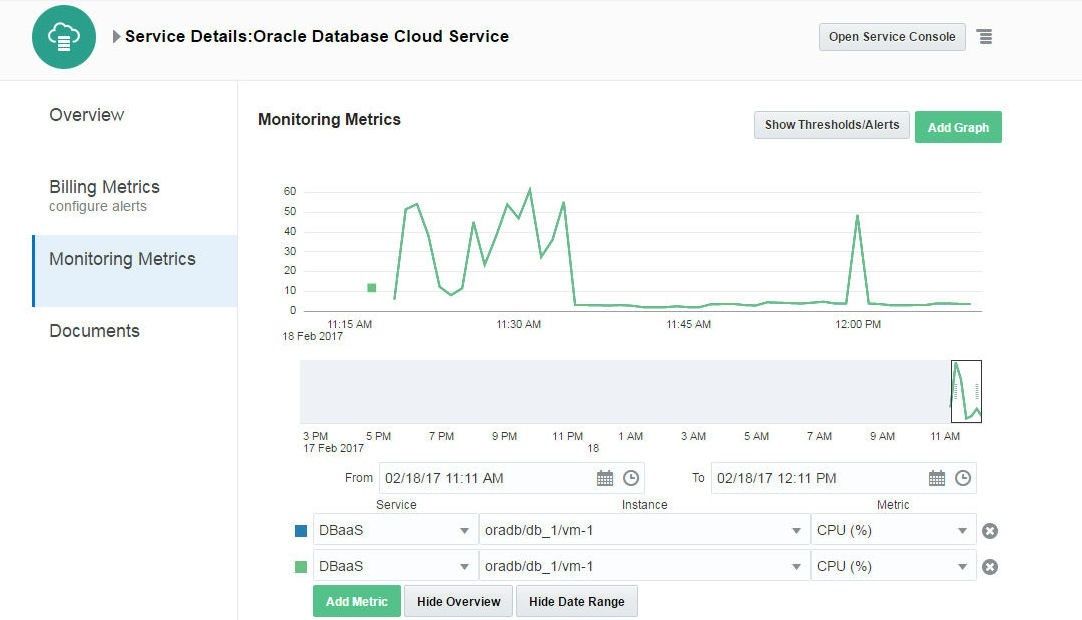
Figure 28. Monitoring Metrics
Connecting with the Oracle Database 12c R2 Service
Next, to connect to the Oracle Database service, obtain the Public IP of the service from the console as shown in Figure 29.

Figure 29. Public IP for oradb Service
Set permissions on the privateKey to 600, which is to allow only the owner to read and write the privateKey.
chmod 600 privateKey
Using the privateKey and the Public IP SSH, login to the VM instance on which Oracle Database is running.
ssh -i privateKey opc@129.150.64.61
Set user as “oracle”.
sudo su oracle
The VM instance command prompt for user “oracle” gets displayed, as shown in Figure 30.
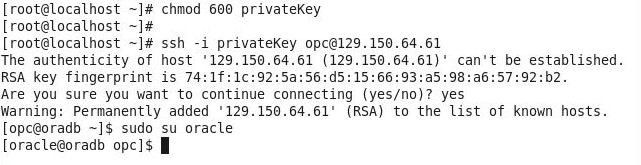
Figure 30. Setting User as “oracle”
Creating an Oracle Database Table
To create a database table start the SQL *Plus as sysdba.
sqlplus as sysdba
The SQL *Plus gets started and the SQL> prompt gets displayed, as shown in Figure 31.
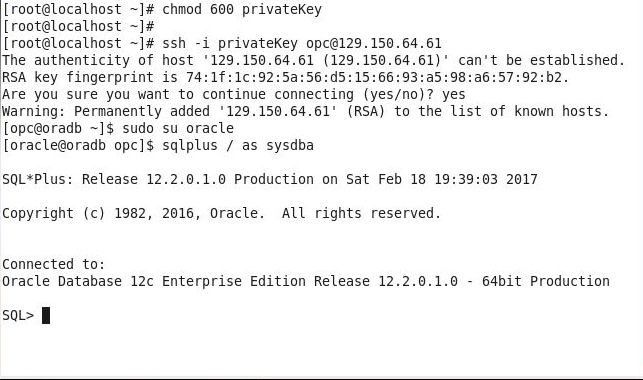
Figure 31. SQL*Plus Command Prompt
Run the following SQL script to create a database table and add data to the table.
CREATE TABLE wlslog(time_stamp VARCHAR2(255) PRIMARY KEY,category VARCHAR2(255),type VARCHAR2(255),
servername VARCHAR2(255), code VARCHAR2(255),msg VARCHAR2(255));

INSERT INTO wlslog(time_stamp,category,type,servername,code,msg) VALUES('Apr-8-2014-7:06:16-PM-PDT',
'Notice','WebLogicServer','AdminServer','BEA-000365','Server state changed to STANDBY');

INSERT INTO wlslog(time_stamp,category,type,servername,code,msg) VALUES('Apr-8-2014-7:06:17-PM-PDT',
'Notice','WebLogicServer','AdminServer','BEA-000365','Server state changed to STARTING');

INSERT INTO wlslog(time_stamp,category,type,servername,code,msg) VALUES('Apr-8-2014-7:06:18-PM-PDT',
'Notice','WebLogicServer','AdminServer','BEA-000365','Server state changed to ADMIN');

INSERT INTO wlslog(time_stamp,category,type,servername,code,msg) VALUES('Apr-8-2014-7:06:19-PM-PDT',
'Notice','WebLogicServer','AdminServer','BEA-000365','Server state changed to RESUMING');

INSERT INTO wlslog(time_stamp,category,type,servername,code,msg) VALUES('Apr-8-2014-7:06:20-PM-PDT',
'Notice','WebLogicServer','AdminServer','BEA-000361','Started WebLogic AdminServer');

INSERT INTO wlslog(time_stamp,category,type,servername,code,msg) VALUES('Apr-8-2014-7:06:21-PM-PDT',
'Notice','WebLogicServer','AdminServer','BEA-000365','Server state changed to RUNNING');

INSERT INTO wlslog(time_stamp,category,type,servername,code,msg) VALUES('Apr-8-2014-7:06:22-PM-PDT',
'Notice','WebLogicServer','AdminServer','BEA-000360','Server started in RUNNING mode');
A database table gets created, as shown in Figure 32.
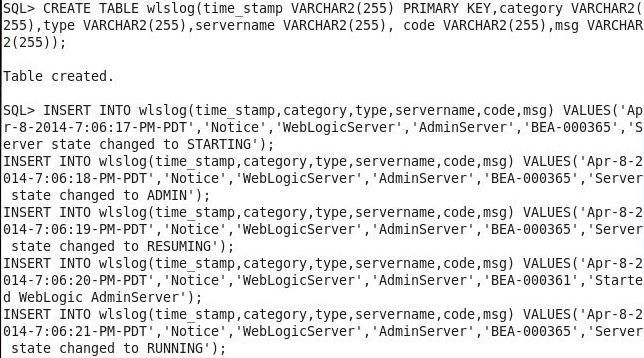
Figure 32. Creating Oracle Database Table
And, data gets added, as shown in Figure 33.
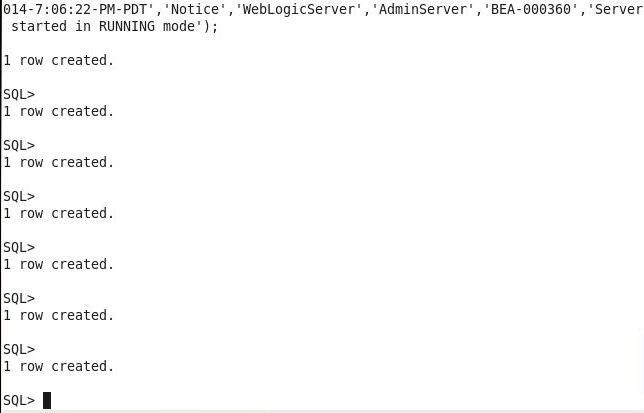
Figure 33. Adding Oracle Database Table Data
Run a SQL SELECT statement to query the database.
SELECT time_stamp || ' ' || category || ' ' || type || ' ' || servername || ' ' ||code || ' ' || msg from wlslog;
The database table data gets listed, as shown in Figure 34.

Figure 34. Querying Database Table
Stopping the Oracle Database Service
To stop the database service click on the Stop icon as shown in Figure 35.

Figure 35. Stopping the oradb Service
Click on OK in the Stop Service dialog as shown in Figure 36.
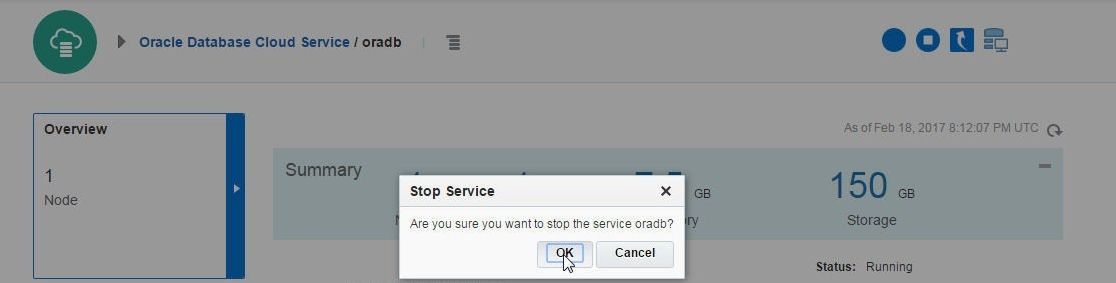
Figure 36. Stop Service
The database service begins to get stopped, as indicated by the “Database Service Stop request is accepted” in Figure 37.

Figure 37. Database Service Stop Request Accepted
Multiple Users in the Oracle Cloud Platform
Oracle Cloud Platform is inherently collaborative, as the platform is hosted on the cloud and the database services are accessible to different team members who might be using the same database service. Multiple users may be added to the Oracle Cloud Platform by a cloud services subscriber.
Select Users in the MyServices console to display the users and add new users. Subsequently, click on Add to add a user, as shown in Figure 38.
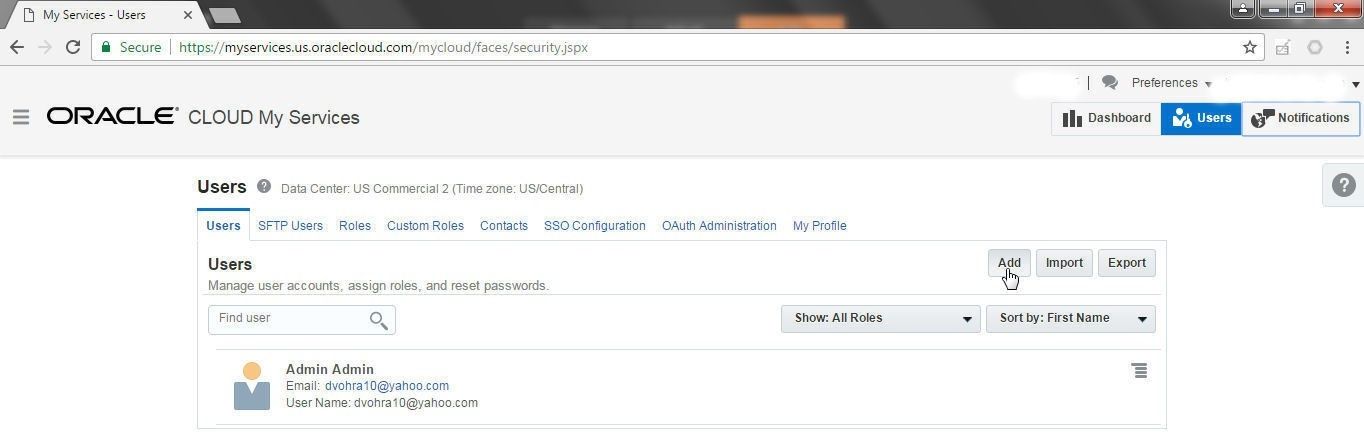
Figure 38. Users>Add
In the Add User dialog specify the user information, as shown in Figure 39. To assign roles to the user select the Service selection in Simple Row Selection. Select the Database Service.
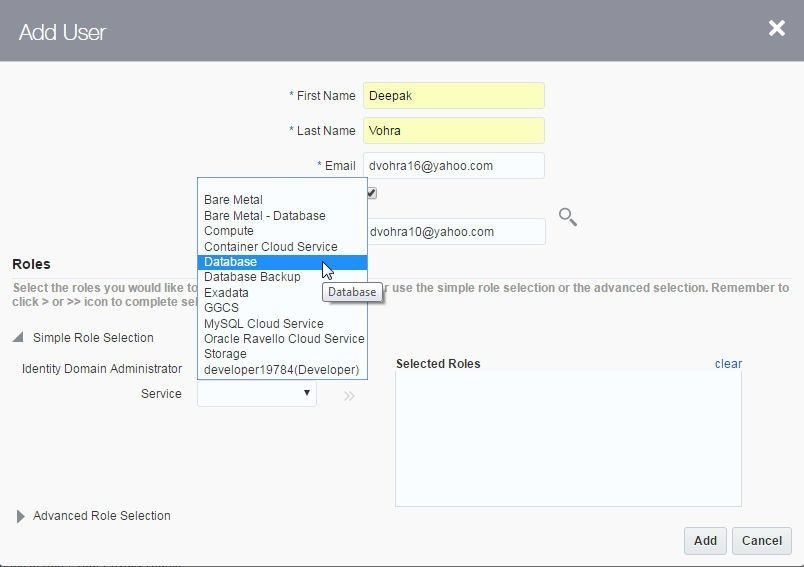
Figure 39. Add User dialog
Select the Roles listed and click on the >> button to add the roles to the Selected Roles field as shown in Figure 40.
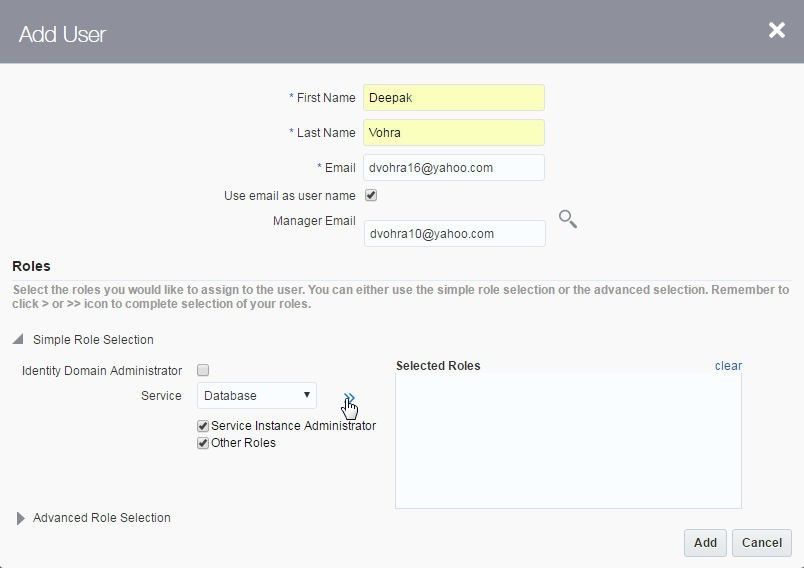
Figure 40. Selecting the Database Service
Click on Advanced Role Selection to select advanced roles as shown in Figure 41.
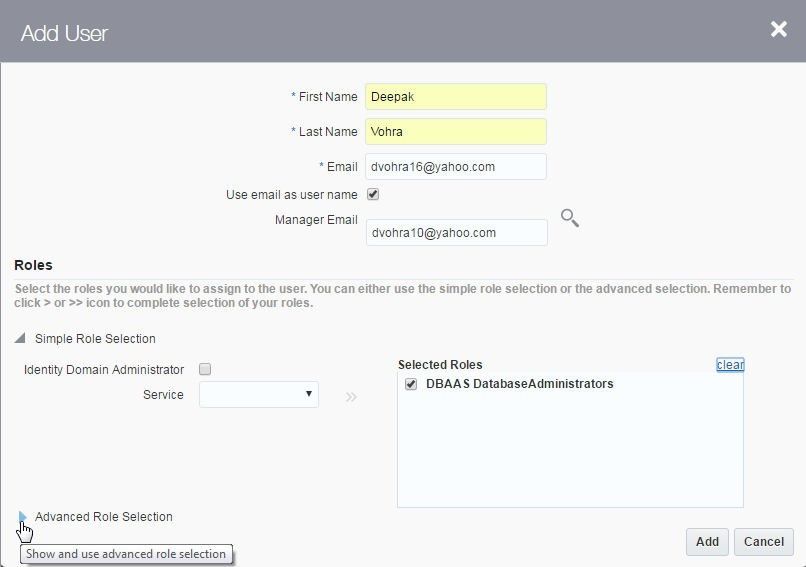
Figure 41. Advanced Role Selection
Select advanced roles such as the DBAAS Database Administrators role and click on the > button, as shown in Figure 42.
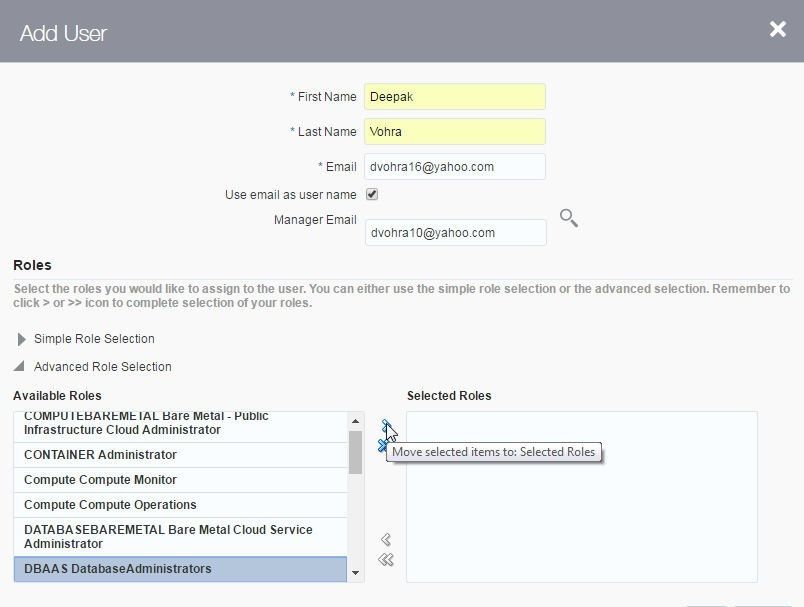
Figure 42. Selecting Advanced Role
Click on Add to add the user as shown in Figure 43.
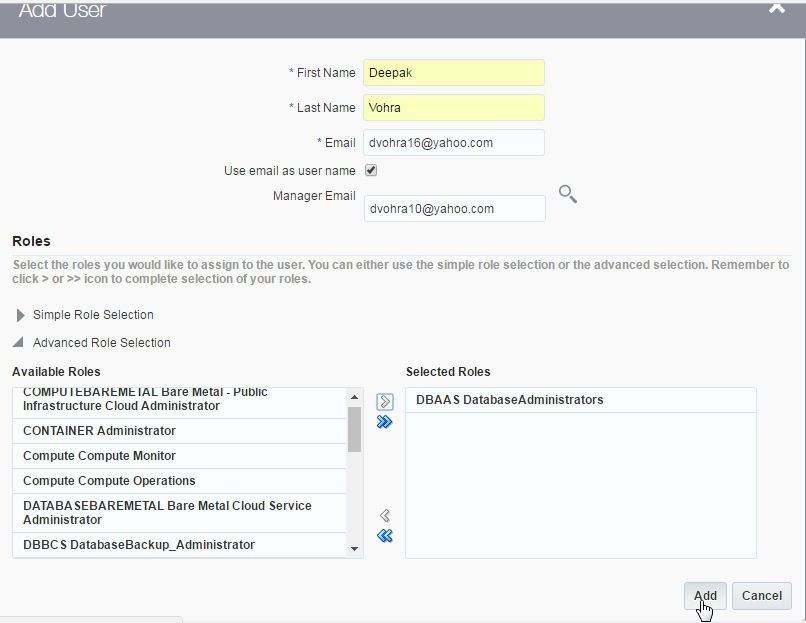
Figure 43. Adding a new User
The new user gets added, as shown in Figure 44.
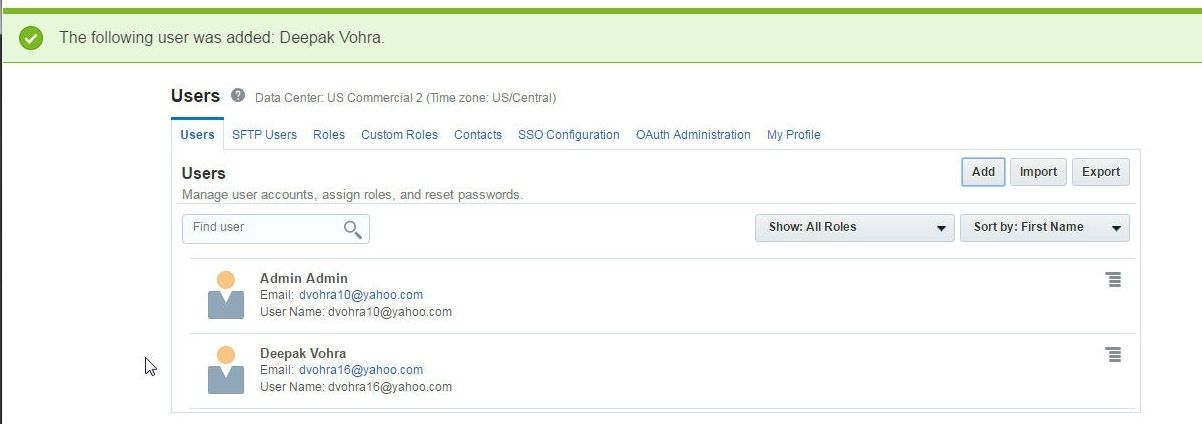
Figure 44. User added
After a new user has been created the new user may login to the Cloud service, as shown in Figure 45.
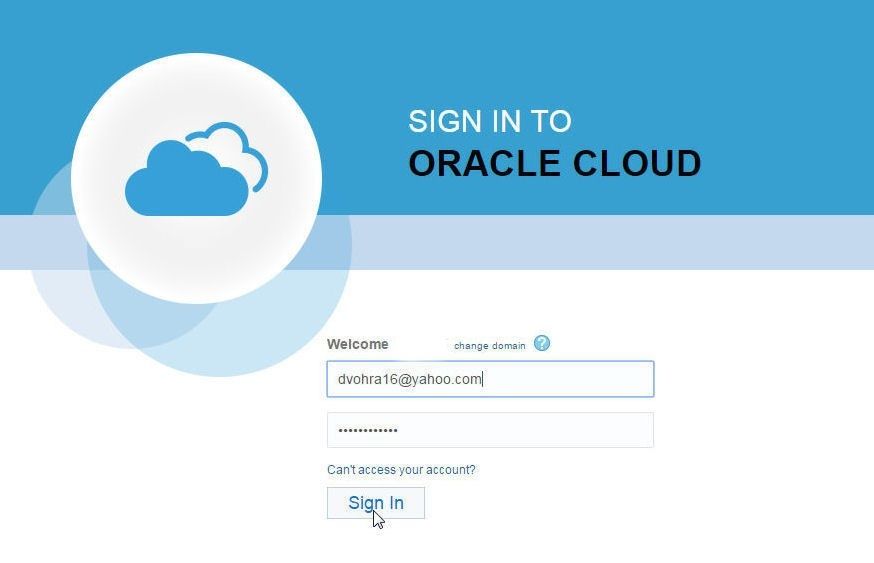
Figure 45. Logging in New User
Adding Users in Bulk from a CSV File
Oracle Cloud Platform also has the provision to add users in bulk by importing them from a CSV file. In this section we shall import user/s from a csv file. Create a users.csv (file name is arbitrary) file to list the users. The first line of the csv file must be in the following format for the headers for the values.
First Name,Last Name,Email,User Login
Subsequently add the values for the different users in the same format as the headers. Users that already exist may also be listed and those users are not added again. As an example, include the Admin and dvohra16@yahoo.com users, which already exist. The user email and login must be unique.
Admin,Admin,DVOHRA10@YAHOO.COM,dvohra10@yahoo.com

Deepak,Vohra,dvohra16@yahoo.com,dvohra16@yahoo.com

Deepak,Vohra,dvohra17@yahoo.com,dvohra17@yahoo.com
The csv file must not be more than 2MB in size or consist of more than 50,000 users, whichever constraint comes first. To import the csv file click on Import, as shown in Figure 46.
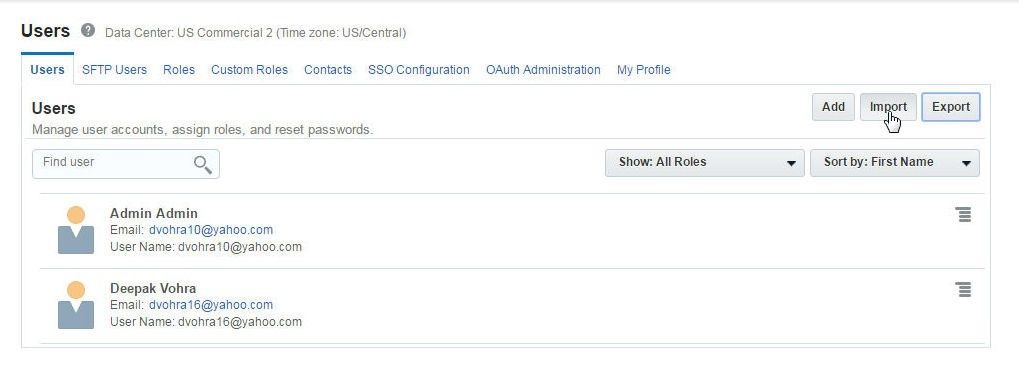
Figure 46. Users>Import
In the Import Users dialog click on Choose File to select the csv file to import. Click on Import to import users from the csv file, as shown in Figure 47.
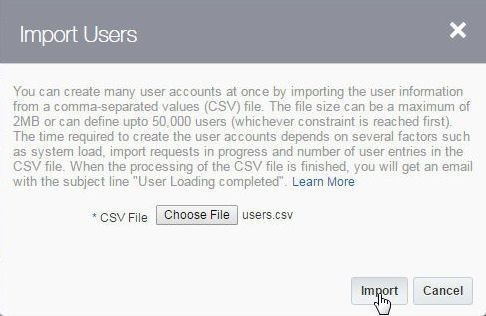
Figure 47. Import Users>Import
A message indicating that an import request has been submitted gets displayed, as shown in Figure 48.

Figure 48. Import Request Submitted for Processing
When the import is complete an email message is sent about new user accounts being added. The dvohra17@yahoo.com user gets listed, as shown in Figure 49. User information and user roles may be modified from the manage user service icon.
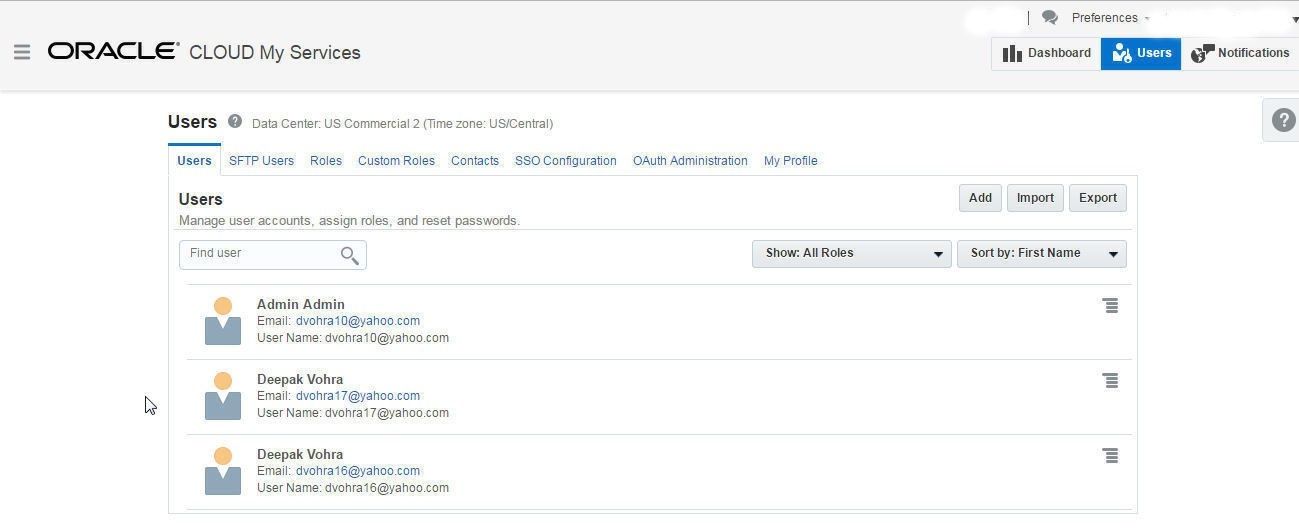
Figure 49. New User Added
In this article we discussed a new feature in Oracle Cloud Platform Database as a Service (DBaaS), the support for Oracle Database 12c R2. We also discussed the provision for adding multiple users, including importing users in bulk.
Start the discussion at forums.toadworld.com