This article explains the step-by-step approach for creating a database service using Oracle Cloud DBaaS, during which we will create the needed Storage Containers that can be used by the Database Cloud Services for backup purpose. We will also learn how to create the SSH keys used during the database creation steps. After the database, has been created, you will be able connect into the database image using the SSH private key and create a new user in the database instance.
Benefits of Oracle Cloud – DBaaS
For any business applications, database becomes the core part of the tech stack. In any product development phase the database provisioning (creation, refreshing, cloning & configuration) is a time-consuming task. DBaaS is gaining more traction these days because it enables businesses to deploy new databases quickly, securely, and cheaply.
SSH Public and Private Key Creation
Step 1: Create a new SSH public and private key
Assumption is that you already have registered for an Oracle Cloud account and have the login information needed to connect to your Oracle Public Cloud domain. Now, we will be creating new SSH public and private keys.
- Run the secure shell keygen command used to create a new MyKey by entering the following command into the terminal window:
ssh-keygen -b 2048 -t rsa -f MyKey
- When prompted to enter a passphrase, hit return twice. This will remove the need for a passphrase (password) when the private key is used in future steps. Entering a passphrase would provide more security when sharing the private key, but for purposes of this article, we will keep it simple.
ubuntu@ajithn:~$ ssh-keygen -b 2048 -t rsa -f MyKey
Generating public/private rsa key pair.
Enter passphrase (empty for no passphrase):
Enter same passphrase again:
Your identification has been saved in MyKey.
Your public key has been saved in MyKey.pub.
The key fingerprint is:
e8:7a:f9:a5:d1:5e:5d:4c:39:47:ef:c1:e8:55:a0:1e ubuntu@ajithn
The key's randomart image is:
+--[ RSA 2048]----+
|              ..o|
|             .o.+|
|            E. *+|
|       .   ....++|
|      . S   ..  +|
|     .   .   . . |
|      ... o . .  |
|     .o  = .     |
|    .. .o .      |
+-----------------+
ubuntu@ajithn:~$
Account Setup Steps
Storage Setup
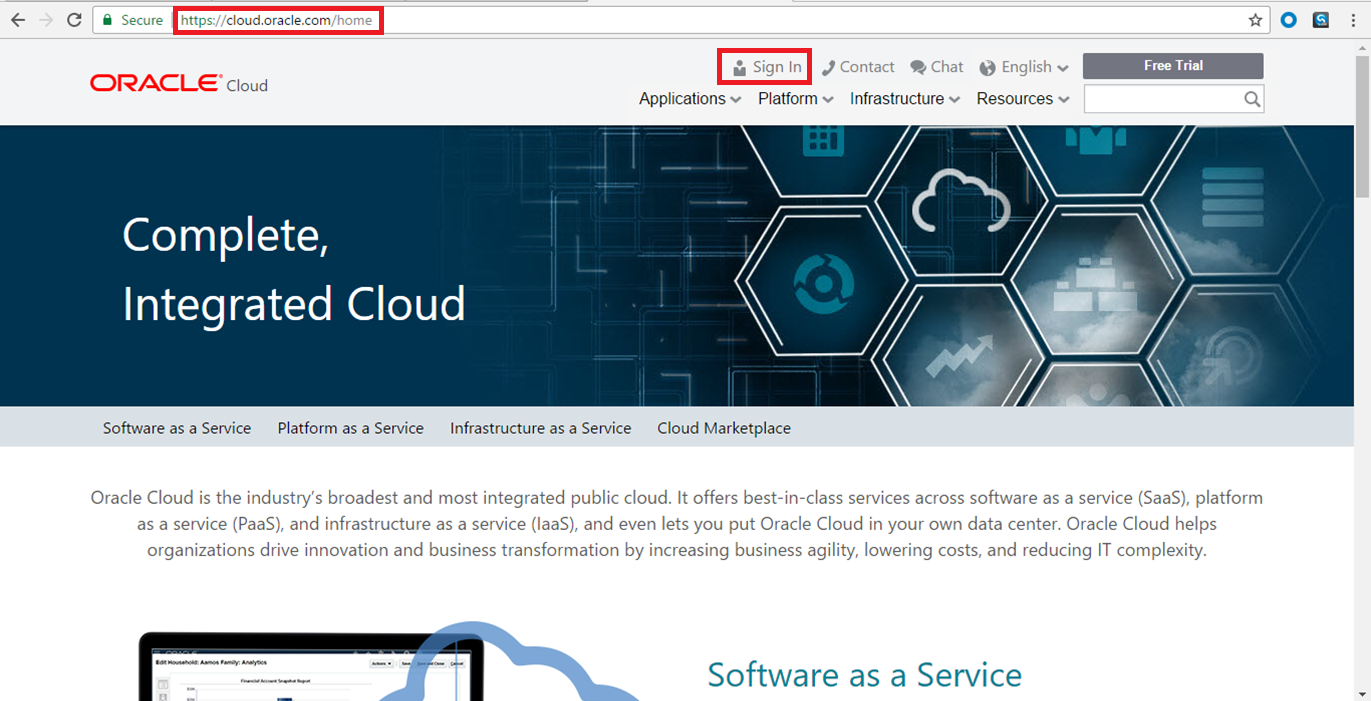
Step 2: Login to your Oracle Cloud account
https://cloud.oracle.com
- Click Sign In in the upper right hand corner of the browser.
- Under Cloud Account, SelectPublic Cloud Services – EMEA (Or any region close to your location) from the drop down list and click on My Services.
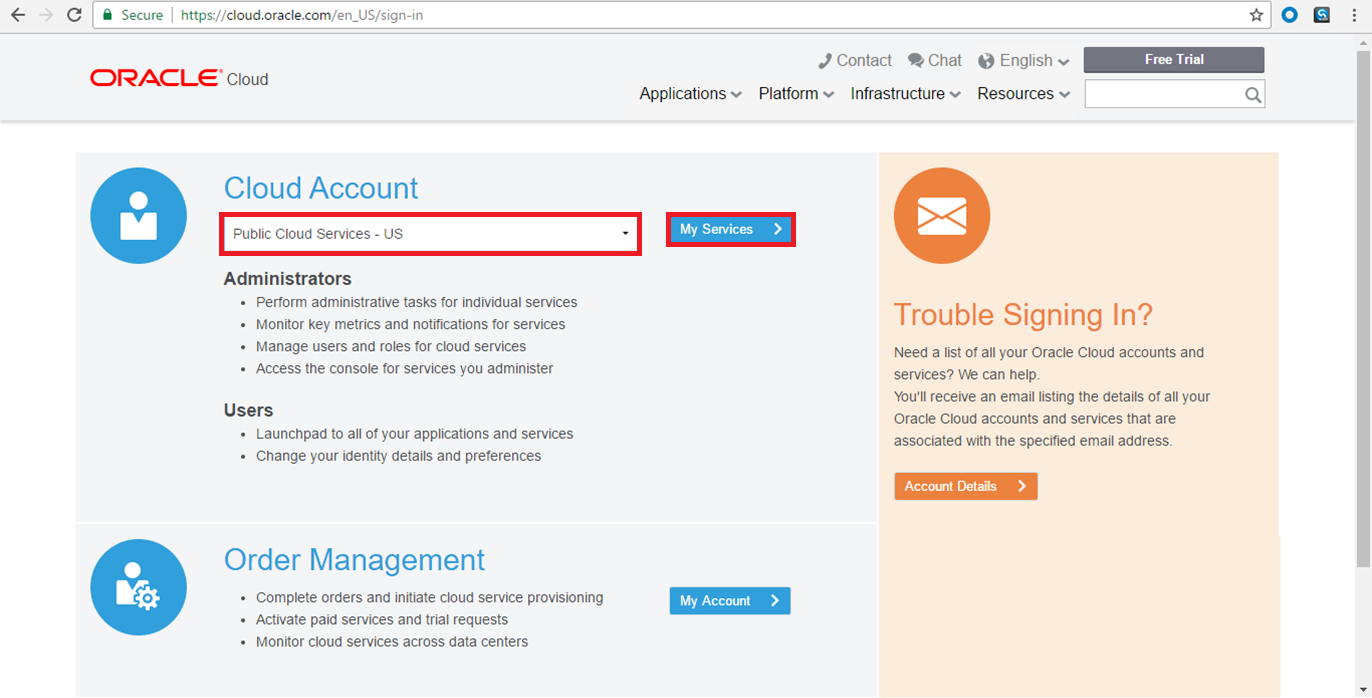
- Provide your Service Account information, and click Sign In.
NOTE: The User Name, Identity Domain and Password values would have been sent via email, after you registered for Oracle Cloud.
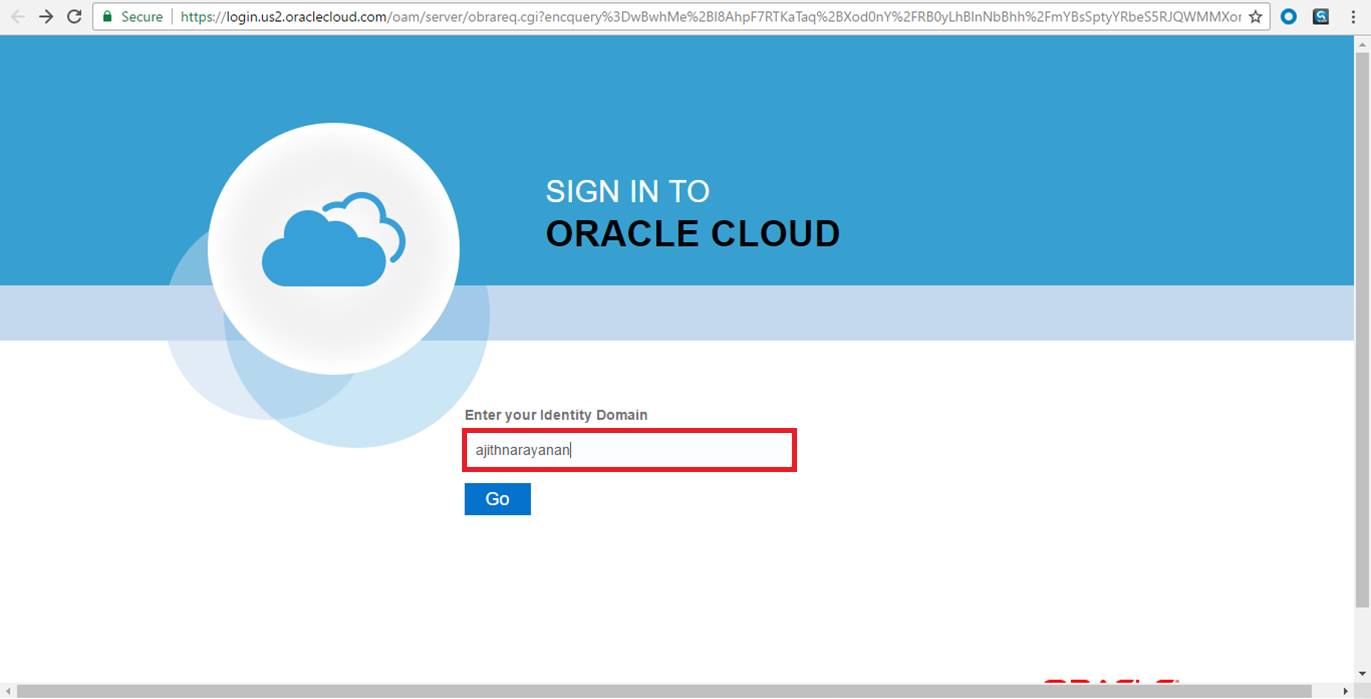
- Enter the identity domain name, followed by the username and password.
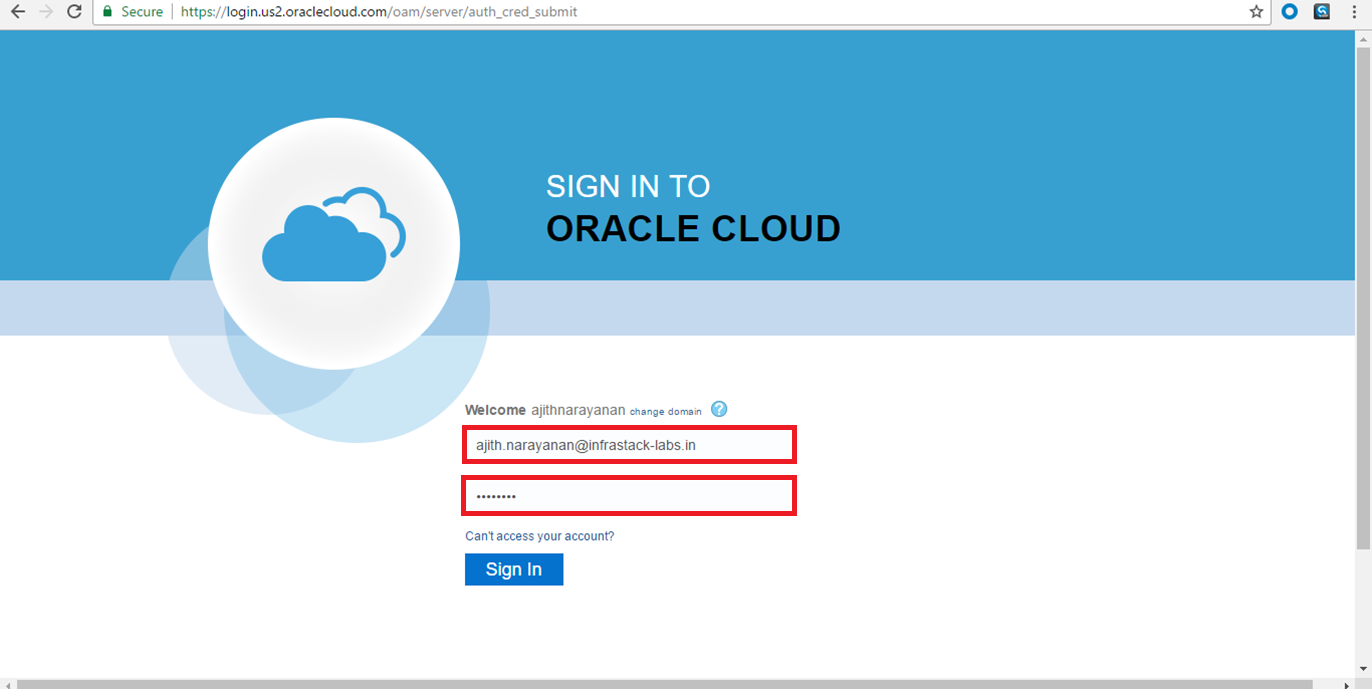
- On your first login, you can change the default password of our choice and few security questions as shown below.
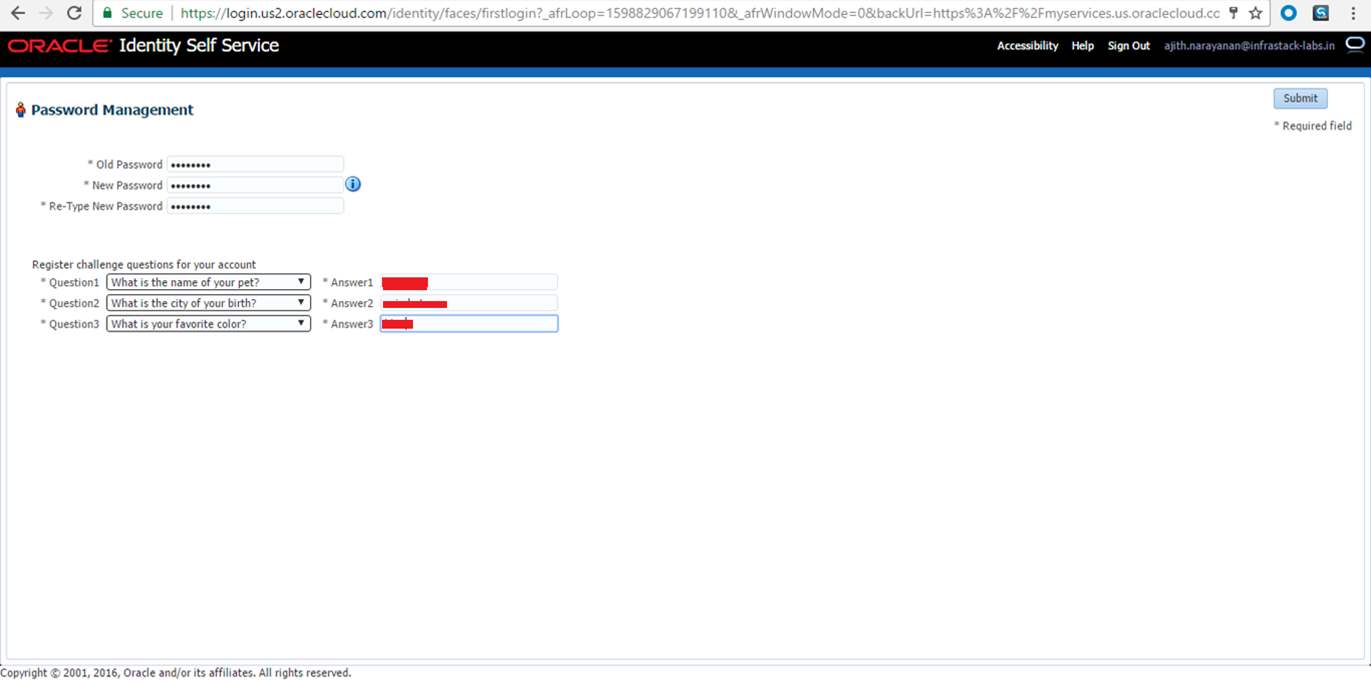
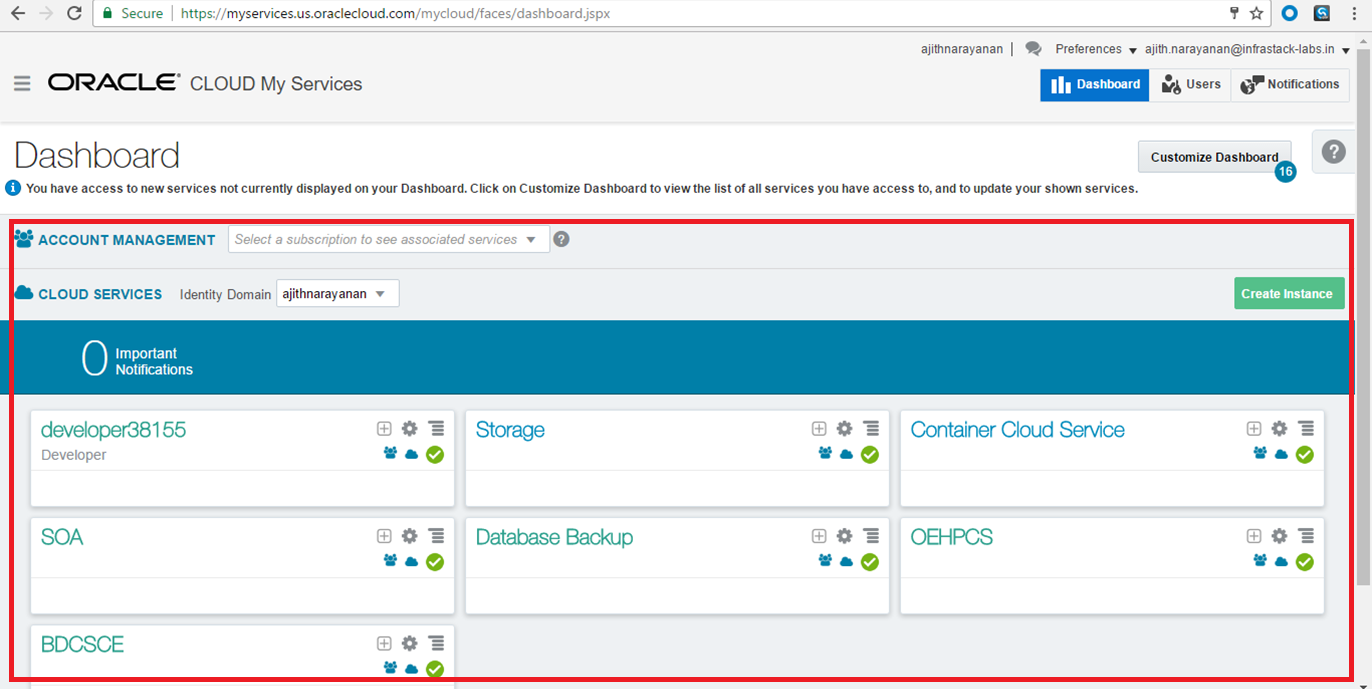
- After the password change and security questions, you will be presented with a dashboard displaying the various cloud services available to this account.
Step 3: Create Storage Containers
For Database Cloud Service the use of a storage container for backups is required. Before running through the Create Instance wizard you will need to first create storage containers to be used by the Cloud Services. You can perform this step using REST API’s also (Not explained in this article).
- On the left pane, Select the Oracle Storage Cloud Service option as shown below.
- After reading the replication policy and selecting the region for replication policy [In my case, I selected Chicago (us2) ]
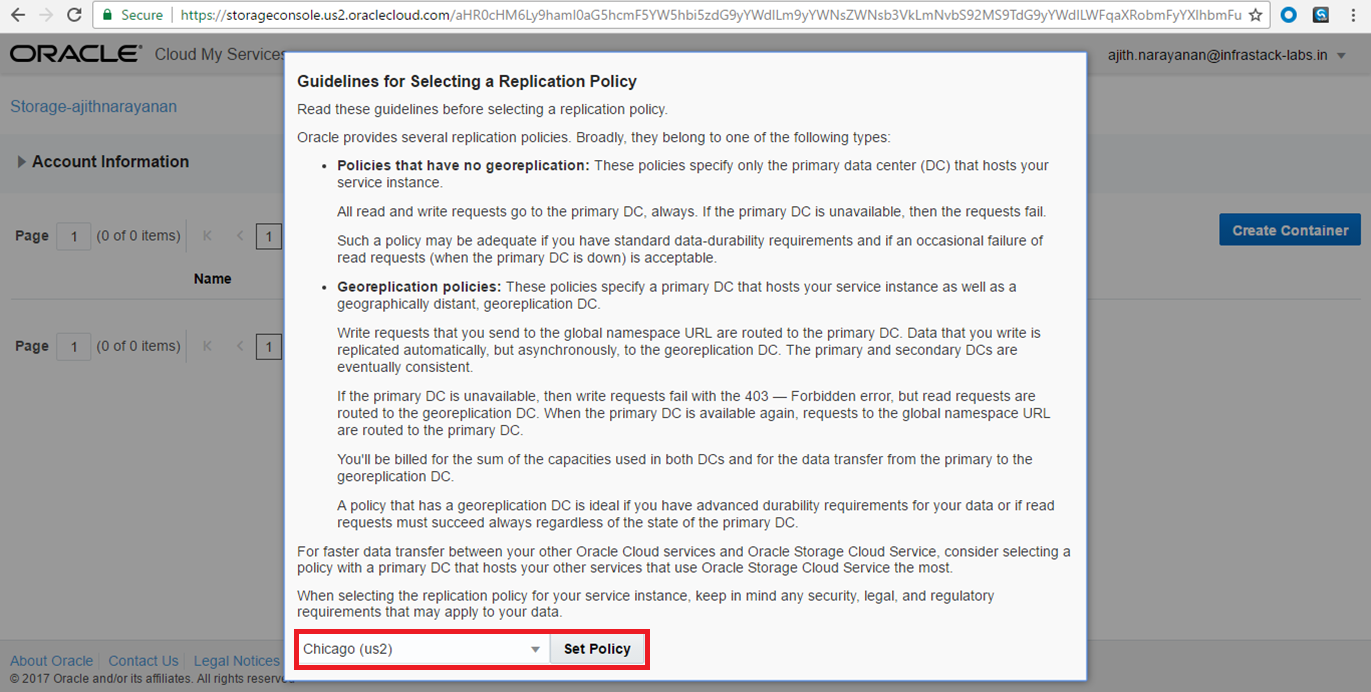
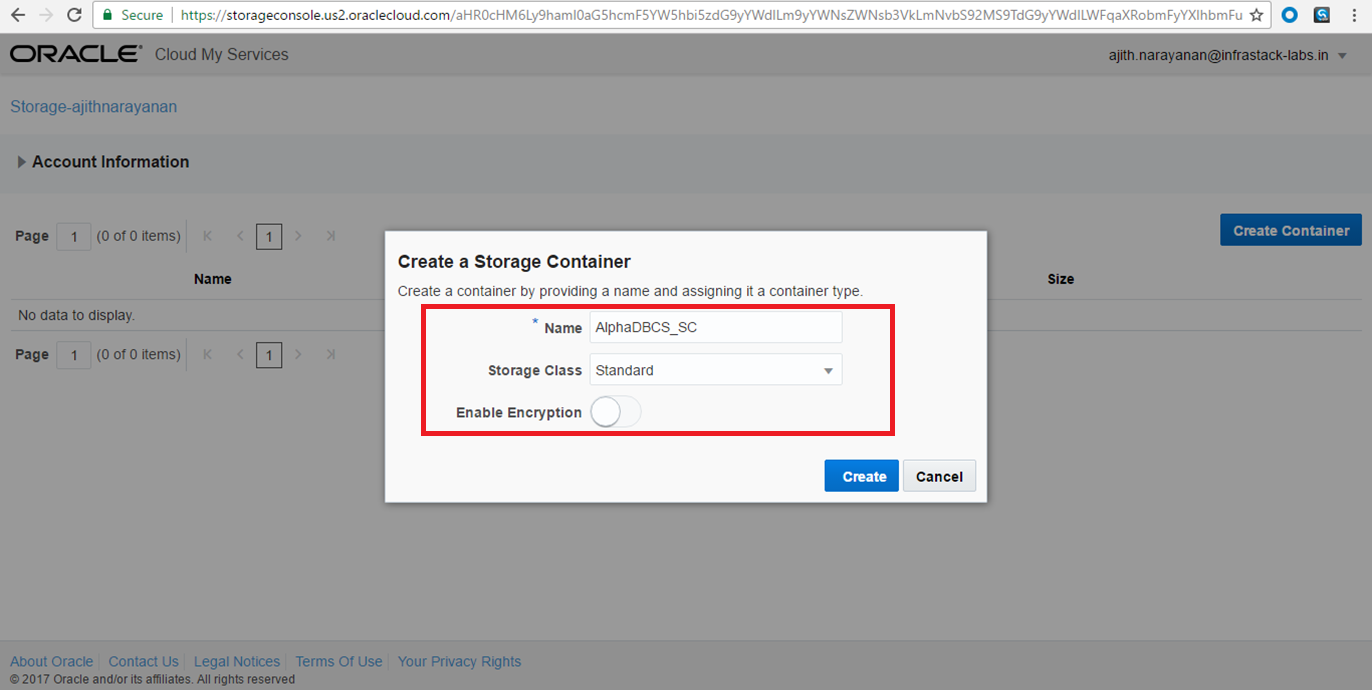
- Once the replication region is selected and Set Policy Button is clicked, we are all set to create new storage containers as shown below. Click on Create Container button.
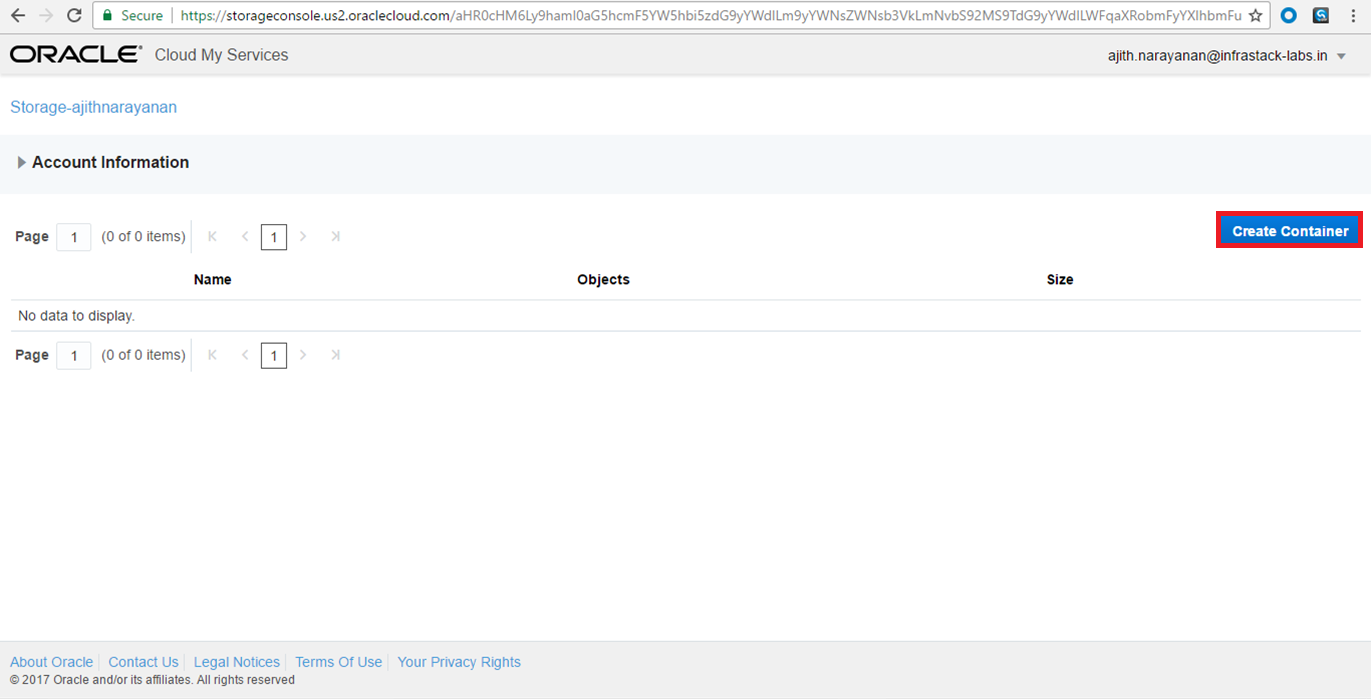
- Create a storage container as AlphaDBCS_SC as shown below.
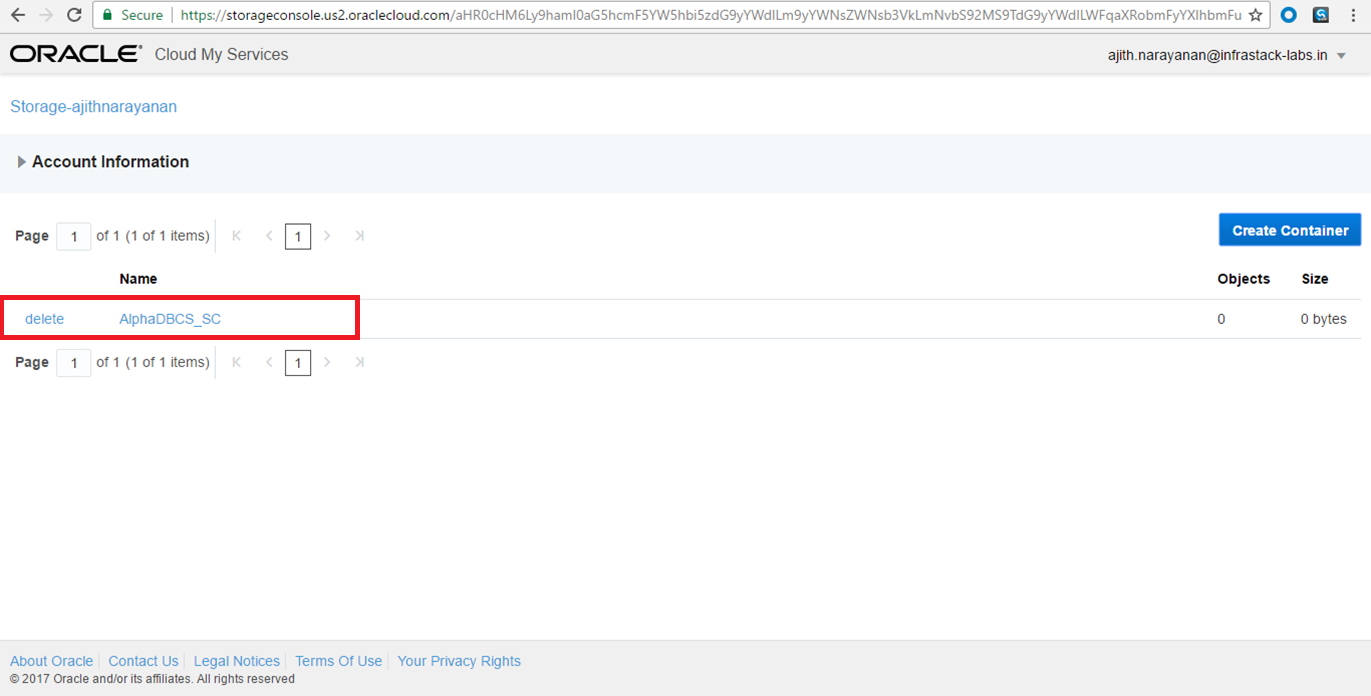
- The newly created storage container will be in added to the list of storage containers immediately as shown below.
Database Cloud Service Setup
Step 4: Create Database Cloud Service
- If you do not already have a browser tab open and pointing to cloud.oracle.com, open a second tab and enter the following URL: http://cloud.oracle.com
- Click Sign In in the upper right hand corner of the browser window
- Enter your Username, Passwordand Identity Domain then click Sign-In
- Under My Services, change the Data Center toPublic Cloud Services and click on Sign In to My Services
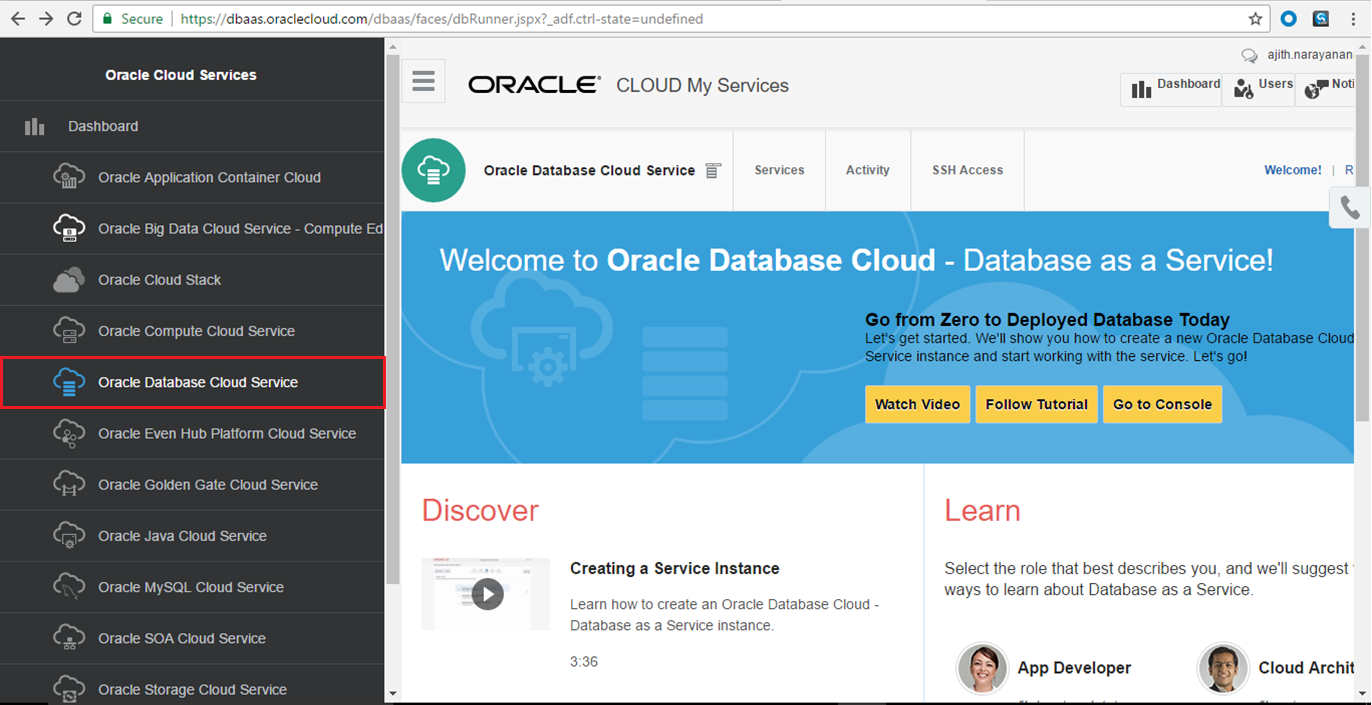
- From the Cloud Dashboard, Click Open Service Console for the Database Cloud Service.
On the left panel, select Oracle Database Cloud Service as shown in the below screenshot.
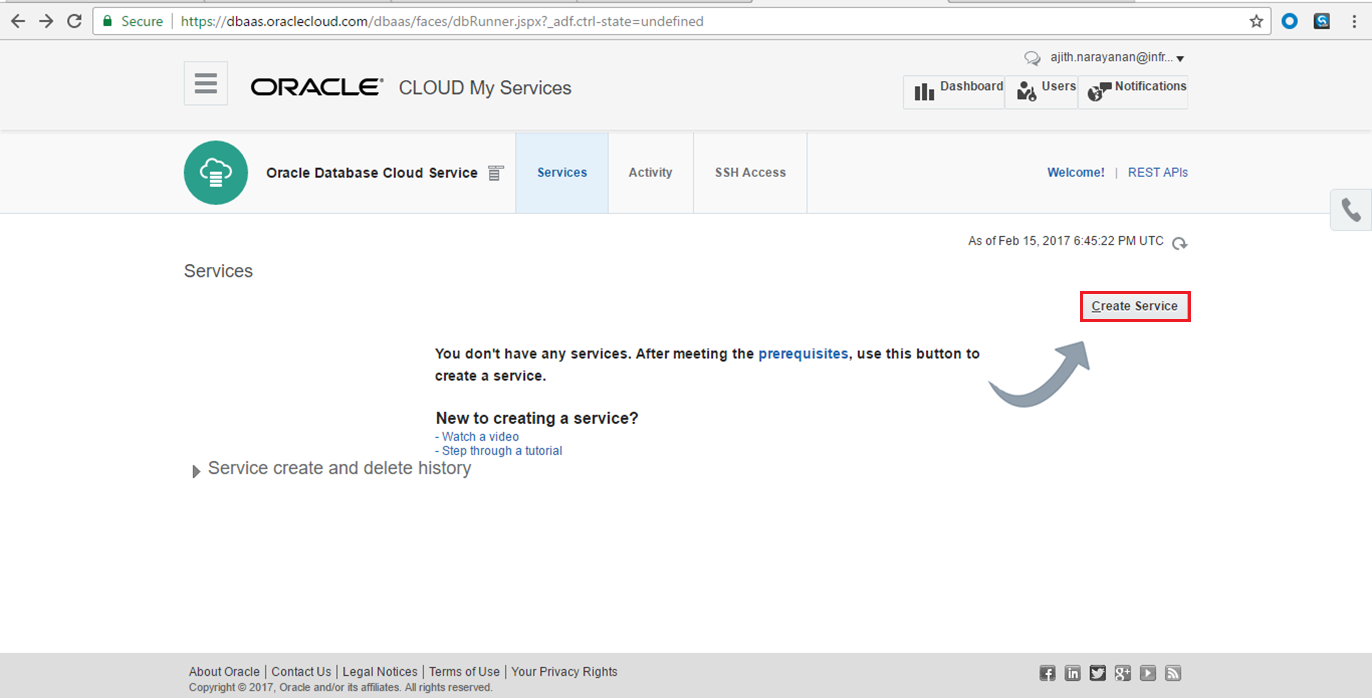
- Click on Create Service.
- For Subscription Type, Software Release and Software Edition keep defaults and click Next
- Select Oracle Database Cloud Service for Subscription Type. Select metering frequency as Monthly and click Next
- Select Oracle Database 12c Release 1 for Software Release and click Next
- Select Enterprise Edition for Software Edition and click Next
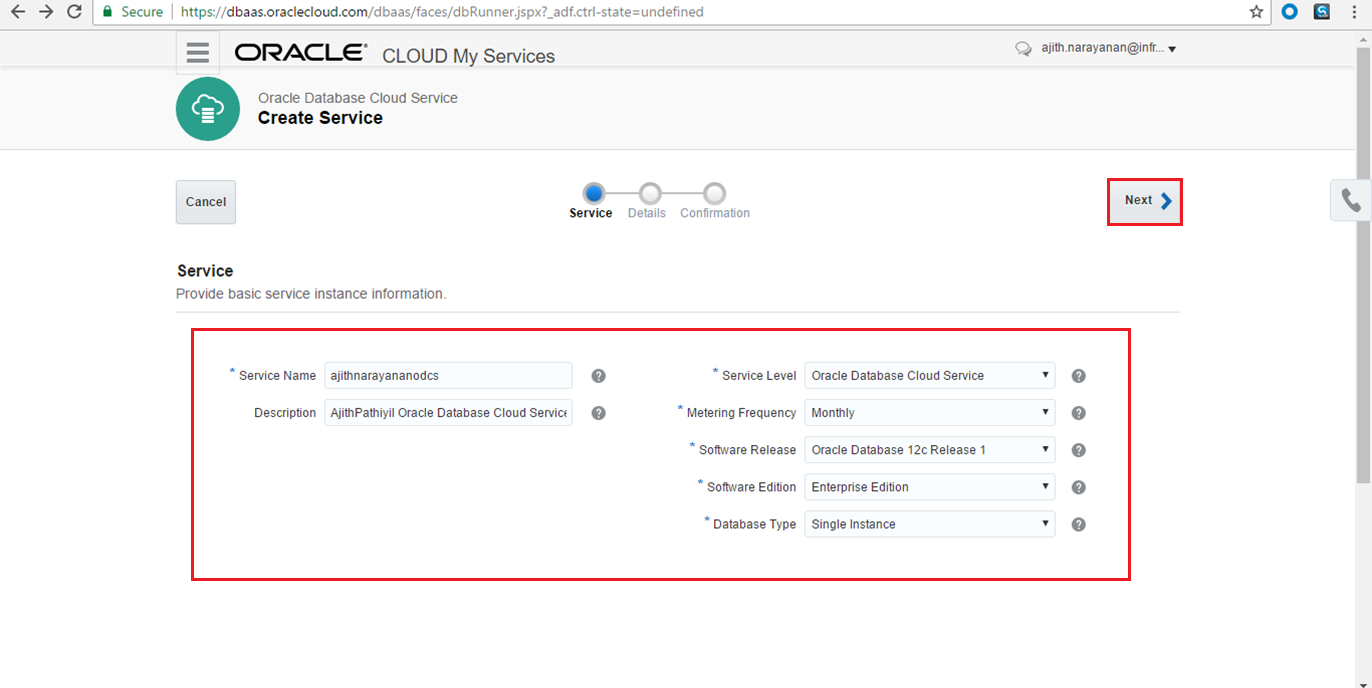
Step 5: Identify the Instance Configuration
This next step is very important when provisioning or creating a service instance. In this step, you will shape the service and provide an identity INSTANCE CONFIGURATION:
When providing a name, please note you might have another service instance already created in your account, so the name must be unique.
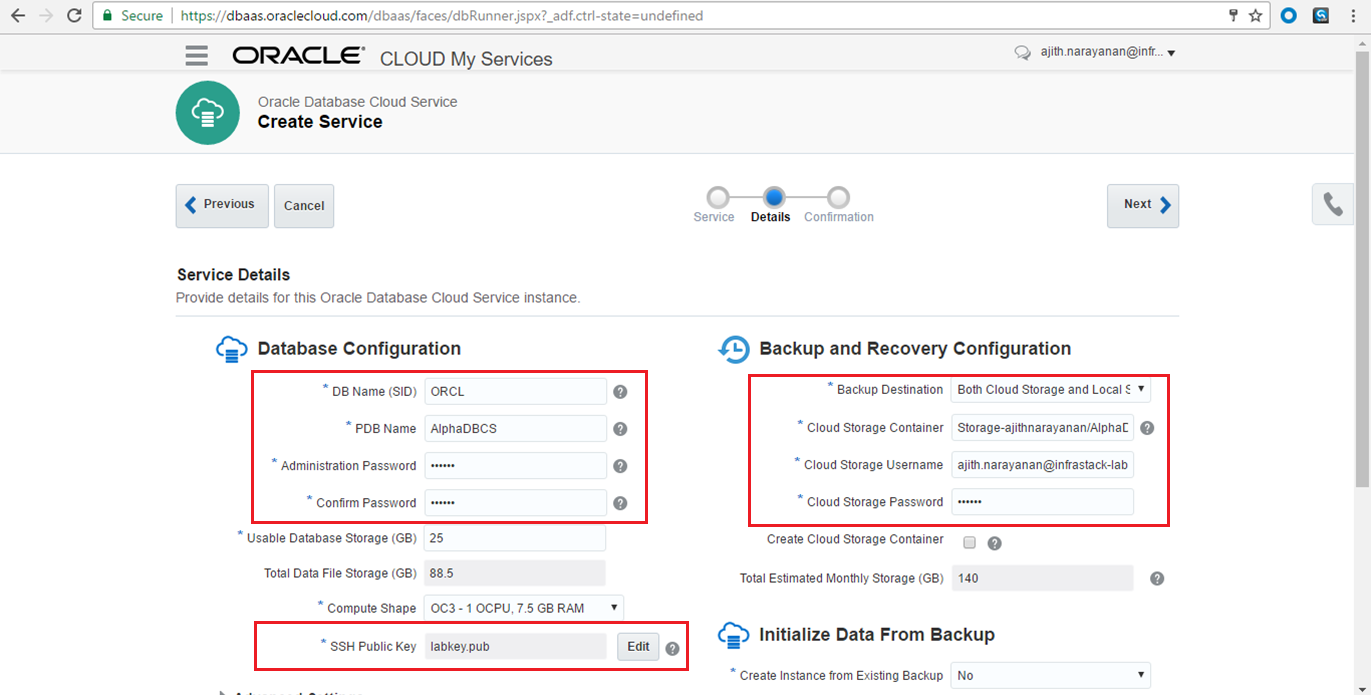
- Enter the following for Instance Configuration:
DB Name(SID) = ORCL
PDB Name   = AlphaDBCS
Click on the Edit button to browse for the MyKey.pub file
- Enter the following values for Database Configuration Administrator:
Administration Password = <your choice>
- Enter the following values for Backup and Recovery Configuration:
Backup Destination = Both Cloud Storage and Block Storage
Cloud Storage Container = Storage-<your domain Id>/AlphaDBCS_SC
Cloud Storage User Name = <your user name>
Cloud Storage Password = < your password>
Notes about the information entered:
- The SSH Public Key will use the public key you created using the ssh-keygencommand.
- The Administration Password in the Database Configuration section will be used for the Oracle “sys and system” users.
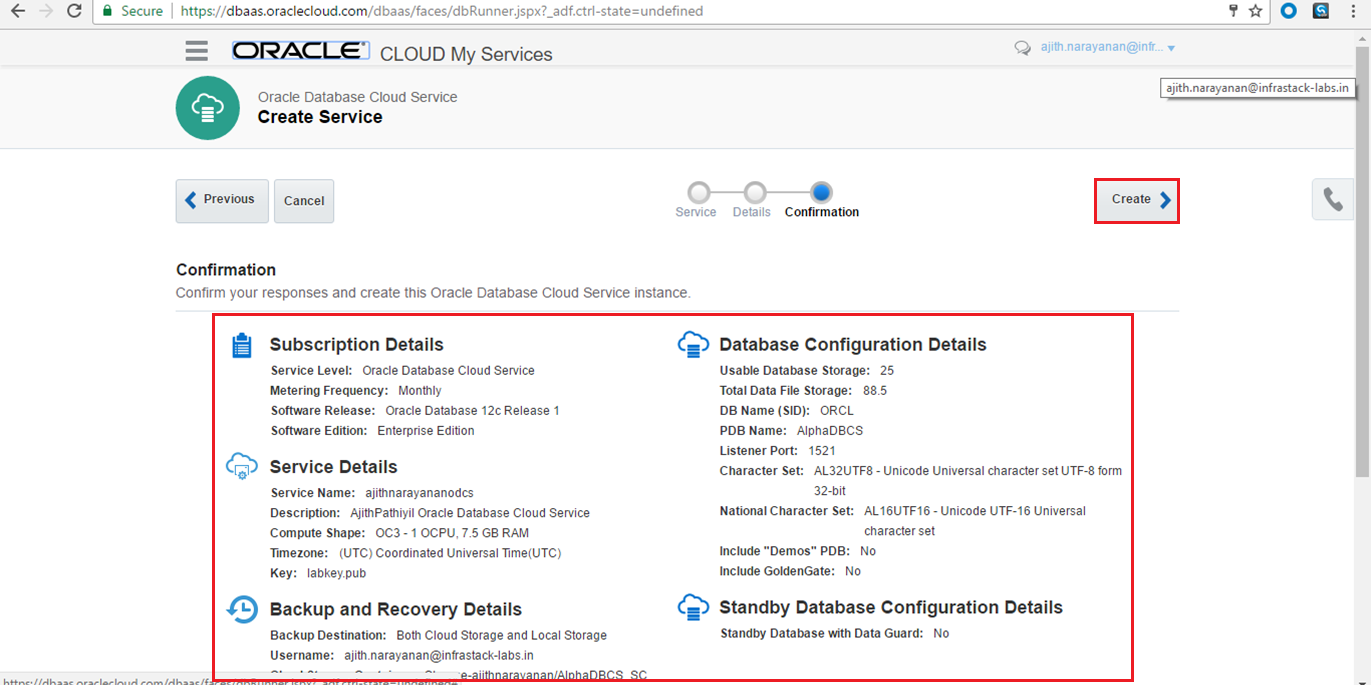
- Confirm everything is correct and click Create.
- You should now see your new Database Cloud Service instance AlphaDBCS.
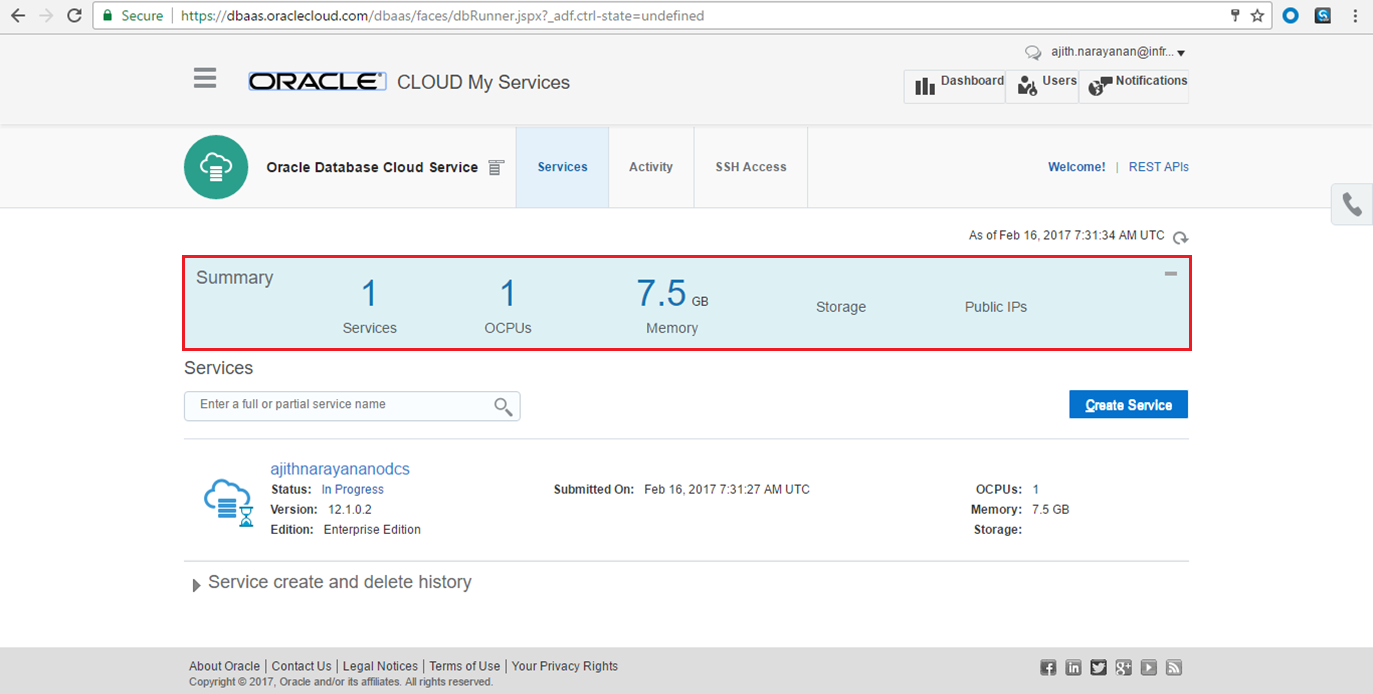
- To monitor the progress, click on the In Progress link, and view the current status.
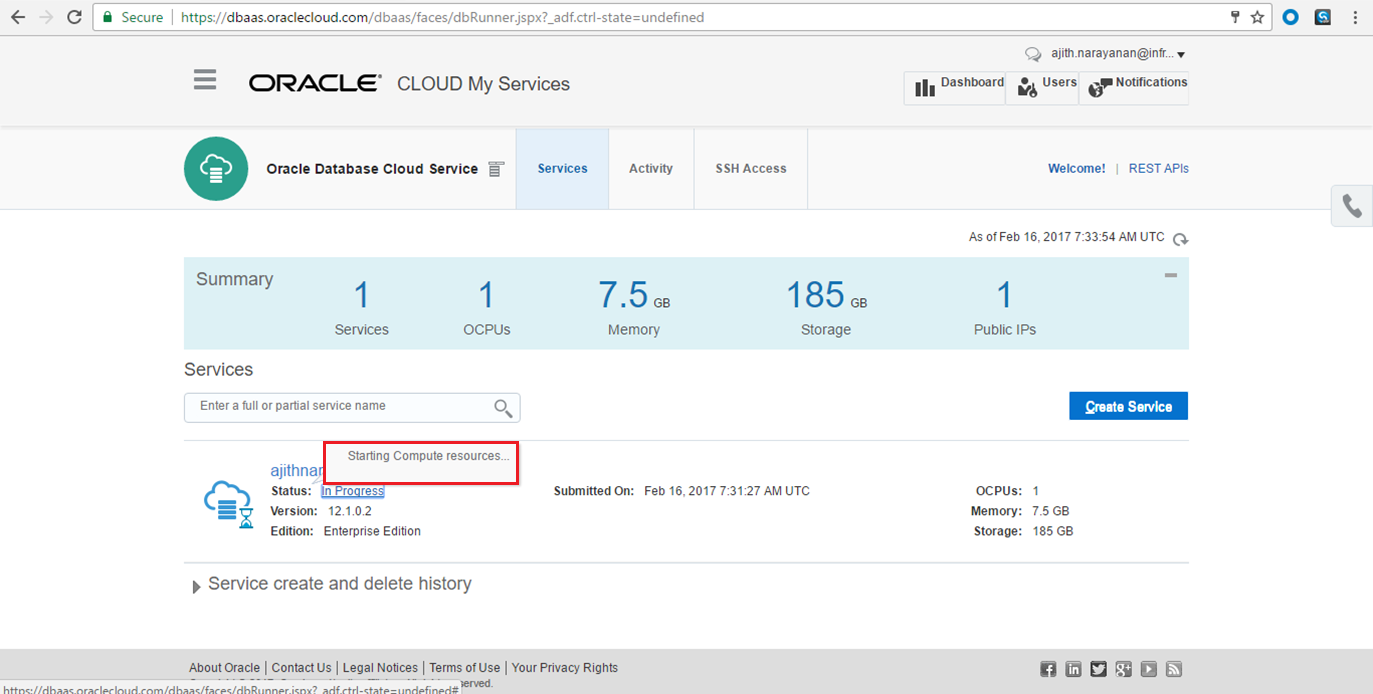
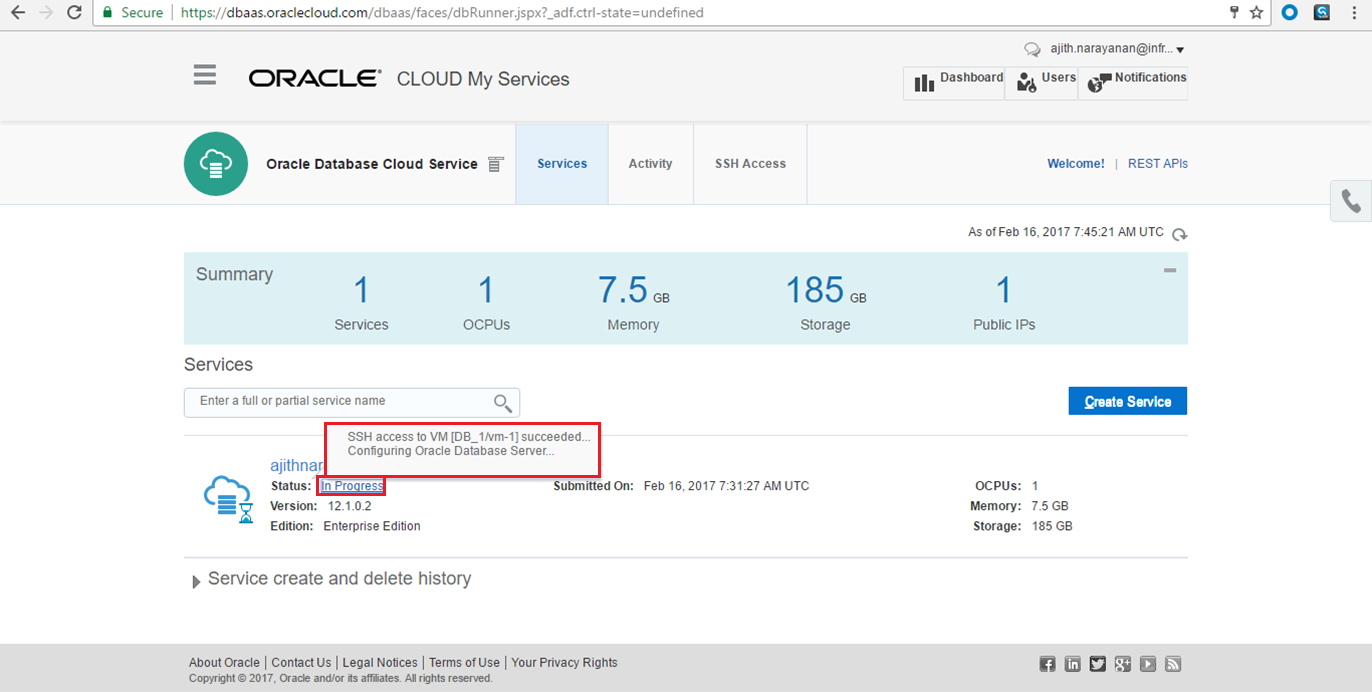
- After about 45 minutes the instance creation should complete. ClickRefresh
 and when the VM Status is no longer displayed, your instance is ready.
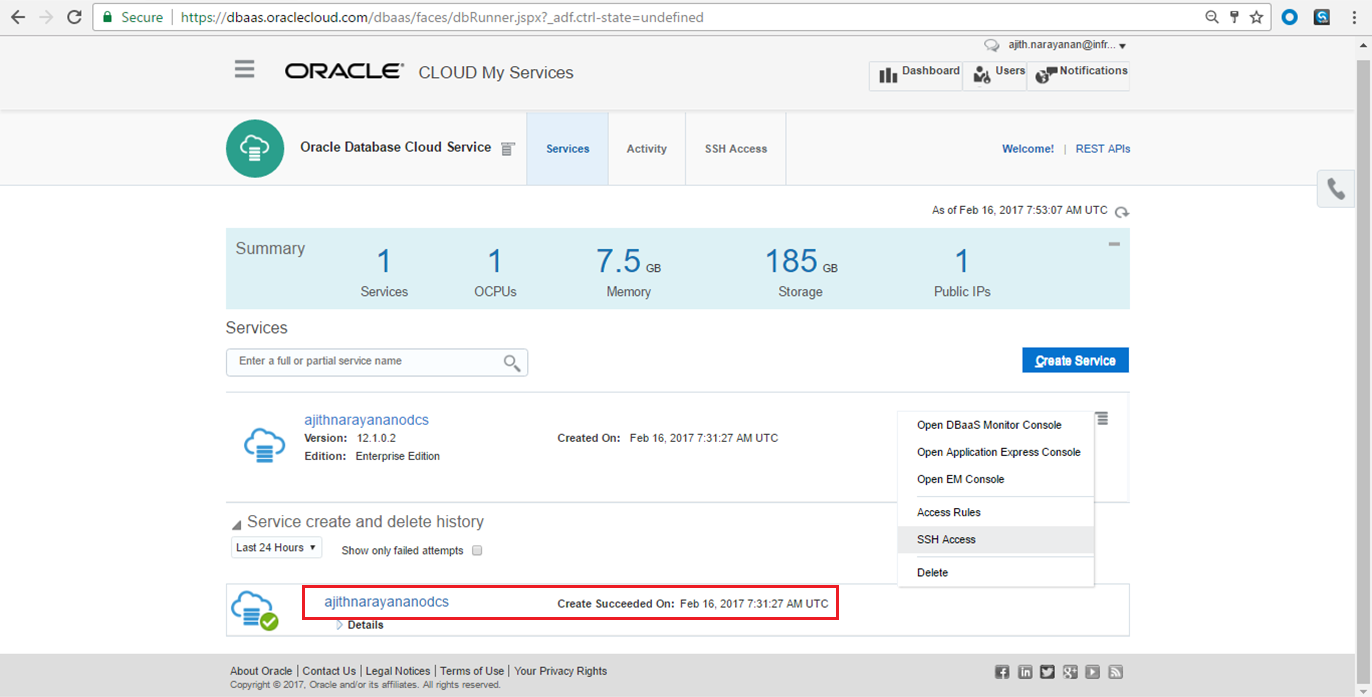
Step 6: Connect to the newly created database
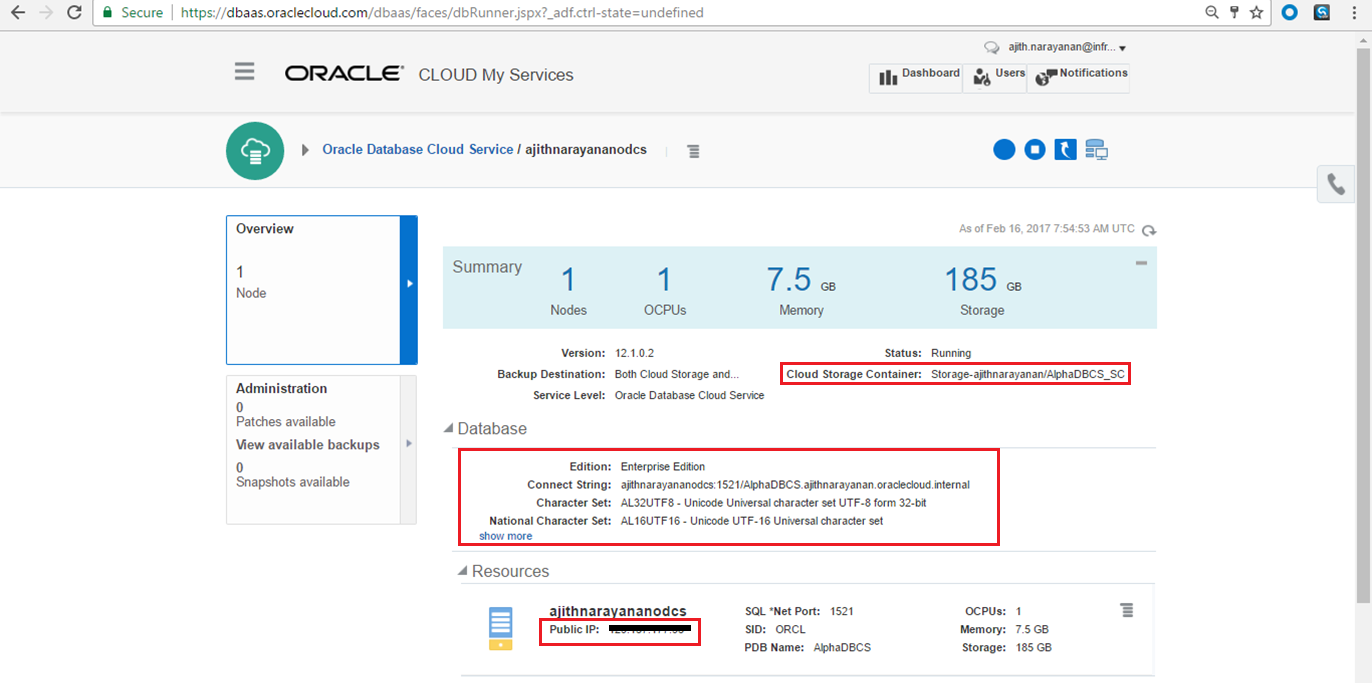
- After the database is successfully created, you will need to load some pre-created data into the alpha schema. Click on the service instance named AlphaDBCS to view details. Copy down the IP address
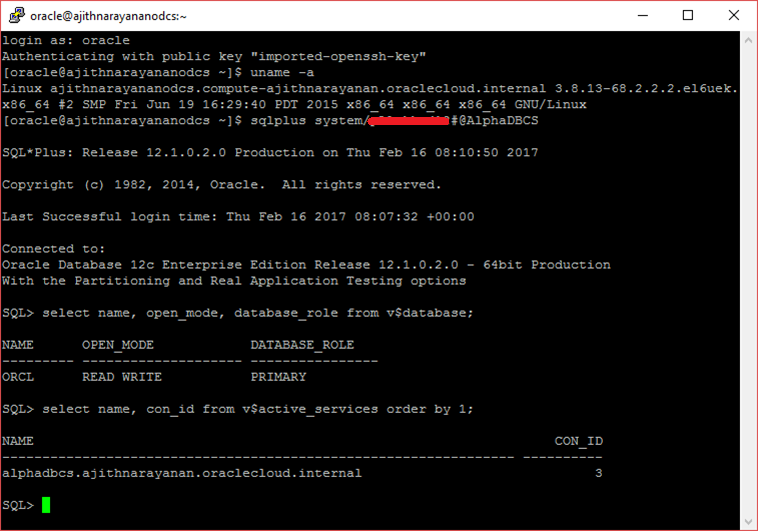
- We will now SSH to the AlphaDBCS VM image.
ssh -i ./lab/MyKey oracle@<IP of DBCS>
If you are on Windows, you may use the PuTTY utility to connect to the VM.
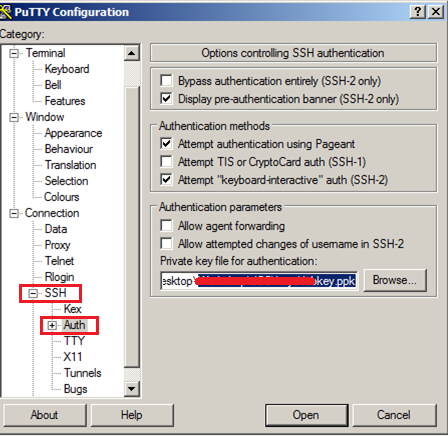
- We will now create the alpha schema and grant rights by entering the following commands:
sqlplus system/<password>@PDB1
create user alpha identified by oracle;
grant connect,dba to alpha;
exit
Conclusion
In this article, you learnt how to provision a cloud database using Oracle Cloud DBaaS option. Oracle Cloud DBaaS will provide us the capability of quick provisioning of databases with enhanced security and centralized management of all the databases of your organization.
HAPPY LEARNING!
Oracle ACE Associate
Oracle RAC SIG Board Member
Author of "Oracle SQL Developer"
Start the discussion at forums.toadworld.com