Docker is the most commonly used containerization platform. It provides a platform similar to a virtualization platform, with some added benefits:
- Docker containers are lightweight
- Multiple Docker containers may be run on a single underlying Linux OS with Docker Engine
- Docker containers are isolated from other Docker containers and are provided their own file system and networking
- Some Linux OS such as CoreOS have Docker Engine installed out-of-the-box
Problem
To run MySQL database on Docker Engine, the Docker binaries have to be installed, an Amazon EC2 instance has to be started, and Docker commands have to be run on the command line. Docker being a relatively new platform, MySQL developers may not be familiar with Docker commands (such as docker pull, docker run, docker ps). Also, scaling MySQL Database on Docker would require still other commands.
Solution
Docker Cloud is a hosted service for Docker containers. Docker Cloud may be used for running Dockerized applications in the cloud. A cloud provider such as AWS or Azure is required to be linked to Docker Cloud. Once linked, Docker applications may be run in the cloud service provider from the user interface provided by Docker Cloud. None or very few commands are required to be run explicitly. Docker Cloud provisions a node cluster, creates services and even could be used to create Docker image repositories. Docker services and Docker containers on the cluster may be managed individually. Benefits of using MySQL on the Docker Cloud include the following.
- Managed service
- MySQL on Docker
- Scalable MySQL database
- Easy to use user interface
- Linked to Cloud Provider (e.g., AWS)
The procedure to use Docker Cloud for creating a service is as follows.
- Link to a Cloud Provider
- Deploy a Node Cluster (one or more nodes)
- Create a Service (based on a Docker image)
What is a Cloud Provider?
A cloud provider is a cloud computing service such as Amazon Web Services (AWS), Azure, and IBM’s SoftLayer.
What is a Node Cluster?
A node cluster is a cluster of Linux hosts used to run Docker containers.
What is a Service?
A service is a group of Docker containers for software (in this case, MySQL) deployed on a cluster of nodes.
In this tutorial we shall run MySQL Database in Docker Cloud linked with Amazon Web Services. This tutorial has the following sections:
- Setting the Environment
- Linking to a Cloud Provider
- Deploying a Node Cluster
- Creating a Service
- Listing the Containers
- Starting an Interactive Shell
- Logging Into MySQL CLI
- Listing the Databases
- Creating a MySQL Database Table
- Listing the Docker Container Logs
- Stopping a Docker Container
- Terminating a Service
- Terminating a Node
Setting the Environment
As Docker Cloud is an online service no local software need be installed. Only a cloud provider account is required to be linked to Docker Cloud; we have used Amazon Web Services as the cloud provider. Therefore, to start setting the environment, create an Amazon EC2 account. A Docker Cloud account is also required.
Linking a Cloud Provider
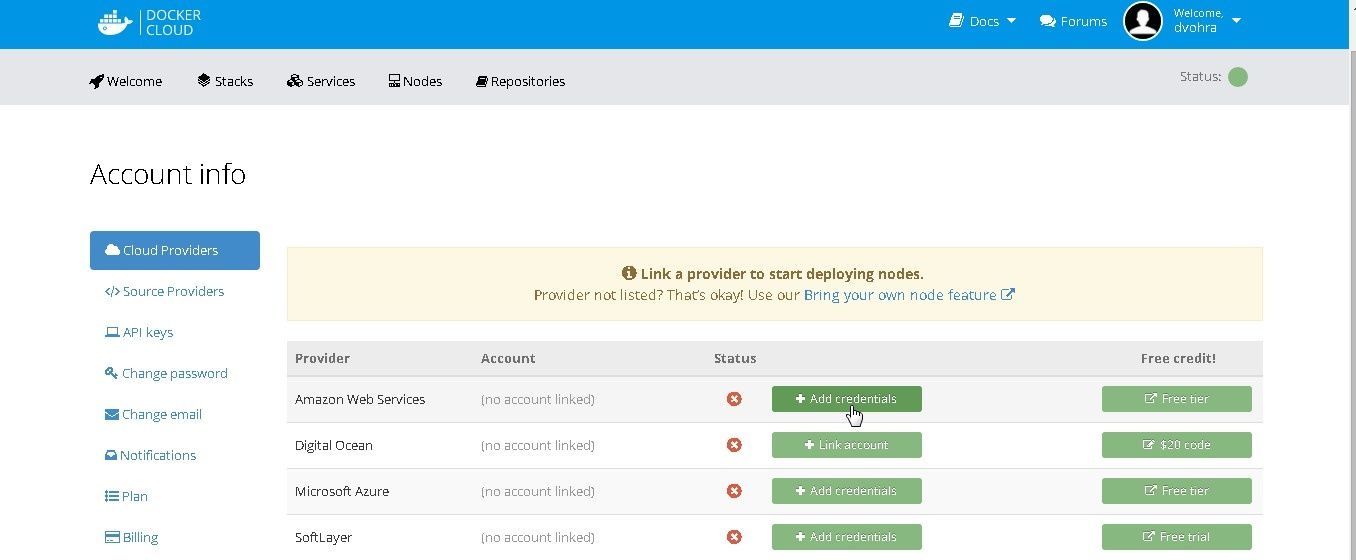
In this section we shall link a cloud provider with Docker Cloud. For AWS, Docker Cloud requires an Access Key. Log in to the Amazon EC2 account and expand the Access Keys section. Click on the Create New Access Key button. A new Access Key gets created. Click on Show Access key link to display the Access Key. The Access Key ID and Secret Access key get displayed. Copy the Access Key ID and Secret Access Key, as we shall need these to link Amazon Web Services with Docker Cloud. In the Account Info page of the Docker Cloud, select the Cloud Providers tab. For the Amazon Web Services provider, click on the “Add credentials” button.
In the Amazon Web Services credentials dialog, paste the Access Key ID in the field for Access Key ID. Paste the Secret Access Key in the field for Secret Access Key. Click on Save Credentials.
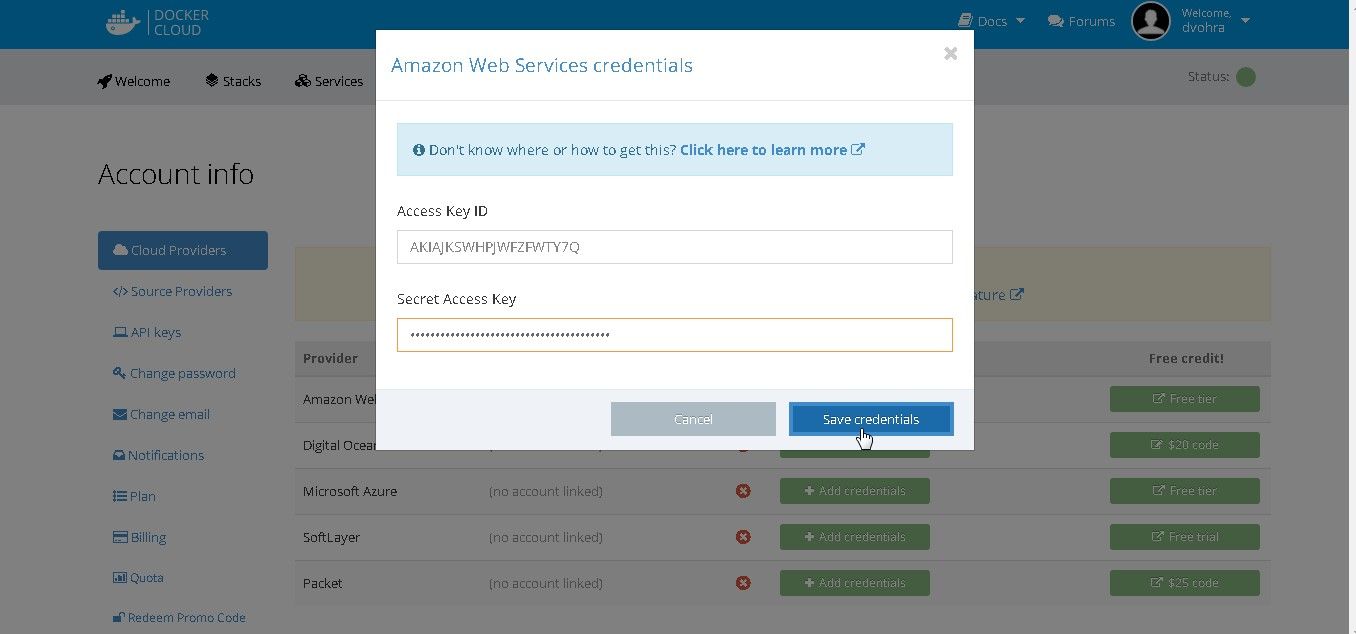
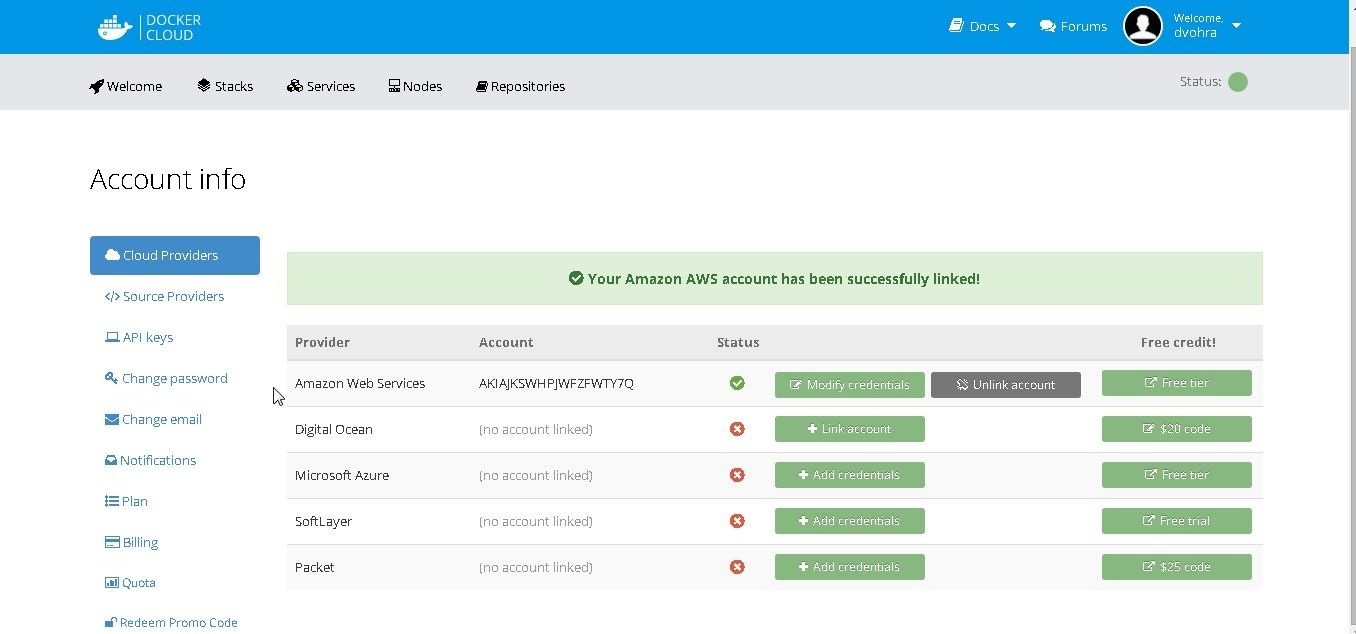
The Amazon AWS account gets linked with the Docker Cloud account.
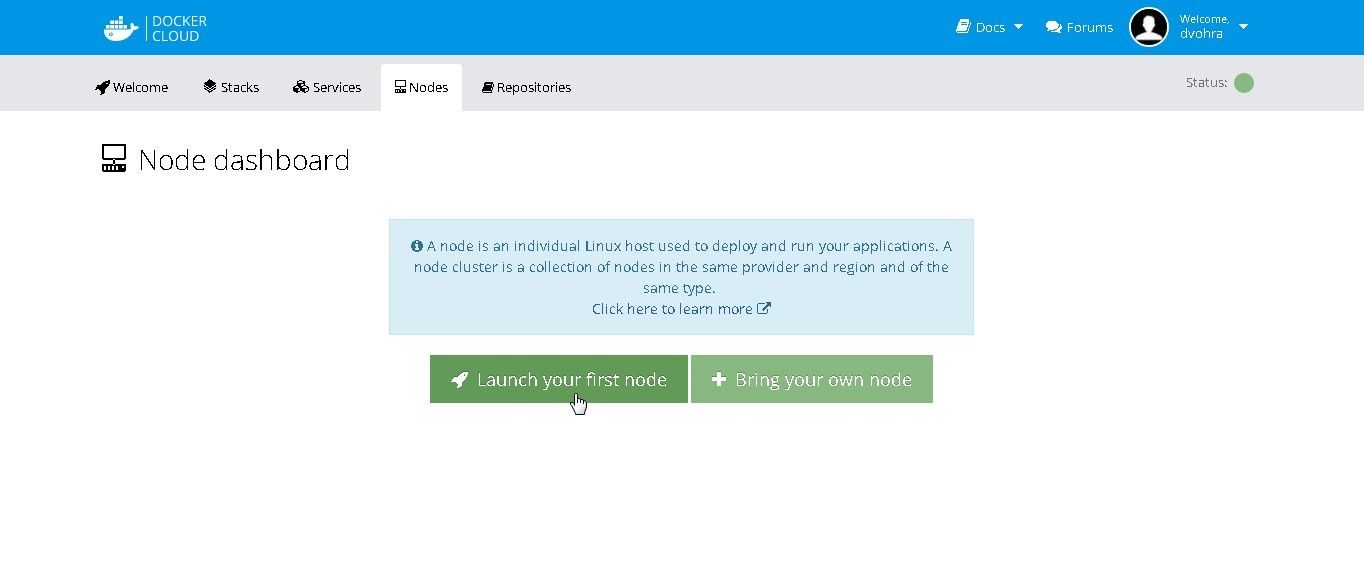
Deploying a Node Cluster
To create a node cluster click on the Nodes tab in the Account Info page. In the Node dashboard click on “Launch your first node”; if it is the first node cluster being created, and click on “Launch new code cluster” to create a subsequent new node cluster.
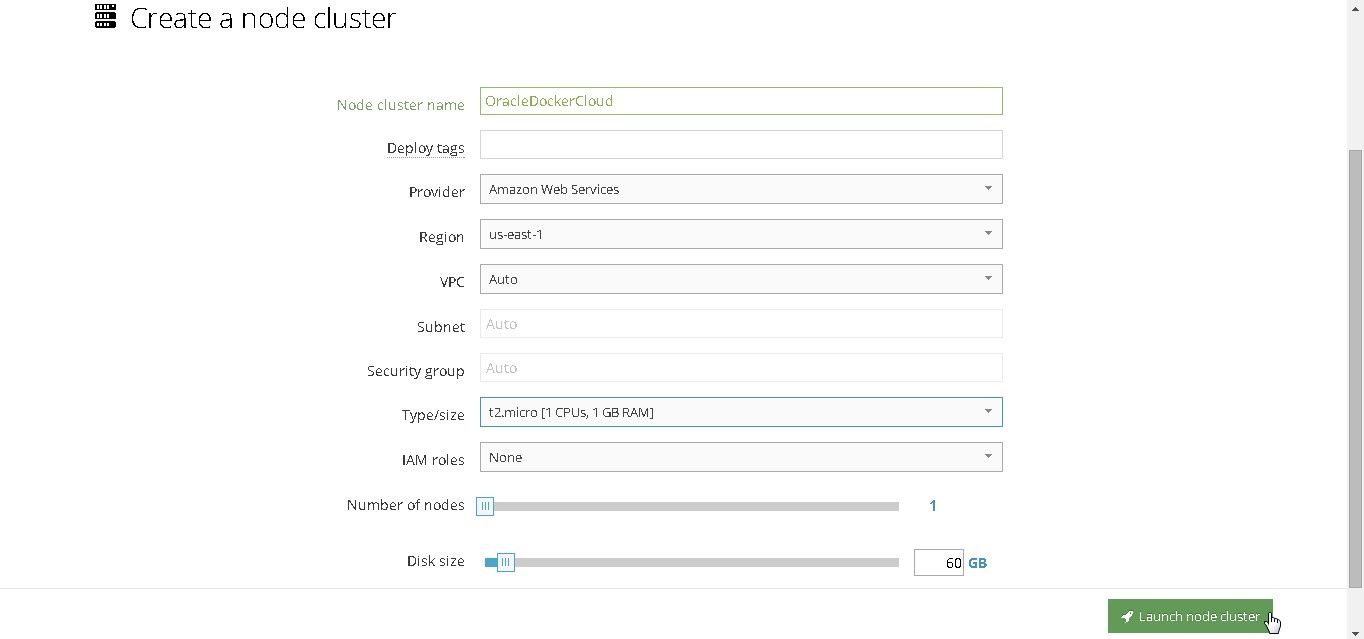
In the “Create a node cluster” page, specify a Node cluster name (OracleDockerCloud for example). In the Provider field select Amazon Web Services. Select Region; for example us-east-1. Select the default settings for "Auto" for VPC, Subnet and Security group. Select Type/size as t2.micro. Select Number of nodes as 1. Select a Disk size, 60GB for example. Click on “Launch node cluster”.
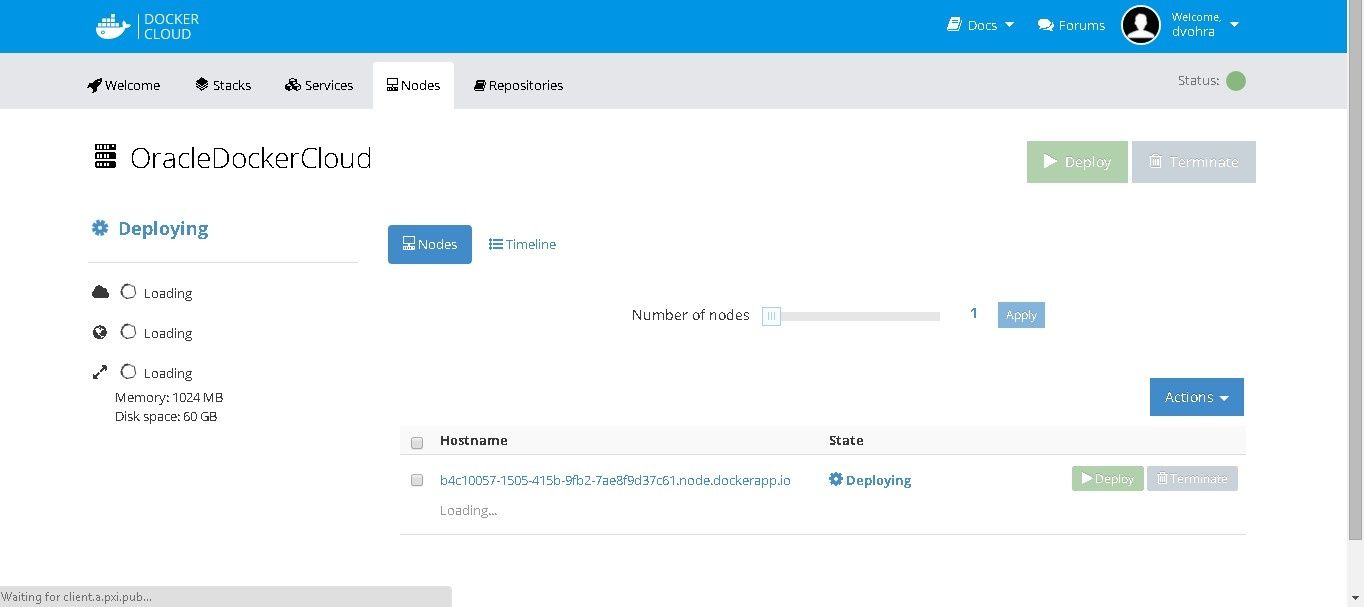
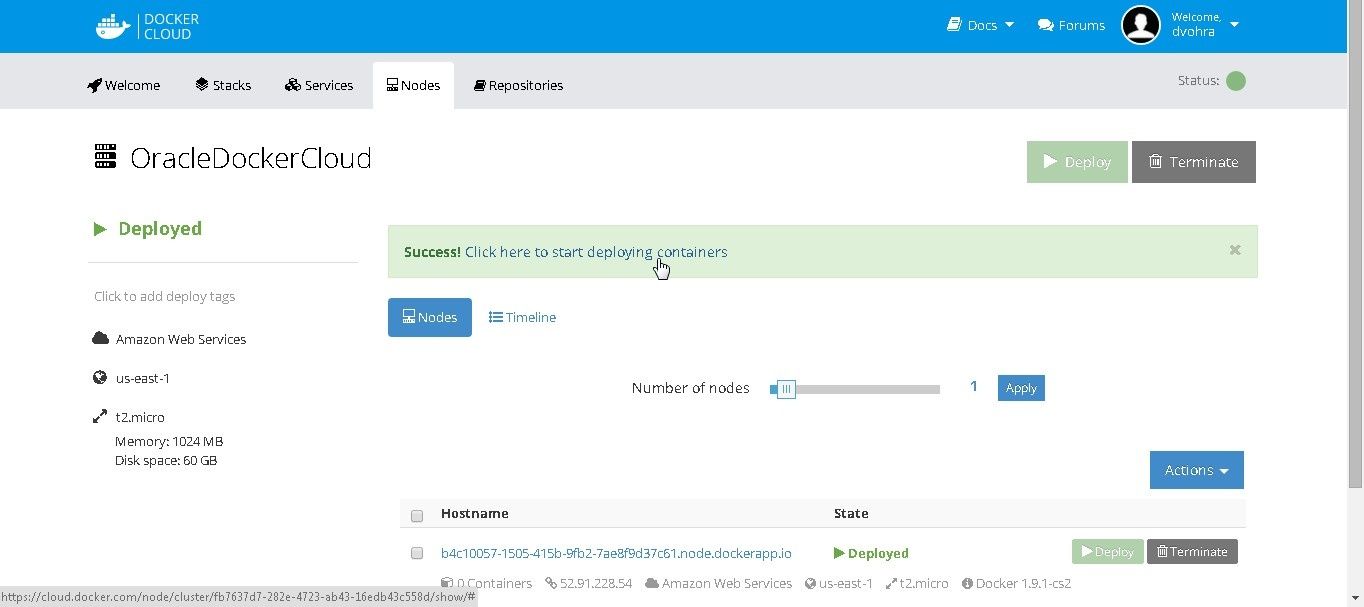
A new node cluster gets created. Click on Apply to apply the 1 node to the cluster. The Deploying message gets displayed.
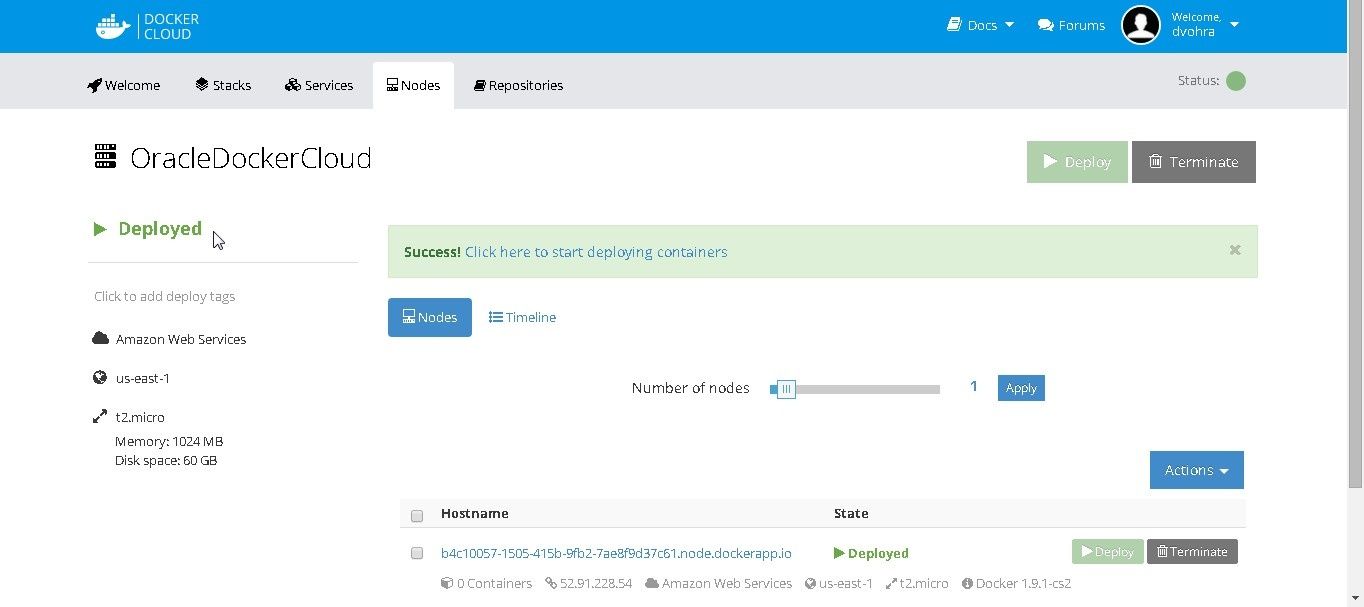
After the nodes are deployed the messages becomes "Deployed". The single node is displayed in a table of Hostname and State.
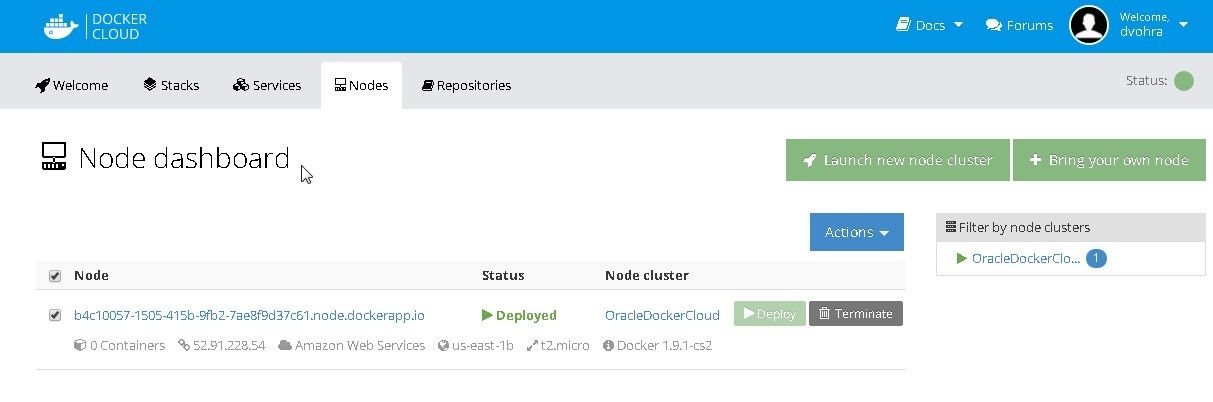
In the Node dashboard, the single node is displayed with Status “Deployed”.
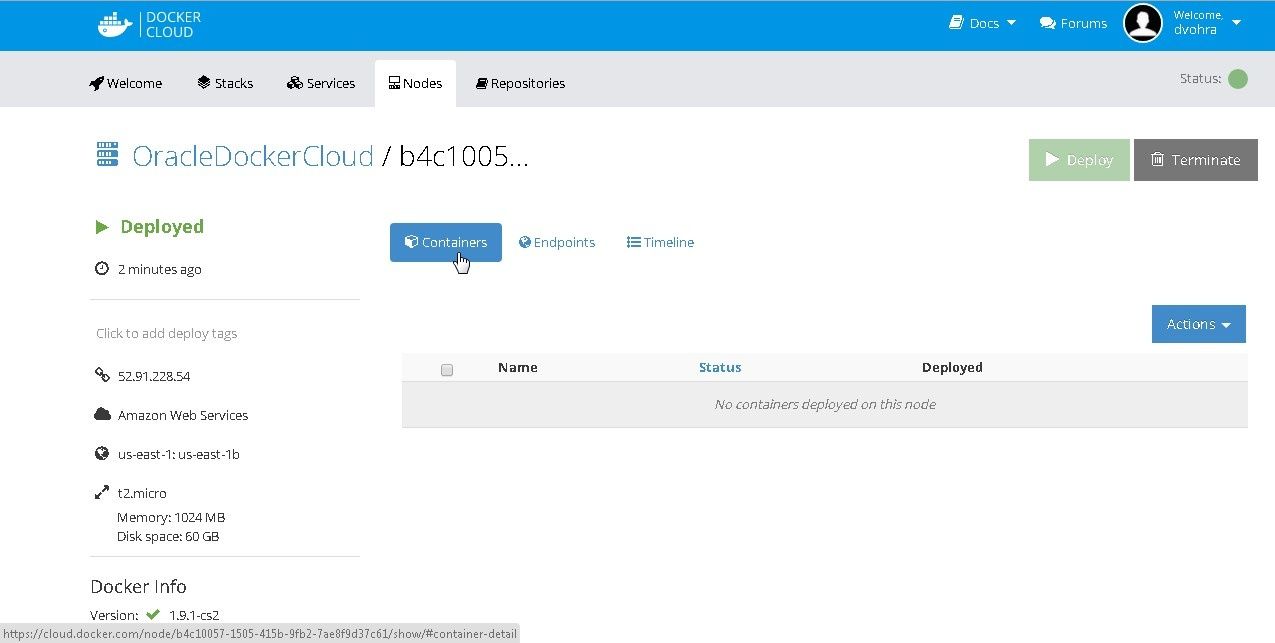
Click on the node link to display the containers and endpoints in the node.

Initially the node does not list any Docker containers as none have been created yet.
Creating a Service
Having created a node cluster, next we shall run Docker containers on the node. A few different options are available to start Docker containers. First is to click on the link to “start deploying containers”.
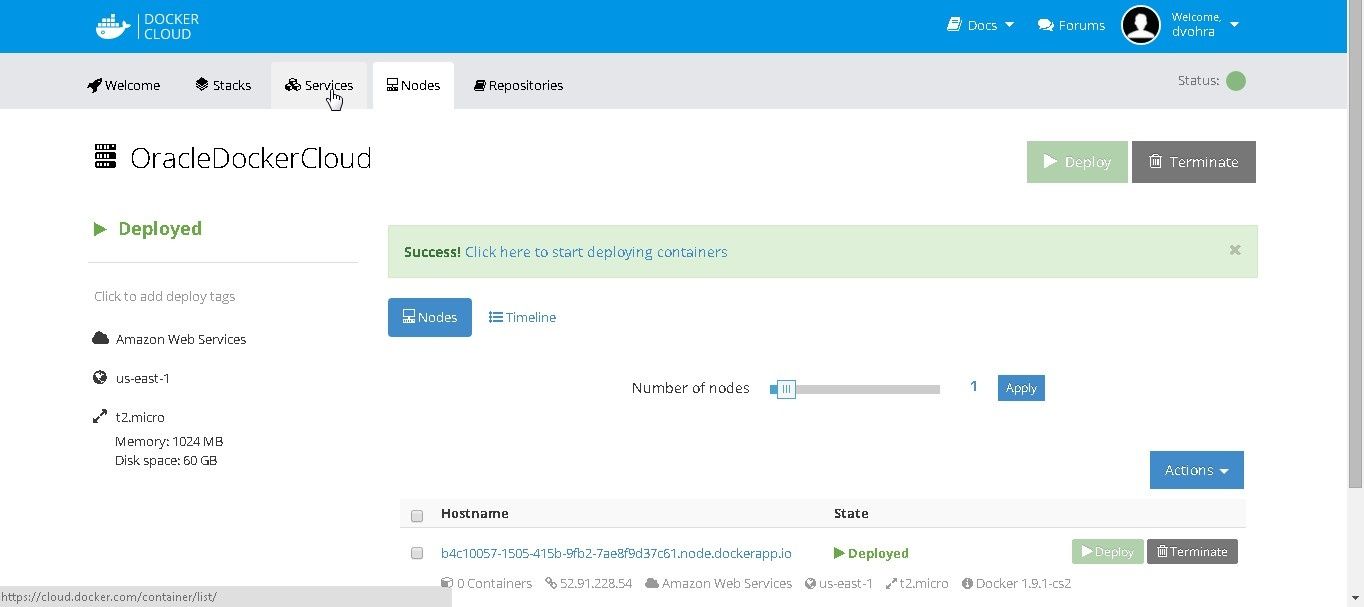
Alternatively, and the preferred option, is to select the Services tab.
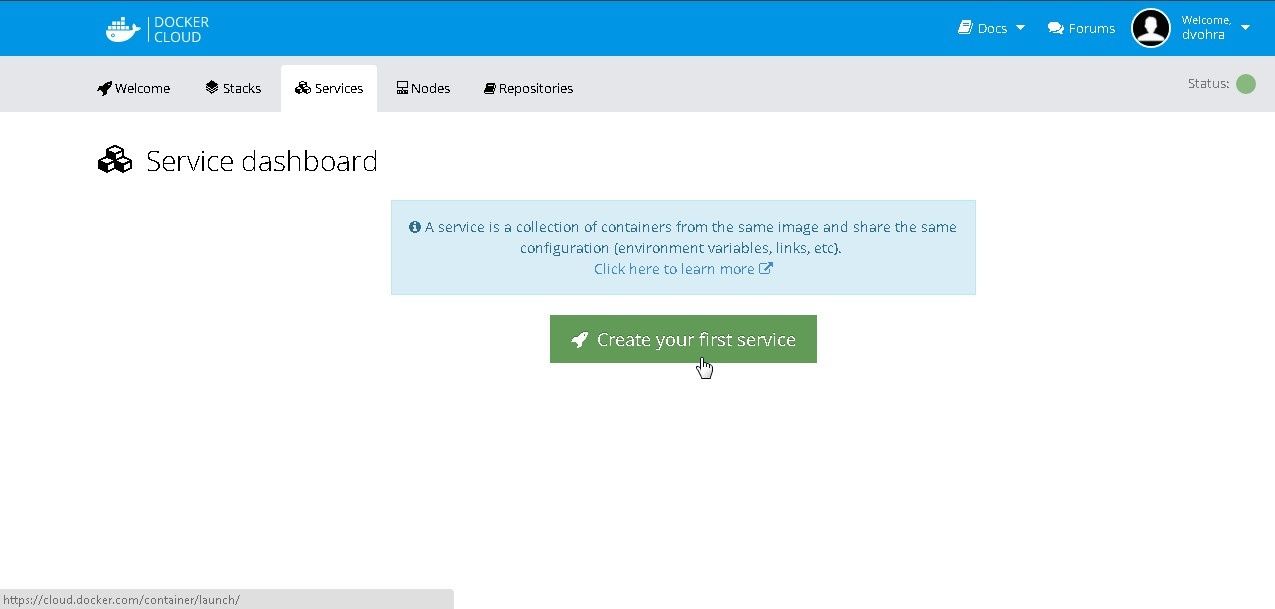
If it is the first service, click on “Create your first service” button.
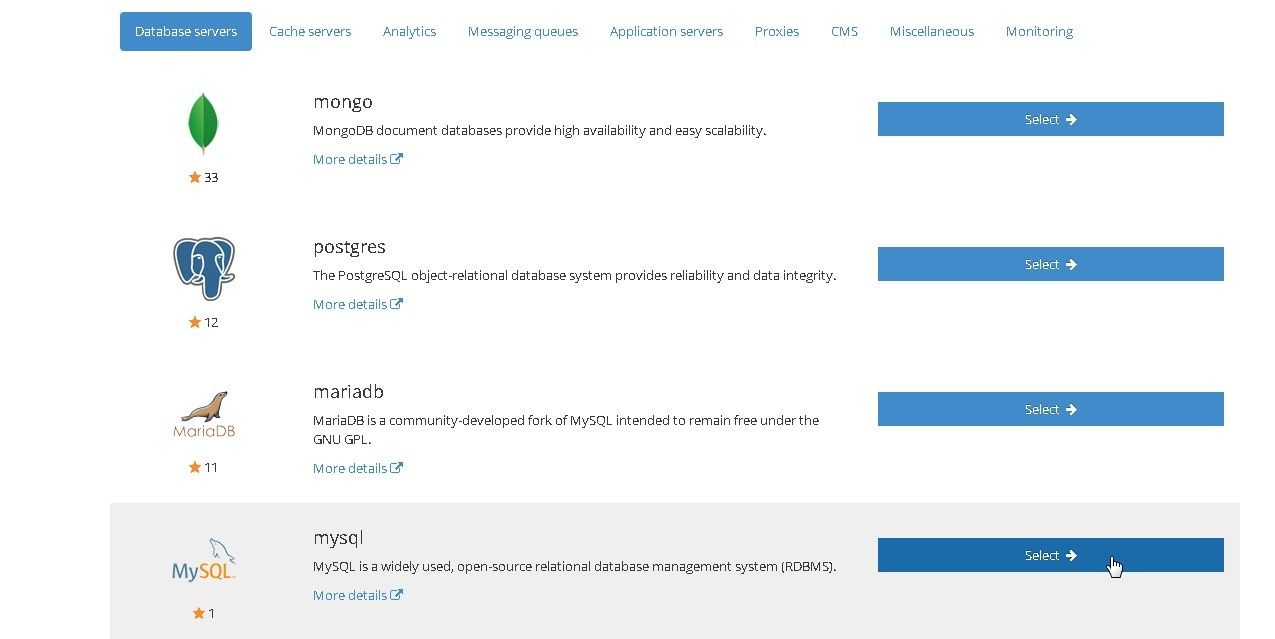
Select the Docker image “mysql” in Database servers category.
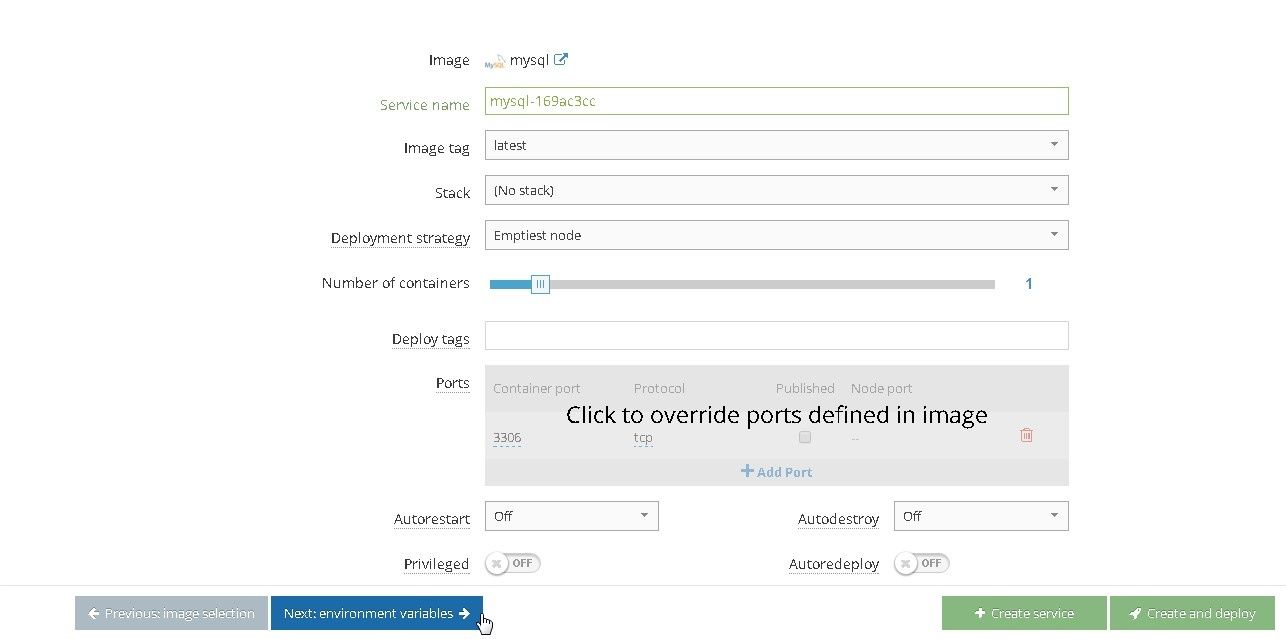
Select the default settings for Service name, Image tag, and Deployment strategy. Select Number of containers as 1. Select the default port setting of 3306 tcp port. Click on Next: environment variables.
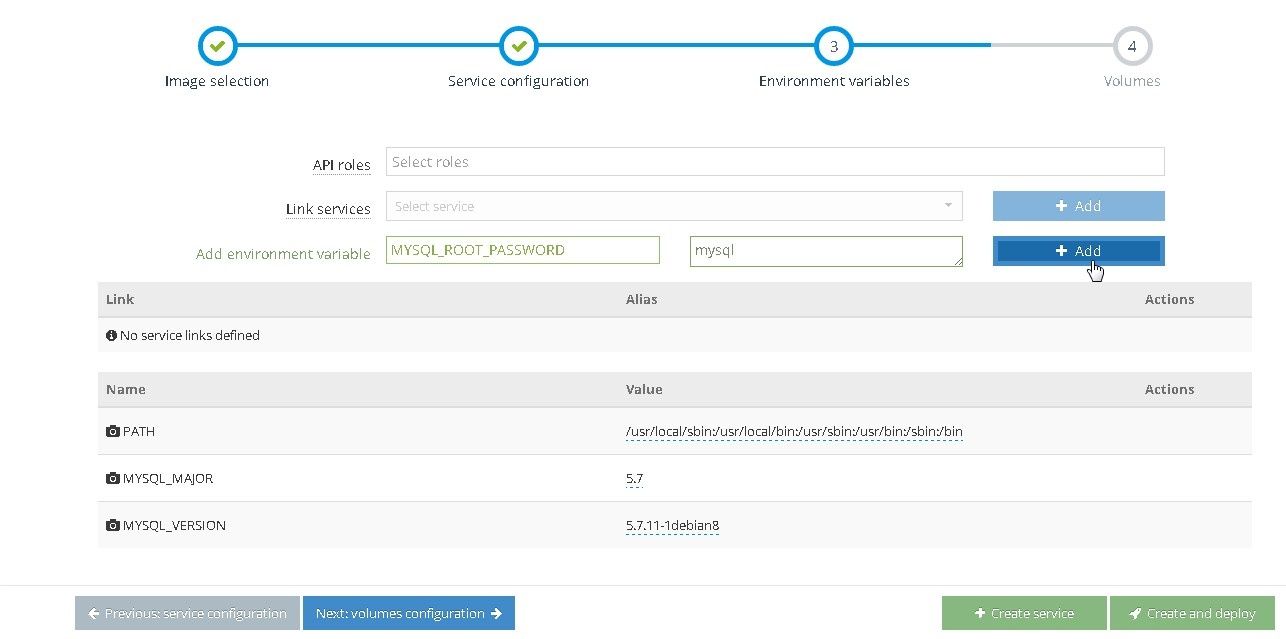
The only required environment variable is MYSQL_ROOT_PASSWORD. Add the variable value as "mysql" and click on Add.
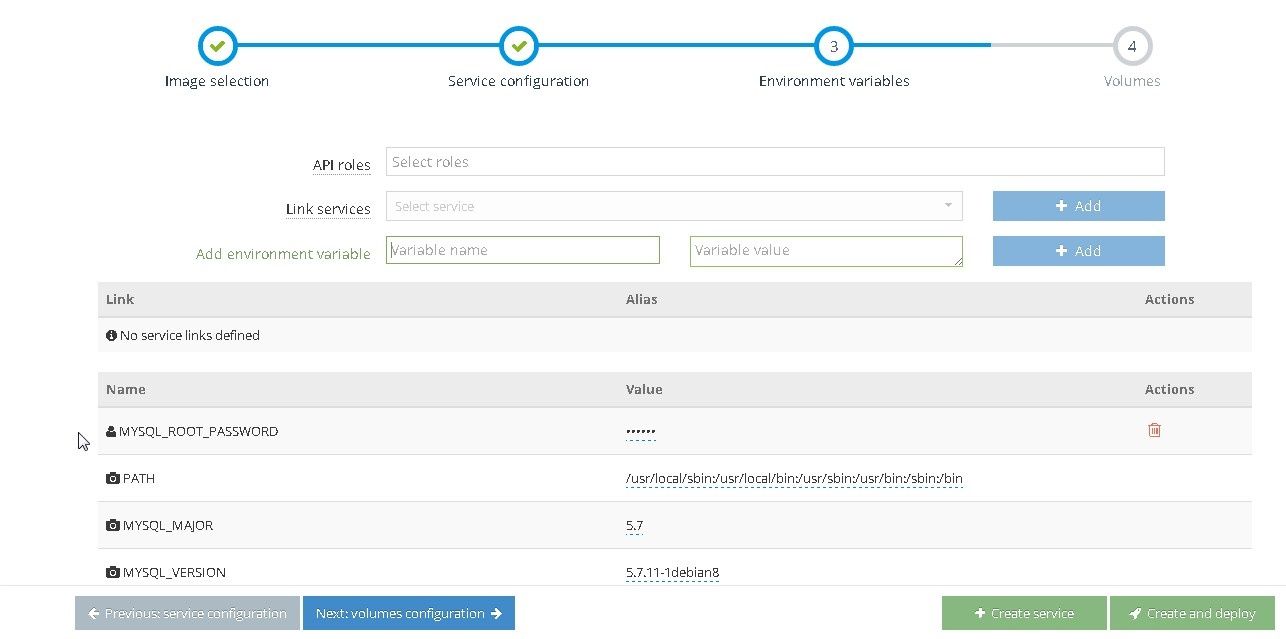
The MYSQL_ROOT_PASSWORD variable gets added.
Also add the following optional environment variables.
|
Environment Variable |
Value |
MYSQL_DATABASE |
mysqldb |
MYSQL_USER |
mysql |
MYSQL_PASSWORD |
mysql |
MYSQL_ALLOW_EMPTY_PASSWORD |
no |
With the environment variables added, click on Create service to create the service.

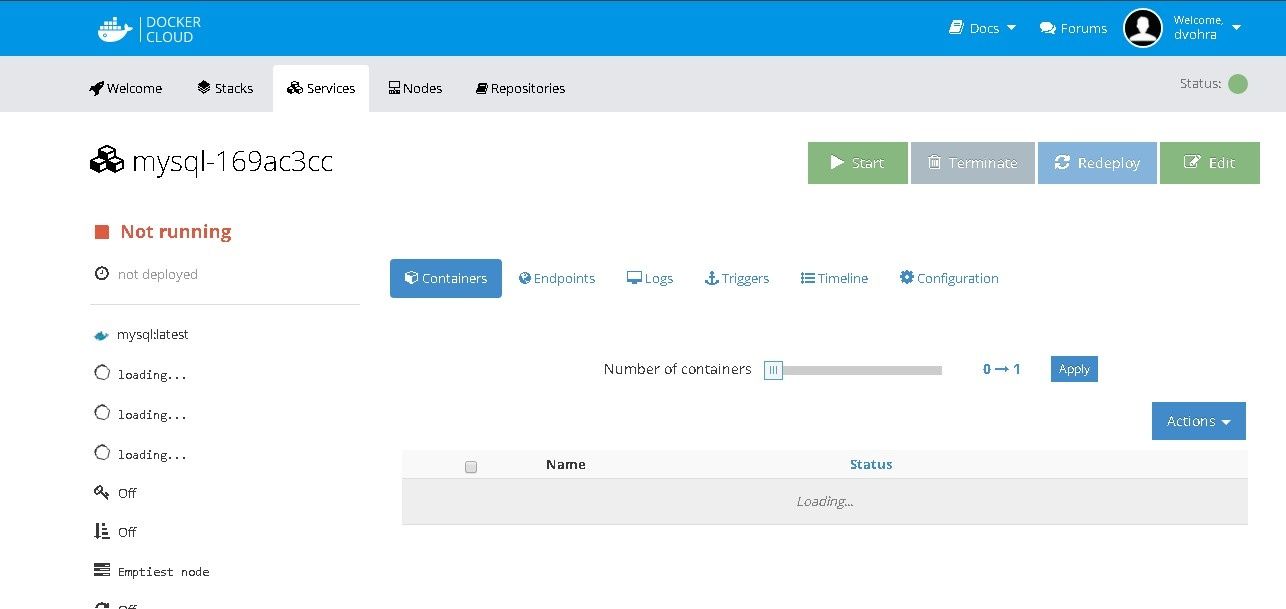
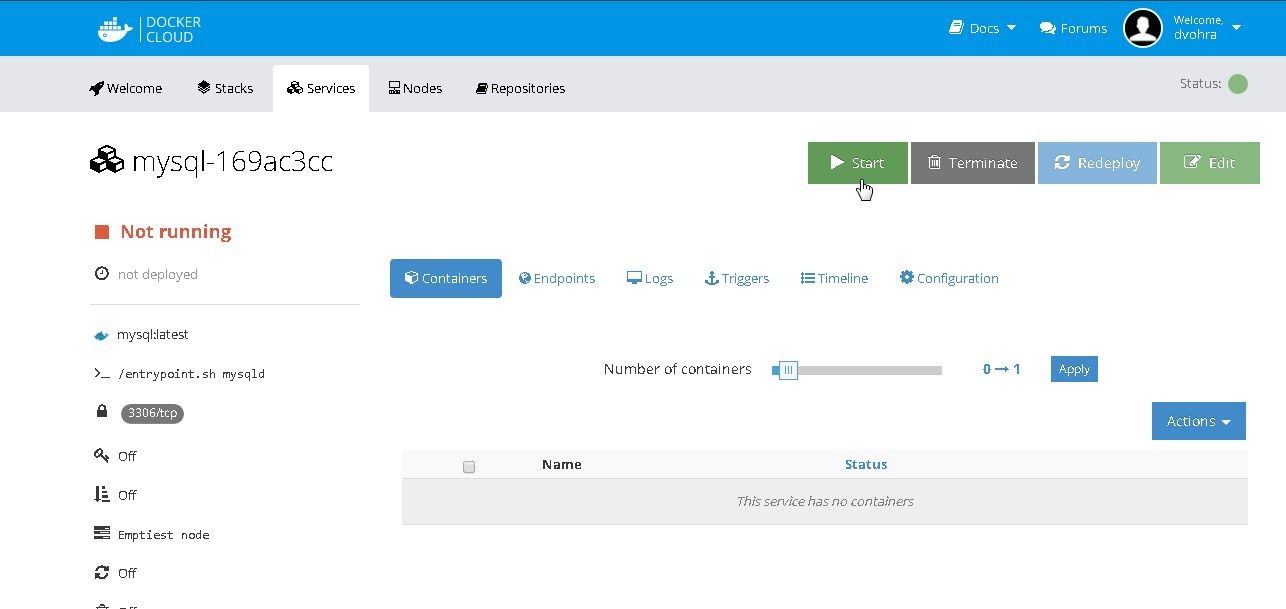
A service gets created. Initially the service is not running and the Docker containers are not running.
Click on Start to start the service.
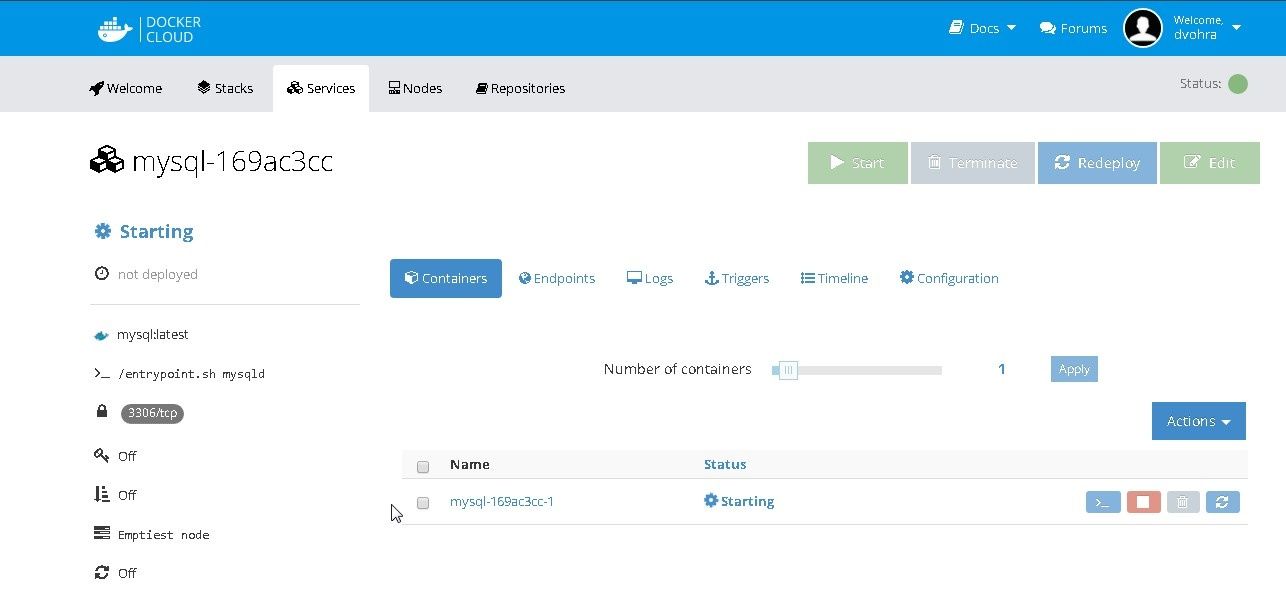
The Starting message should get displayed and a Docker container should also be “Starting”.
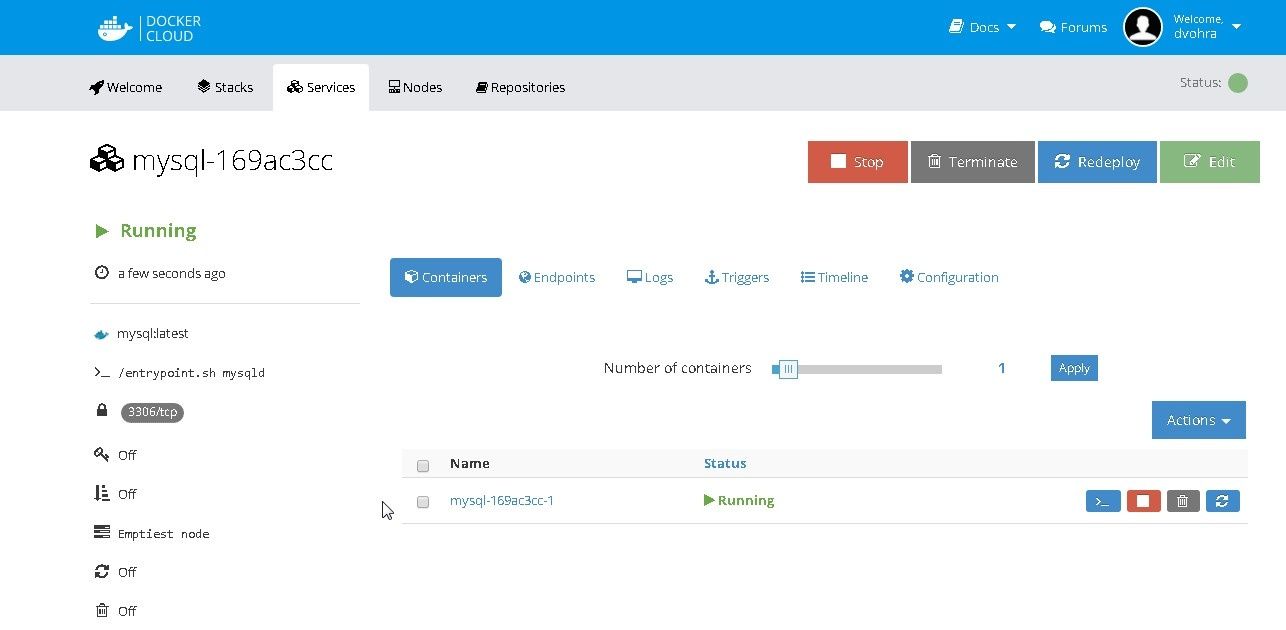
After the Docker container and the service have started the “Starting” message turns to “Running”.
Starting an Interactive Shell
To start an interactive bash shell for the Docker container two options are available. For the single Docker container click on the >_ button.
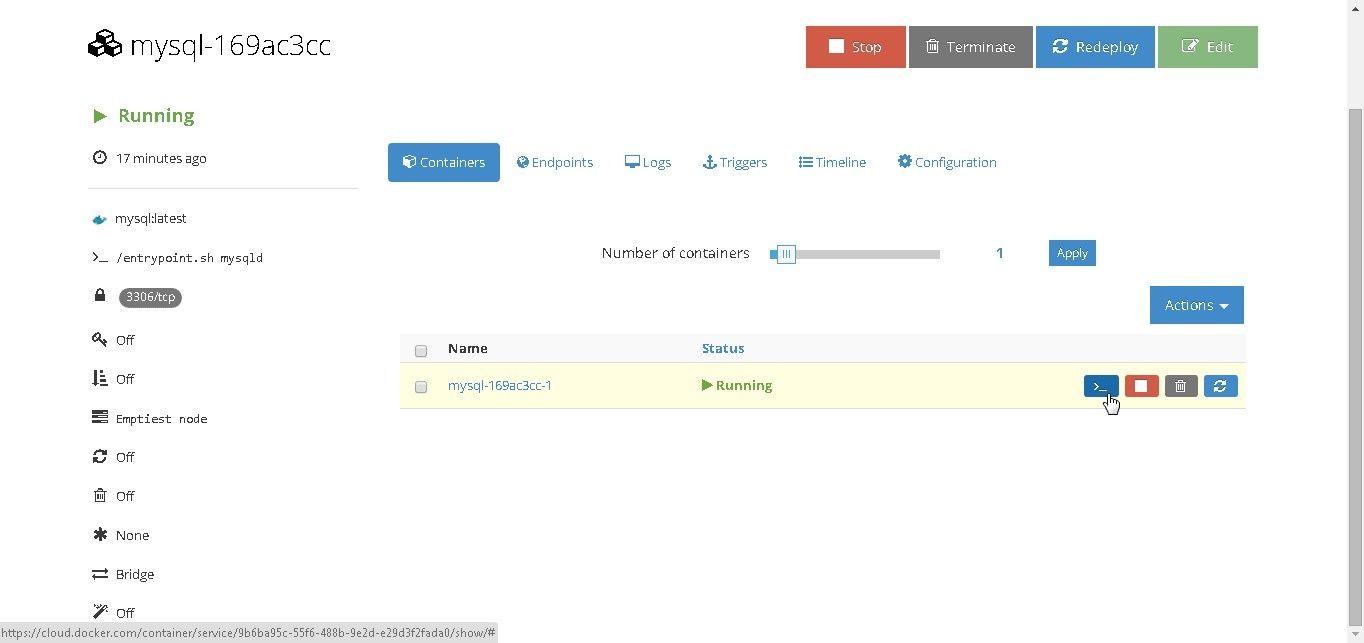
Alternatively, click on the Terminal tab to start an interactive terminal.
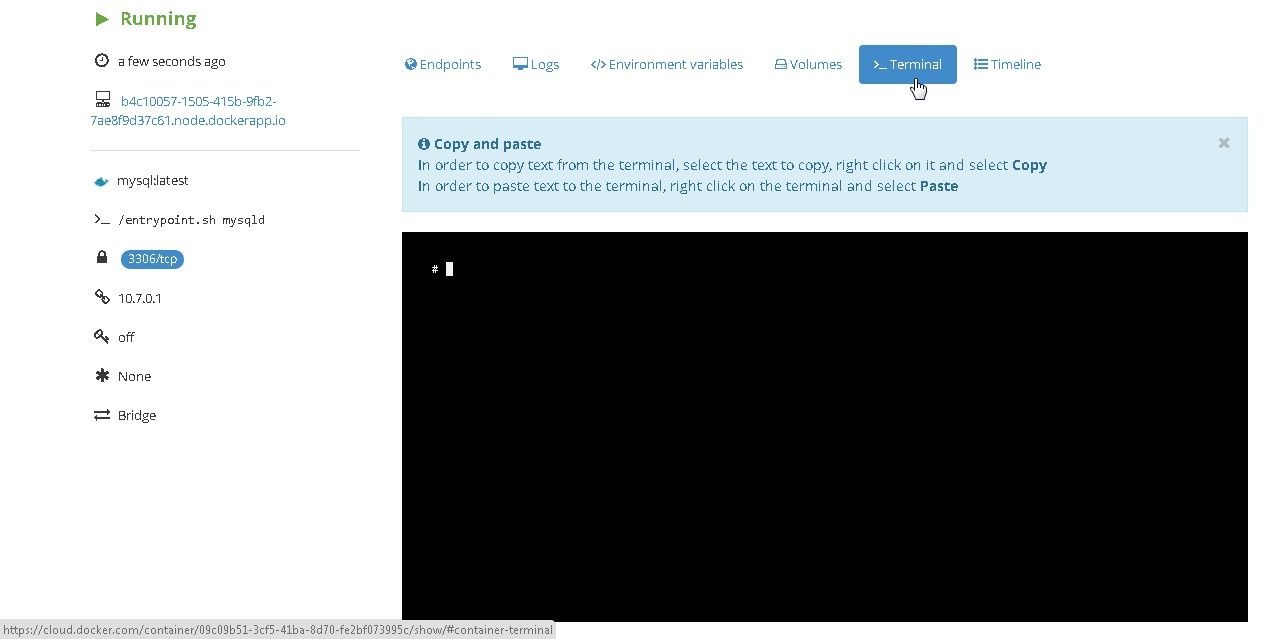
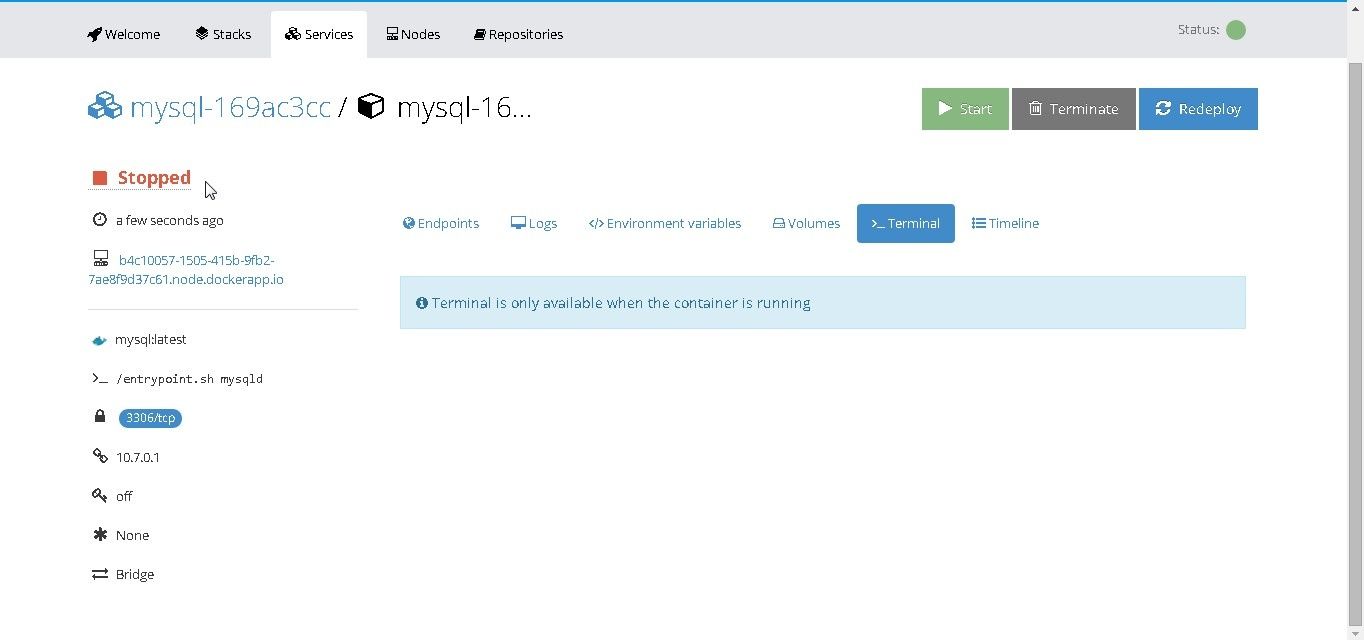
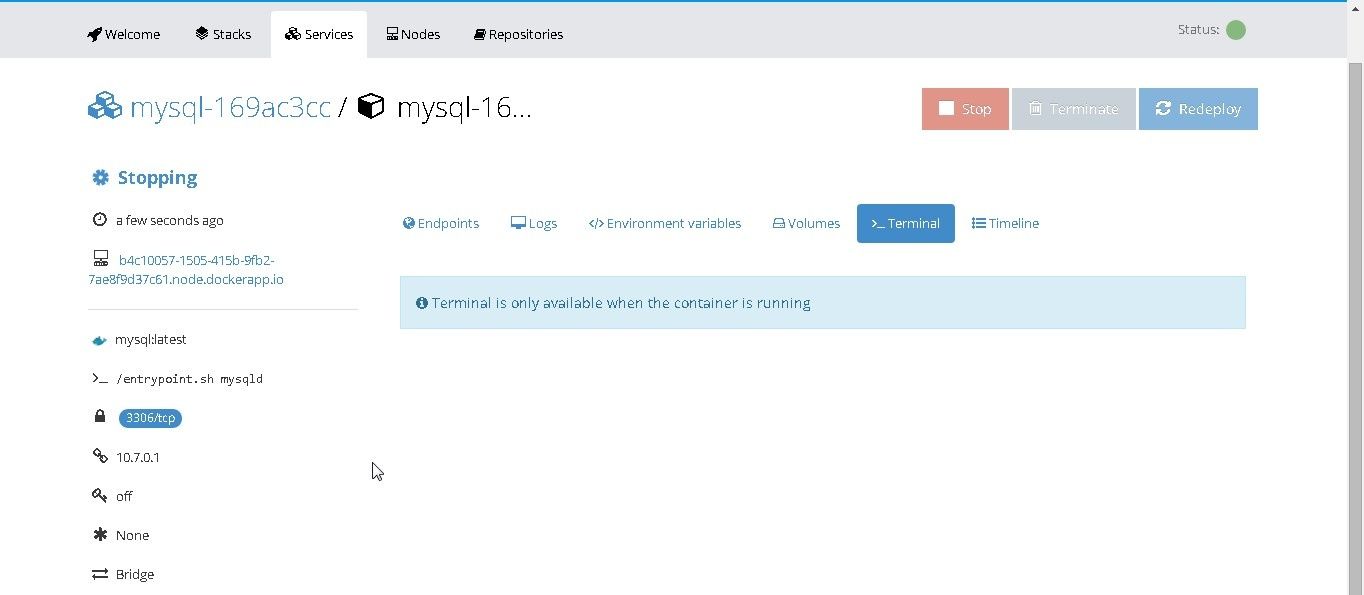
An interactive terminal is available only when a Docker container is running.
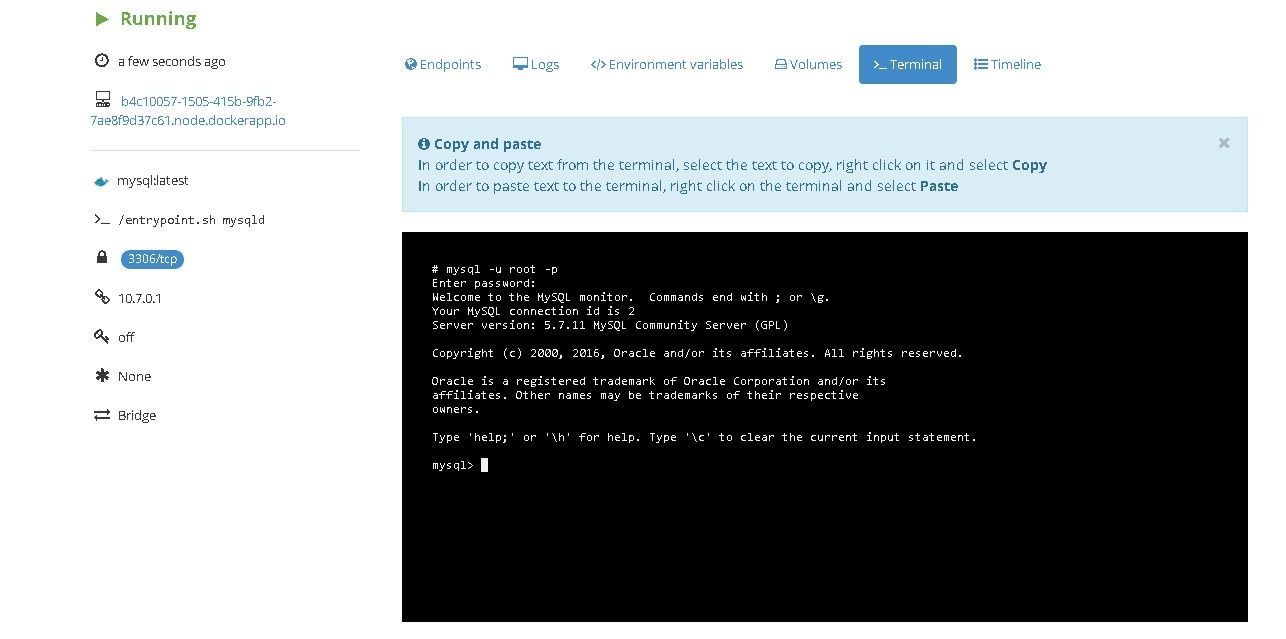
Logging Into MySQL CLI
To start the MySQL command line interface (CLI) as root, run the following command:
mysql -u root -p
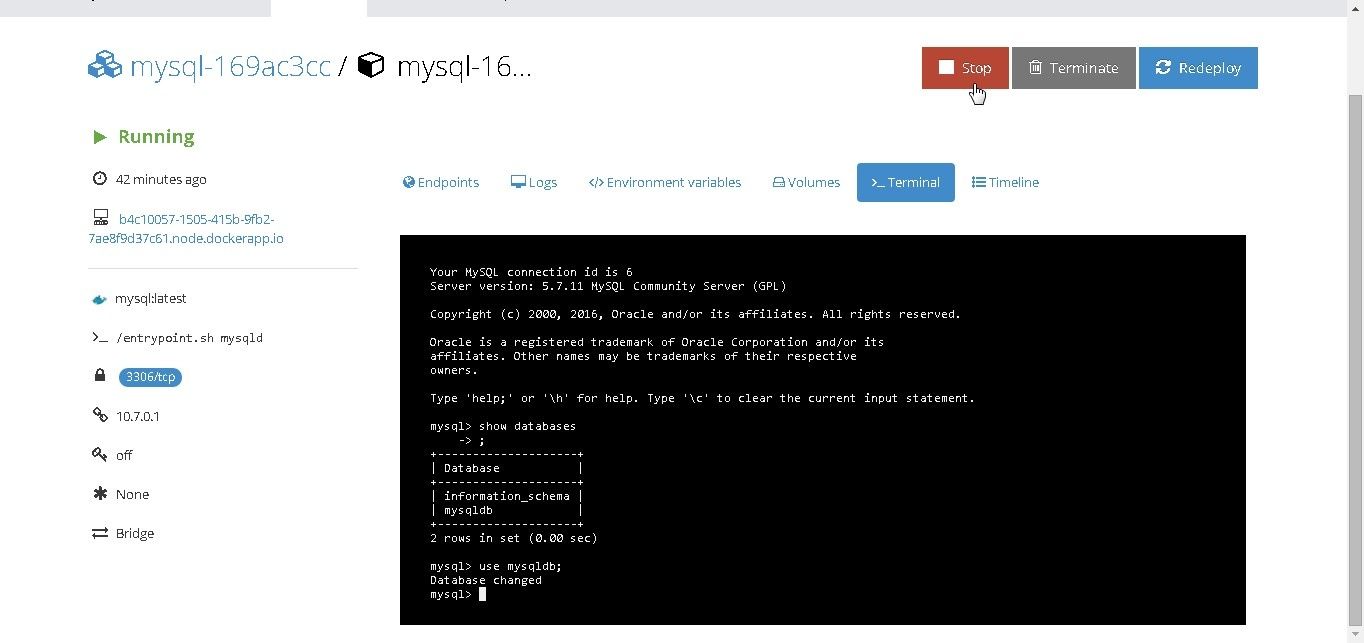
Specify the password as configured in the environment variable MYSQL_ROOT_PASSWORD. The MySQL CLI gets started.
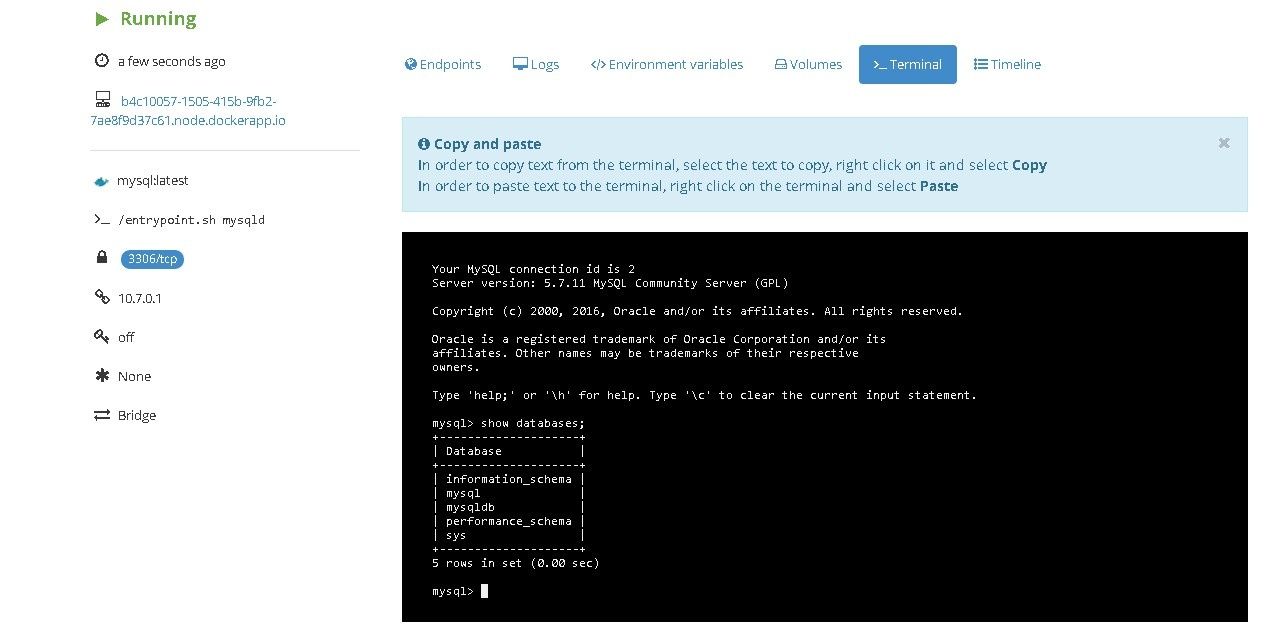
Listing Databases
To list the databases run the following command:
show databases;
The databases listed include the system databases, the mysqldb database created using the MYSQL_DATABASE environment variable, and the user database mysql.
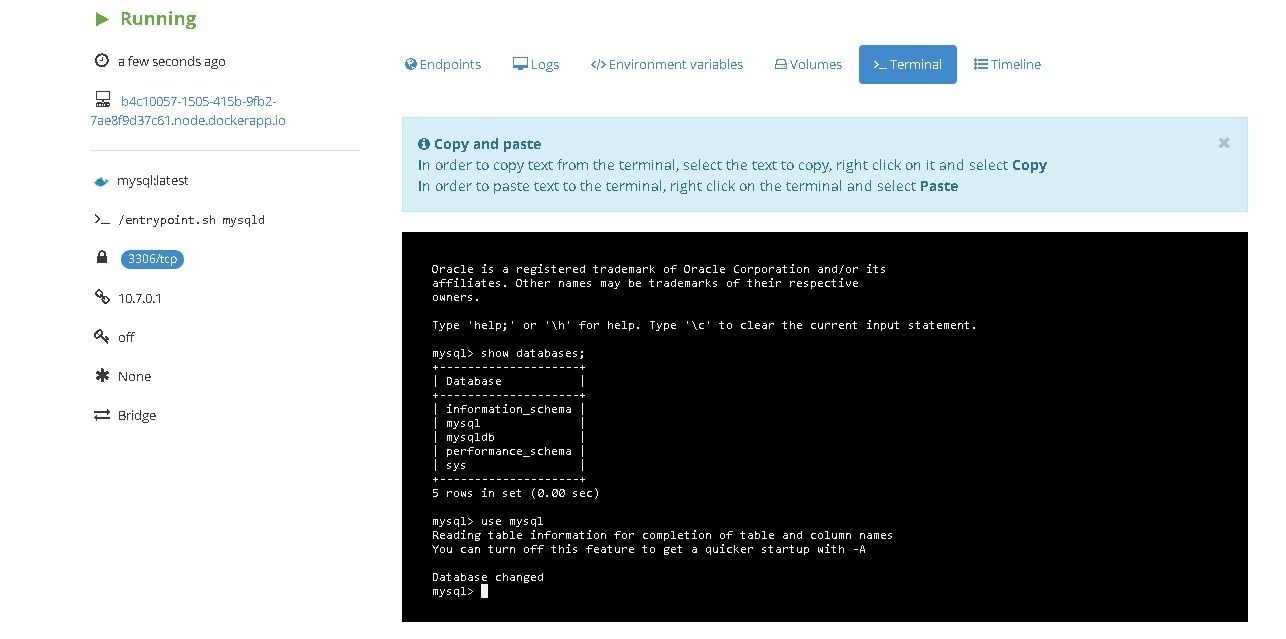
Run the following command to set the database to use as “mysql”.
use mysql;
The database gets set as “mysql”.
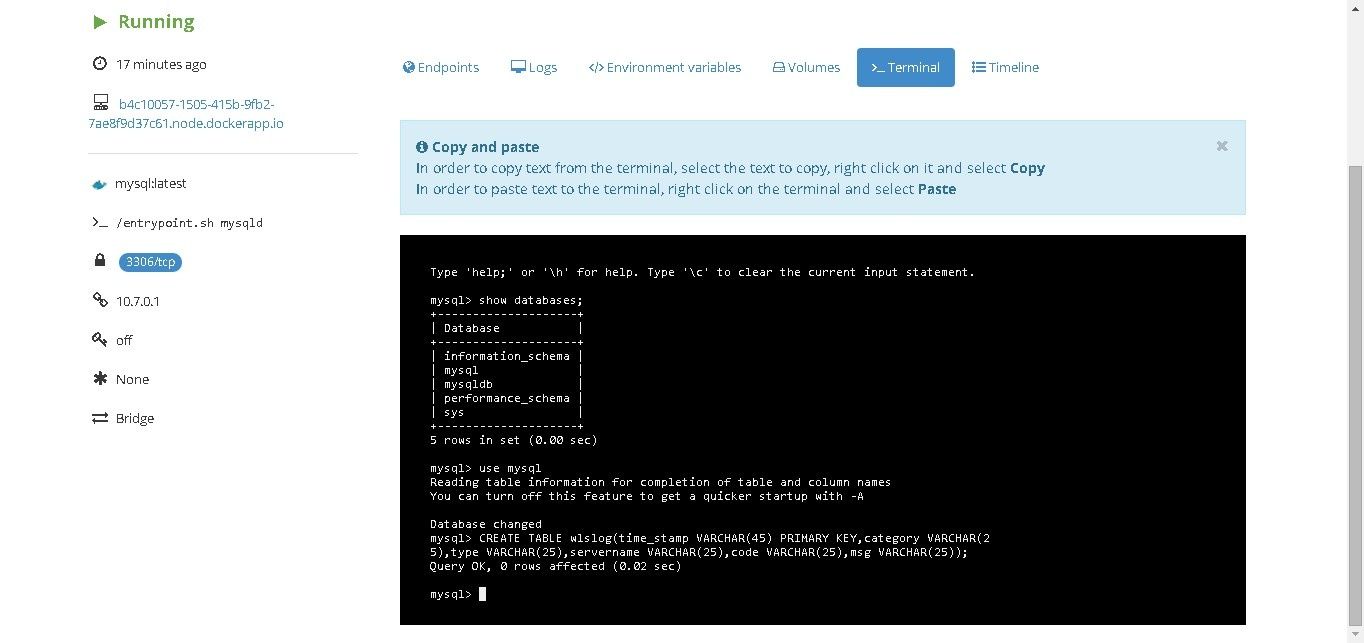
Creating a MySQL Database Table
To create an Oracle Database table wlslog run the following SQL statement.
CREATE  TABLE  wlslog(time_stamp VARCHAR(45) PRIMARY KEY,category VARCHAR(25),type VARCHAR(25),
    servername VARCHAR(25),code VARCHAR(25),msg VARCHAR(45));
The wlslog table gets created.
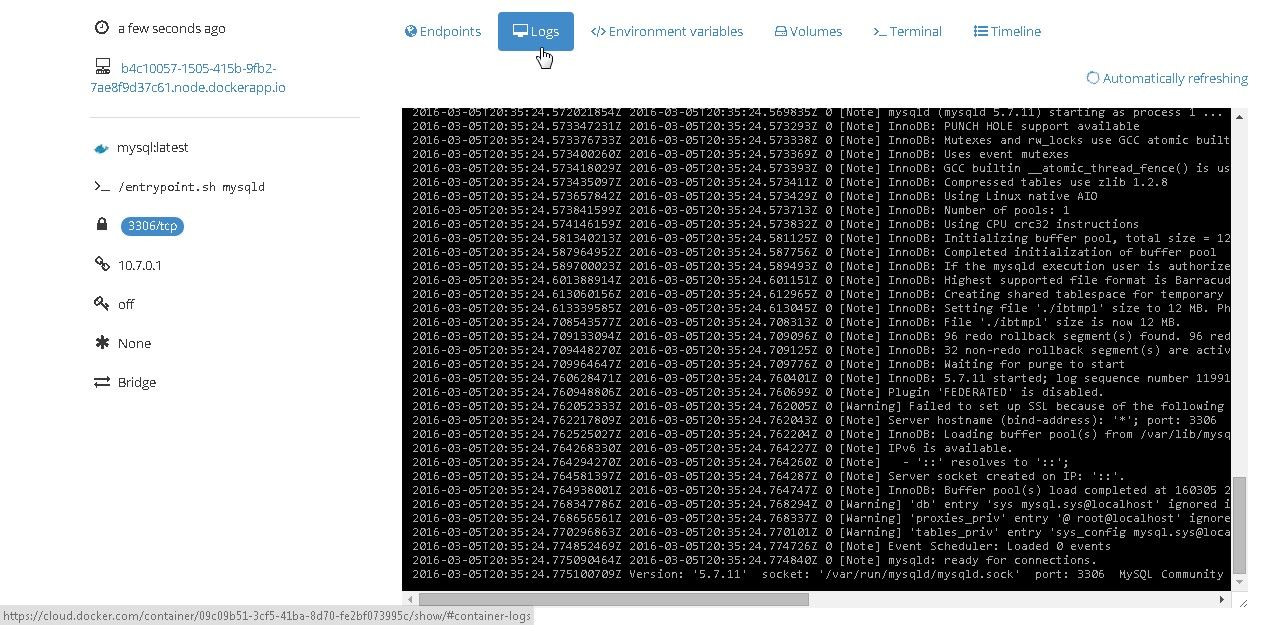
Listing the Docker Container Logs
To list the Docker container logs, click on the Logs tab for the service. The MySQL database is listed as running on port 3306 “ready for connections”.
Stopping a Docker Container
To stop a Docker container click on the Stop button.
The “Stopping” message gets displayed.
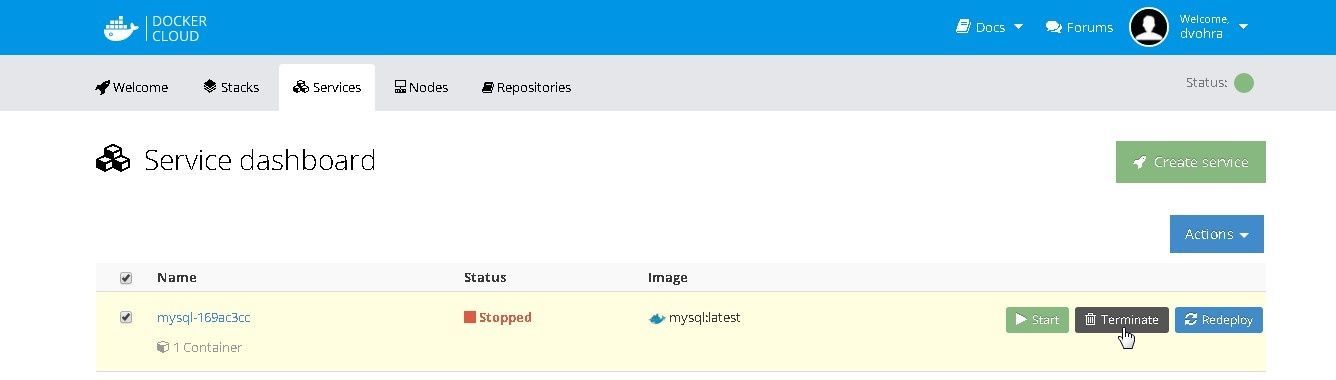
Terminating a Service
Stopping a Docker container in a service stops the service. A stopped service may either be started again with the Start button or terminated with the Terminate button. A terminated service cannot be restarted.
Click on OK in the confirmation dialog.
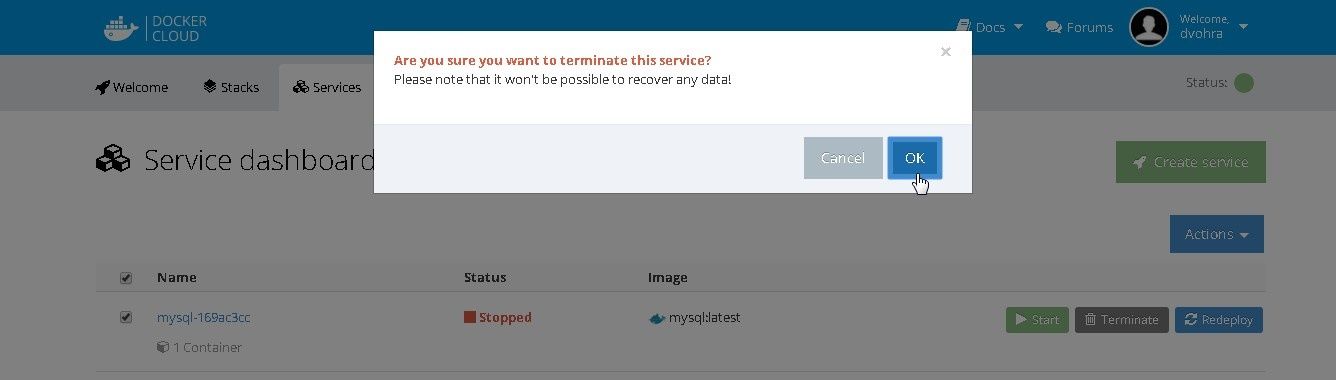
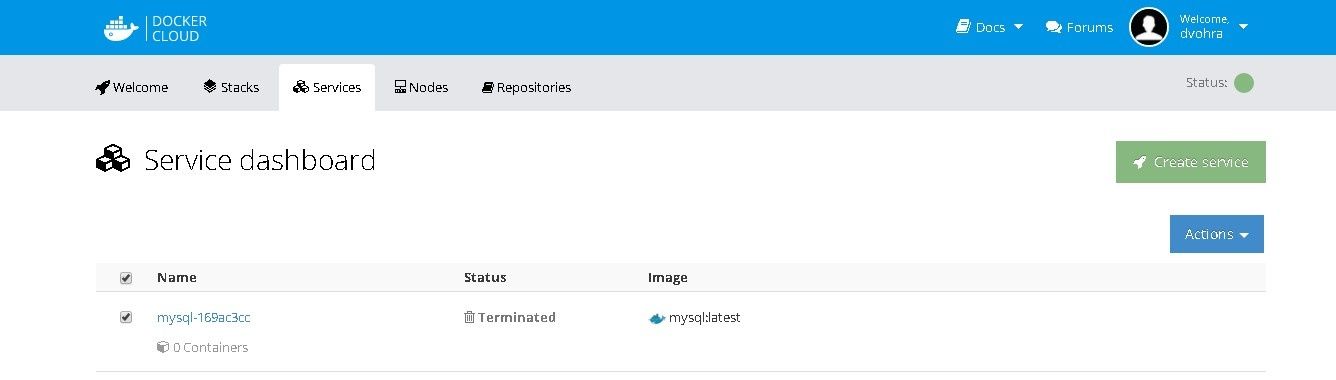
The service gets terminated as indicated by the Terminated status.
Terminating a Node
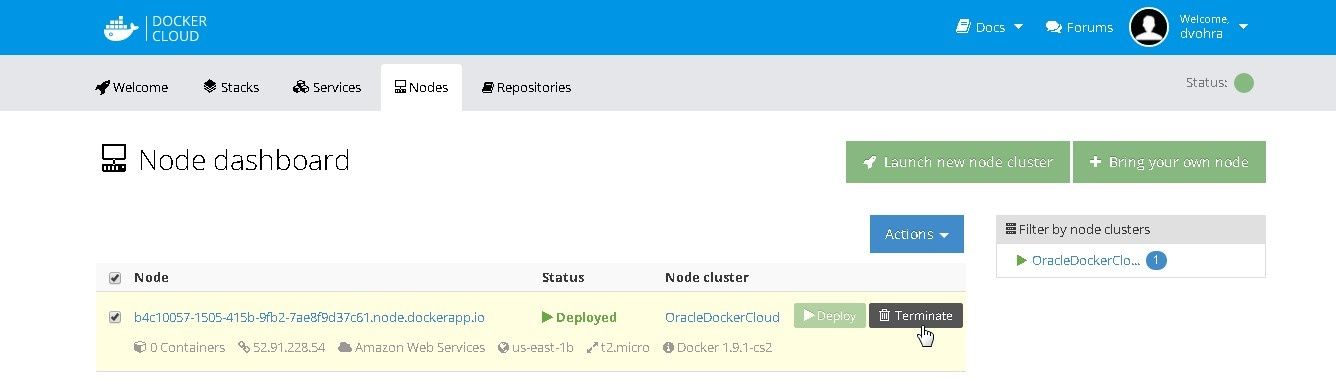
Terminating a service does not terminate the node cluster. To terminate the node cluster click on Terminate for the node in the Node dashboard.
Click on the OK button in the confirmation dialog. At first, the Status of the node turns to “Terminating”.
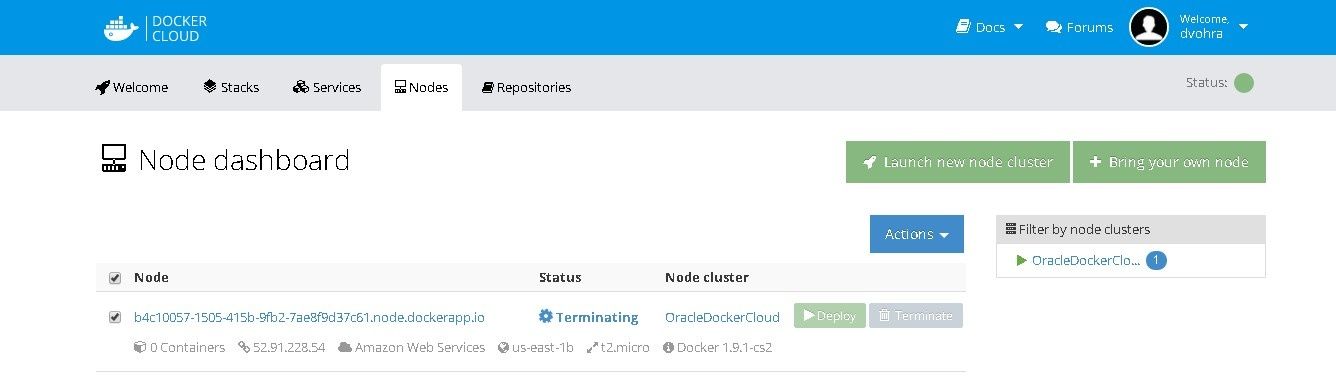
Subsequently the Status becomes “Terminated” A terminated node cluster cannot be deployed again.

In this tutorial we discussed deploying a Docker service for MySQL database on Docker Cloud. We discussed setting environment variables and starting and stopping the service. We created a sample database table using an interactive shell for the Docker container in the service. Docker Cloud is a managed service and especially useful if you are not very familiar with Docker.
Start the discussion at forums.toadworld.com